I solely knitted the sole on the description of the "Cornflowers", so I just bring here the description from the previous master class for your convenience, but I take the colors of the threads into account for the new master class.
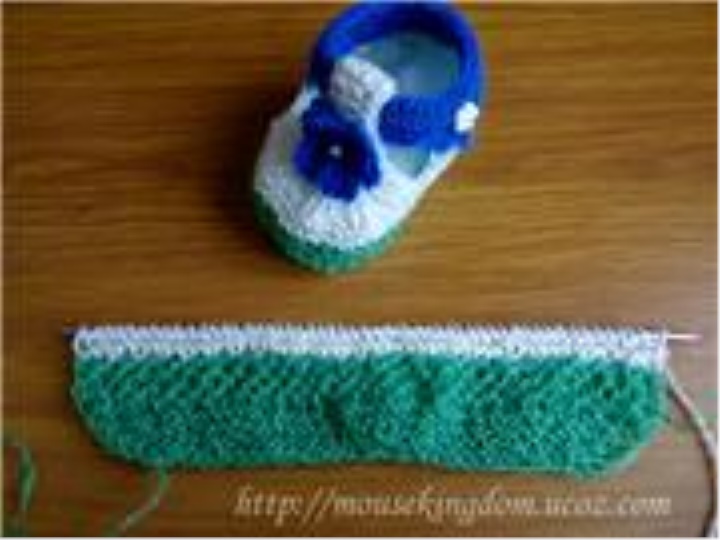
We select 36 loops with threads of green color, then, for convenience, we mark the middle with a thread of contrasting color, which we pass between loops and fix. We begin knitting the soles from the first row in this order:
1 row: remove the first loop, 1 facial loop, in the third loop increase ( * that is, from one loop we untangle two in this way: the first loop is facial as usual, and the second of the same loop, without removing it, behind the back wall, now can be removed , we got two loops from one),
further 13 facial, an increase (two loops from one as here * , then, in order not to repeat I'll just write an increase ), 2 facial (this is the knitting center), an increase, 13 facial, an increase, 1 facial, 1 margin.
2nd row: facial loops.
3rd row: remove the first loop, 1 facial, increase, 14 facial, increase, 4 facial, increase, 14 facial, increase, 1 facial, 1 margin.
4 row: facial loops.
5 series: remove the first loop, 1 facial, increase, 15 facial, increase, 6 facial, increase, 15 facial, increase, 1 facial, 1 margin.
6 row: facial loops.
7th row: remove the first loop, 1 facial, increase, 16 facial, increase, 8 facial, increase, 16 facial, increment, 1 facial, 1 margin.
8 row: facial loops.
9th row: remove the first loop, 1 facial, increase, 16 facial, increase, 10 facial, increase, 16 facial, increment, 1 facial, 1 margin.
10th row: facial loops.
But I advise you to mark the central part of the sole with a thread and knit it like this:
1st increase: nakid, 2 persons, capes.
2 nd increment: nakid, 4 persons, nakid.
3rd increase: nakid, 6 persons, cassock.
4th increase: nakid, 8 persons, capes.
And knit the edges of the description.
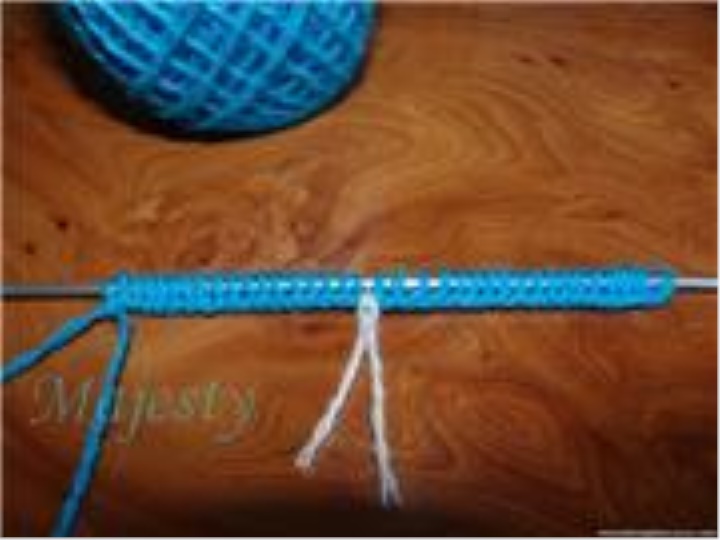
On the spoke should be formed 56 loops and our sole is ready, see what beautiful, rounded lines have turned out, I specially reshaped the loops equally on two spokes to show you, for clarity. I want to note that this is my favorite way of untying the soles.
Now go to the picture "Honey combs" and knit 9 rows, it turns out exactly two rapport drawings (the picture appears on the wrong side)
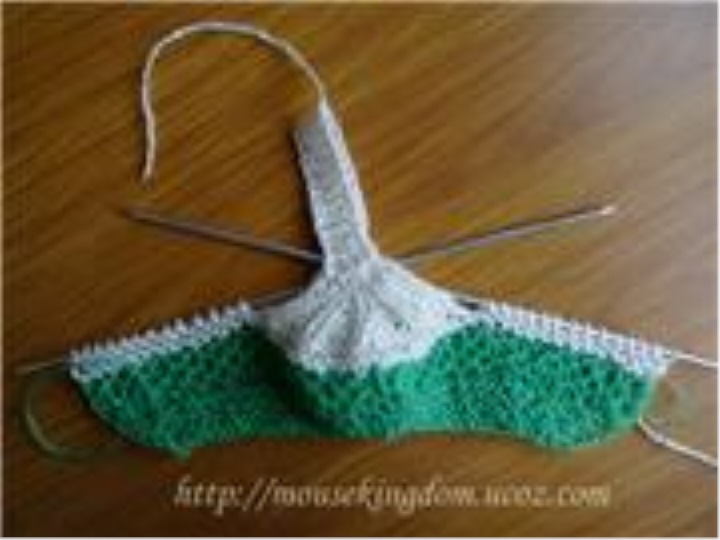
We cut off the green thread, we will not need it any more and put a white thread into work and knit 4 rows with a white thread.
Then we distribute the loops in this way:
On the toe 25 loops, and on the side spokes we reshoot the remaining loops, here it is obtained by one 16, on the other 15 loops (no problem), and while we forget about them.
We begin to knit with a white thread and distribute the pattern in this order:
1 row (front side): 1 edge, 1 out of 1, 1 persons, 4 out of 1, 4 persons, 4 persons, 4 persons, 4 persons persons, 1 izn, 1 edge. You knit until 5 loops remain on the spokes, subtracting in each second row (from the inside), one loop between each pigtail, then these five loops knit 20 rows and close. It will be a jumper sandal.
Further we remember about our side loops and, having entered into work the blue thread we begin knitting here from here:
We knit a sandalwood backdrop on two spokes. Knit cardigan (only facial loops).
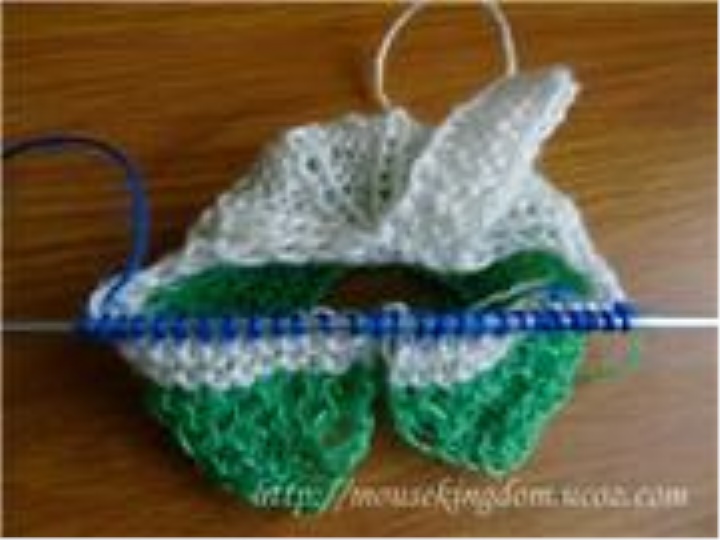
We knit 4 rows then add 20 loops to the strap (do not forget to dial in the mirror order for the second one).
And we knit another 4 rows, and at the end of the strap, we fasten the loop in this way:
5 rows: 1 edge, 1 facial, two hinges closed, facial loops.
6 row: facial loops, above two closed loops add two loops, 1 facial, 1 edge.
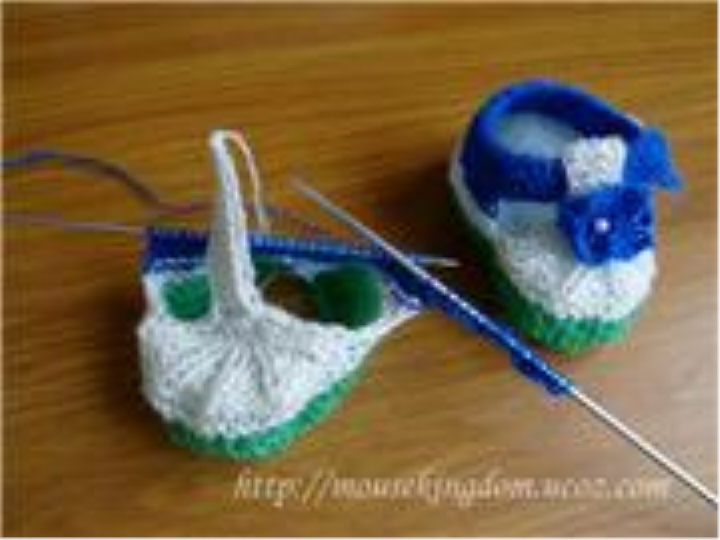
7 and 8 rows: facial loops. On the 9th row, close the loop. Our strap is ready and now having measured on it a jumper sandal, we sew it from the wrong side
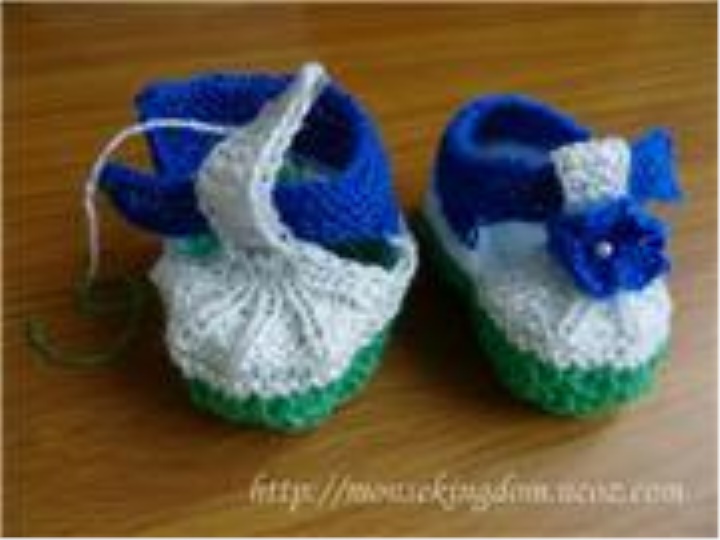
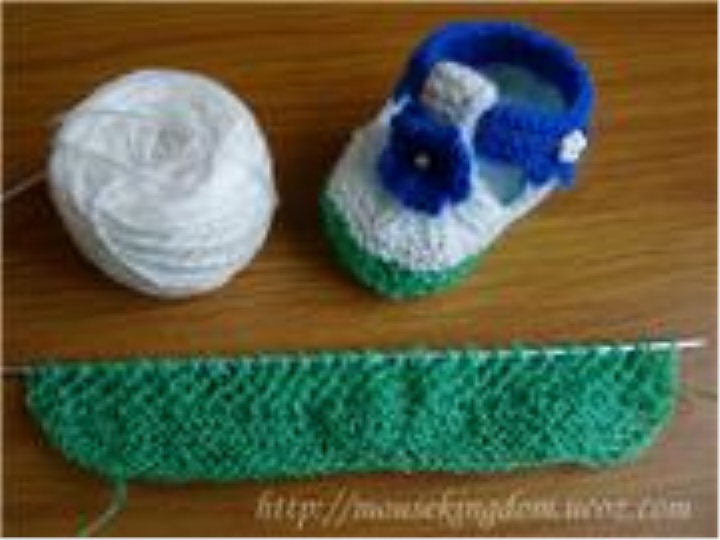
Sew up the sole and decorate sandalaki at will, you can tie flowers, and you can sew baby buttons in the form of machines, teddy bears or other figures.
Picture "Bee honeycomb".
An even number of loops are required (the pattern appears on the wrong side).
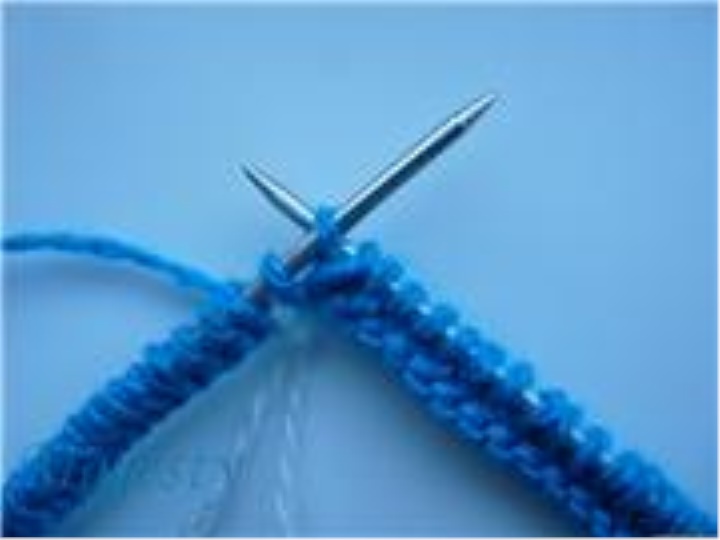
1 row:: nakid, remove the next loop, without tying on the right knitting needle, 1 facial.
2nd row: 2 facial, overlap the previous row, without tying (thread on the back of the crochet).
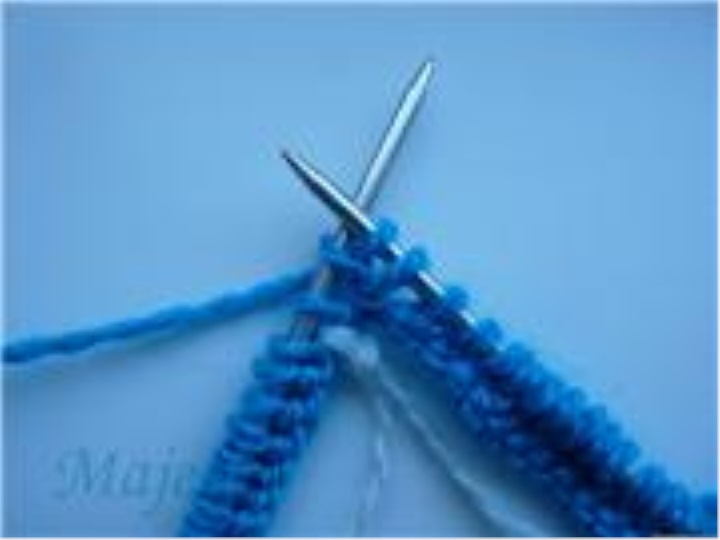
3 row: 1 to sew a loop together with a cape as front, cape, 1 loop to remove.
4 rows: 1 front, * the cap of the previous row, remove, without tying, on the right spoke (working thread from the back of the cap), 2 facial. Repeat from * .
5 row: nakid, 1 remove the loop, without tying on the right knitting needle, the next loop to be tied together with the wrap-around as front.
Then repeat from the 2nd row to the 5th.
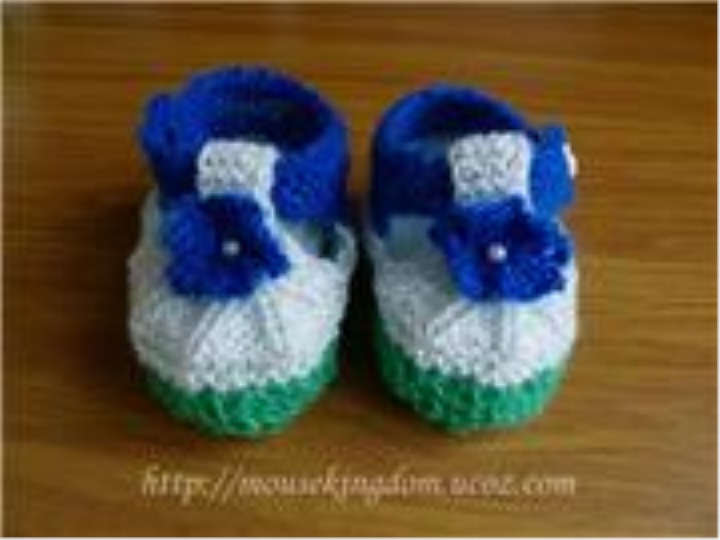
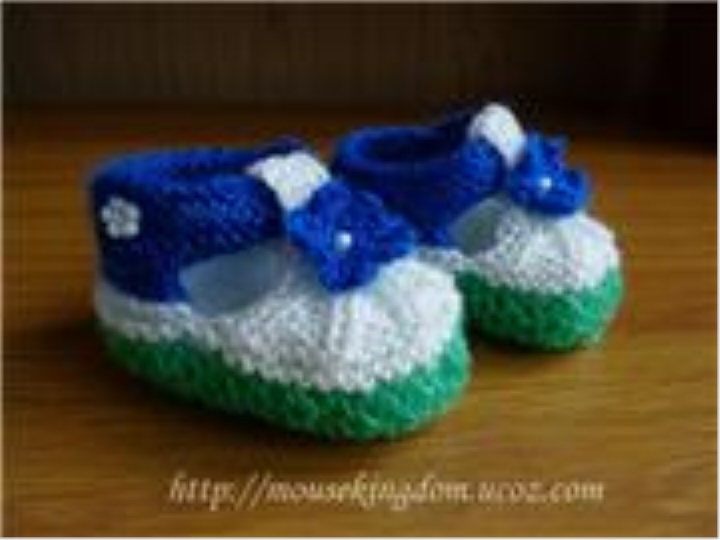
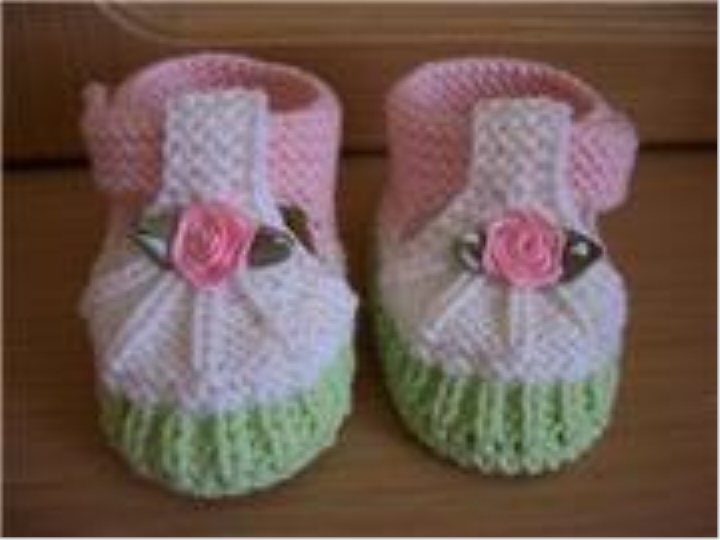
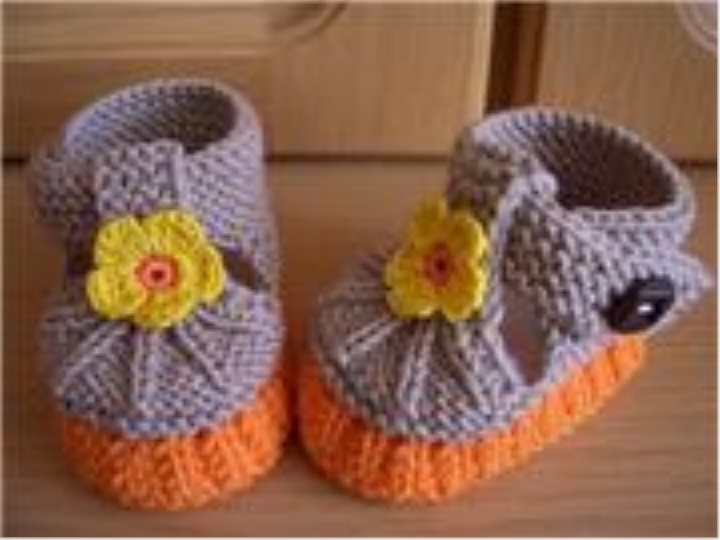
Another color variant, according to the same description. They want to knit and knit, all different, diverse. Nitochek leaves very little, you can use all the remnants of yarn.
If you do not like the model of pints presented in this master class, then nothing prevents you from coming up with your own. For example, if you tie booties on this master class from the sole to the toe instead of the figure of a honeycomb hosiery knit (the front row - the front loops, the purl series - the purl loops), then you get these booties, and another model!
You can tie this area with an elastic band 1x1 or an English rubber band (but it's best suited for this model, "Norwegian knitting," it's denser) and you already have a new model, well, is not it lovely?
And I was inspired by these booties, I think that they are the most stylish, so I enthusiastically analyzed this model, linked and wrote this master class on them.
Nothing interferes with all the skilled workers, changing the models at your own discretion, changing the binding, changing the number of loops or thread colors and then you will get your models already, and not those that you did not like, because the main thing in our business is that our children, new booties! And, finally, the recommendation is to knit this model of pinets with thick threads, it is better to look, although the taste and color - there is no companion.
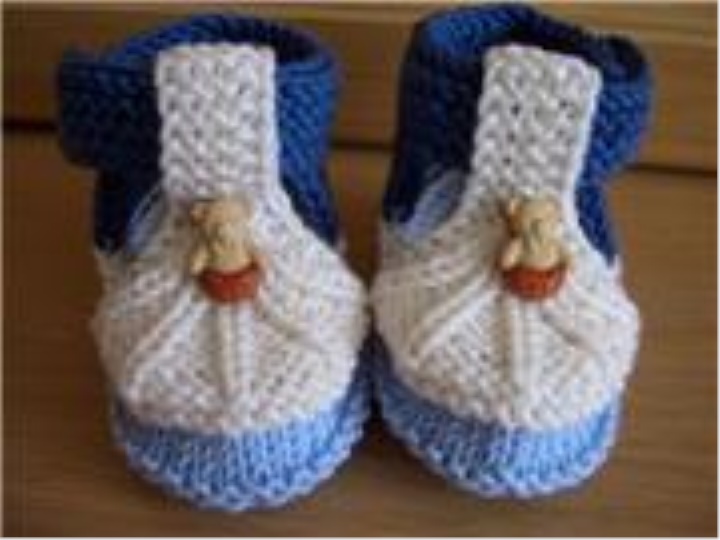
The last five photos are taken from the Internet for acquaintance and examples of a variety of models and are connected by other people!
Source : http://mousekingdom.ucoz.com/