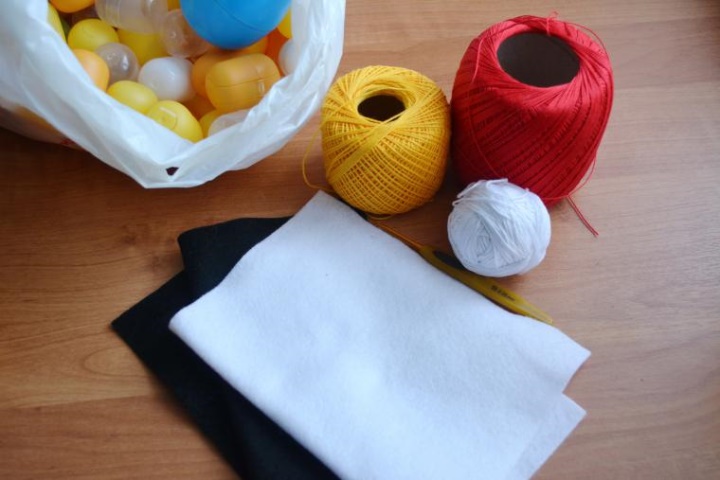
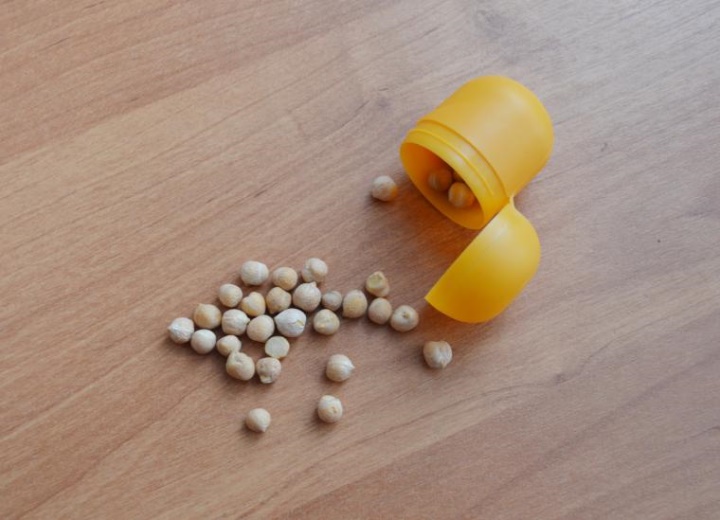
If you want to make a rattle, inside the container you can
add peas, rice or small pebbles.
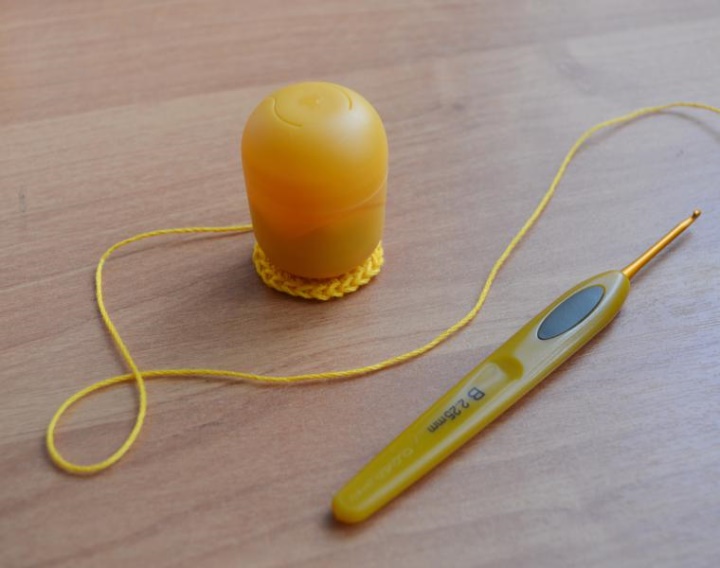
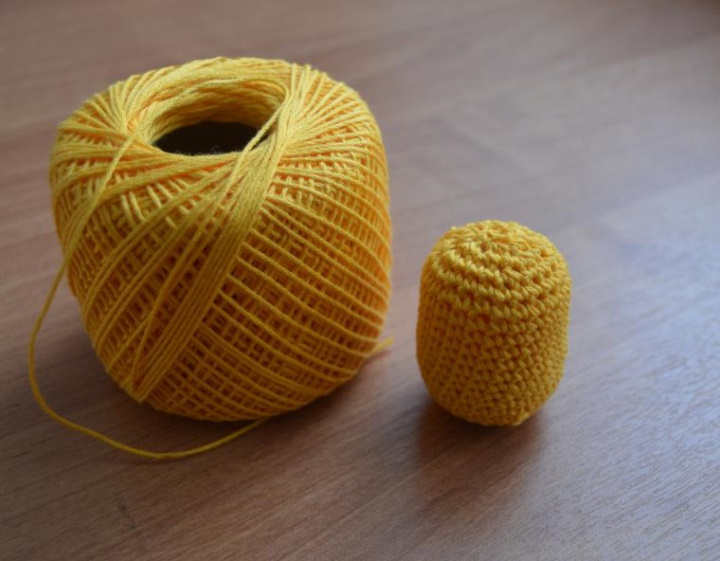
So, let's start tying the container. For this we knit a circle of 3-4 rows,
in each uniformly make 6 increases. Apply this circle to
container - it should be slightly larger than the bottom
"eggs".
Then we knit without increments in a circle to close the "walls" of the container.
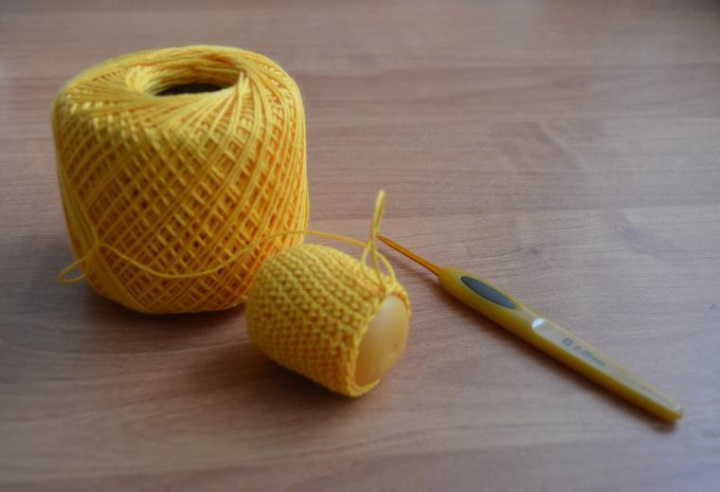
Then we make 6 adjustments in each row until we completely tie
"egg". Cut and hide the thread.
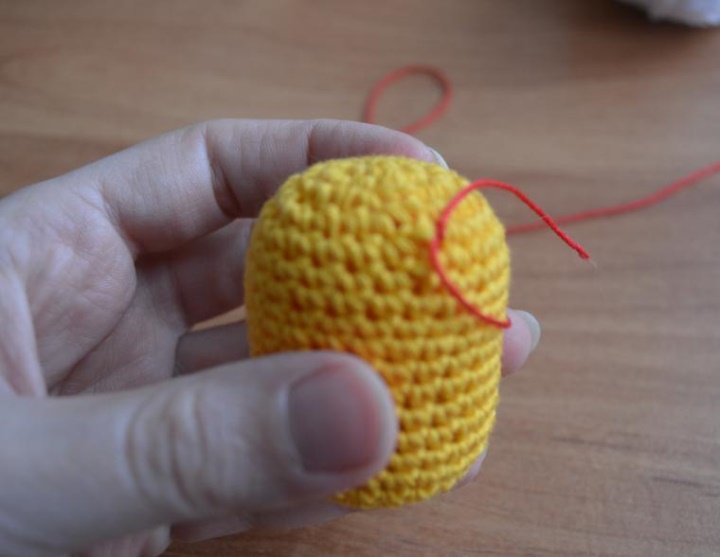
At the top of the "testicle," in the middle, attach the red thread. This will
scallop of our chicken
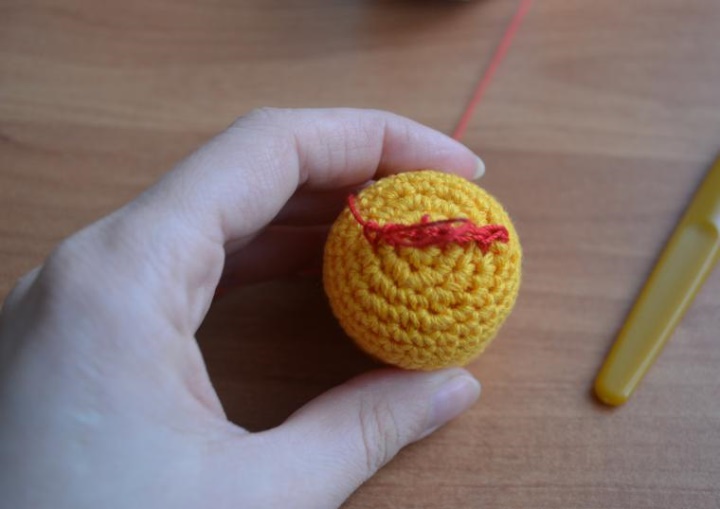
We unfasten a row of columns without a crochet, making each column
peak of three air loops.
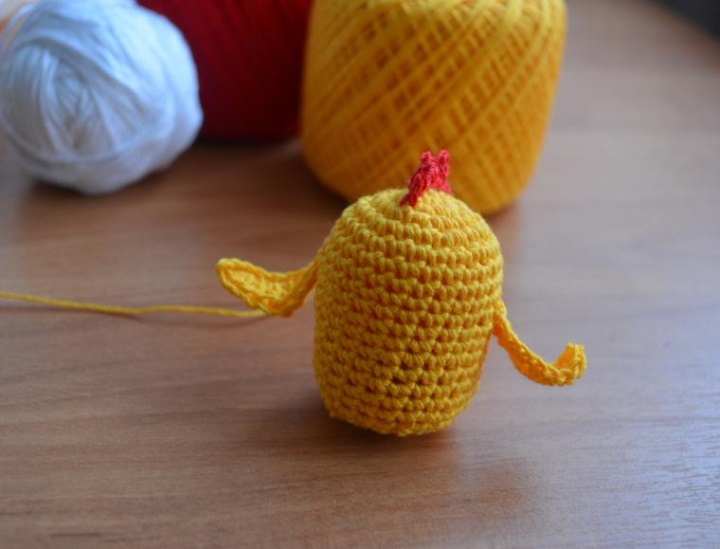
Now our baby needs wings. To do this, you need to associate 10
air loops. The next row: a column without a crochet, a half-tattoo, two
A column with a single crochet, a column with two crochets, two staves with
one crochet, one half-pile, a column without a crochet. The thread is cut and
tie in the same way the second winglet. Wings sewn
symmetrically on the sides.
I tied the bill in this way: connect the red thread to the workpiece and
connect the peak of the three loops. Cut the thread and remove.
Next we make from the felt eye: two mugs of white felt and two
less - of black. Stick or sew over the beak. To
the chicken looked more fun, I tied him half of the shell.
For this purpose, a "cup" of white yarn is knit together without the crochet. Edge
it can be tied in the following way: a joint column, a column without
nakida, two columns with a crochet, a column without a crochet, a connecting
column. Repeat the required number of times to get a wavy edge
"shell".
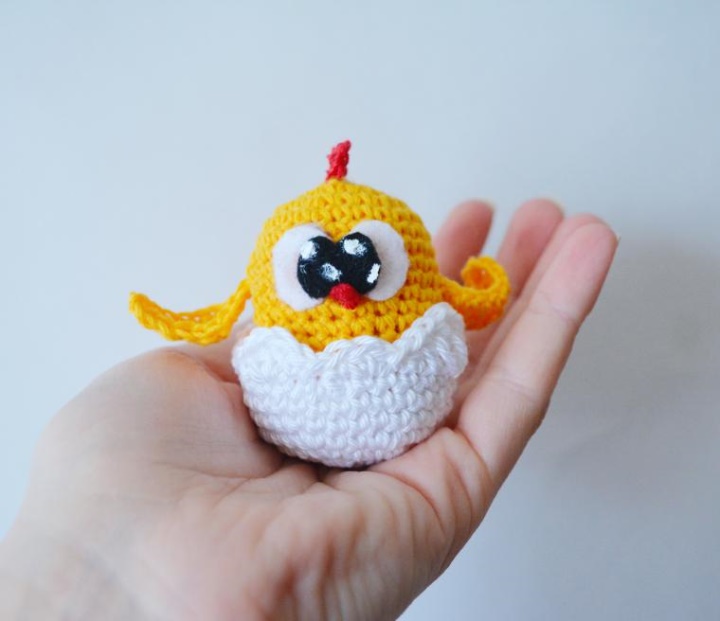
To make the eyes more "alive", I made a few highlights white
paint for textiles.
From a big egg from collector machines you can make this
chicken larger:
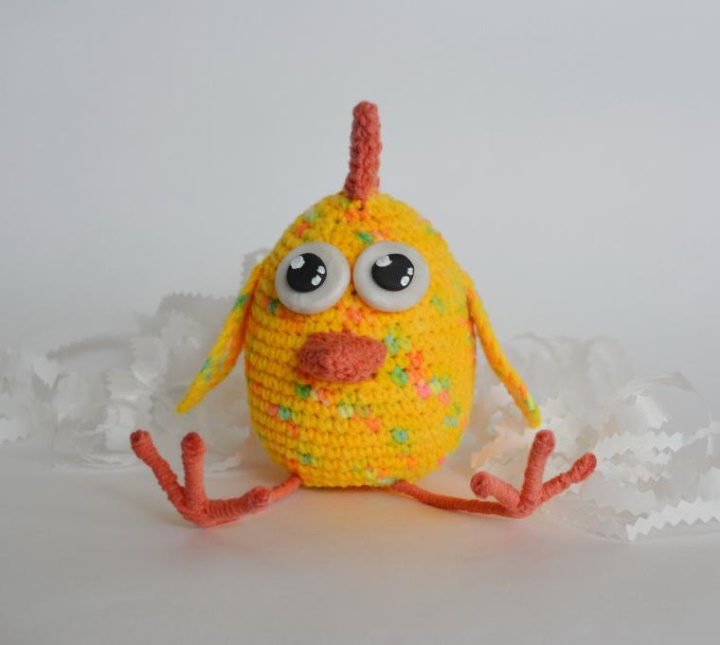
His paws are made of wire, and his eyes are made of polymer clay.
Source : Author - Marina Smirnova