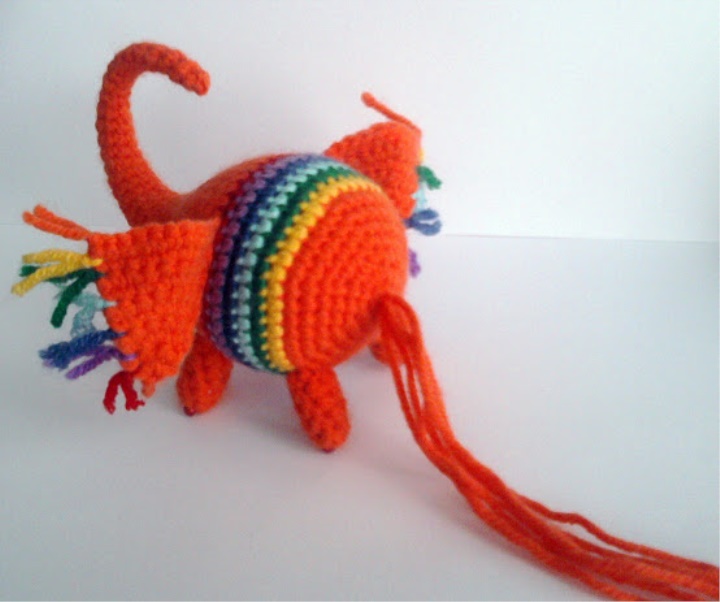
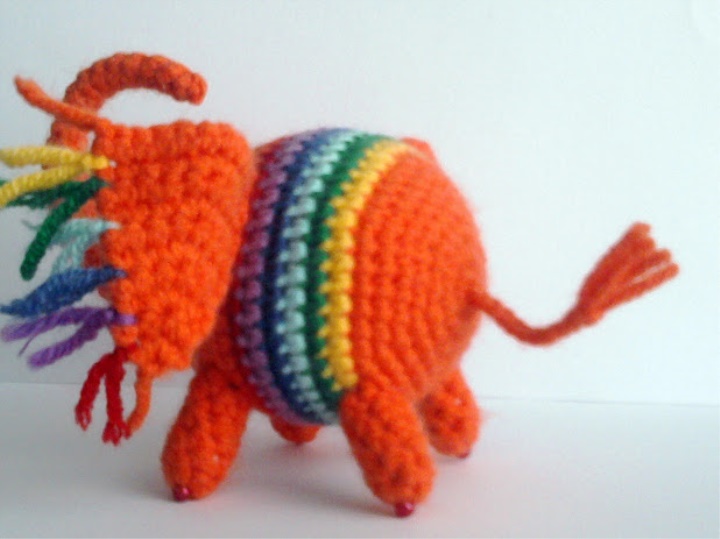
Variants on my elephant can be done a lot. Here are a few of mine.
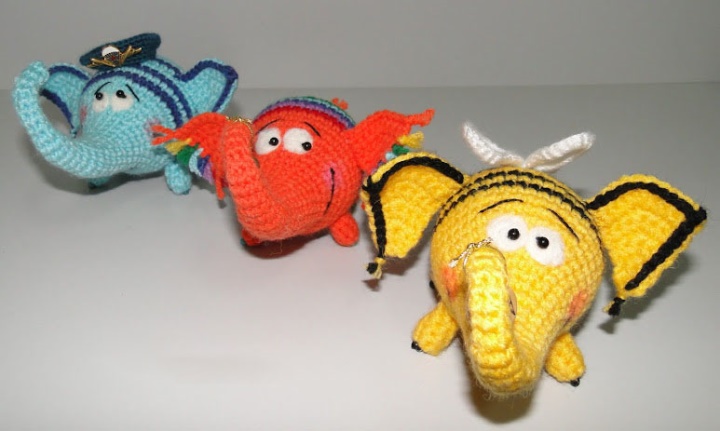
Growth I get about 8-9cm.
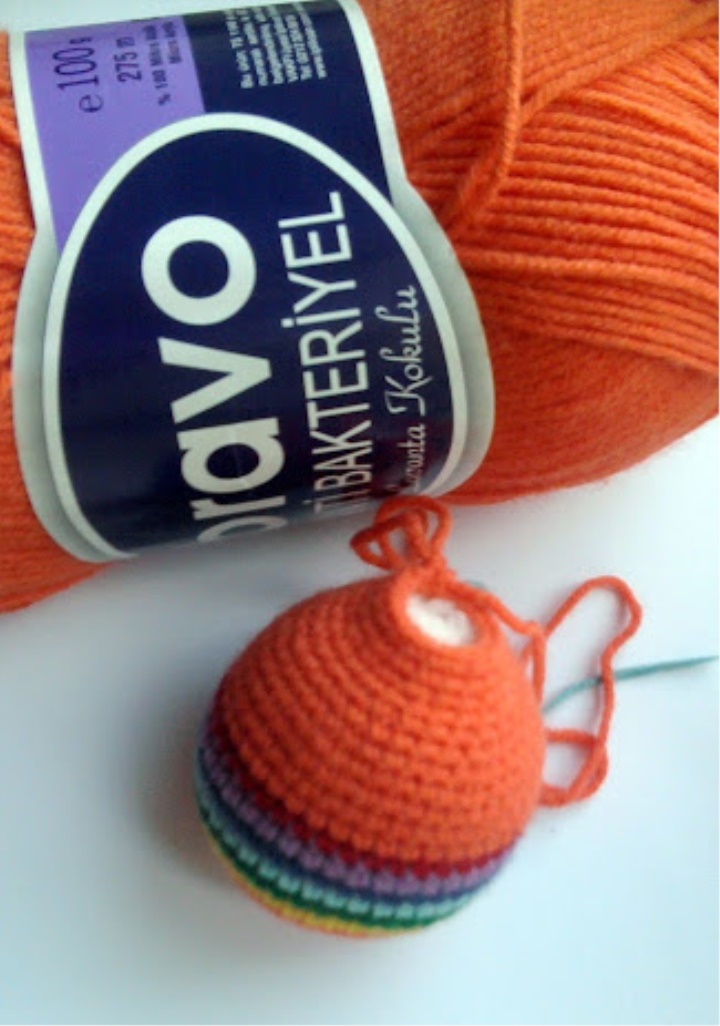
-Akryl (100g-275m)
-hook number 3.
- wire (thickness about 2.5mm) 13cm,
- 4 pcs. straight pin-shaped pins with a bead on the end,
- a little white wool for felting (eyes),
- 2 bead-beads for the eyes.
- You can still prepare the rest of the yarn for stripes, if you want to knit an elephant with stripes.
Notation:
x-column without a crochet
V-increase
A-reduction
(...) *? - allocated in the parenthesis to perform so many times
[...] - the number of columns in the row
Torso (
trunking the trunk))) 1 row In the "ring amigurumi" 6x [6]
2 rows 6V [12]
3 rows (x V) * 6 [18]
4 rows (2x V) * 6 [24]
5 rows (3x V) * 6 [30]
6 rows (4x V) * 6 [36]
7 rows 5x V) * 6 [42]
8-17 row 42x [42] - 10 rows. In these series I knit stripes (in this case seven rainbow colors)
18ryad (5x A) * 6 [36]
19ryad (4x A) * 6 [30]
20ryad (3x A) * 6 [24]
21ryad 24x [24]
22ryad (2x A) * 6 [18]
Filling the torso.
23-24 row 18x [18] - 2 rows of
rows (4x A) * 3 [15]
26-27 row 15x [15] -2
rows 28 row (3x A) * 3 [12]
29-31 row 12x [12] -3 rows Fill the
base of the trunk
32 × (2x A) * 3 [9]
33-36 row 9x [9] -4 rows
Insert the wire. And knit by pulling periodically knitting, that it would go in stretch.
37 row (x A) * 3 [6]
38-42 row 6x [6] - 5
rows 43 row (x A) * 2 [4] This row should already go above the wire.
44-47 row 4x [4]
Cut the thread, pull the hole and fix the thread.
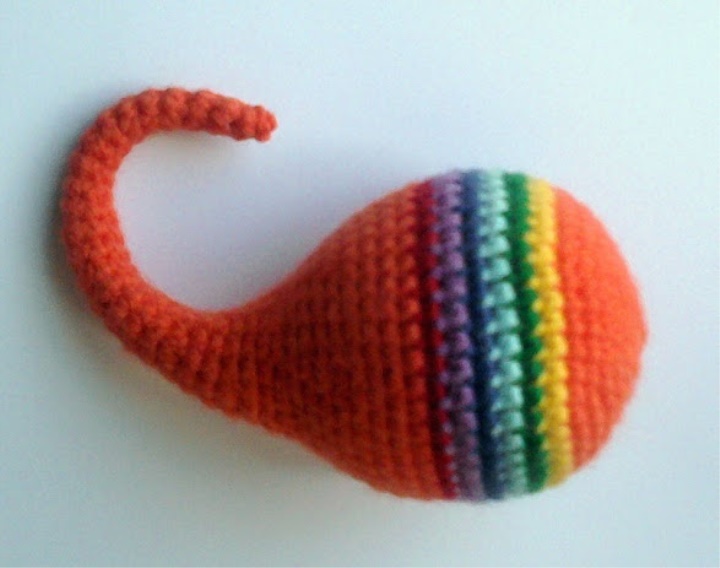
We form the trunk.
Ears (2 details)
Legend:
V-in the column of the previous row,
tie 3x 1 row B "Amigurumi" ring 3x [3]
2 rows 3x [3]
3x x V x [5]
4x5x [5]
5x2x2x [7]
6 rows 7x 7
rows 3x V 3x 9
rows 8 rows 9x 9
rows 4x V 4x 11
rows 11x 11
Leave the tip of the thread 20cm
The legs 4
pieces 1 row 6 amymurumi 6x2
2- 6 row 6x [6] - 5 rows
Leave the tip of the thread 20cm Fill the
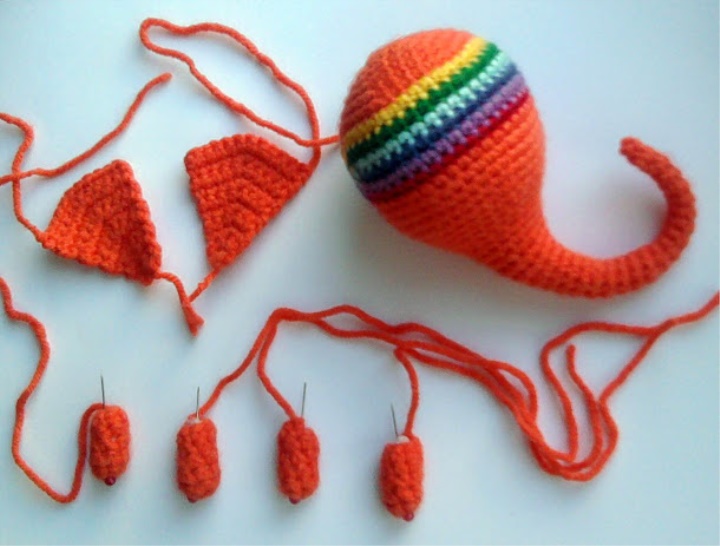
legs, insert the pin-needles into them.
We put the glue on the tip of the pin and stick it into place in the trunk.
We sew the legs. The tip of the thread is taken to the beginning of the knitting of the trunk.
We sew the ears and also draw the strings)))
From the ends of the threads we braid the pigtail of the desired length and get the tail!
We stick (sew or glue) eyes.
Draw a blush. We embroider mouth and crooks.
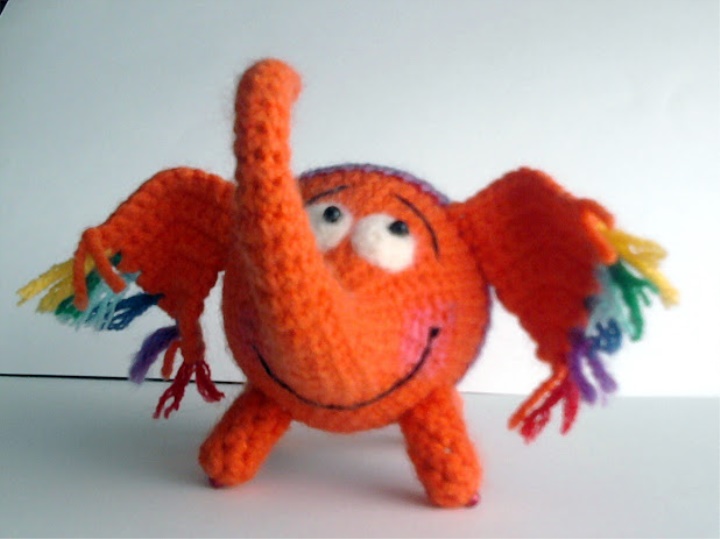
Then decorate to your taste.
I got contacted by these Shponniki)))