For a long time I was going to make a master class, at least very simple, the main thing to start and finally decided to!!! Do not judge Strictly)) by since this is my first master class, I am sure that I will allow a lot of errors, you correct me please, indicate the shortcomings, as it would be desirable that subsequent master classes were getting better and better!)
In this master Class I want to disassemble in detail the knitting of a simple but effective square motif
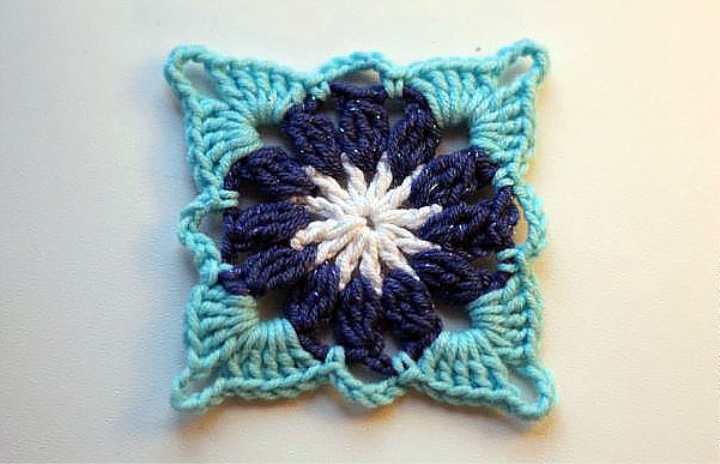
and show how to connect it to another same motive to create a single canvas.
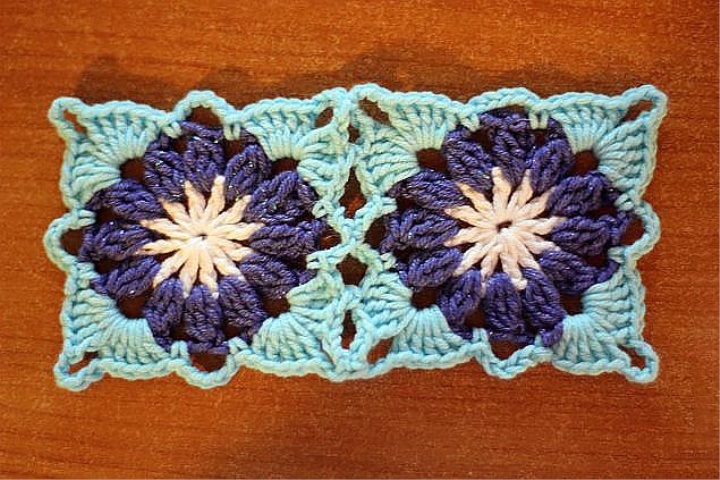
Thanks to this technique you can make very beautiful nothing similar products, ranging from cosmetics-handbags-plaids, finishing dresses-tunics-skirts. At the end of the master Class I will publish photos of his daughter's dwelling, which was knitted on this motive!
So let's start)):
We will knit on this scheme:
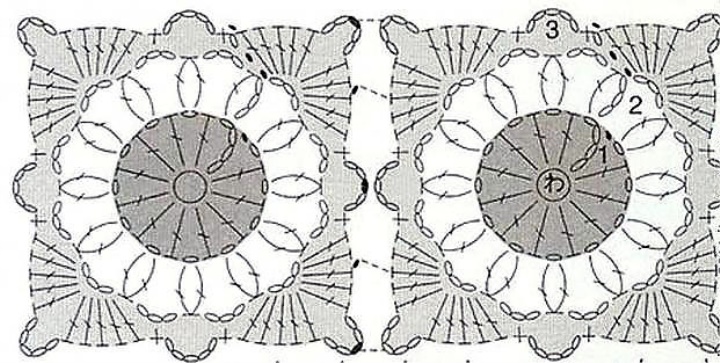
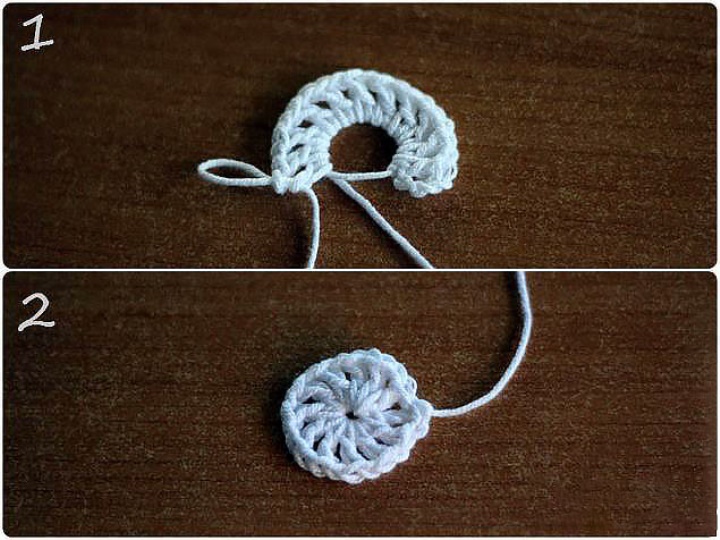
1. Make a magic ring (who never before with this term did not come across, enter in Yutuba "Magic ring Hook" and there are many good and understandable videos, if it proves to be too complicated, then in the old fashioned way, dial a chain of 6 air loops and Lock it in a ring), we dial 3 air loops of lifting + 1 loop Additionally, so we will replace one column with a scale, further knit 11 columns with a scale in a ring, having projaziem between each column 1 aerial loop. There should be 12 bars with a scale.
2. Tighten the ring, connect the connecting loop the first and last columns and get our little workpiece.
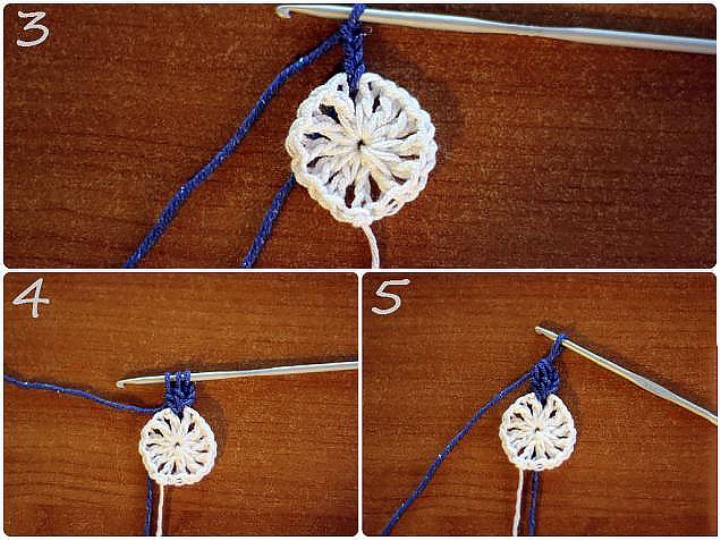
3. Attach the thread of another color and dial three air lifting loops.
4. Knit two undercooked columns with a scale, so that on the hook appeared three loops.
5. Then we do all three loops, and we get a "bundle" of three bars with a single vertex. By the way, in the scheme is indicated not 3 and two stoobka with a scale, it is possible to knit and so and so, but "a bundle" from three tables looks as that volume and dresses)))))
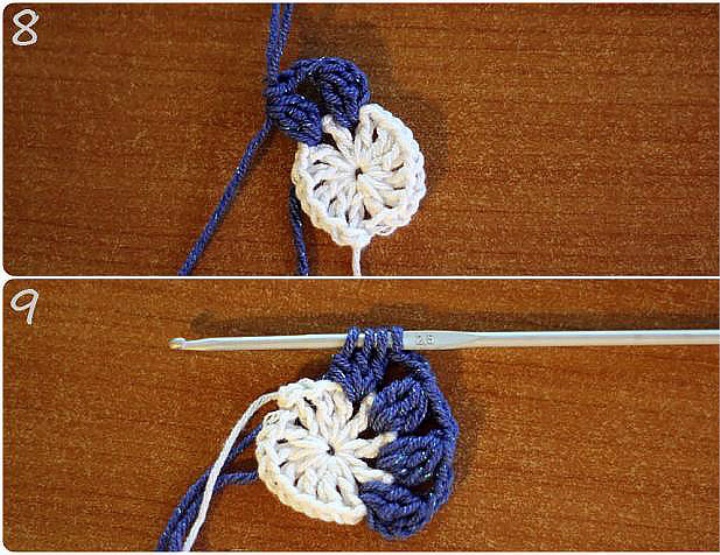
6-7-8-9. So knitting on a circle of 12 beams, between bunches we touch on 3 air loops.
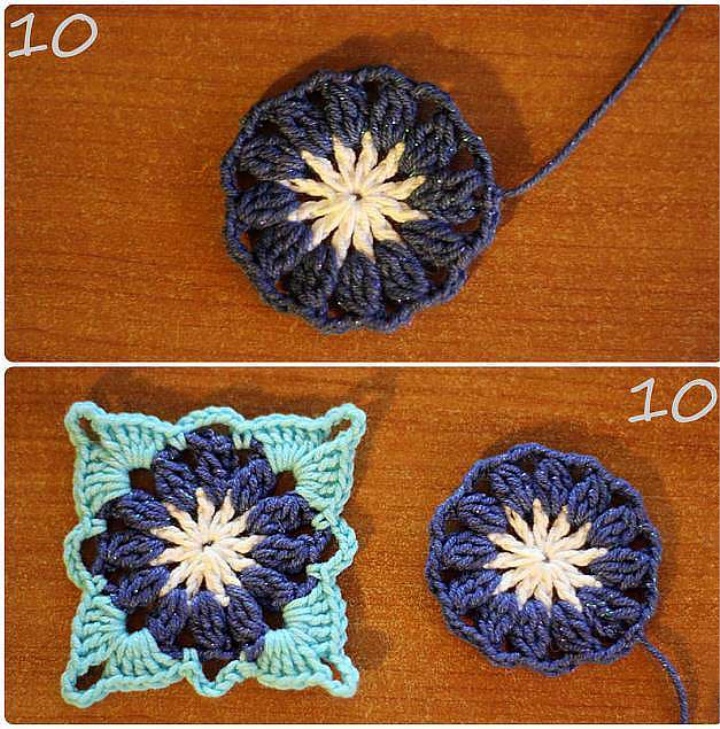
10. We get this circle.
11. Attach the thread of the new color to the arch of 3 air loops and start to tie 5 bars with the scale in the next arch of 3 air loops.
12. Next, we collect a chain of 5 air loops and once again in the same arch, the 5 bars with a scale.

13-14. The last column with a scale attach a connecting loop to the following arch from 3 air loops and dial a chain of 5 air loops and attach its connecting loop to the next arch from 3 air loops.
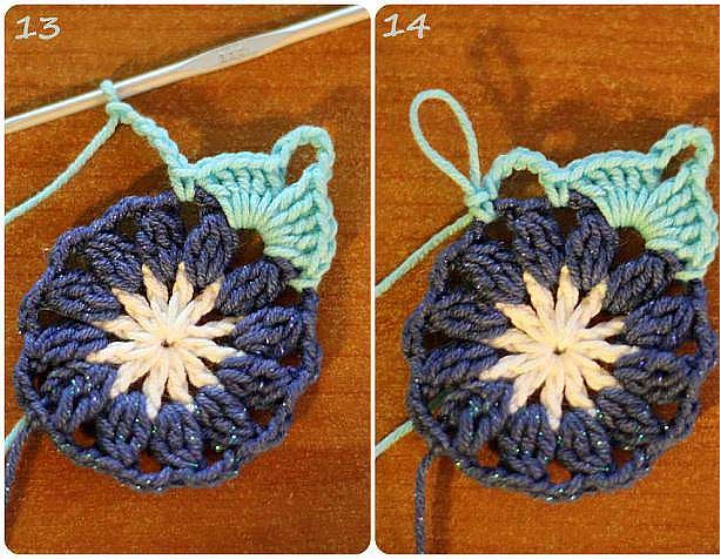
So we do 4 times, forming a square. In the following photos I want to show how the motives are joined together in the process of knitting.
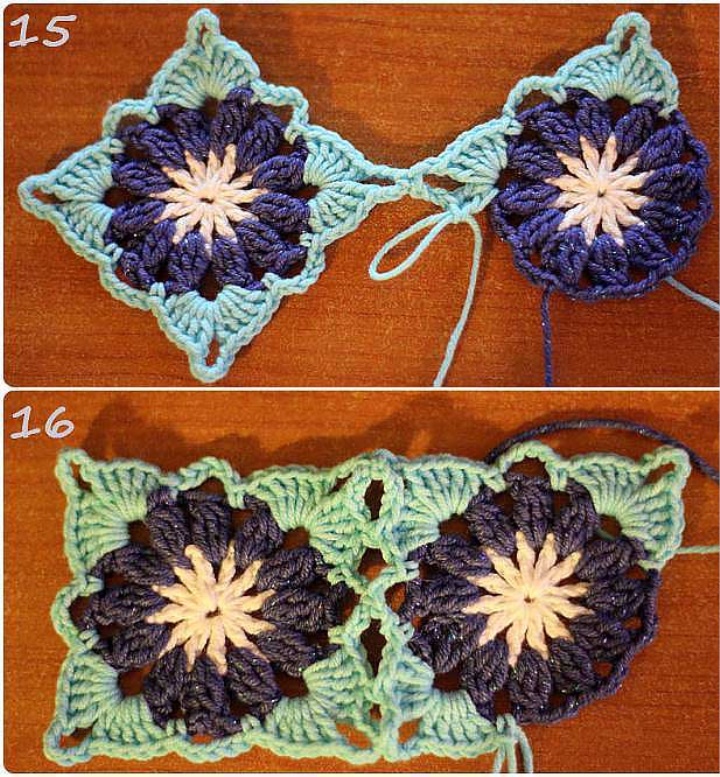
15. Projaziete 5 Columns with a scale, then knit 2 air loops and connect them a connecting loop with an arch of 5 air loops of another motive, then dial 2 more air loops and start to tie up columns with a scale, but!!! The third column with the scale you make undercooked and connect it with a similar column of the second motive..... I am not sure that I was able to explain this scam, but, I hope the photo will be able to disassemble the course of my thoughts)))
16. Then connect the arches of 5 air loops, for this type 2 air loops, connect them with a connecting column with an arch of 5 air loops of another motive and knit two more air loops, so we connect one or two sides of our motives, Forming the necessary shape of the canvas.
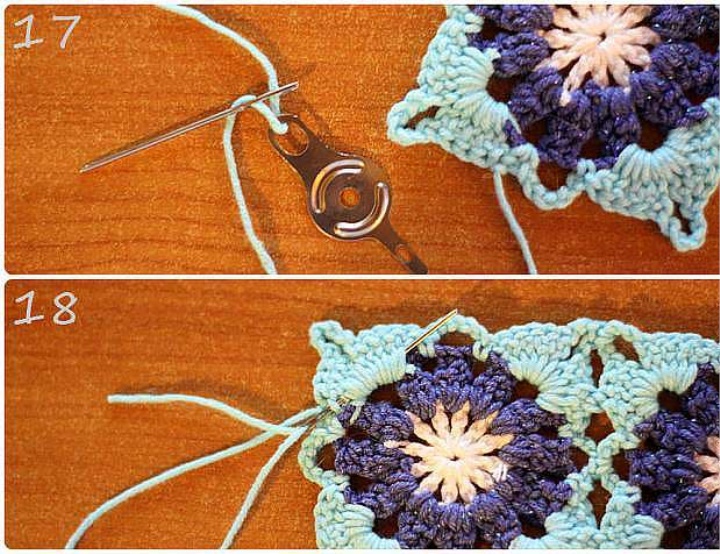
17-18-19. When all our motives are connected, it is necessary to hide the remaining ends of threads. Everyone does it differently, I do it so: I have in the Shkatulochke there is always a set of Gobelin needles with a wide ear and nitkovdevatel, of all I tried, Nitkovdevatel, which in the photo for me was the most convenient and reliable. After I inserted the yarn in the ear of the needle, I go with the reverse side needle under the columns, between the loops, in general where you have to and thus hide the tip, the main thing is that it was unnoticed on the front side. Better and more reliable method has not found yet)))
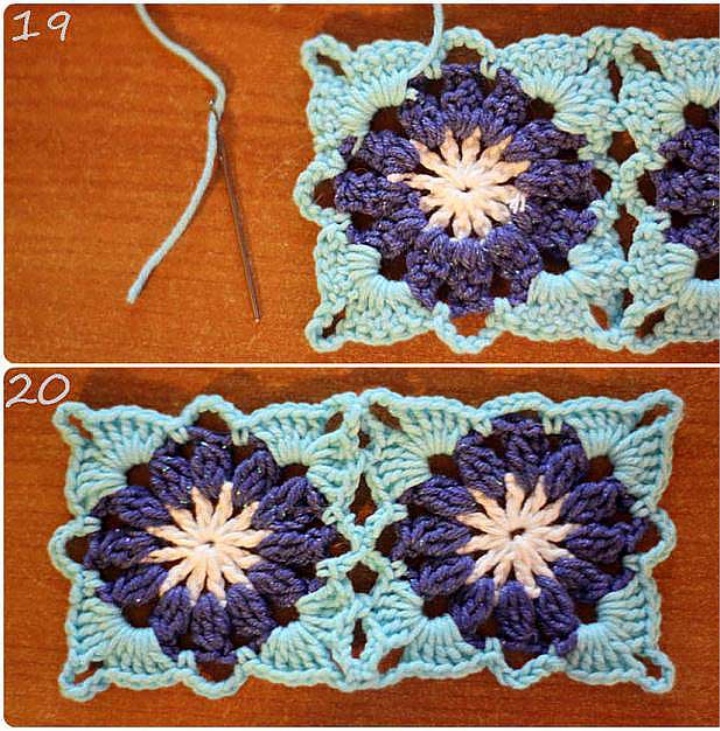
20. Voila, we have got two motives connected with each other in the process of knitting and forming a single figure)))
I really hope that I was able to explain everything and understandable!))) If anything, ask questions, comment, if all liked, press button Laik)))
And in the end, as I promised to post pictures of vests related to these motives)