As it turned out, there are a lot of people familiar with me, that with special trepidation refer to their threads. Yes yes! I mean, for many of us, the problem is to pick up scissors and cut the yarn, for example, for the fringe on the scarf. It is possible to avoid this unpleasant moment and even very safely. To cut or not to cut the yarn in the future-that's the question? I have for a long time and everything decided... I'm happy to share my discovery.
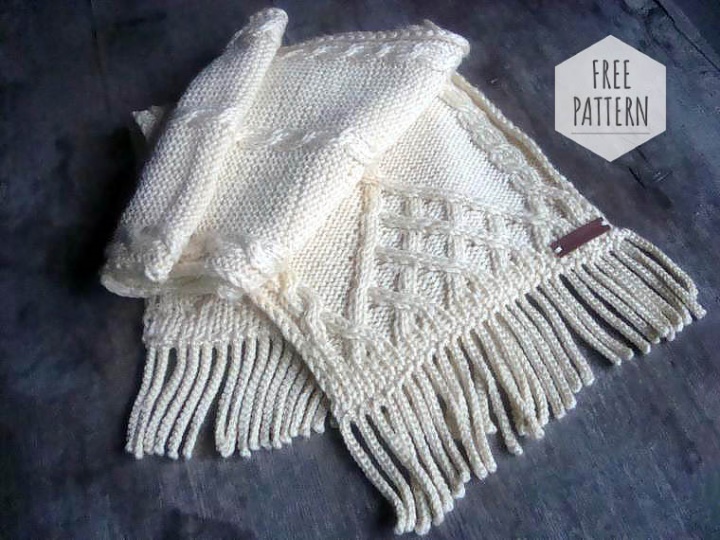
We'll knit a fringe crochet. Just like that:
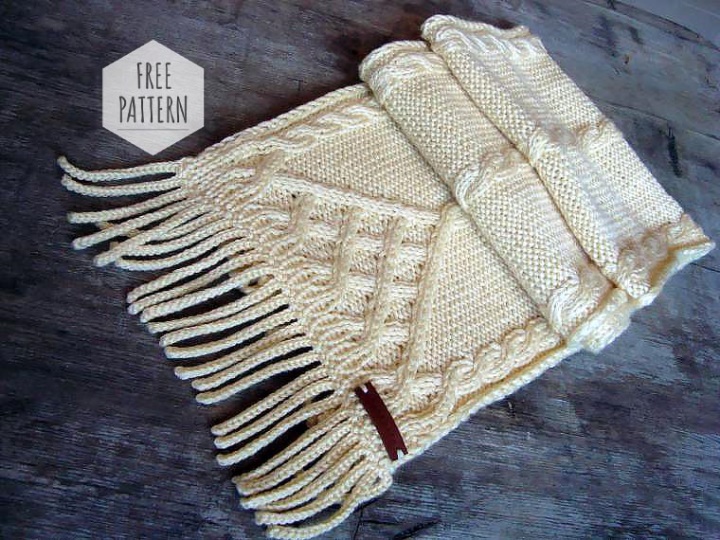
It does not change the appearance, it is not afraid of washing, with time will not be confused, and will not turn into something incomprehensible.
Take the cloth of the finished scarf. The number of threads of the fringe is determined by the number of loops divided by 2. For example, if the cloth of a scarf consists of 40 loops, the conditional "threads" will be only 20.
And the hook, its number is naturally selected by the thickness of the working thread.
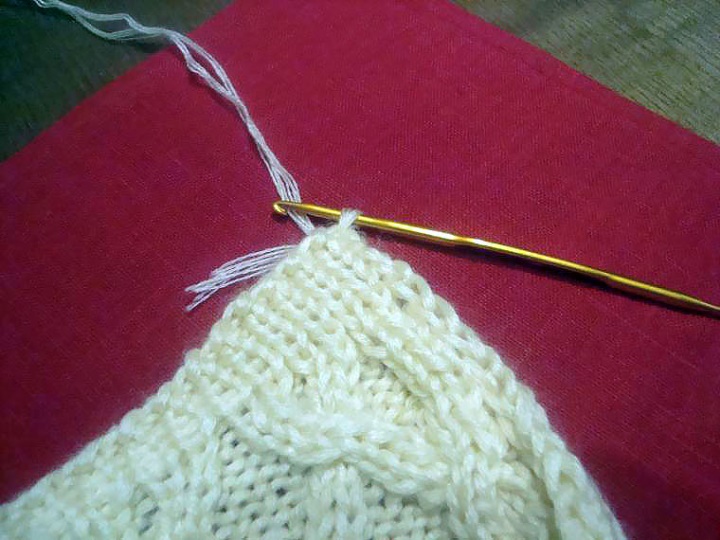
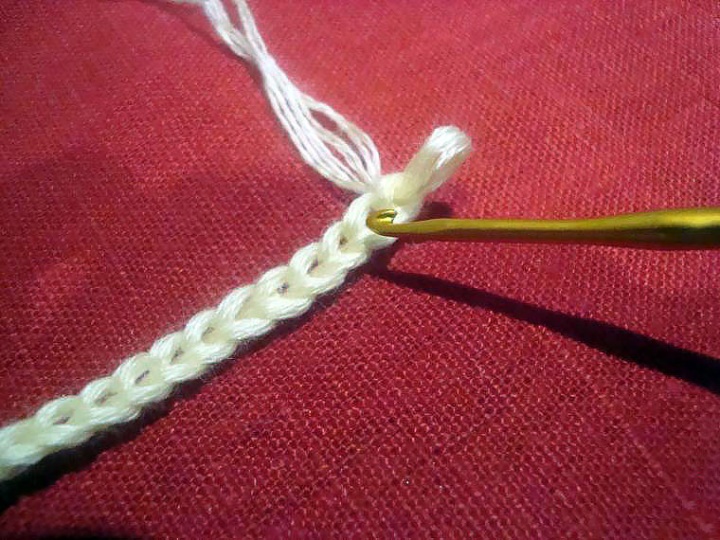
Enter the working thread in the right edge on the front side, fasten the buttonhole and knit chain of the air loops-their number directly affects the length of the fringe.
In my case, there are 20 air loops.
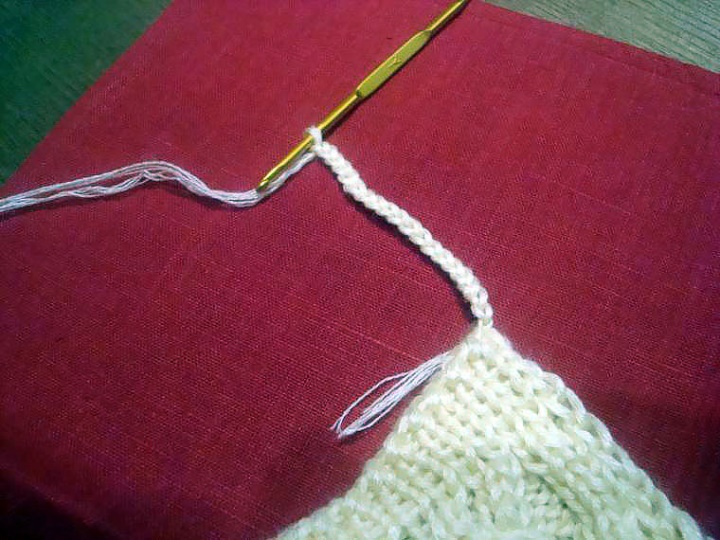
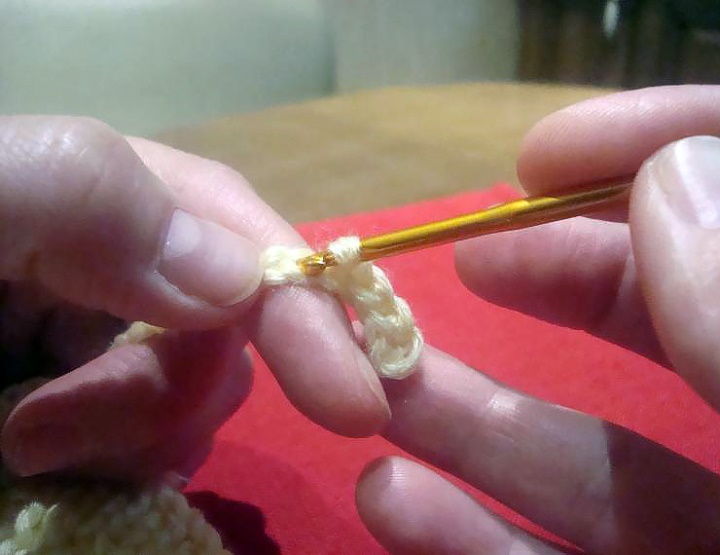
Next-one loop is skipped, in the next loop (it is specified hook) projazvayem connecting column (Let's work thread in the loop of the base and stretch it to the original-the first loop).
Hook in a chain.
And immediately stretch into a loop, which is already on the hook.
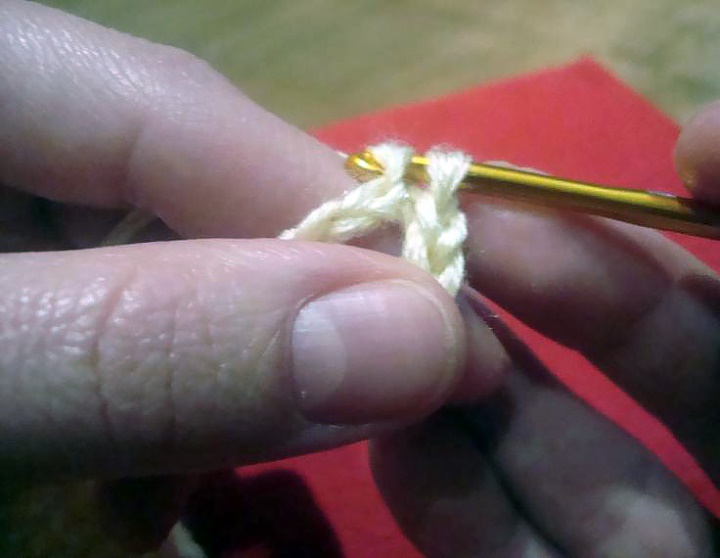
Thus, the chain of air becomes slightly thicker, voluminous and round:) It should look like this:
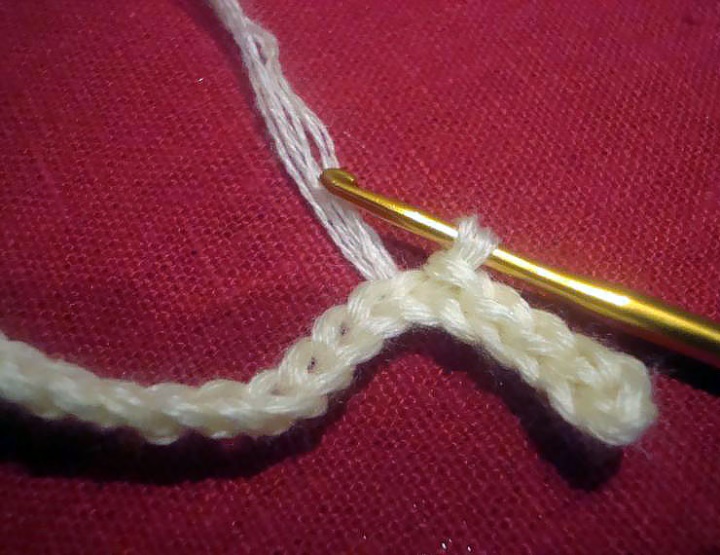
In the same way, and all other air loops-it turns out 19 connecting bars, then-fix a string of fringe for the cloth Scarf 1 column without a scale + another column without a scale for the next strand of fringe, then-20 air loops for Formation of the second strand. Repeat until the formation of 20 strands of fringe. And so on both sides of the scarf. Then we fix the tails from the beginning of the set of fringe and at the end.
I pay attention to the fact that the number of air loops for the thread-always the same, increase or decrease even one loop, very noticeable in the finished product.
The finished Fringe will be a bit of a kucherappear, so it should be subjected to steaming procedure.
I hope, that my rather simple way will be attracted to many handworkers from the fair of Masters, after all to cut a thread it is not necessary... And we don't like this...