I tried to continue tying the sole without breaking the thread, but I did not like this option, the sole looked like something in the end
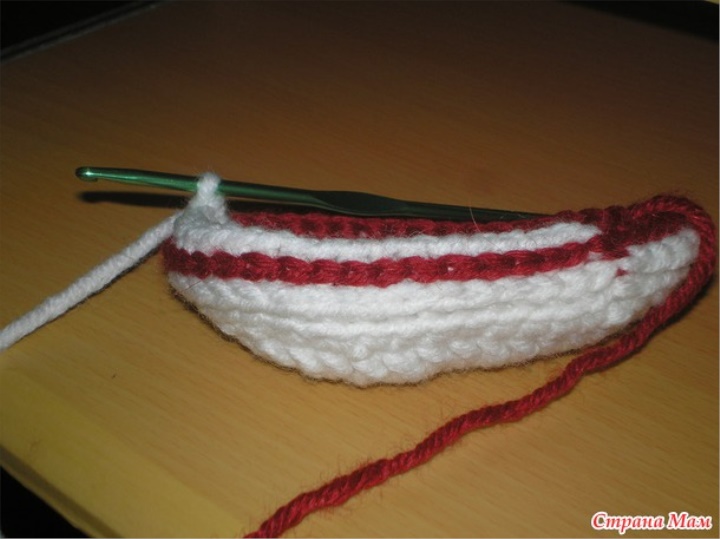
so I cut the thread and the sole strapping as follows: I
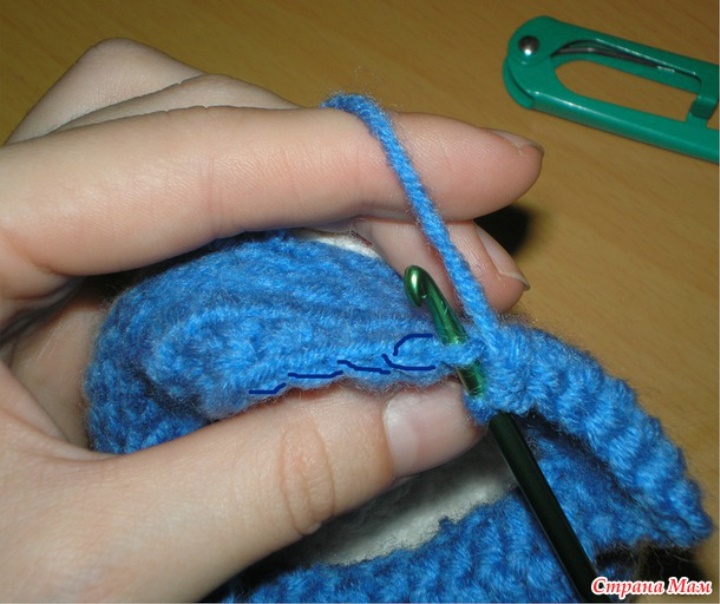
attached the red thread to the middle of the heel and continued the scoring of the RLS, but not at the tops of the sole pillars, but behind the columns of the last row of the sole, it looks like this
like this, I run the thread and I will knit some more in white from RLS
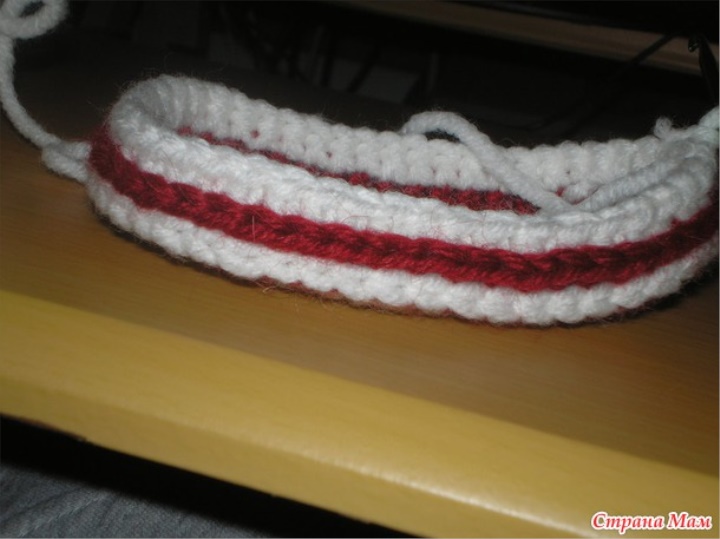
and so finally looks sole
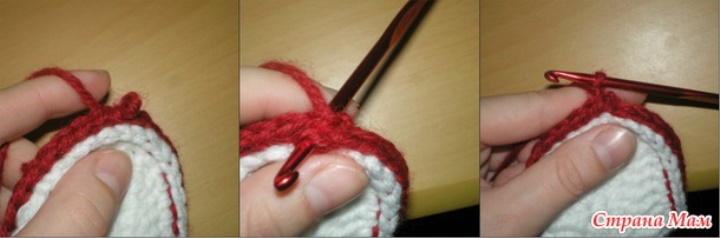
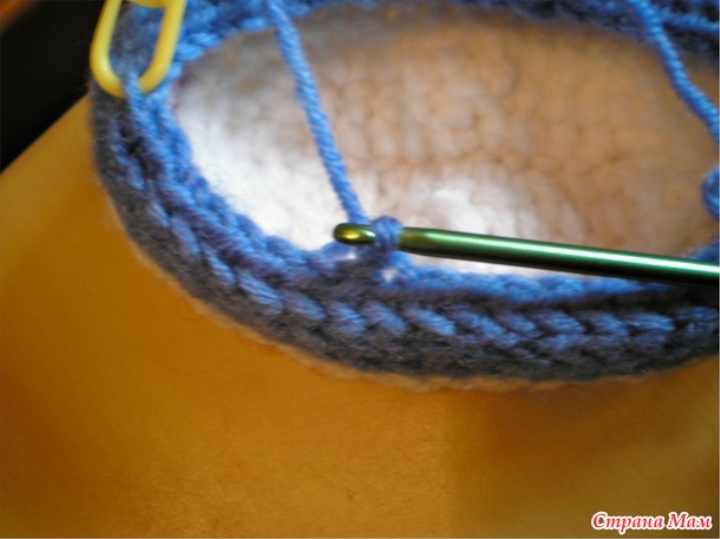
although in MK the link given by the link is knitted with a double crochet pattern, but I like it more like it looks from the RLS
while there is a nuance, I do not insert the hook into the loop, as on the MK, but insert the hook in the middle of the column
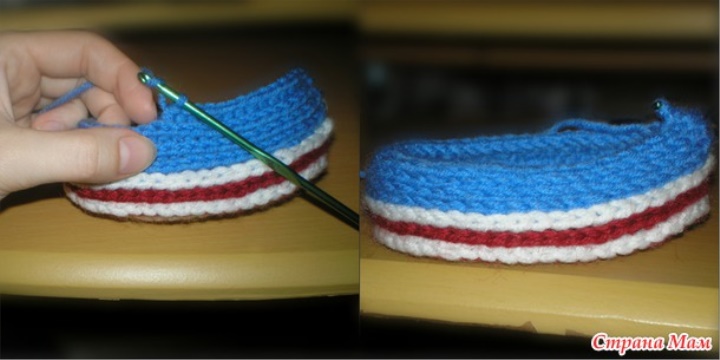
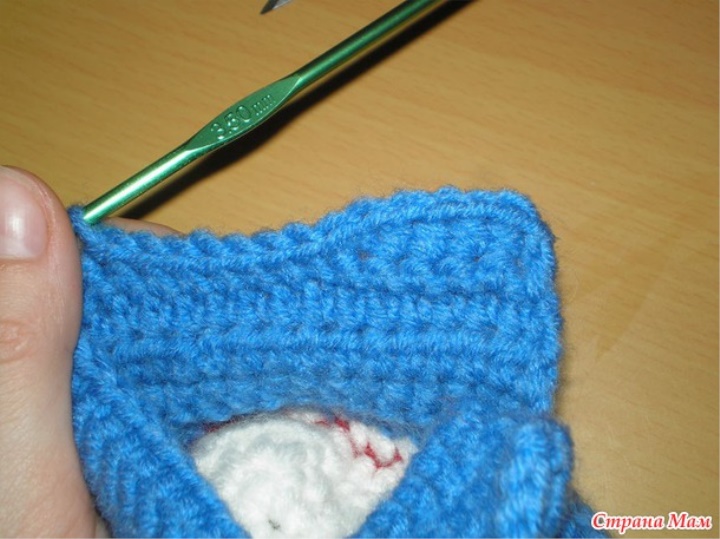
On the photo you look like the inside of the bootie looks like, in my opinion, more neatly I
attach the blue thread and knit 4 more rows in the same way.
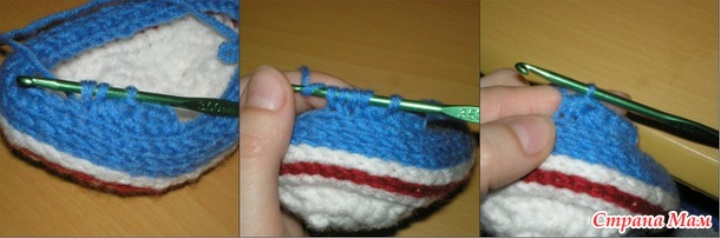
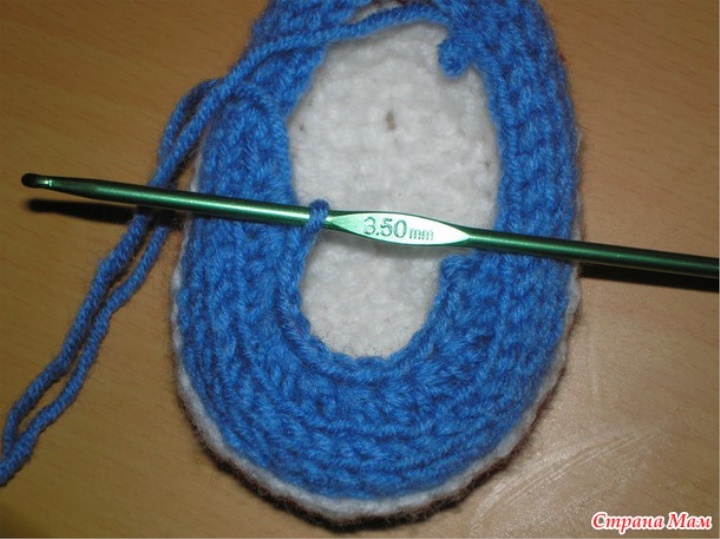
Since the threads I have are of different thickness, then I take the hook on the floor of a blue color with a smaller number (No. 3.5) to
more clearly show the difference between viscous PSSN and SBN
in the photo on the right is connected sc, knitting looks denser, so I decided to leave this option (although I think it could have been achieved due to the smaller hook number , but since my yarn is of different caliber, I did not take the hook even less in order to smooth out a little difference in thickness)
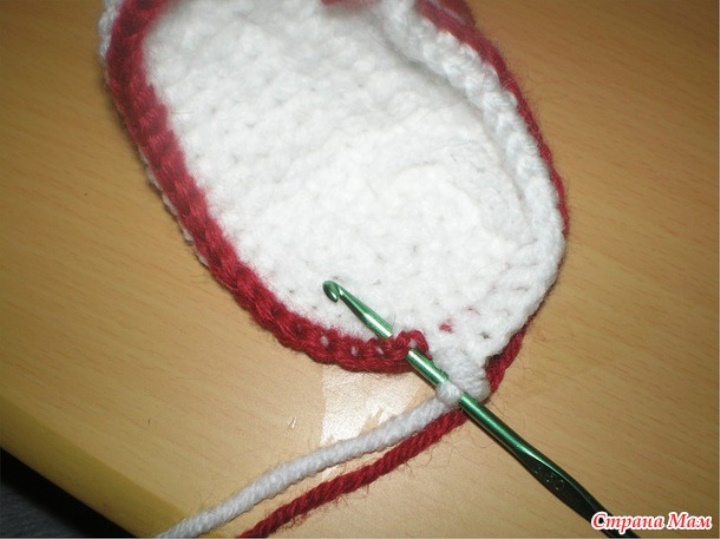
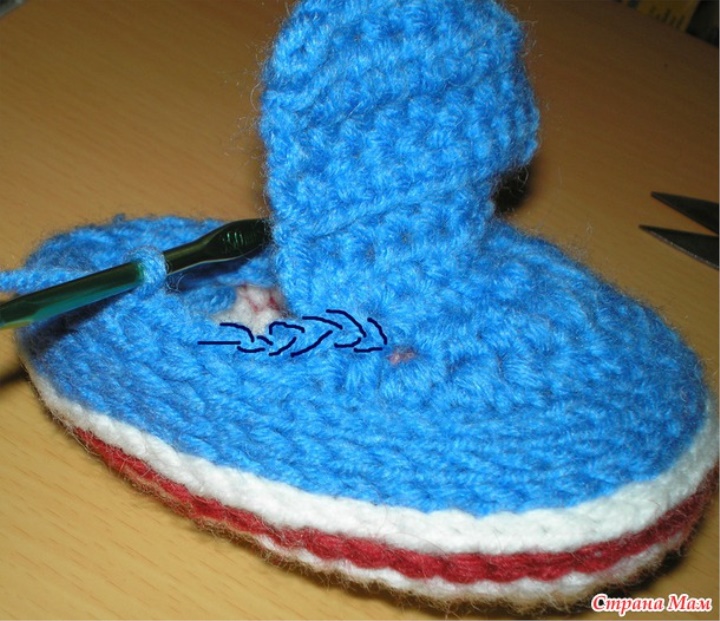
Then I cut off the thread and mark the center of the toe. From the center I am counting 12 loops. (If you have a small bootie size, then maybe 10p is enough, I was not enough 10). Next, attach the thread and knit PSSN for the back wall.
PSSN'm knitting on 2 with a common apex, thus doing diminution. In total, I knit 24p (12p to the center and 12p after) I
knit it like this: I make a nakid, insert the hook into the loop, pull the thread on the hook3, p.
then the owl makes a cape, enters the hook into the loop, draws the thread on the hook 5p .;
I grab the thread and stretch it all over 5p.
The result is 12 birds (so I call the two columns knitted together )
Then I turn knitting and knit the next row (12p.) In the same way, it turns out 6 birds.
The remaining 6p. wring my sc together
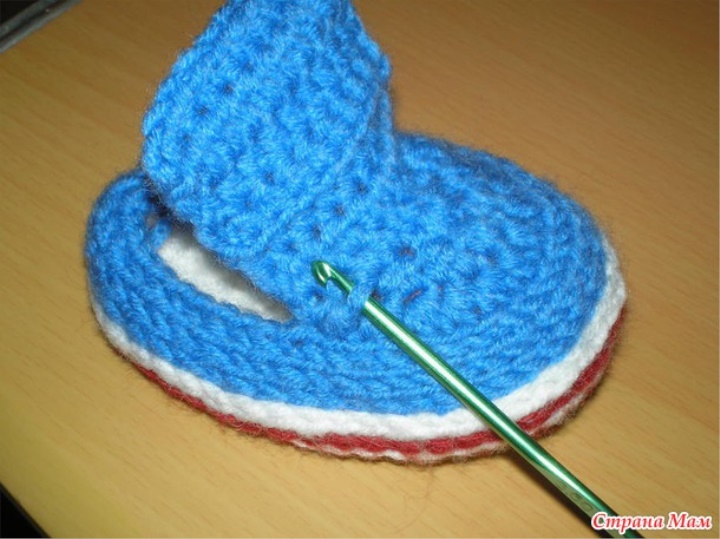
Now proceed to the tongue!
1. a number of knit sc. clinging to the toe. (I got 9p.)
2-3 rows knit PSSN;
4. a number of sc;
5-6. PSSN rows;
7. A number of sc
lines break the thread.

Next, knit the side.
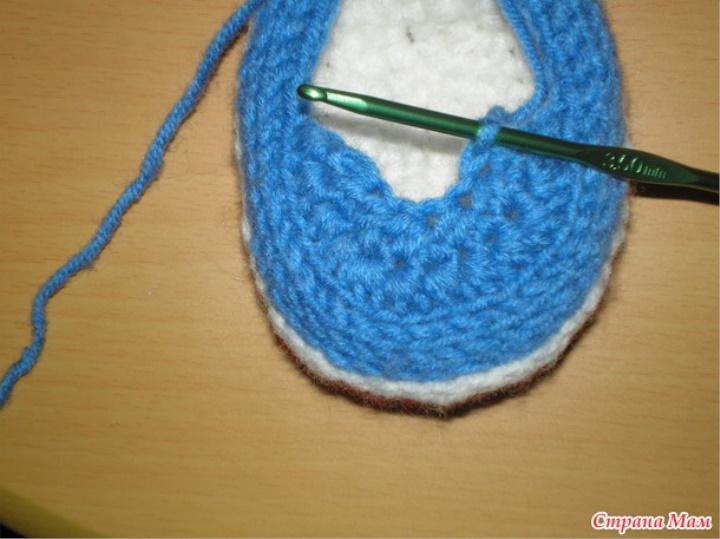
I attach the thread at the junction of the first and second row of the toe
and I knit several SBNs to the point where the toe ends, then
continue to knit SBN for the third loop (that is, in the same way as we knitted the side so that the last pigtail would form)
at the end of the row, just tied at the toe and turned the knitting.
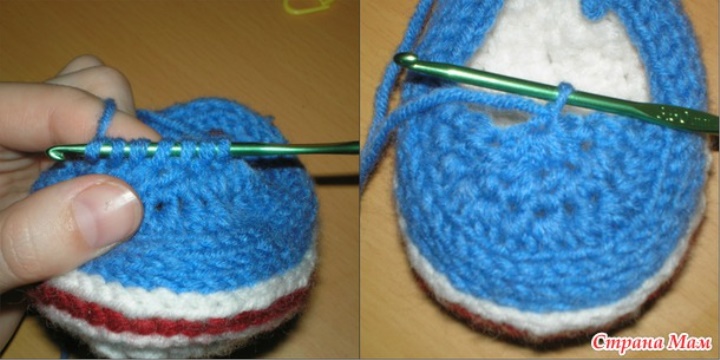
The next 2 rows I knit PSSN
The next row, (to form a horizontal bulge, like in the picture) I knit the sc for the front wall
I knit the next row of the sc, but behind the back wall of the
last row - the first 5p. I knit PSSN, then I knit with connecting bars, at the end of the row, the last 5 points. also PSSN. I tear off the thread.
It remains to fill the thread and insert the cord. My lace is a simple chain of air loops.