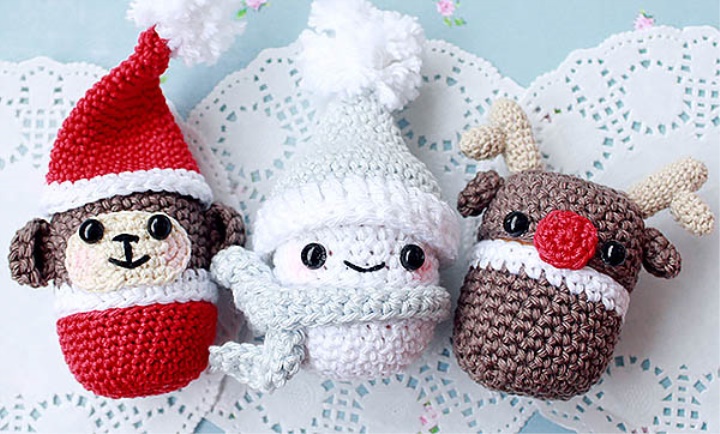
If you do not have time to knit a big toy for the new year, but to make souvenirs with their hands still want, I suggest to take as a basis a capsule from Kinder Surprise. In this master Class I will show how to tie a simple snowman, but the design options are much bigger!
And for those who love the video format, already by tradition at the end of the master class there is a record of this lesson:)
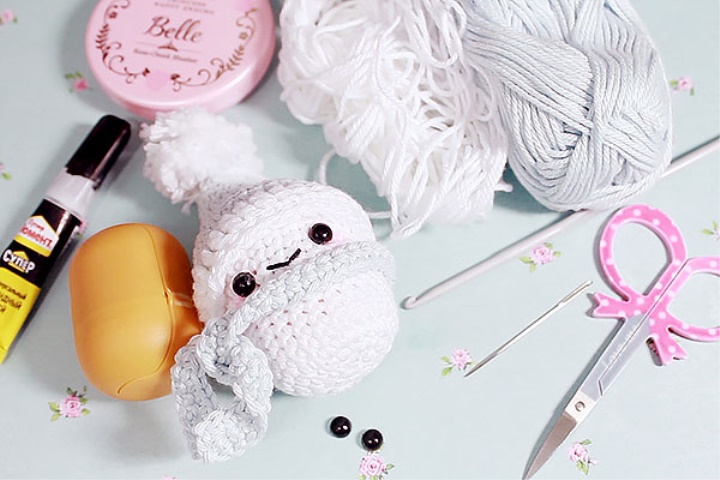
For knitting snowman were used:
1. White and blue/pink yarn Anabel Alpina (in 50 GR 120 m).
2. Hook gamma № 3 mm.
3.6 mm semi-beads for eyes (can be embroidered with black threads).
4. Container (capsule) from Kinder Surprise.
5. Black yarn "Chamomile" pnk by Kirova.
6. Needle with wide ear, scissors, glue "moment".
7. Blush, brush.
Legend:
SBN = no-scale column;
d = increment;
PRSs = single-scale column;
* Repeat part in asterisks *.
Snowman Knitting is very simple-in a circle of columns without a scale, sometimes made a raise. It is possible to knit on a spiral without a connecting column.
My snowman is collapsible, all parts are removed so that it can be re-dressed. You can sew or glue all the details. As an option, you can after the décor of the head does not cut off the thread, and knit the lower part further, at the end of doing the Ubavki-and thus fully bind the capsule of Kinder Surprise.
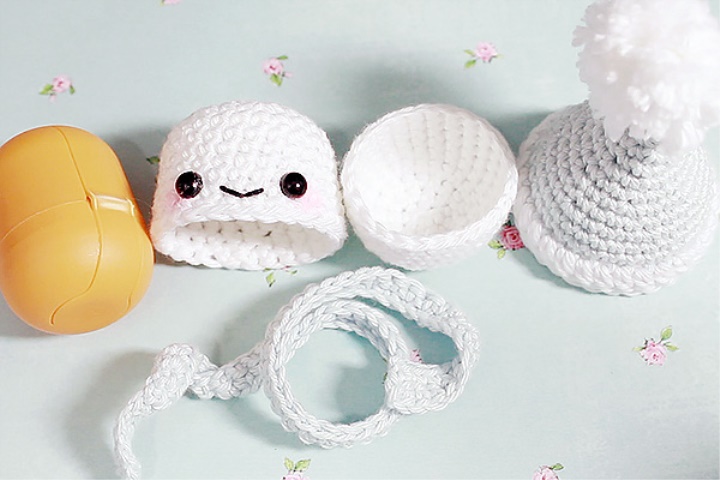
Head (upper part):
1r – 6 SBN in the Ring Amigurumi (6);
2r – 6 Ave (12);
3r – * Ave, repeat 6 times (18);
4r-* d, Sat, Rne * Repeat 6 times (24);
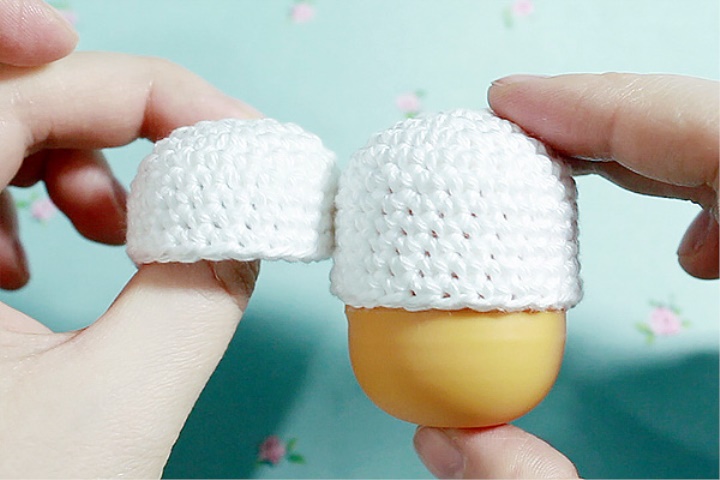
5-11 p. – 24
If you have a thinner yarn, knit a circle with a lot of rows (for example, when knitting from Iris Circle will be from six rows, the last row is 36). The total number of rows, respectively, will also increase.
Lower part:
All the same as when knitting the top, only the number of rows will be less (I got nine rows).
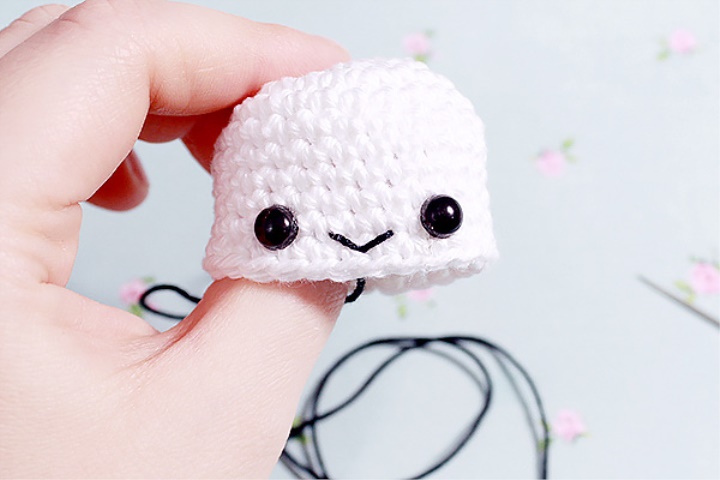
Hide the yarn, glue the eyes, embroider a smile (i embroidered the yarn "chamomile").
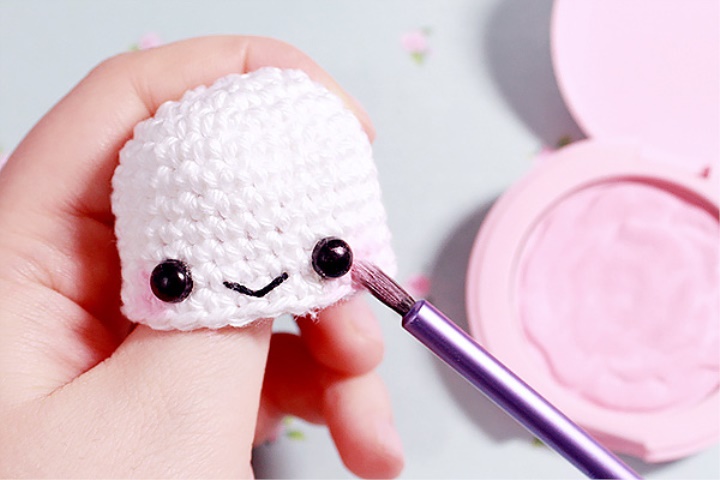
If desired, you can make a pink blush.
Cap:
1r – 4 SBN in the Ring Amigurumi (4);
2r-D, SBN, D, SBN (6);
3r – * Ave, 3 times repeat (9);
4r-* PR, SBN, RBR * Repeat 3 times (12);
5r – 12 SBN (12);
6r – * Ave, repeat 6 times (18);
7r – 18 SBN (18);
8r – * d, Sat, Rne * Repeat 6 times (24);
9r – 24 SBN (24);
10r-D, SBN, SBN, SBN repeat 6 times (30);
11-12 p. – 30 SBN (30);
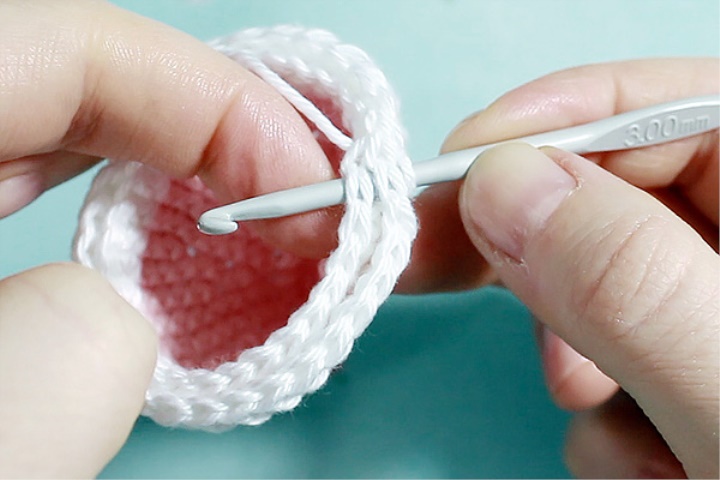
13R – (change yarn and knit from white) 30 on the back wall of the loop (30);
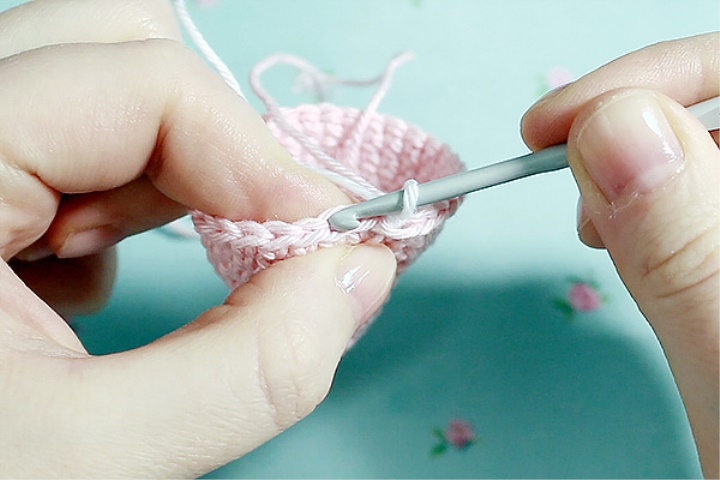
14r – 30 per two walls (30);
15r – 30 PRSs for the front wall of the hinge (to catch the 13 row).
Usually I make another (31st) column with a scale, if there is a free half-loop.
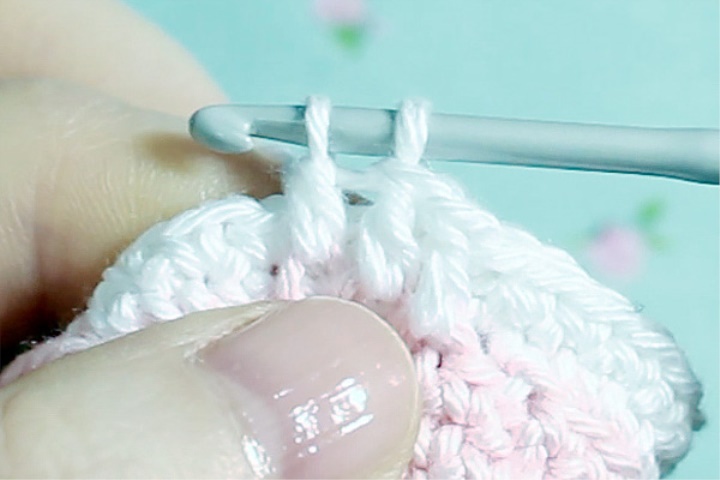
16r – Connect two layers together with connecting bars (30).
Cut and hide the threads.
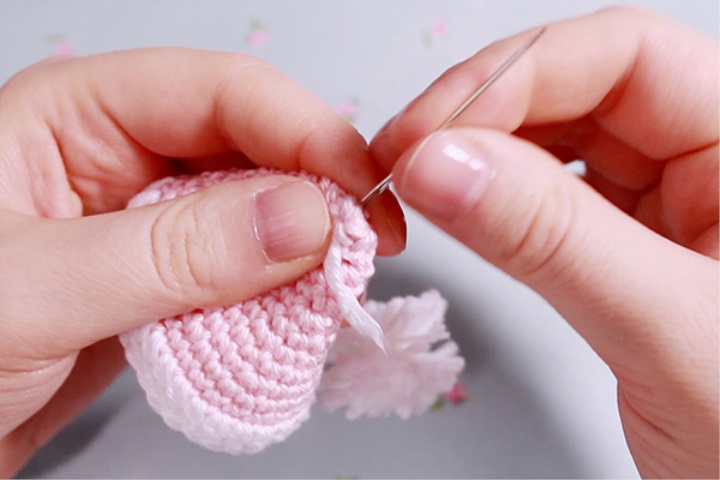
It is possible to make pompom (to wrap a yarn on a ruler, to remove, to tie in the center, to cut edges) and to sew to the top of a cap.
Scarf:
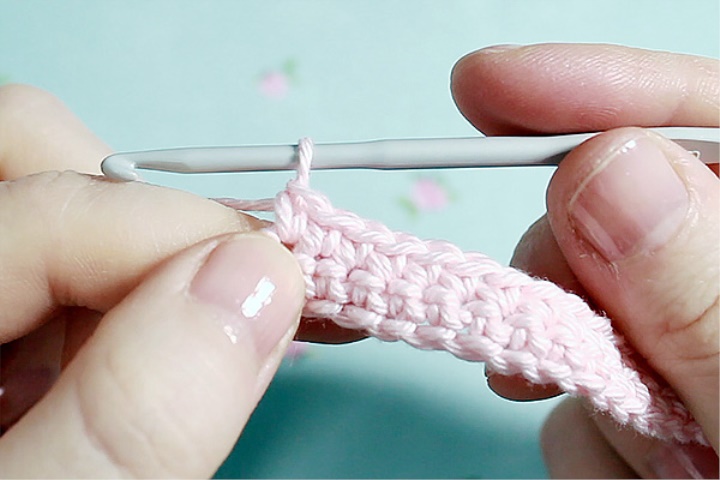
Knit air chain (I have 60 aerial loops) and two rows of.
Assemble the parts together. Ready!
It is possible to sew all parts that nothing was filmed, and to make a buttonhole for hanging on a Christmas tree.
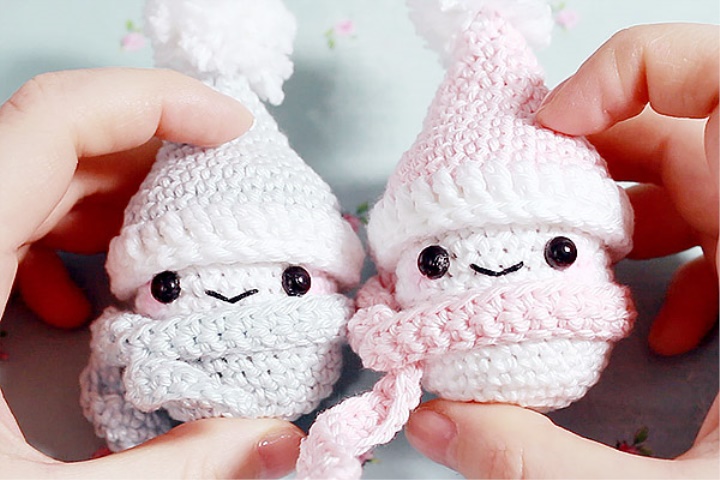
The same principle can be associated with different characters. This is the company I got: