We can do this little bear step by step on picture.

1
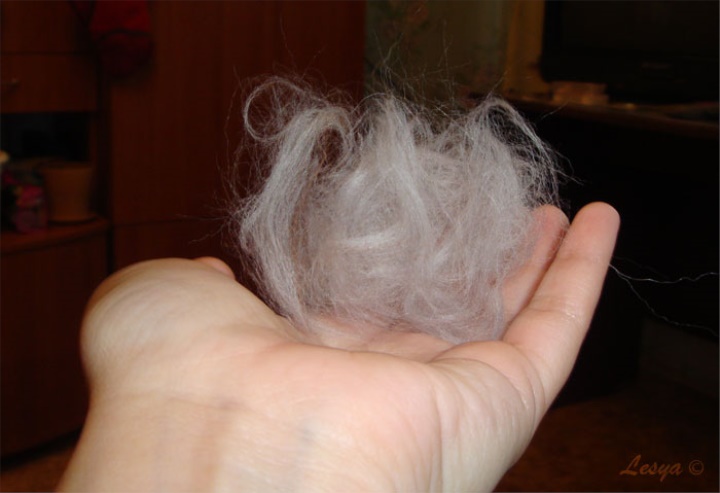
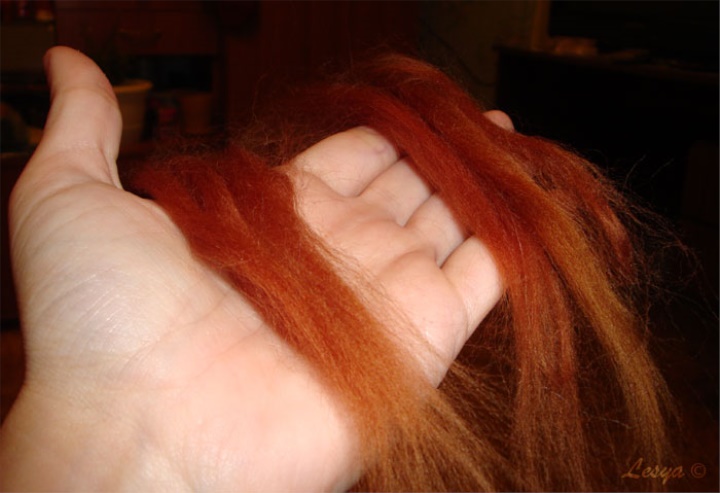
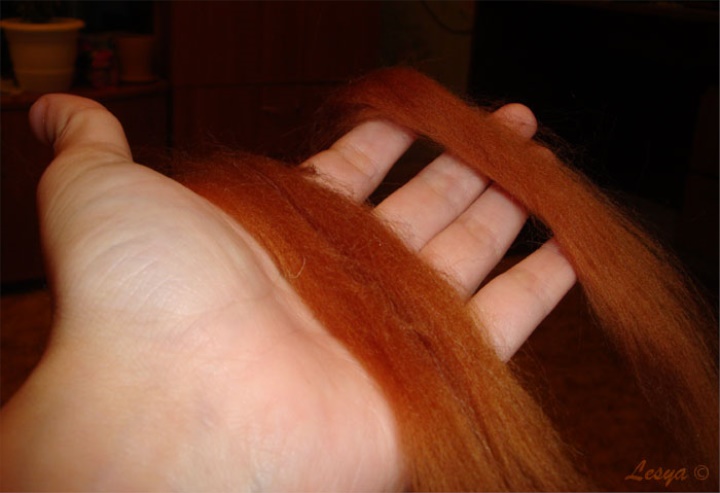
Materials you will need for work: 100% wool for felting brown and light gray, needles for felting and 2 black beads for the eyes.
2
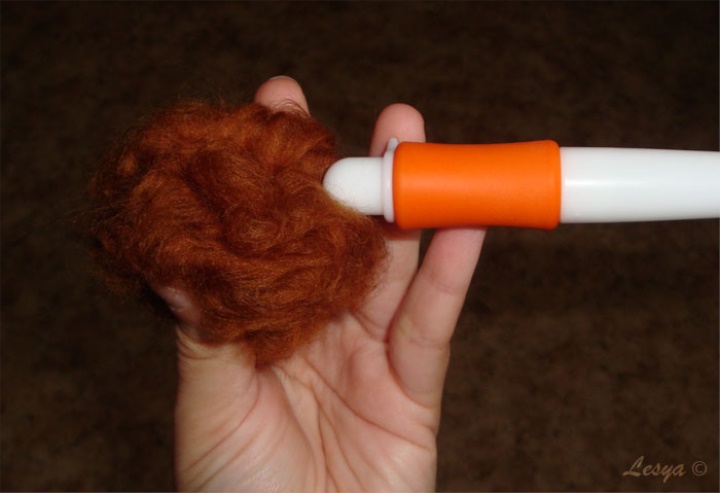
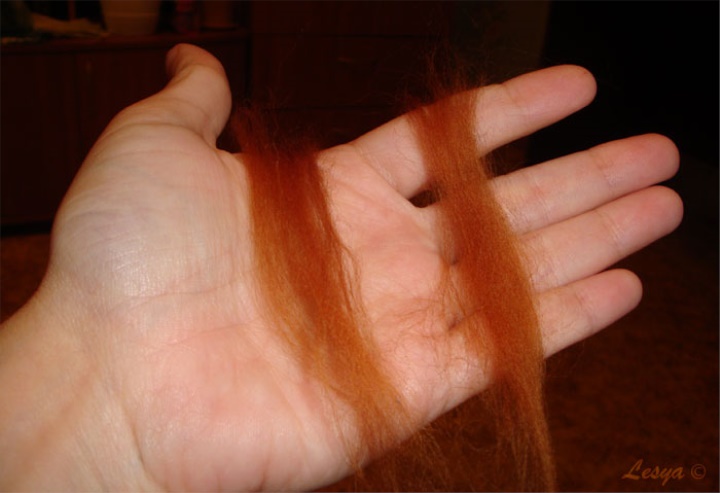
Pinch a few strands of brown hair from the brown skein and carefully tear it. Then turn the resulting wool into one round lump.
3
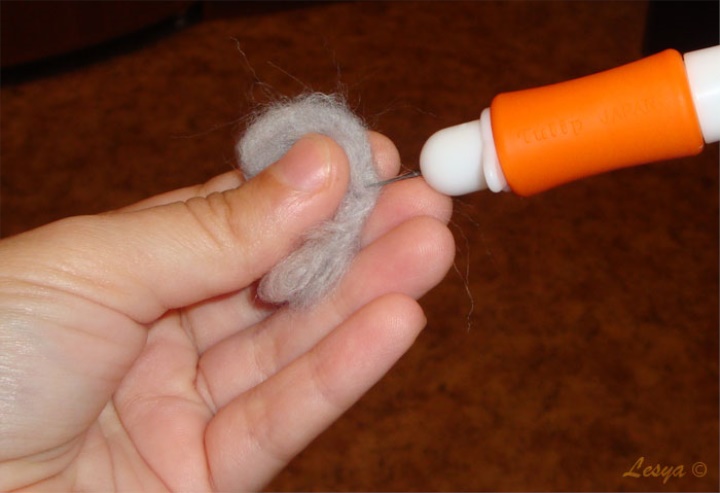
Using a needle for felting, we form a ball from our lump of wool.
4
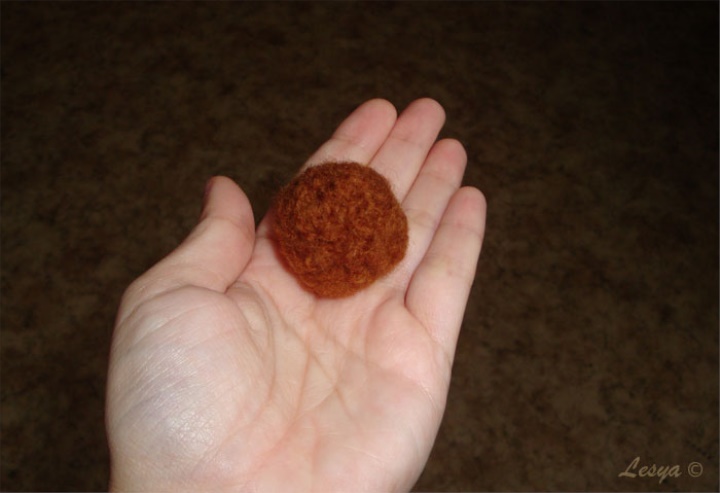
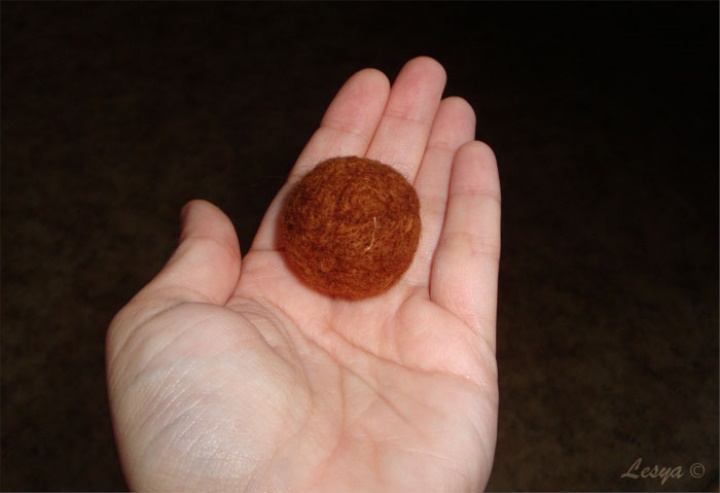
We roll the ball to such an extent that its edges become smooth, the wool is not stuck out, but it should be soft enough.
5
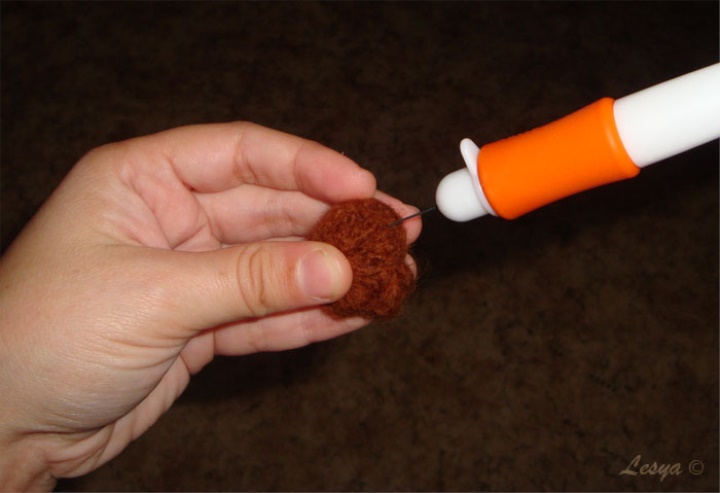
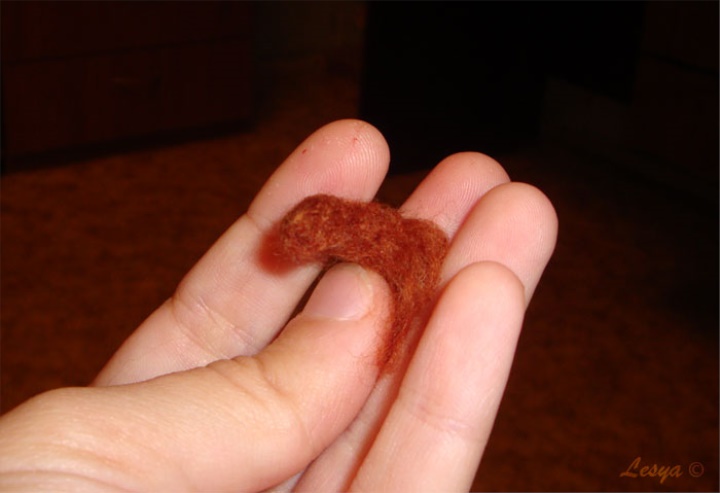
Put the resulting ball aside. We pluck a few more strands from the coil of wool and lay another ball in size one and a half times smaller than the previous one. At the same time we leave one of the sides badly dumped, from this side we will tie our ball to the previous ball.
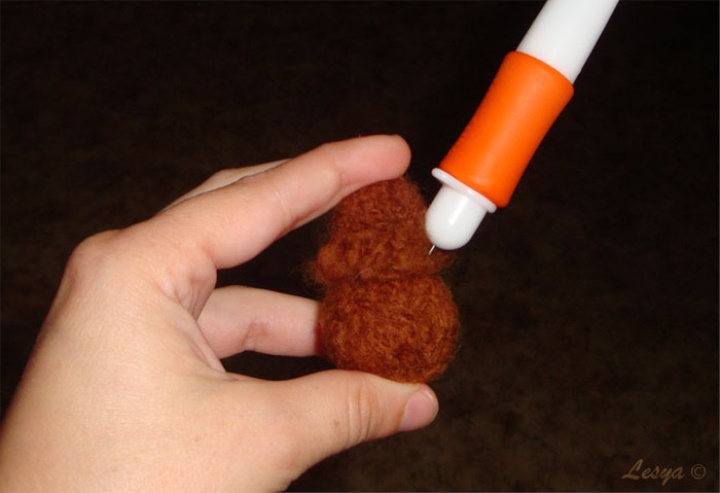
6
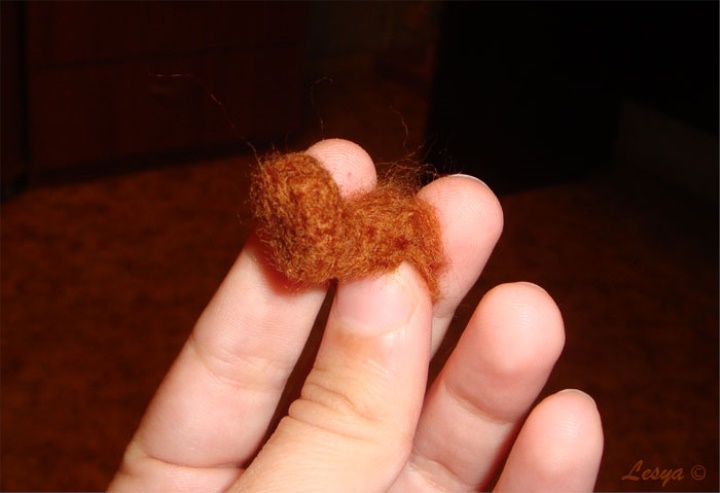
Connect our balls.
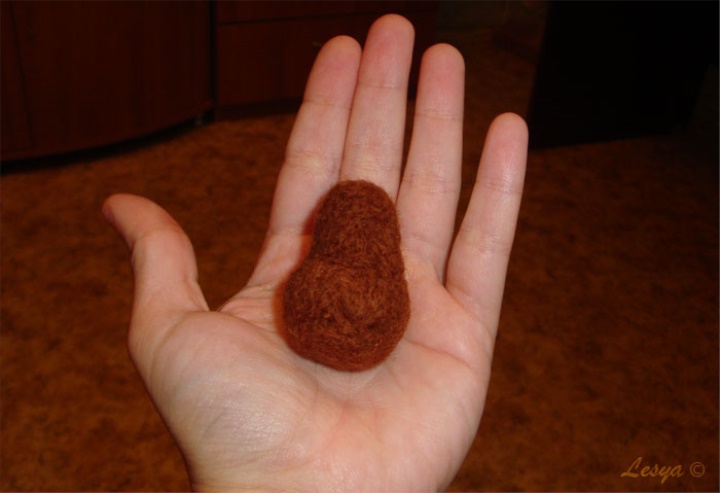
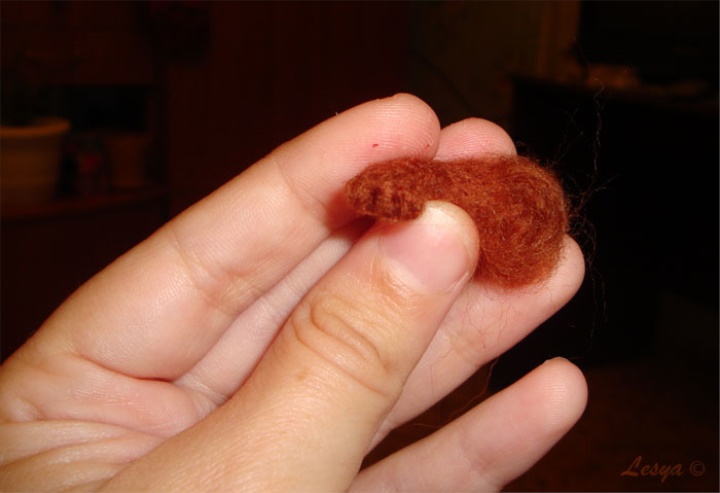
7
It should look like this figure, as shown in the photo.
8
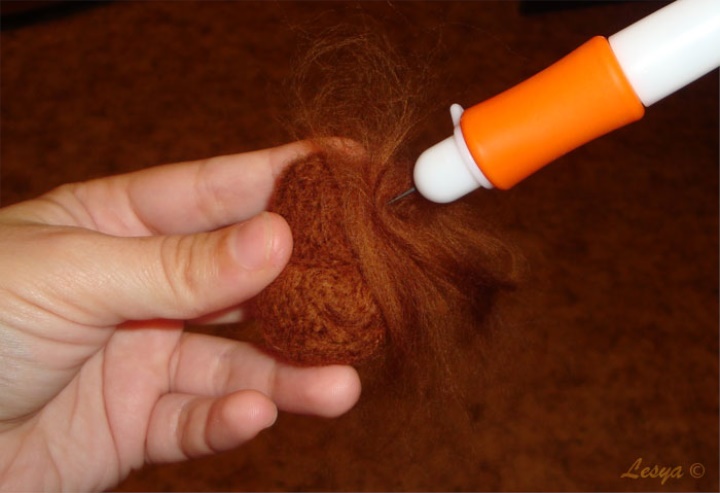
For the processing of seams, stronger joining of parts, as well as for giving a more correct shape to our future body, we use additional strands of wool.
9
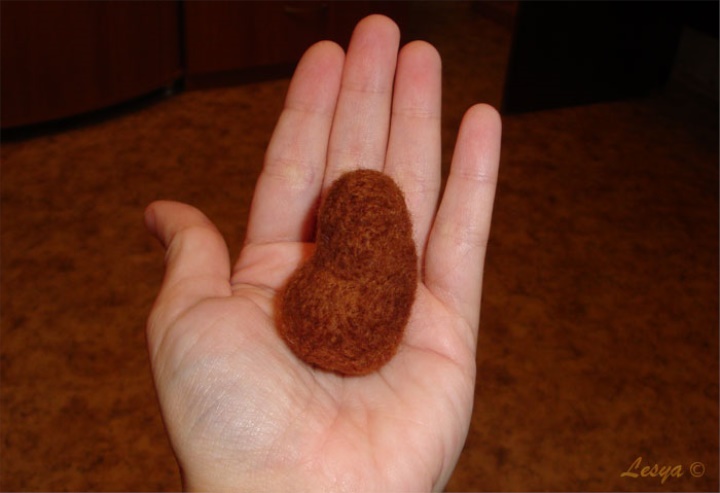
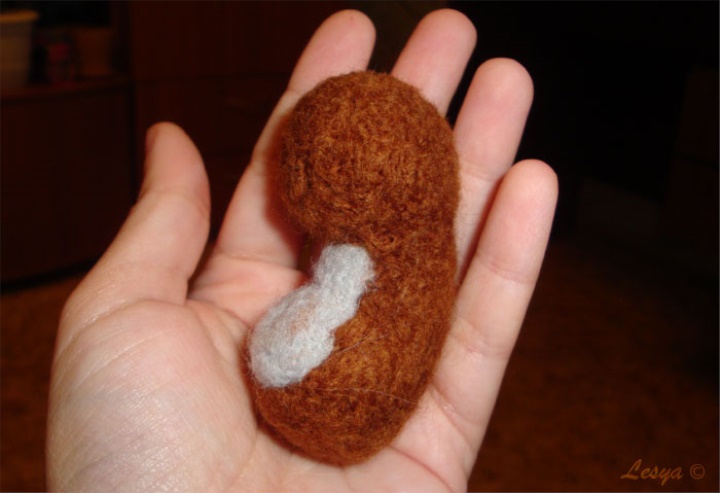
It should look like this, as shown in the photo.
10
Take a few strands of gray wool. Again, as carefully as possible tear these strands and collect in one lump.
11
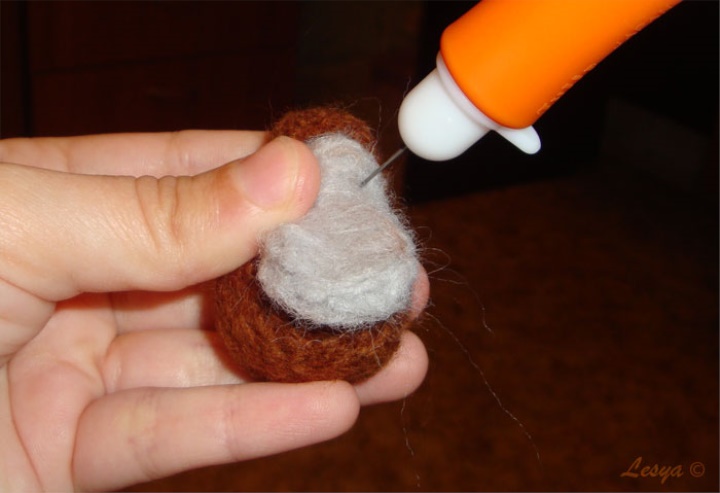
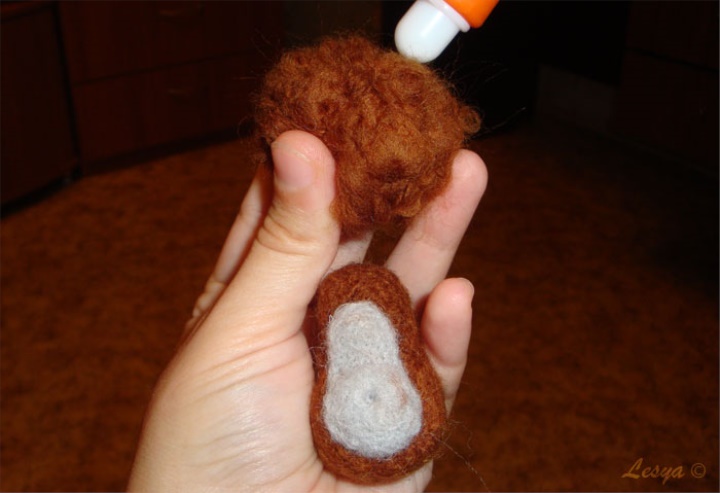
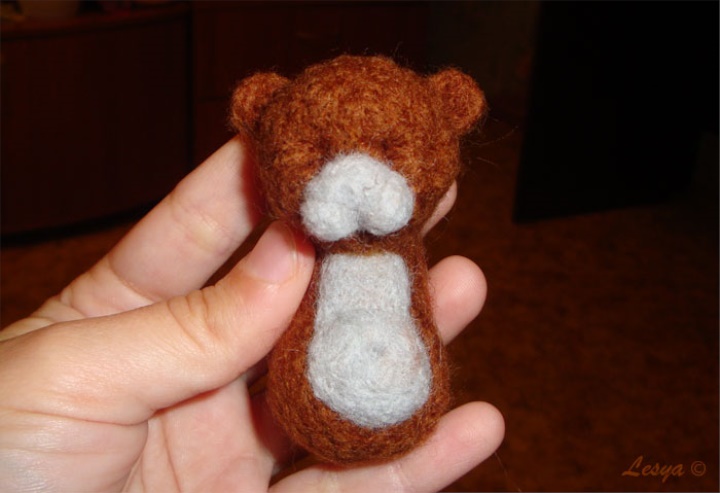
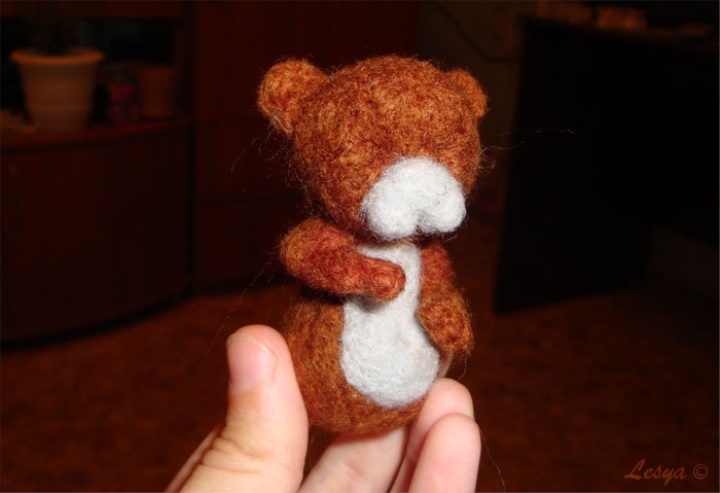
From this coat, we are laying the breast and tummy for our bear, so make sure that there are not many or few wool. Focus on the size of the resulting torso.
12 The
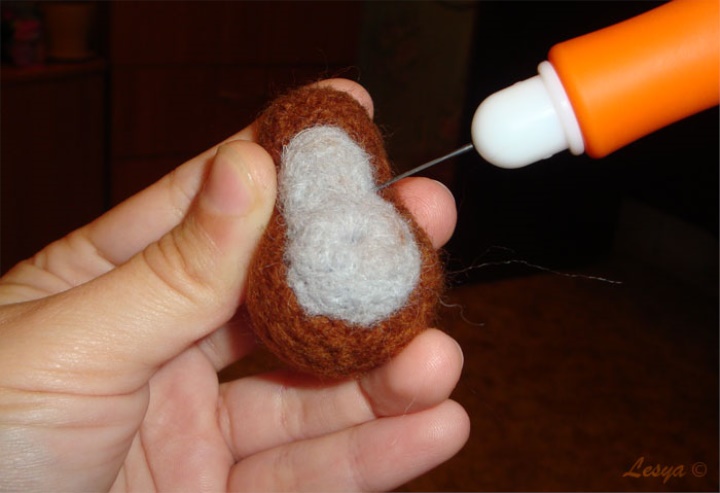
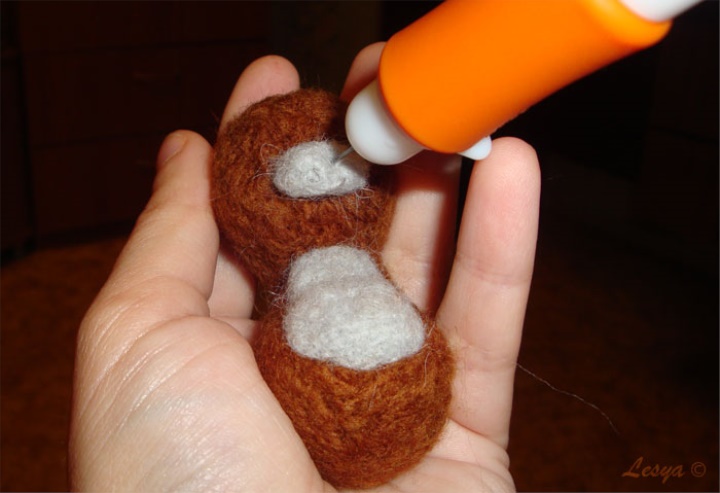
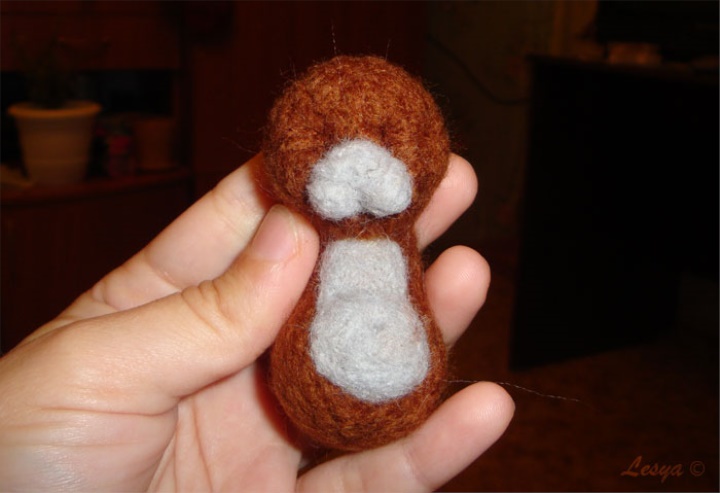
breast and tummy have a shape that resembles a flat pear. We attach this figure to our body.
13
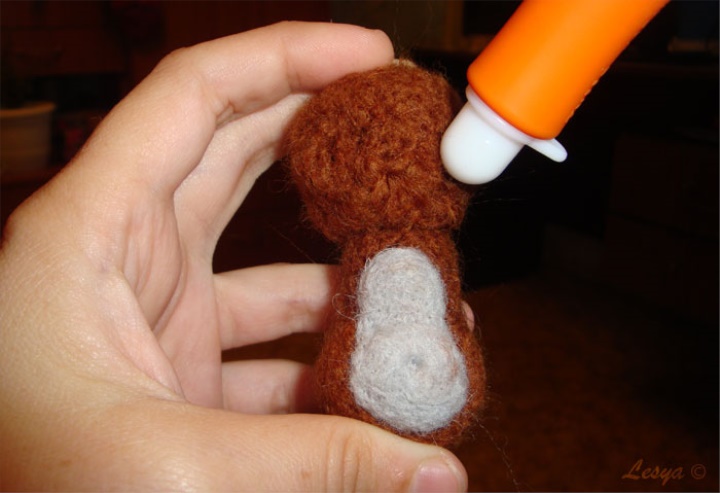
We reach the tummy and the brute already on the torso of the future bear. Now is the time to designate the place of the umbilical
14
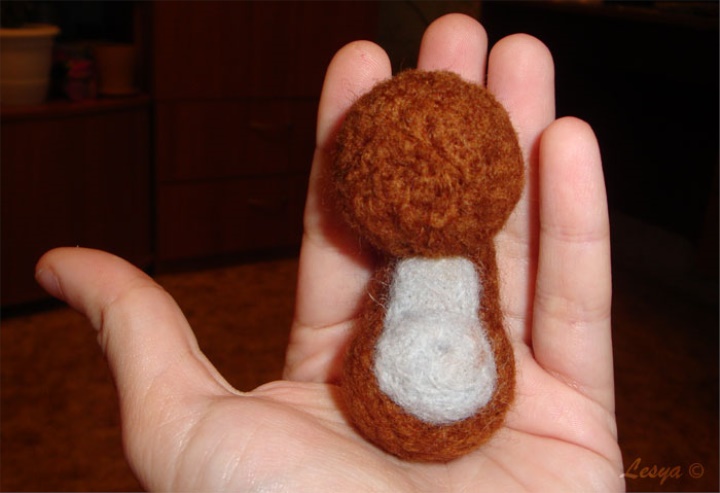
As described in the steps 2 through 4, we lay another ball in size, like the very first. This will be the head of a teddy bear. Do not forget to leave on the one hand a little space for connecting parts.
15 We
connect the resulting head with the trunk.
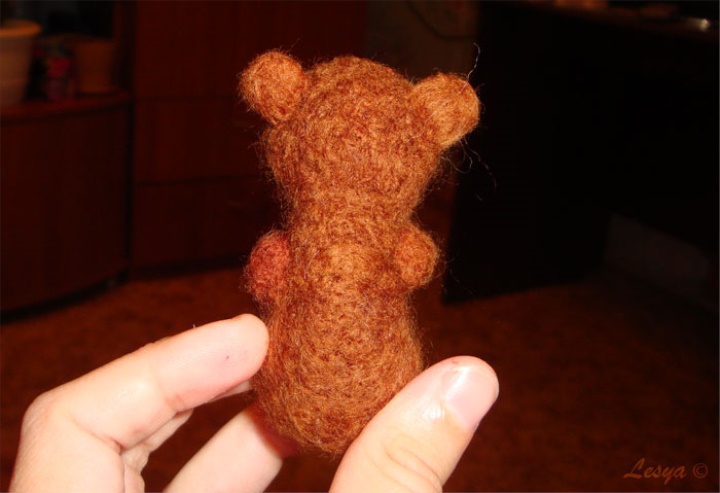
16
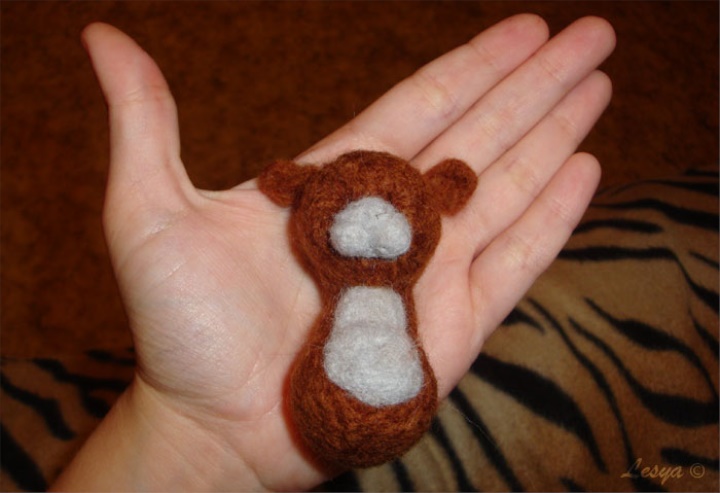
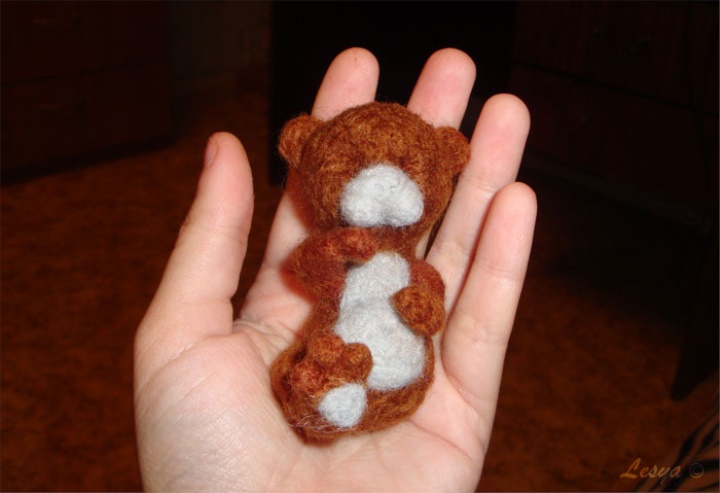
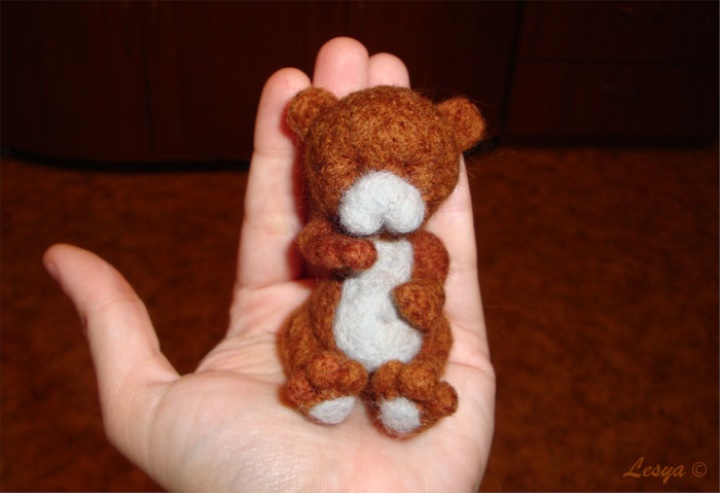
It should look like this figure, as in the photo (side view).
17
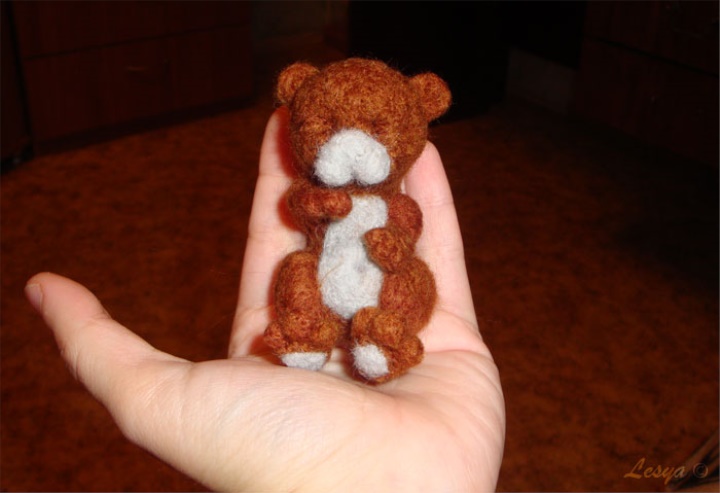
That's how it looks in front.

18
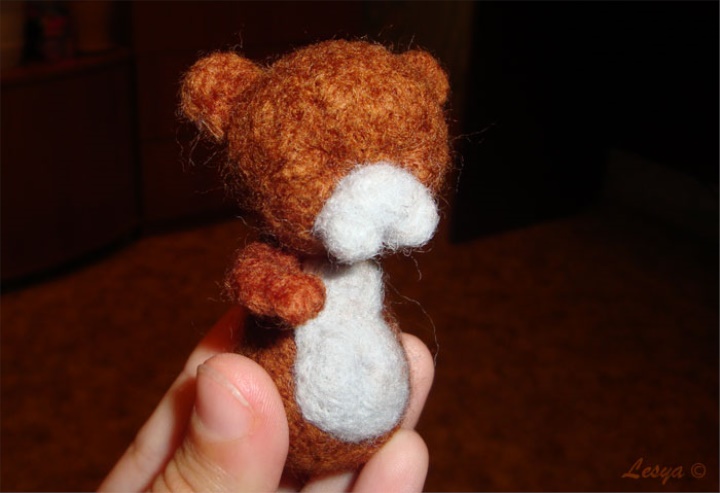
Take a little gray wool and divide it into 2 equal parts. It will be the cheeks and the area of the nose. Again, watch the proportions, do not use a large amount of wool, it is better to add it as needed along the fretting path.
19
We put the area where the teddy bear's nose will be located.
20
Add our 2 cheeks to the nose. Form the pockets for the eyes.
21
Take two more strands of brown wool.
22
We form the ears for our bear.
23
We put one ear first.
24
Then the second. We keep track of the fact that the ears are located at the same level horizontally and vertically of the head.
25
Well, that's about the way our ears should look at this stage.
26
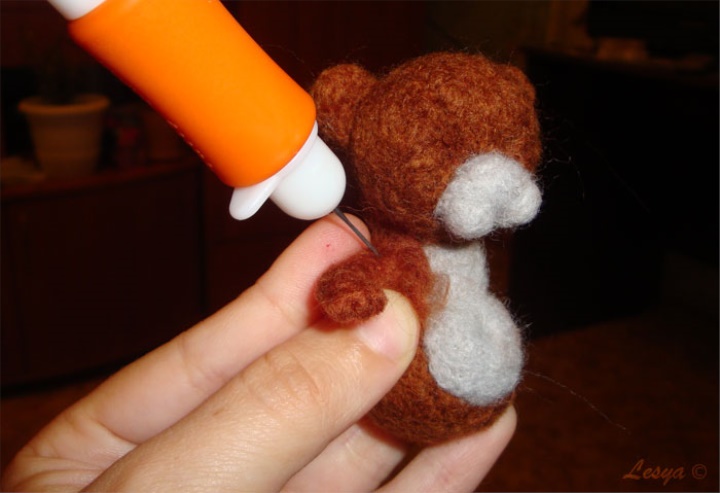
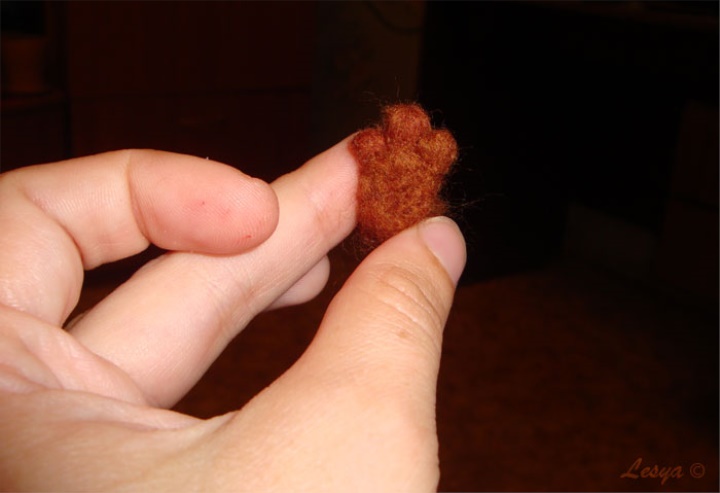
Take two more wound strands of brown wool to form the front paws
27
We cast a small semicircular sausage :-)
28
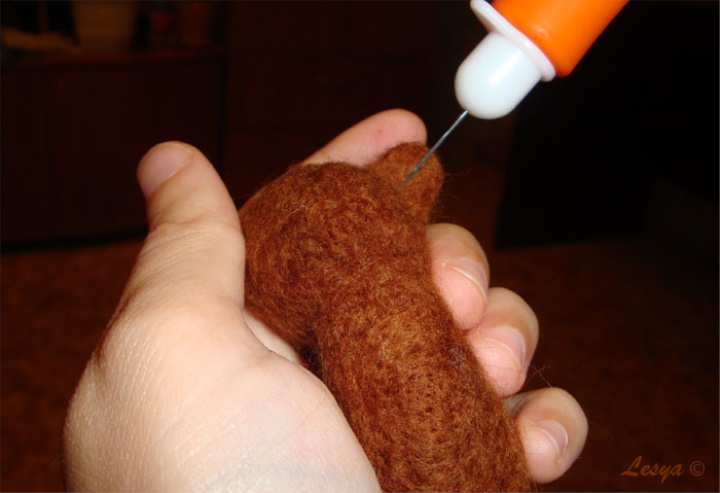
Very gently with the needle, we form the fingers on the foot.
29
We fix our turned out right foot.
30
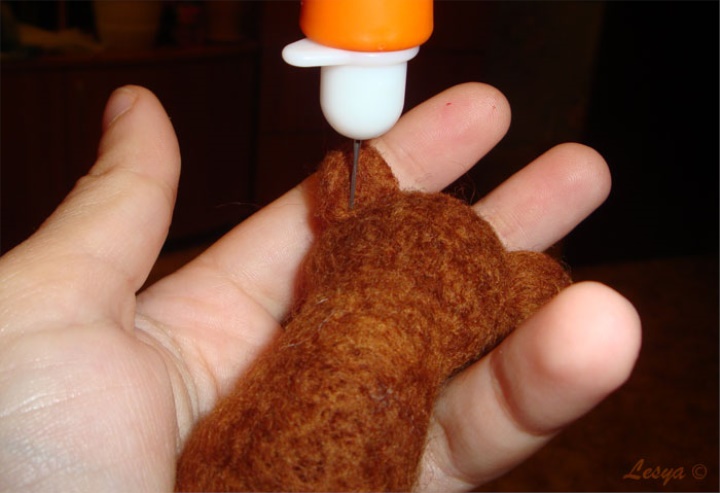
Here's something like the photo, it should be located
31
We lay the second foot on the same princype as the first. We fix it on the left side.
32
Here's something like the photo, it should be located.
33
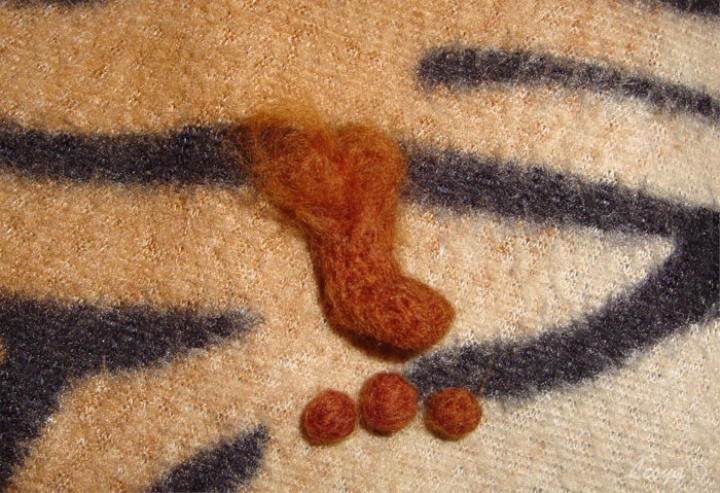
We again take two identical strands of brown wool. Handfuls should be slightly larger than previous ones, but not much. This is for the hind legs.
34
We lay a straight sausage on the end with a boot, as shown in the picture.
35
Separately we lay three small balls. It will be the fingers for one paw. You can immediately pile 6 balls at once for two paws. But it is to whom it is more convenient.
36
We put the resulting fingers to the foot of the foot.
37
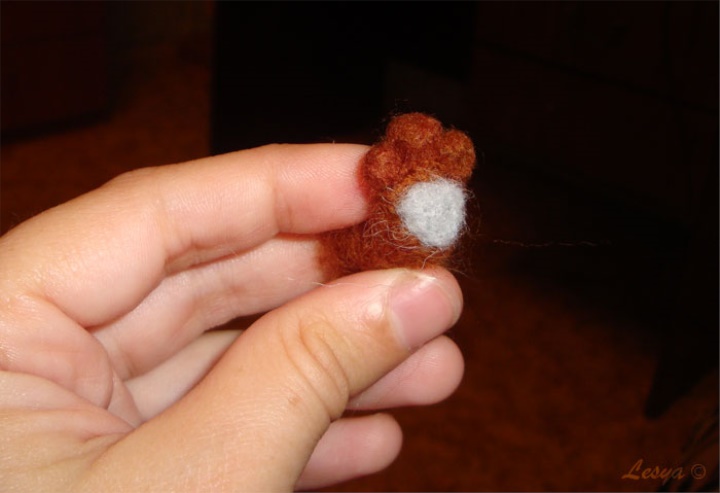
Take a little gray wool and form the sole on the foot.
38
We put the foot in the trunk of our teddy-bear.
39
It should look like the photo shows.
40
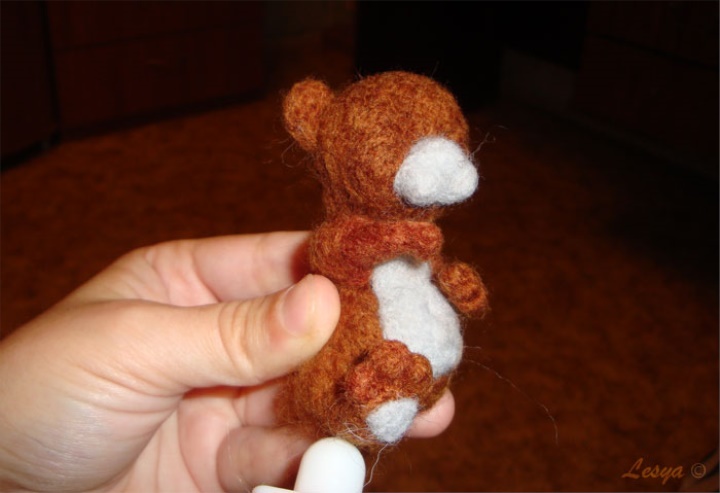
Similarly, we form the second foot and also attach it to the teddy bear's body.
41
But the bear, as well as other animals, does not have idyllic straight paws, so we stock up with a little porstochka of brown wool and, gradually adding the strand behind the strand, we form the bend of the half-bent hind legs of the mice.
42
Approximately this result must be achieved.
43
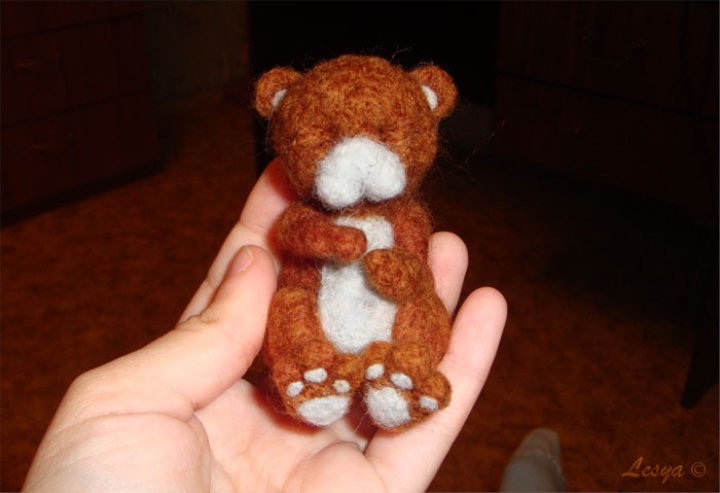
Our teddy bear gradually gets the kind that should be in the end.
44
When all the paws are in place and the markup is completed, it's time to add the finishing touches. To begin with, we add teddy bears to the teddy bear.
45 We
form the joints of the shoulders and back. Correcting inaccuracies. We form a small tail.
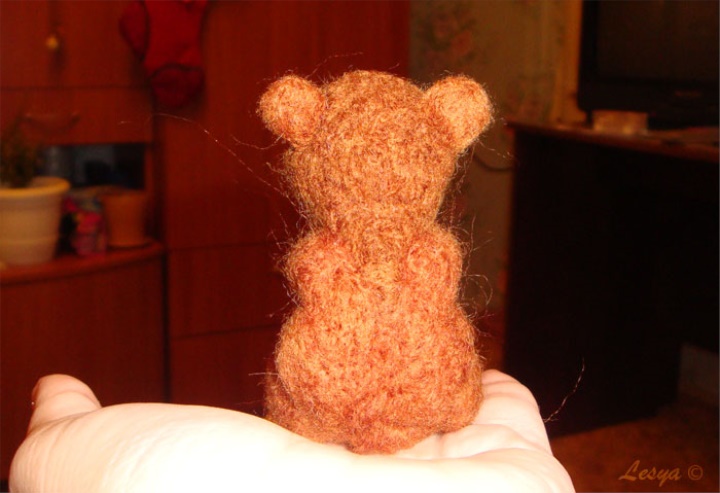
46
We get approximately this result (rear view).
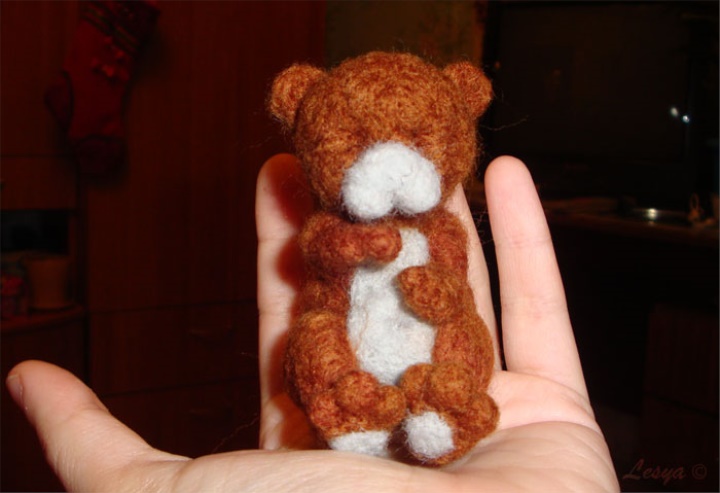
47
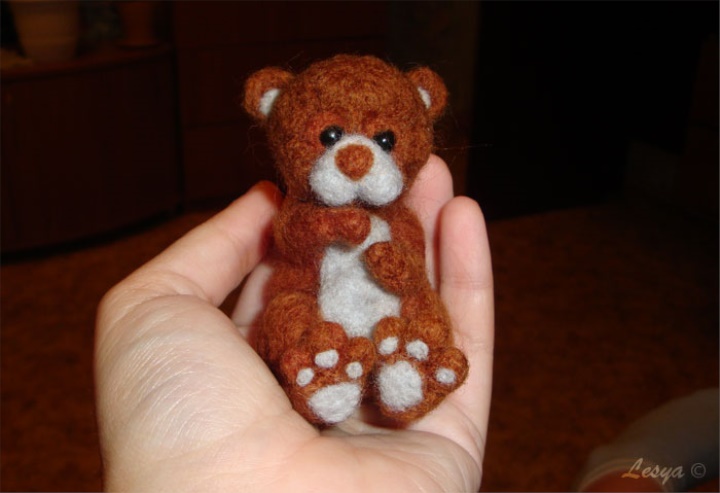
We get approximately this result (front view).
48
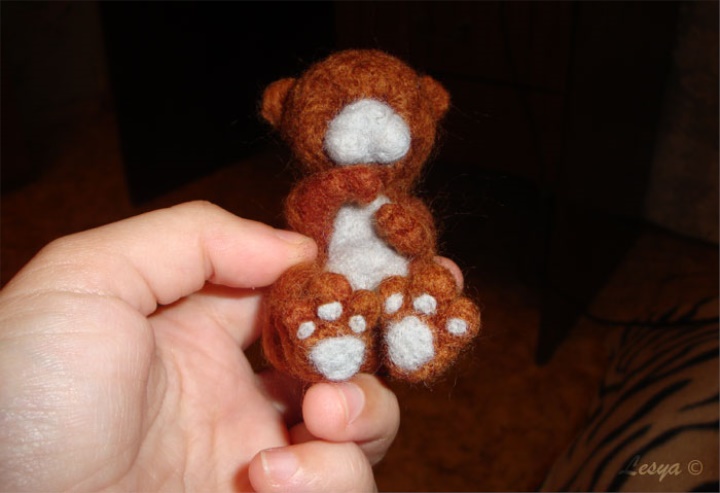
By small strands of gray wool we form the pads of fingers on the hind legs of the bear cub.
49
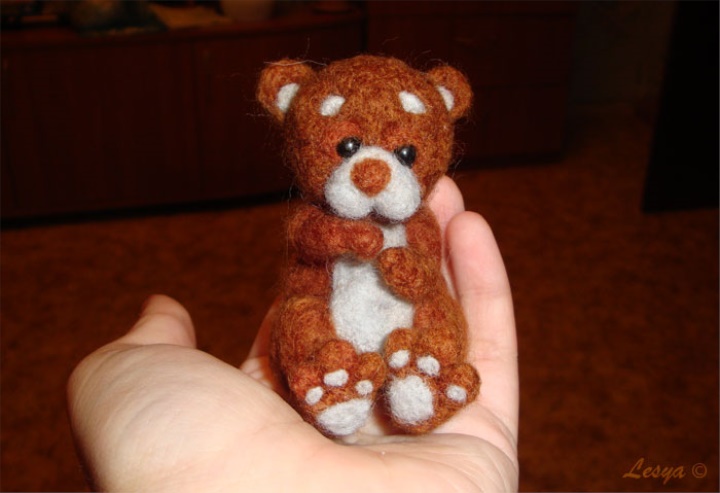
We form on the inner part of the ears also the walls of gray wool.
50
It should look like it's shown in the photo.
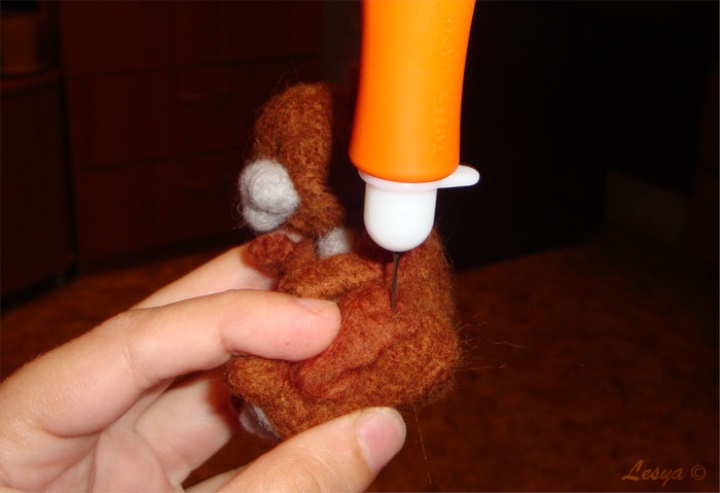
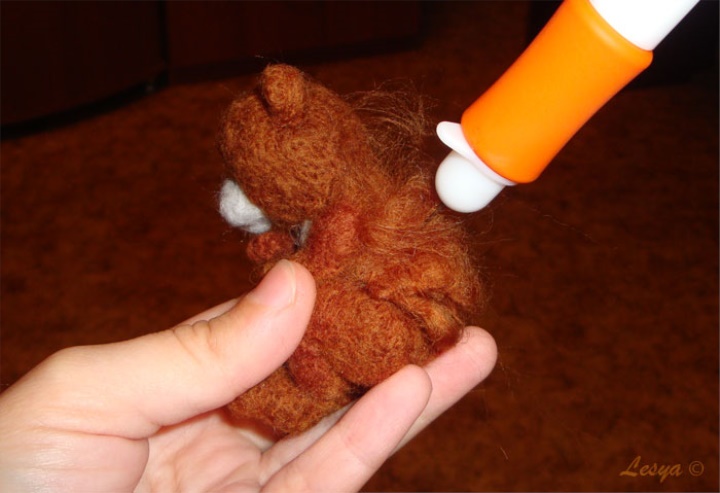
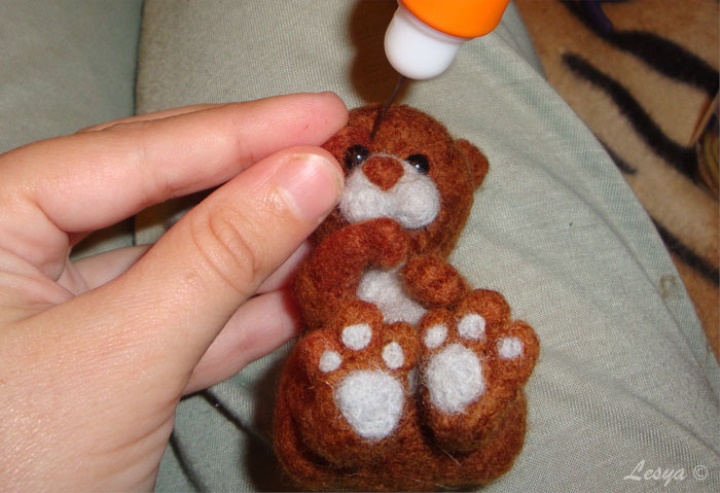
51
We glue our beads into the eyes. I used PVA glue, but you can use any other resistant adhesive that is suitable for use with tissues.
52
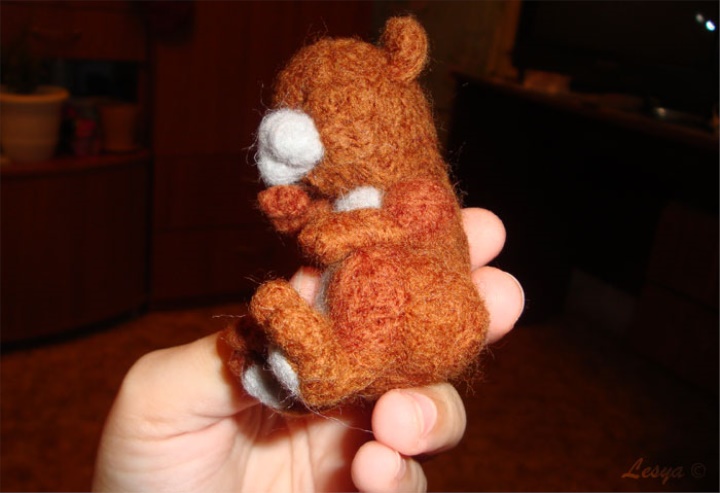
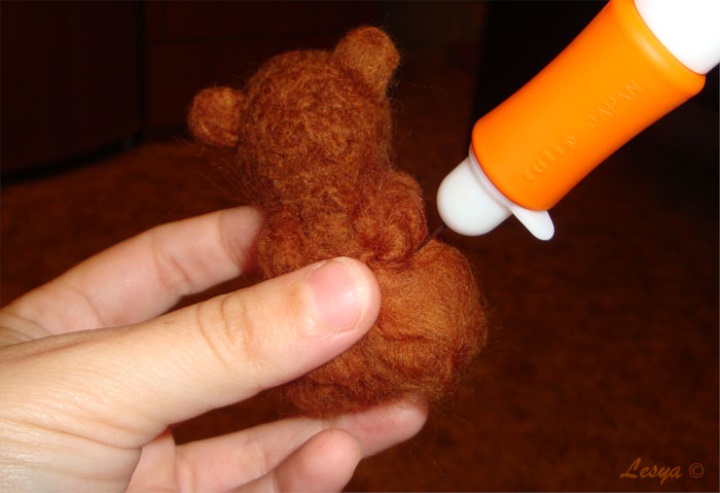
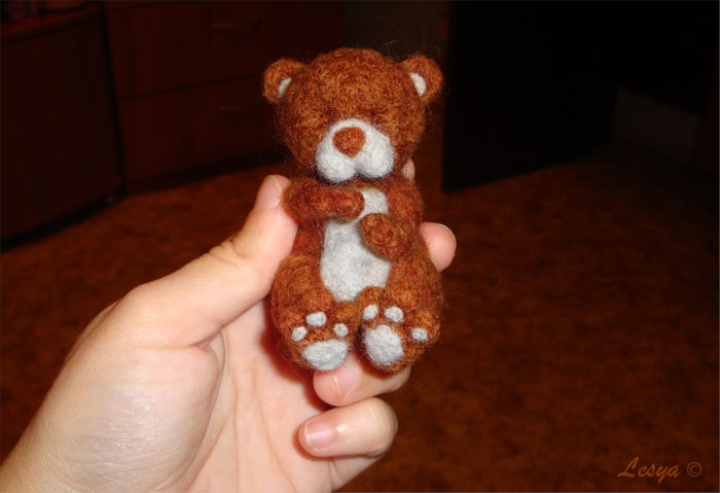
From small tufts of brown wool, we form eyelids for the eyes and fasten them over the eyes of the bears. You need to do this in such a way that the eyelid tightly fits to the eye, but does not obscure it.
53
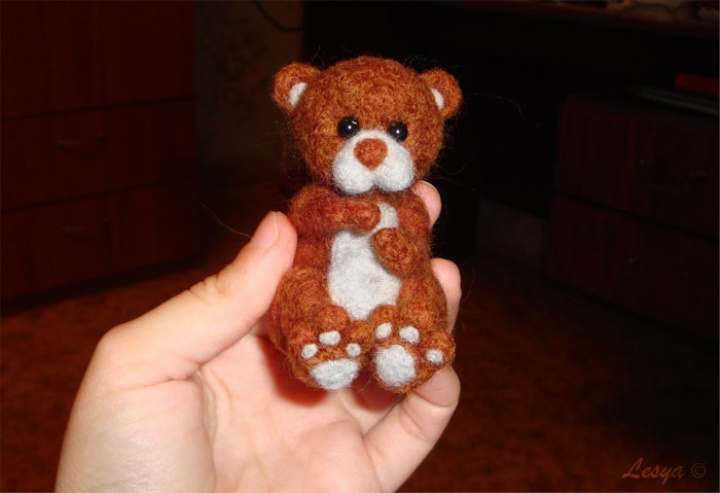
It should be, as shown in the photo.
54