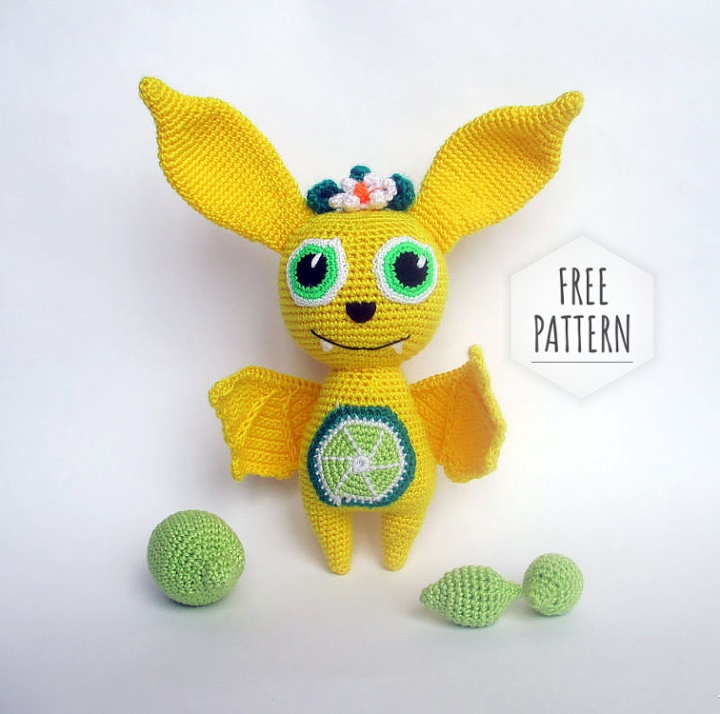
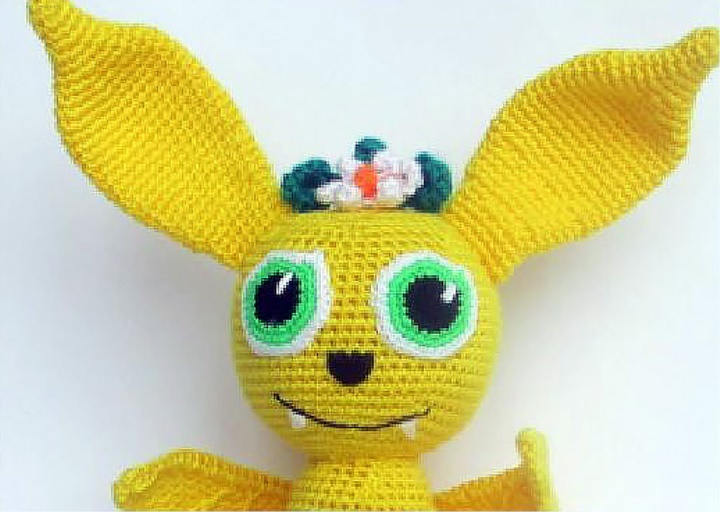
I suggest you link the unusual bat, which is very fond of limes. The Master class is intended for personal use only. Sale is prohibited. When placing on other resources and showing the finished work, please, specify the author-Olga Besparexact.
If you find errors or questions during knitting, you can always write to me.
Required Materials:
1. Any yarn of yellow color. When I knitted the mouse, I used the yarn Alize Diva 350m/100g. Hook № 1.6 mm.
2. Yarn of light green color for knitting of belly and limes. I used yarn YarnArt Begonia 169m/50g.
3. For eye knitting used a thinner yarn Alize Miss 280m/50g. The color is white and black. Hook 1.0 mm. The threads of the acrylic are green.
4. Any yarn white, dark green and orange color for knitting leaves and flowers
4. Hook under your yarn. I used № 1.65 mm and № 1.0 mm.
5. Filler or synth.
6. Wire for Wings.
7. Material for wire winding − adhesive tape
8. Needle for stitching.
9. White-coloured felt for teeth.
10. Thermo pistol for gluing of teeth and flower.
The growth of the finished toy when using the materials I specified-15 cm (without ears), 20 cm (including ears).
Legend:
CA-Amaguumi Ring
SBN-a column without a scale;
PR-a raise (from one loop of the previous row to Knit 2 SBN);
UB-Ubawka (two loops together behind the front walls);
SS-Connecting column;
VP-Air Loop;
PRSs-a column with a scale;
ZPP-knit for the rear half loops;
S2n is a two-scale column;
PSN-semi-stacked with scale
Legs (2 parts):
Knit Yellow yarn
1st row: 6sbb Ka (6)
2nd row: Ave, 5SBN (7)
3 row: D, 6sb(8)
4 row: Ave, 7SBN (9)
5th row: D, 8SBN (10)
6 row: D, 9SBN (11)
7 row: D, 10SBN (12)
8 row: Ave, 11sb(13)
9 row: Ave, 12SBN (14)
10 row: (not Full): 7SBN (7).
On one leg the thread is trimmed and fastened. Similarly knit the second leg, only the thread is not doomed.

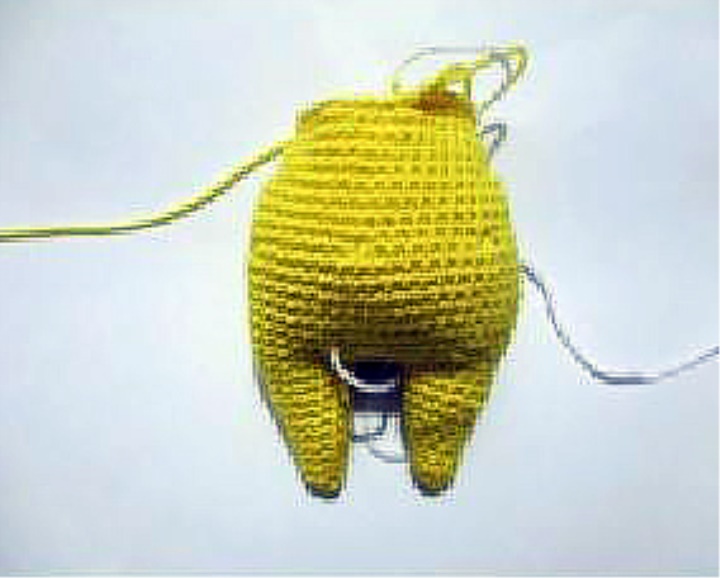
Body:
We continue to knit the yellow yarn. The body is stuffed on the course of knitting. We connect two legs together. Connect correctly! Note: The feet should be on the outside.
11 row: 4VP, attach the second leg, 14SBN on the second leg, 4SBN on the VP, 14SBN on the first leg, 4SBN on the VP (36)
12 row: (5SBN, D) * 6 (42)
13 row: (6SBN, D) * 6 (48)
14-20 Series: 48 SBN (48)
21 Row: (6SBN, UB) * 6 (42 in)
22-25 Series: 42 SBN (42)
26 Row: 8SBB, 2ub, 17SBB, 2ub, 9SBN (38)
Note: The Uabaki should be on the sides of the body. Do not forget to fill.
27-28 Series: 38 SBN (38)
29 row: 8SBN, UB, 18SBN, UB, 8SBN (36)
30 Row: (10SBN, UB) * 3 (33 in)
31 Series: (9SBN, UB) * 3 (30)
32 Series: 30SBN
33 Series: (3SBB, UB) * 6 (24)
34 Series: (2SBB, UB) * 6 (18)
Do not cut the thread, continue to knit the head.
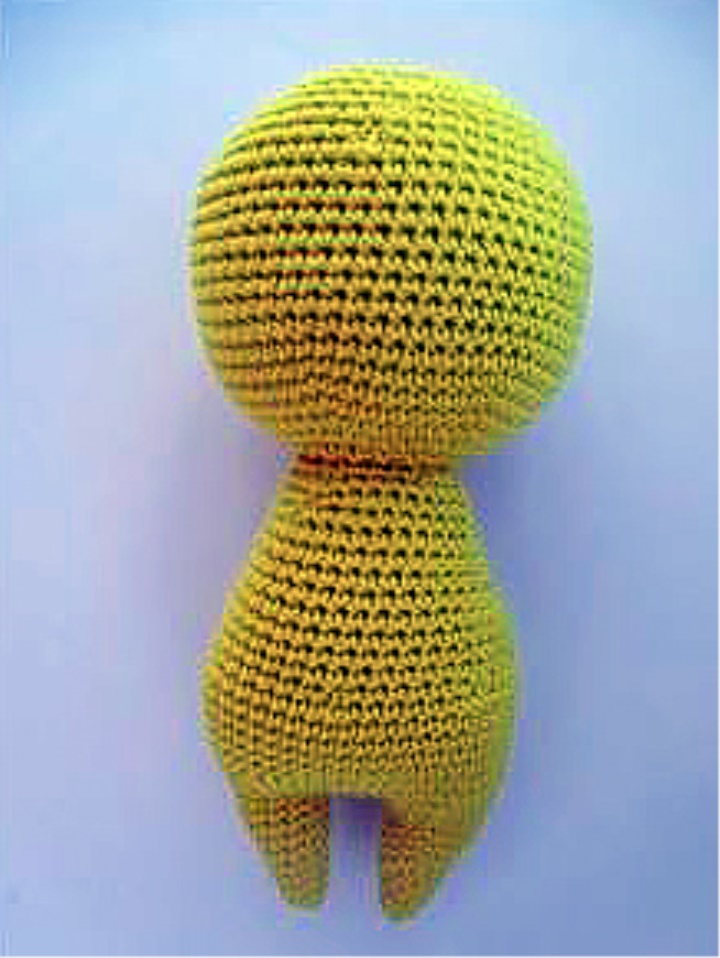
Head:
We continue knitting the yellow yarn.
35 Series: 18d (36 in)
36 Series: (5SBN, D) * 6 (42 in)
37 Series: (6SBN, D) * 6 (48 in)
38 Series: (7SBN, D) * 6 (54 in)
39 Series: (8SBN, D) * 6 (60)
40-50 series: 60SBN (60)
51 Series: (8SBN, UB) * 6 (54 in)
52 Series: 54 SBN (54)
53 Series: (7SBN, UB) * 6 (48 in)
Stuffing the head on the course of knitting.
54 Series: 48 SBN (48)
55 Series: (6SBN, UB) * 6 (42 in)
56 Series: 42 SBN (42)
57 Series: (5SBN, UB) * 6 (36 in)
58 Series: (4SBN, UB) * 6 (30)
59 Series: (3SBB, UB) * 6 (24)
60 row: (2SBB, UB) * 6 (18)
61 Series: (SBN, UB) * 6 (12)
62 Series: 6ub.
Stuff. Cut and clip the thread.
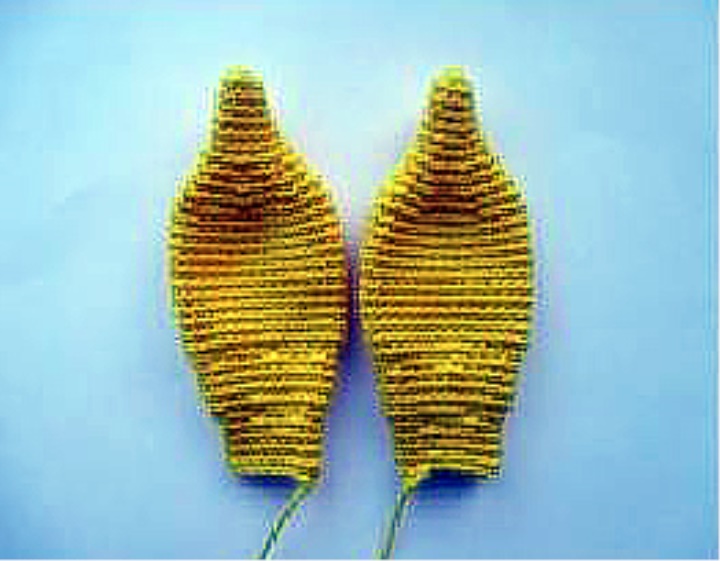
Ears (2 parts):
Knit yellow yarn.
1st row: 6sbb Ka (6)
2 Series: (Sat, D) * 3 (9)
3 -4 Series: 9SBN (9)
5th row: (2SBB, D) * 3 (12)
6-7 Series: 12SBN (12)
8 row: (Sat, D) * 6 (18)
9 row: 18SBN (18)
10 row: (2SBB, D) * 6 (24)
11 row: (3SBN, OL) * 6 (30)
12-23 Series: 30SBN (30)
24 row: (3SBB, UB) * 6 (24)
25-28 Series: 24SBN (24)
29 Row: (2SBB, UB) * 6 (18)
30-32 Series: 18SBN (18)
Do not fill. Thread the trim leaving the long end to the stitching.
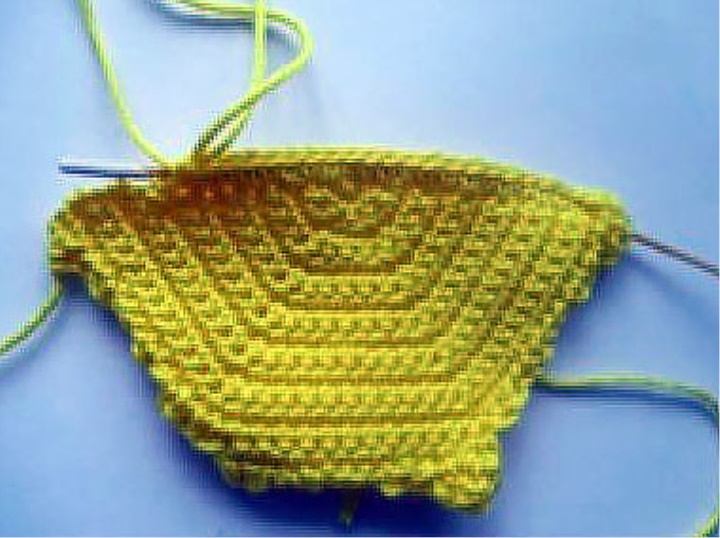
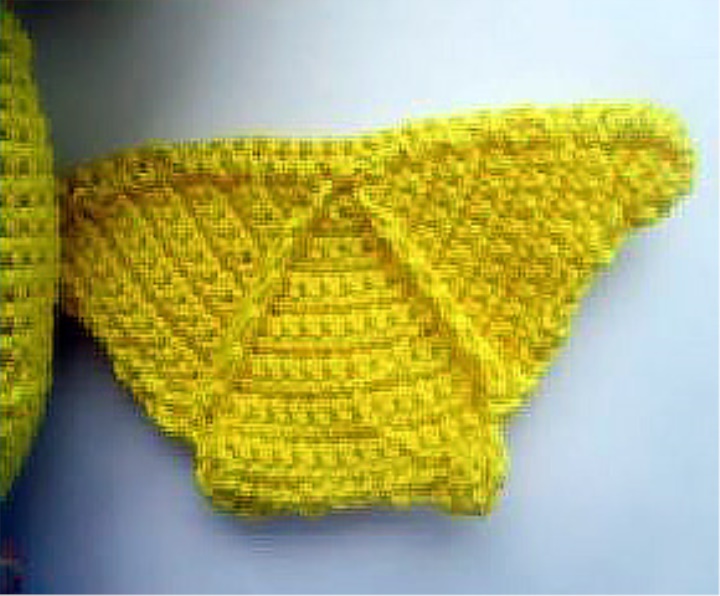
Wings (2 parts):
Knit yellow yarn turning rows.
1 row: 3SBN (3) turn
2 row: VP, 3d (6) turn
3 row: VP, (1SBN, OL) * 3 (9) Turn
4 row: VP, (2SBN, D) * 3 (12) Turn
5 row: VP, (3SBN, D) * 3 (15) Turn
6 row: VP, (4SBN, D) * 3 (18) Turn
7 row: VP, (5SBN, OL) * 3 (21) Turn
8 row: VP, (6SBN, OL) * 3 (24) Turn
9 Row: VP, (7SBN, OL) * 3 (27) Turn
10 Row: VP, (8SBN, OL) * 3 (30) Turn
11 Row: VP, (9SBN, OL) * 3 (33) Turn
12 row: VP, (10SBN, OL) * 3 (36) Turn
13 Row: VP, (11SBN, OL) * 3 (39) Turn
14 row (not full): 3VP, 2SSN, 2PSN, 1SBN, 3SS, 1SBN, 2PSN, 2SSN, 13SBN (26) Turn
15 row: VP, 13SBN (13) turn
16 row: 3VP, 2SSN, 2PSN, 1SBN, 3SS, 1SBN, 2PSN, 2SSN, 3VP, SS in the loop of the previous row (see photo), 2ssn, 2PSN, 1SBN, 3SS, 1SBN, 2PSN, 2ssn (26)
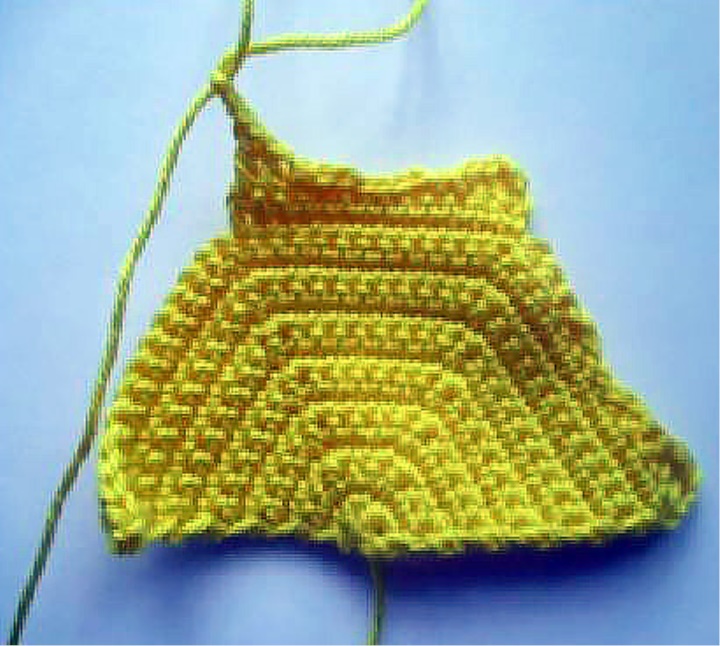
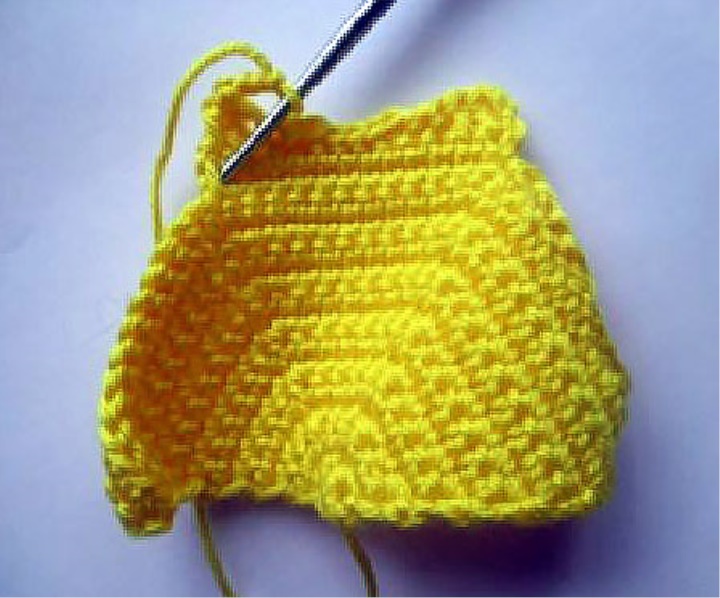
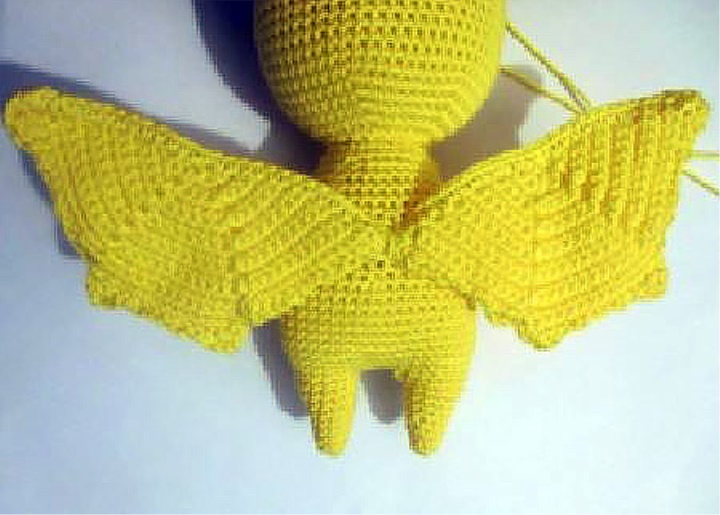
Do not cut the thread, we will tie the wing. Take a thin wire to the size of a little more than a wing (approx. 10cm, excess cut). One end is Obmatolat adhesive tape. Not very thick, otherwise it will be difficult to hide the threads. Apply the wire to the wing and tie down only the upper part of the wing. The end of the wire, wrapped with adhesive tape should not look, move it slightly closer to the middle of the wing (see photo). Thread the trim leaving the long end. Carefully cover with a thread the places where the plaster is noticeable. Fasten and trim the thread.
Similarly knit the second wing.
Note: The wire on the second wing is tied on the other side, so that the two right or two left wings are not turned. Focus on your wings.
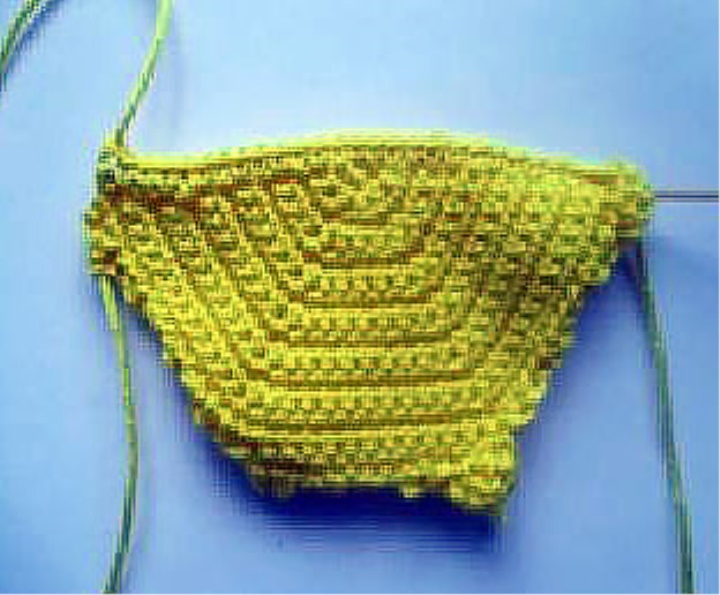
Membrane on the wings:
The cuff links are knitted with yellow yarn on the back side of the wings, in the places where there were additions. Loops do not pull that the wing did not pity. Insert the hook into the top of the wing and pull the buttonhole from the side where the eardrums will be. Enter the hook with the buttonhole again in the same loop and put it on the row below, grab the thread and push it. Knit so to the bottom. Cut and clip the thread.
Similar to knitting the other 3 membrane.
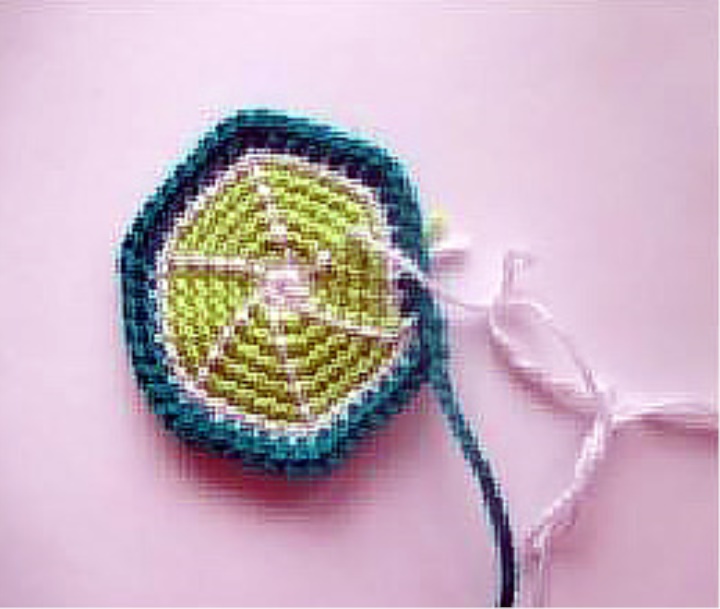
Tummy:
We start knitting white yarn.
1st row: 6sbb Ka (6)
Change the thread to light green.
2 row: 6d (12)
3 row: (1 SBN, D) * 6 (18)
4 row: (2SBB, D) * 6 (24)
5th row: (3SBN, OL) * 6 (30)
Change the thread to white.
6 row: (4SBN, D) * 6 (36)
Change the thread to green.
7 row: (5SBN, D) * 6 (42)
Cut the thread, leaving the long end for the stitching. A white yarn to embroider strips on a circle of a tummy-lime.
Tail:
Knit Green yarn.
1st row: 6sbb Ka (6)
2 row: Zsn 6SBB (6)
3-5 Series: 6SBB (6)
6 row: 6d (12)
Cut the thread, leaving the long end for the stitching.
Leaves (2 parts):
Knit Green yarn.
1 row: 10vp from the 2nd loop from the Hook 3ss, 1SBN, PSN, PRSs, s2n, PRSs, PSN, 3VP, on the reverse side: PSN, PRSs, s2n, PRSs, PSN, 1SBN, 3SS.
Flower:
Knit with white thread.
1st row: 6sbb Ka (6)
2 row: SBN, 5VP, with the 2nd loop from the Hook 4sbn, SBN in the base) * 6
There should be 6 petals. In the middle stretch the loops with orange thread. We fix, it is possible glue that be affected did not stretch. Cut the thread. If the flower will be nailed, leave a long end. I glued the flower to the head with a pistol, so the thread was fastened and cut.
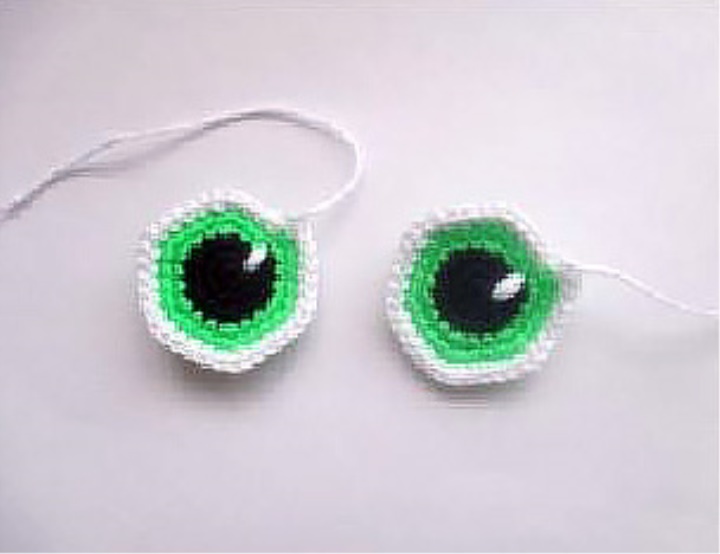
Eyes (2 details):
Knitting more thin thread, it is possible to use threads for knitting a muline acrylic in two additions. Hook № 1. I used the yarn Alize Miss (white and black color). For the iris I took the green threads of the muline.
Knit black Yarn, Hook № 1.
1st row: 6sbb Ka (6)
2 row: 6d (12)
3 row: (Sat, D) * 6 (18)
Change the thread to green.
4 row: (2SBB, D) * 6 (24)
5th row: (3SBN, OL) * 6 (30)
Change the thread to white.
6 row: (4SBN, D) * 6 (36)
Cut the thread, leaving the long end for the stitching. Embroider with white thread glare.
Design:
The ears with the help of needles fasten on a head that they were symmetrical. Sew. We have a tummy, a ponytail, leaves and a flower. The flower can be glued with a heat gun.
Sew eyes, embroider spout and mouth. From a felt to cut out two small zubika and to glue them or to sew.
The wings are attached to the eardrum inside. The ends of the wire wrap the adhesive tape and insert into the body of the mouse in the middle. Gently sew the wings to the body.
Big Lime
Knit light green yarn.
1st row: 6sbb Ka (6)
2 Series: (Sat, D) * 3 (9)
3 row: 9SBN (9)
4 row: (2SBB, D) * 3 (12)
5th row: (Sat, D) * 6 (18)
6 row: (2SBB, D) * 6 (24)
7 row: (3SBN, OL) * 6 (30)
8-16 Series: 30SBN (30)
Fill in the course of knitting.
17 Row: (3SBB, UB) * 6 (24)
18 Row: (2SBB, UB) * 6 (18)
19 Row: (SBN, UB) * 6 (12)
20 row: (2SBB, UB) * 3 (9)
21 Row: 9SBN (9)
22 row: (SBN, UB) * 3 (6)
Thread to trim, fasten and hide inside the lime.
Small lime
Knit light green yarn.
1st row: 6sbb Ka (6)
2 row: 6SBB (6)
3 row: (Sat, D) * 3 (9)
4th row: 9d (18)
5-10 Series: 18SBN (18)
Fill in the course of knitting.
11 row: (SBN, UB) * 6 (12)
12 row: (2SBB, UB) * 3 (9)
13 row: (SBN, UB) * 3 (6)
Thread to trim, fasten and hide inside the lime.