Click For Crochet Abbreviations List
Most of my toys I fasten my head (and sometimes other limbs) with a button fastener, or in other words, a buttoned hinge. With this fastening, the head can turn in different directions, which increases the quality and functionality of the toy :)
For this fastening, we need:
- two flat buttons (you can have any old ones that are available in almost every house, do not pair and roll around, values))))
- a strong thread (preferably kapron, you can replace the thick line, wire or any other strong thread that you have)
- well, and, in fact, unrelated parts of the toy (head and trunk)
Let's begin ...
Take two buttons, about the same size. Pass through one button a strong thread (I took cotton in a few additions).
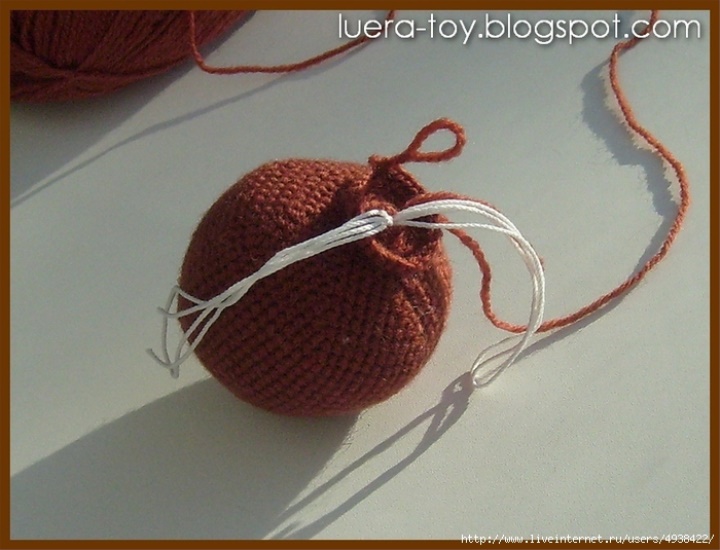
Now we take the unbound (2-3 rows), already filled with the head of the future toy ...

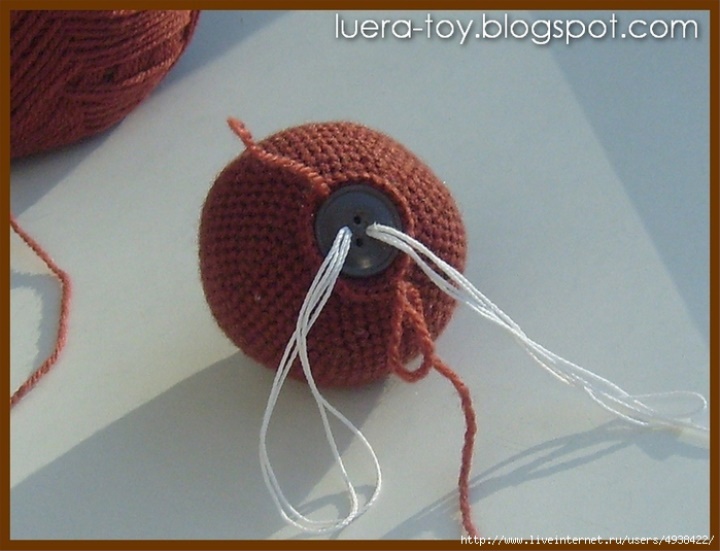
... and insert our button into the hole. The ends of the thread need to be pulled out.
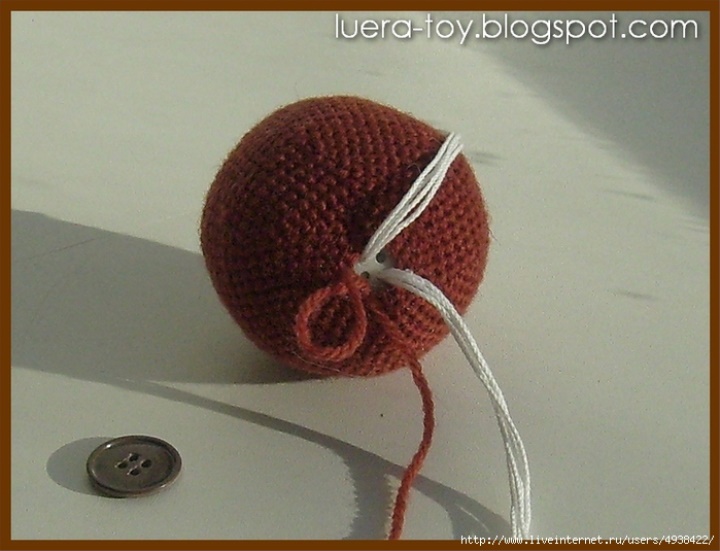
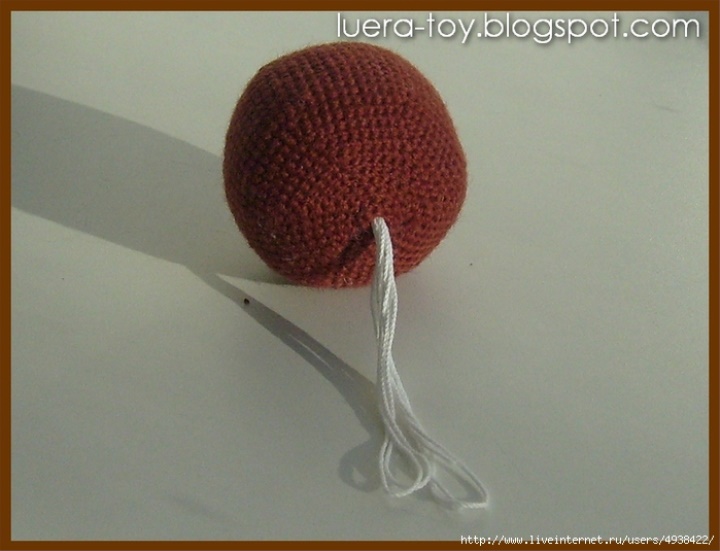
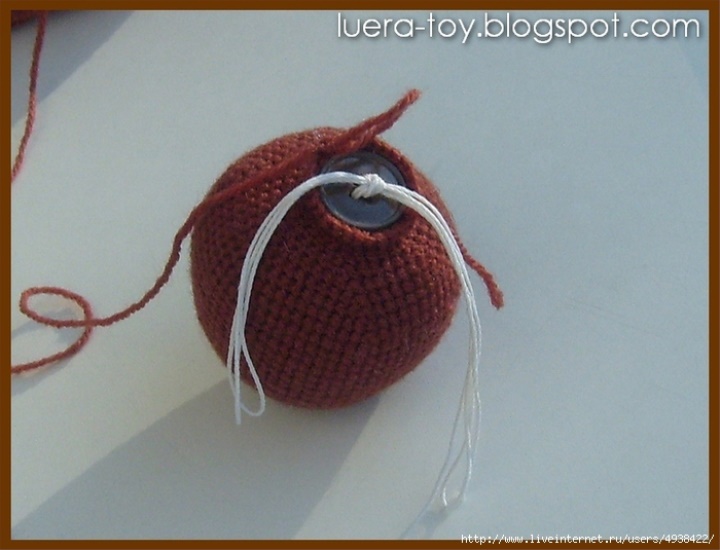
Carefully tie-tighten the hole. The button is inside, the thread is outside.
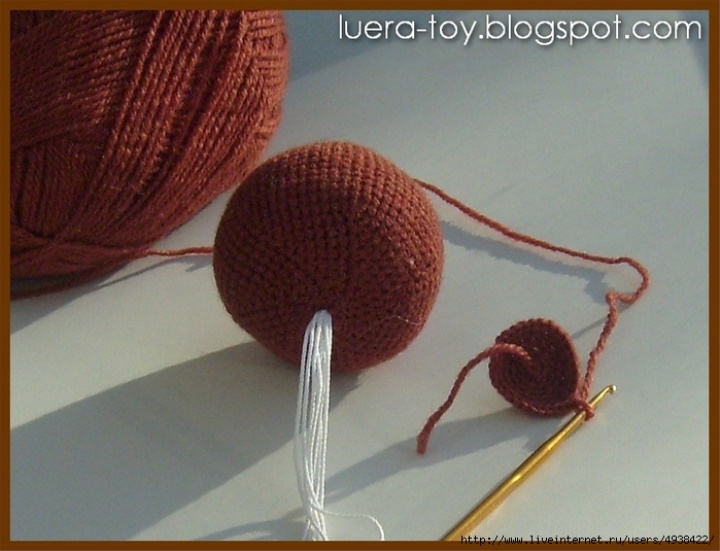
Next, we knit the trunk, several rows, about 6-7. It must necessarily knit from the top down, that is from the neck to the priest.
We thread the ends of the thread through the detail (the future torso) in the middle.
Take the second poguwitzer and thrust the ends of the thread into it.
Strings tightly tied to the knot. You do not need to crop anything. The thread will remain inside the trunk. And we tie the body to the end.
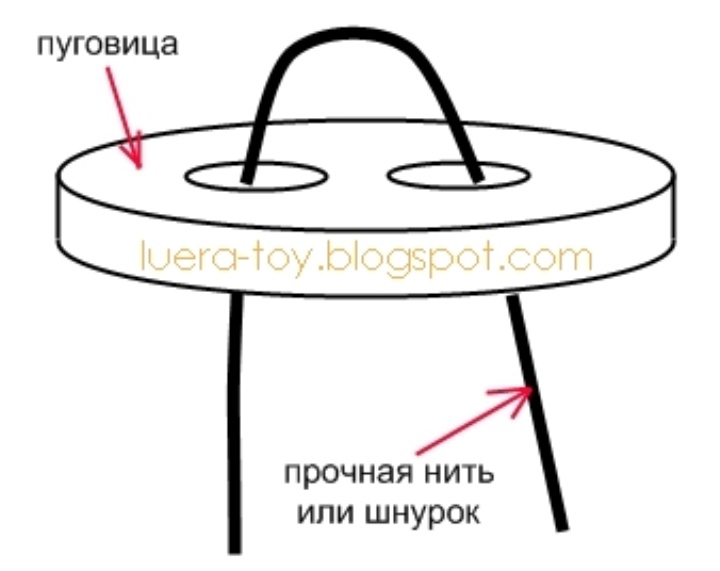
Schematically, the button hinge looks like this:
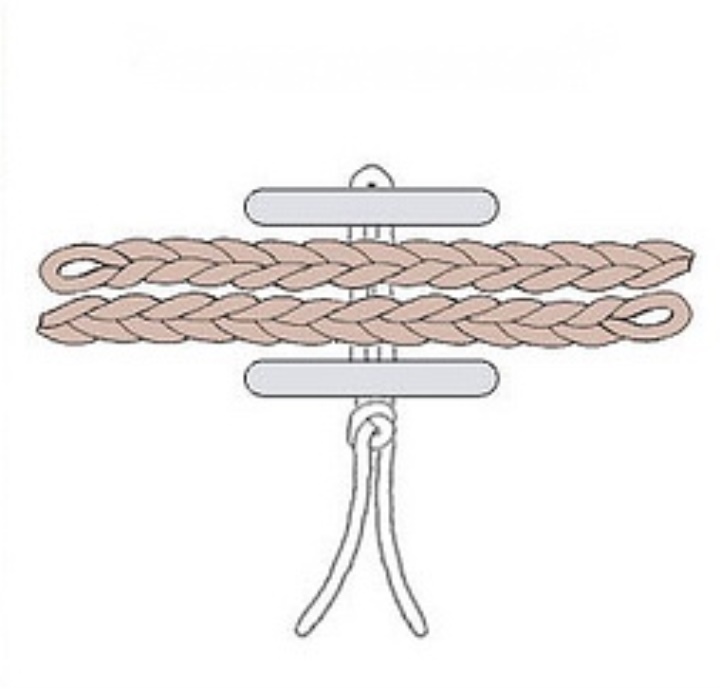
That is, one button is in the head, and the other in the trunk. The buttons are connected by a strong thread. Thanks to this, the head of the toy becomes mobile and can look in different directions :)))