1. 20 v.p. (18 + 2 for lifting).
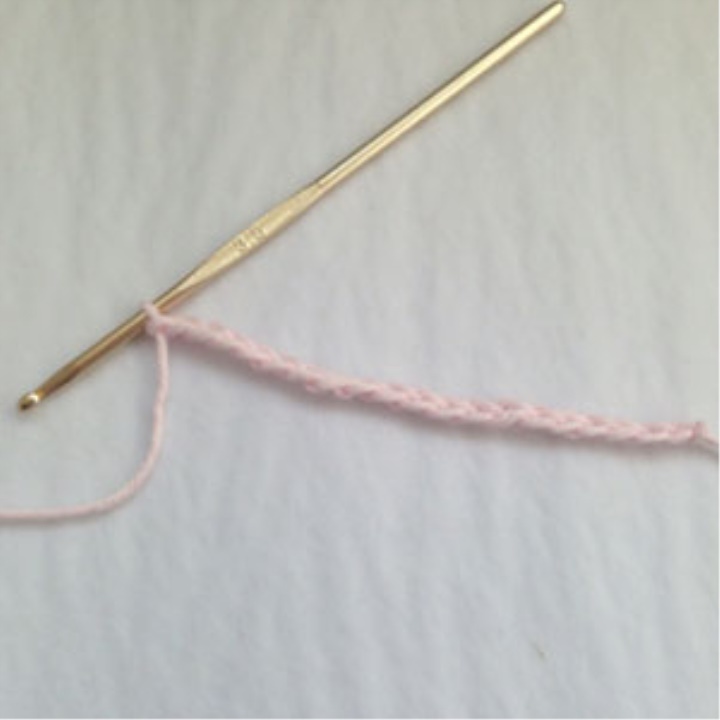
2. Skip 2 steps. (it is counted as 1 SN), 4 SN, 3 SN from one loop, 11 SN (up to the last 2 HP), PS, RLS, to complete the work with this color. Do not turn the job.
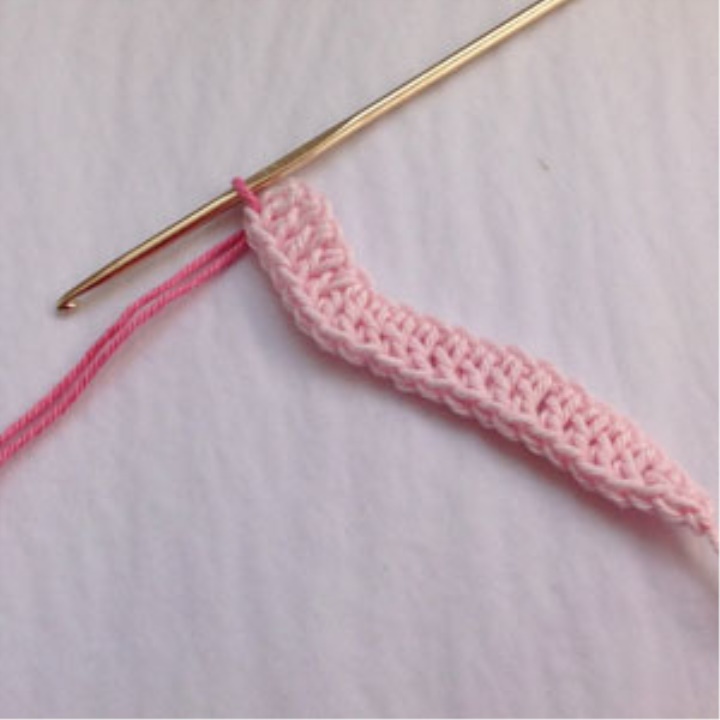
3. Attach the thread of the new color to the top of the 2-vol. the rise of the previous series, 2 points, 4 SN, 3 CH in the next. loop, 11 CH (up to 4 last loops), 2 С2Н in the same loop, where the last СН has just been knitted, 4 leave the last loops un-aligned. Finish this color. Do not turn the job.
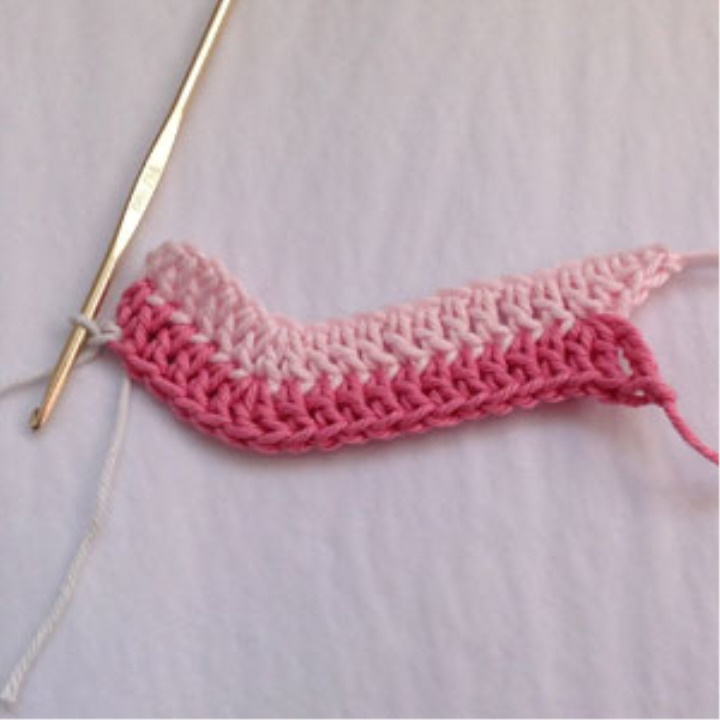
4. Attach the thread of the new color to the top of the 2-d. lifting the previous row. 1 vp, 4 SN, 3 CH in the next. loop, 10 СН, 2 С2Н in the same loop, where the last СН was just knitted. Finish this color. Do not turn the job.
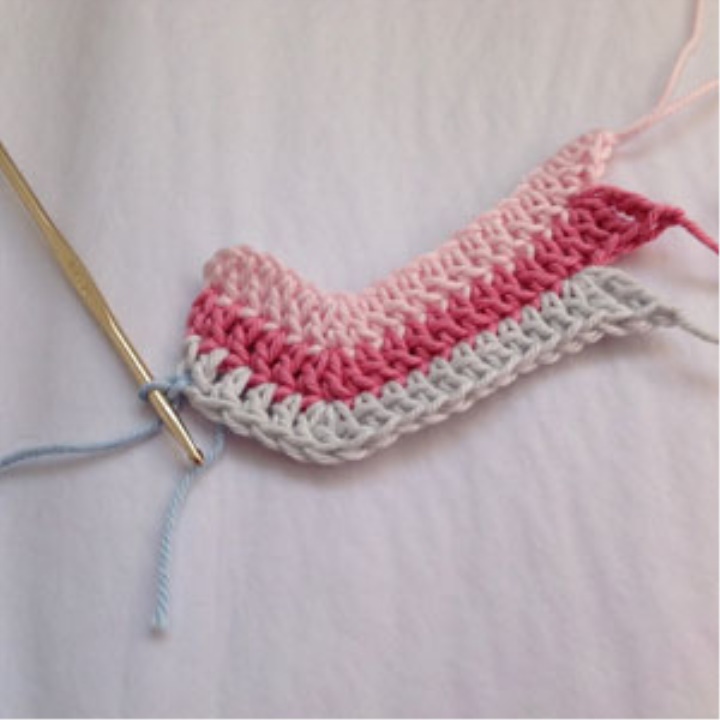
5. Attach the thread of the new color to the top of the 2-bp. lifting the previous row. 1 bp, PS, 2 SN in the next. loop, 2 С2Н in the next. loop 4 times, 1 С2Н, 2 СН in the next. loop, 1 SN, 1 PS, 1 RLS, 1 SS. To finish work.
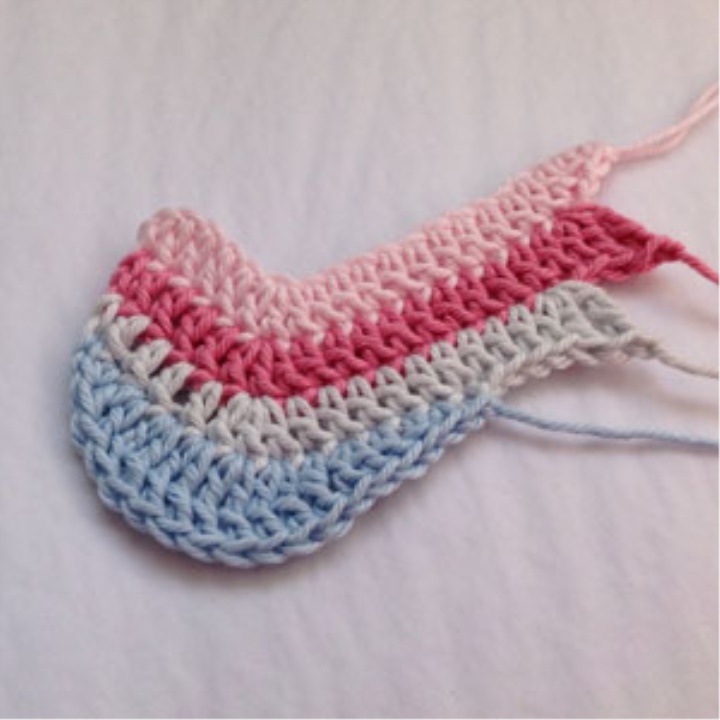
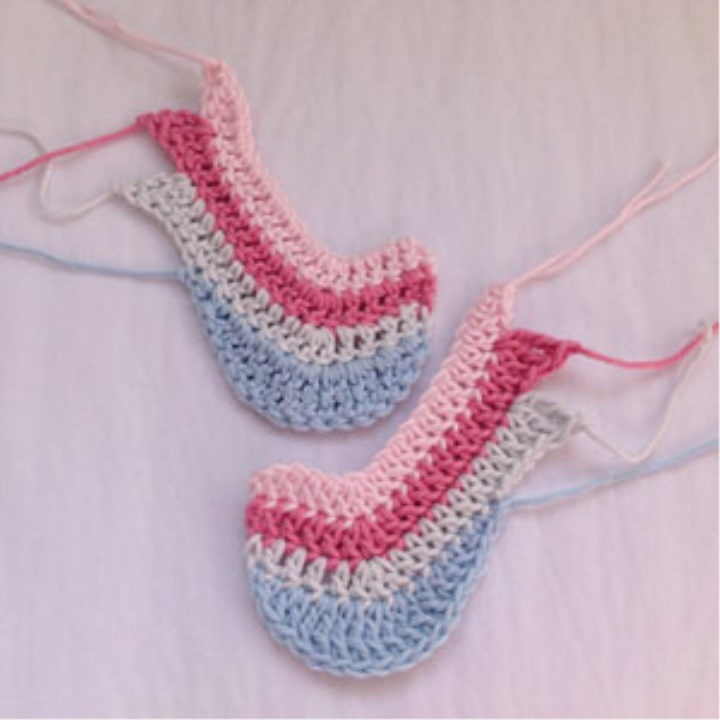
Bind 2 parts of a bird's bird.
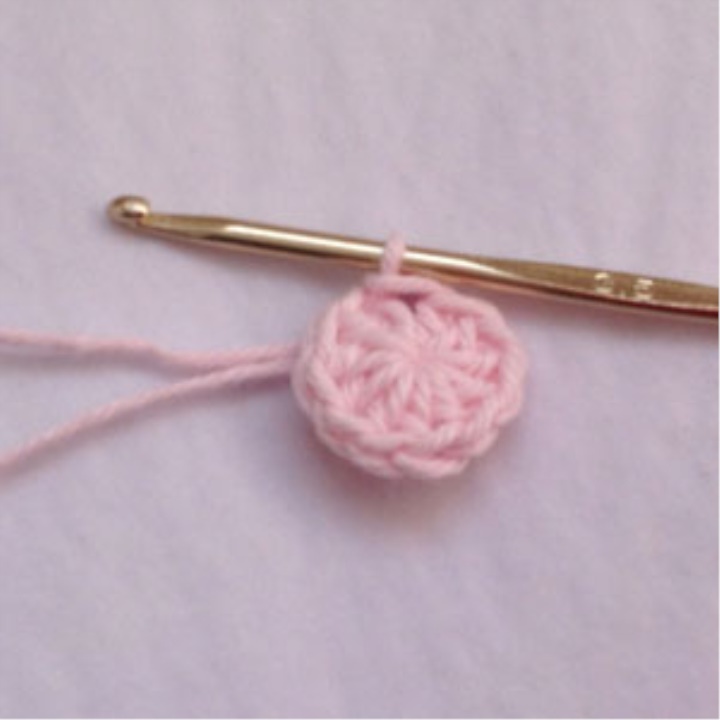
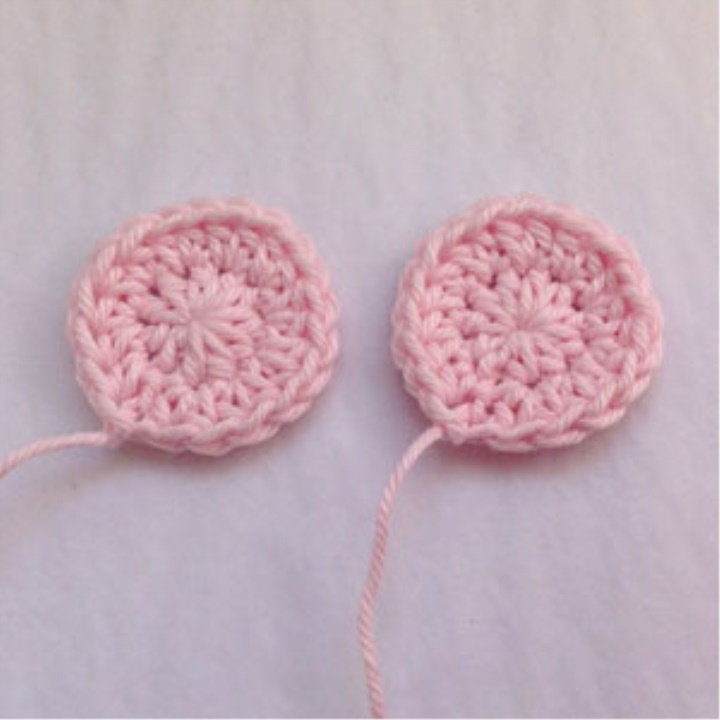
Bird's head (2 parts)
1. 10 PS in the initial magic ring, put in a circle using the SS.
2. 2 v.p. and 1 PS in the first loop. Next knit 2 PS in each loop, SS in the upper loop of the lift. To finish work. (20 pet.)
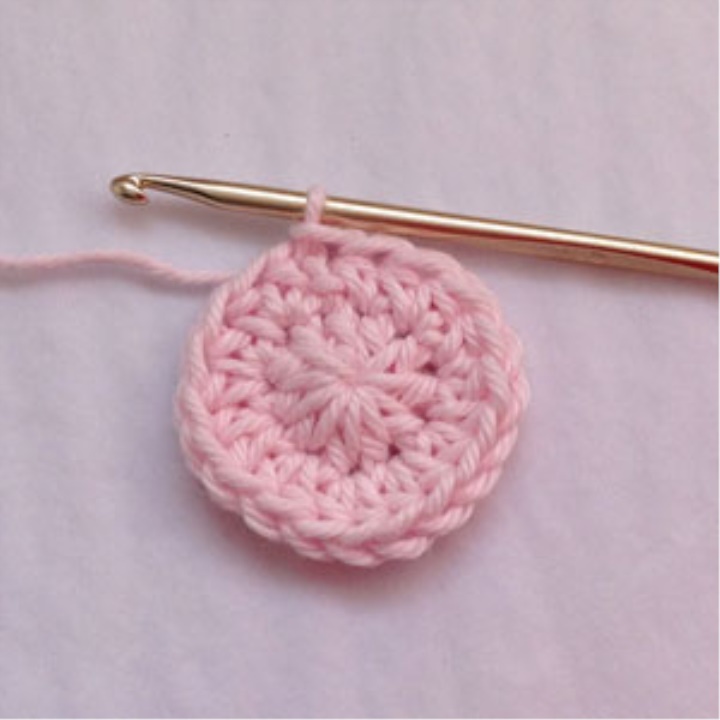
Complete 2 parts.
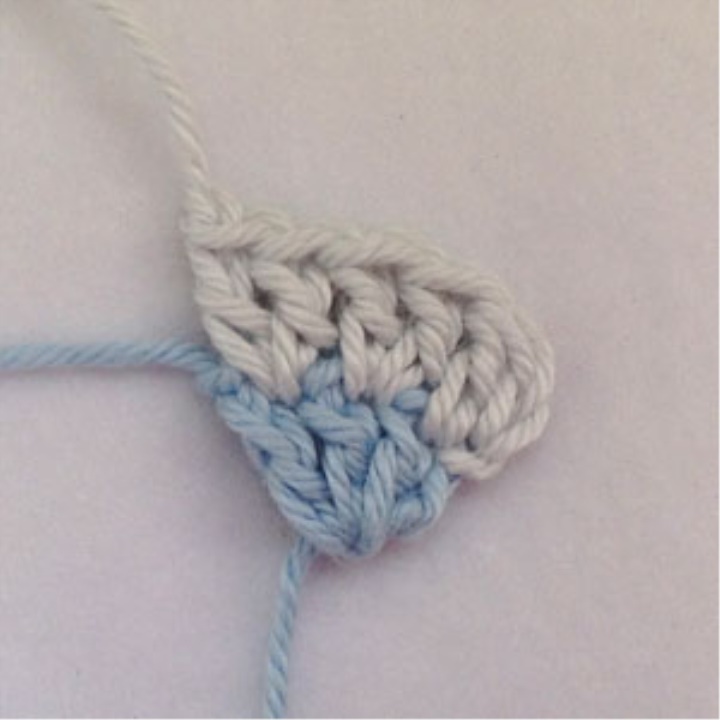
Wings of the bird (2 parts)
1. Form the initial magic ring, 2 bp, 3 CH in the ring. To finish work. Do not turn the job.

2. Another color is 2 cp. in the upper section. from 2 c.p. lifting the first row, 1 CH in the same loop, 2 CH in the next. pet., 2CH in the last. pet. To finish work. Do not turn the job. (5 pet.)
3. 2 volts. in the upper section. from 2 c.p. lifting the 2nd row, 1 CH in the next. pet., 2 CH in the next. pet., 1 CH in the next. 2 CH in the last. pet. Do not turn the job. (7 pet.)

4. Pico. Attach the thread to the upper thread. from 2 c.p. lifting the previous series, 3 sts, SS in the same loop.
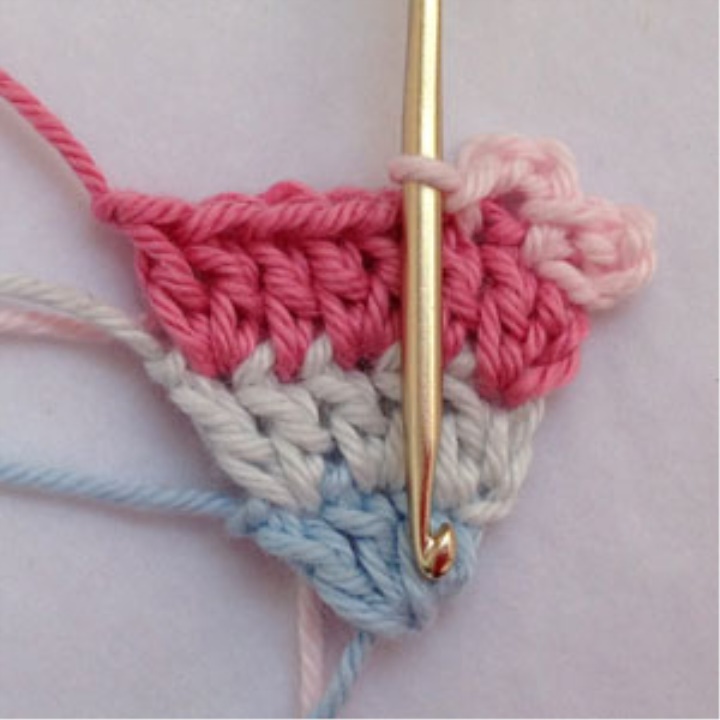
3 points, SS in the next. loop, repeat to the end of the row.
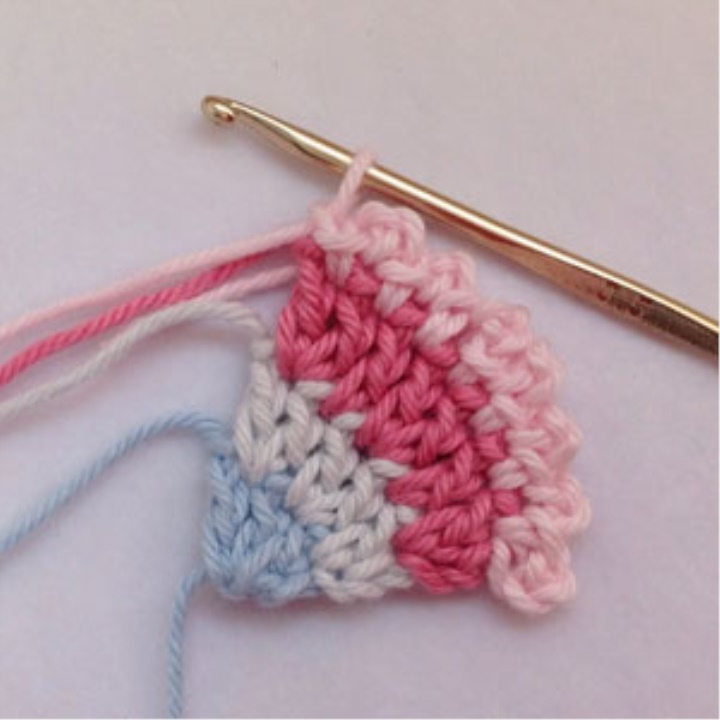
5. Tie the wing of the RLS. 1 cent. to rotate around the corner, RLS along the edge, 3 RLS to the top of the corner, RLS to the second edge, SS to the first pico loop. To finish work. Bind 2 items.
Assemblage
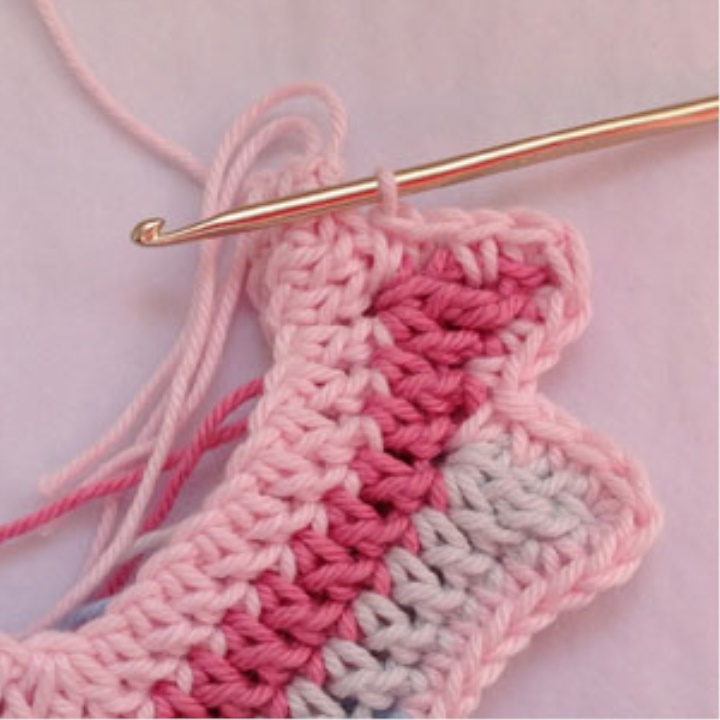
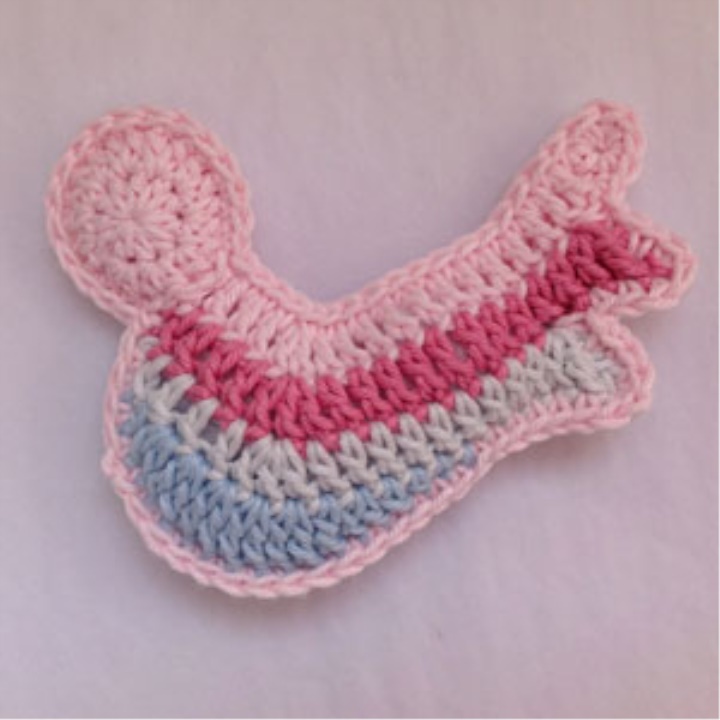
1. Add two body parts together Birds of faces. side up (the front of the birdie should be the face, the knitting side, and the back - the purse). Connect the parts together using a hook. Leave the side edge open in 4 rows to attach the head. The picture shows the beginning of joining the parts along the bottom edge.
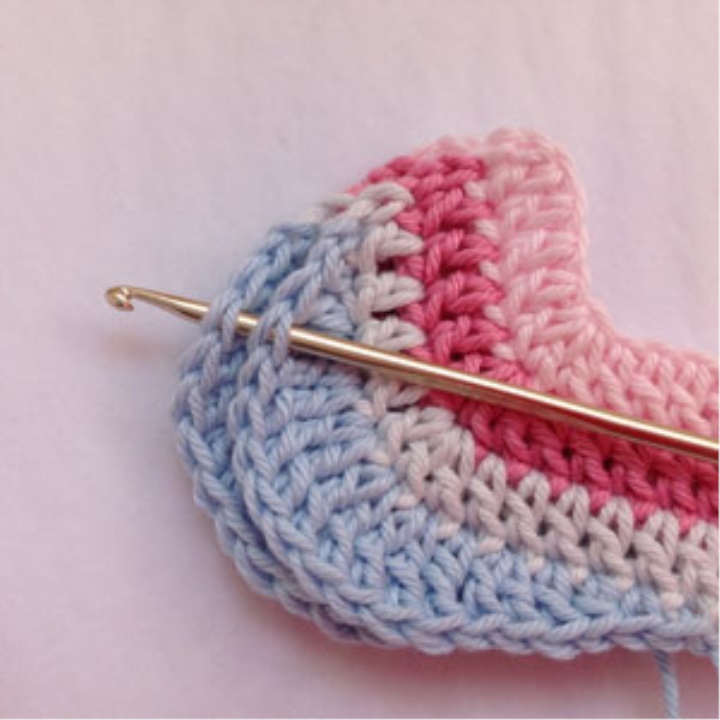
Knit RLS, inserting a hook under all 4 hooks of the loops along the bottom edge of the 2 pieces.
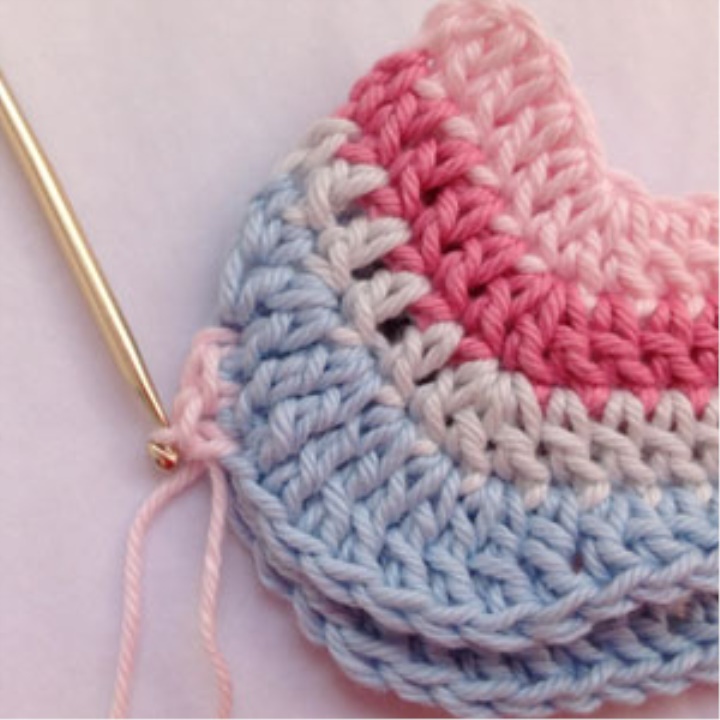
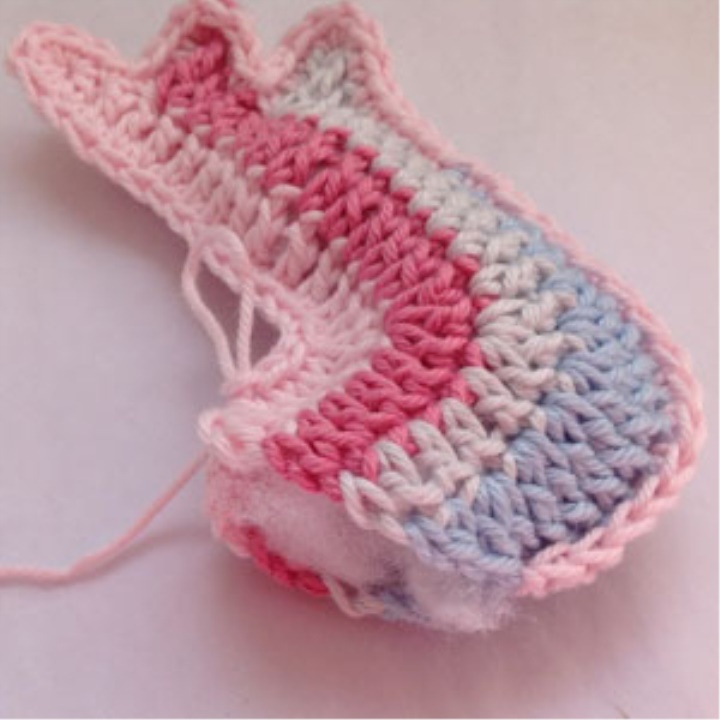
Continue tying the RLS to the end of the first "feather" of the tail. For binding the angle, execute 3 RLS in it.
Continue tying "feathers" of RLS, performing 3 RLS at each corner.
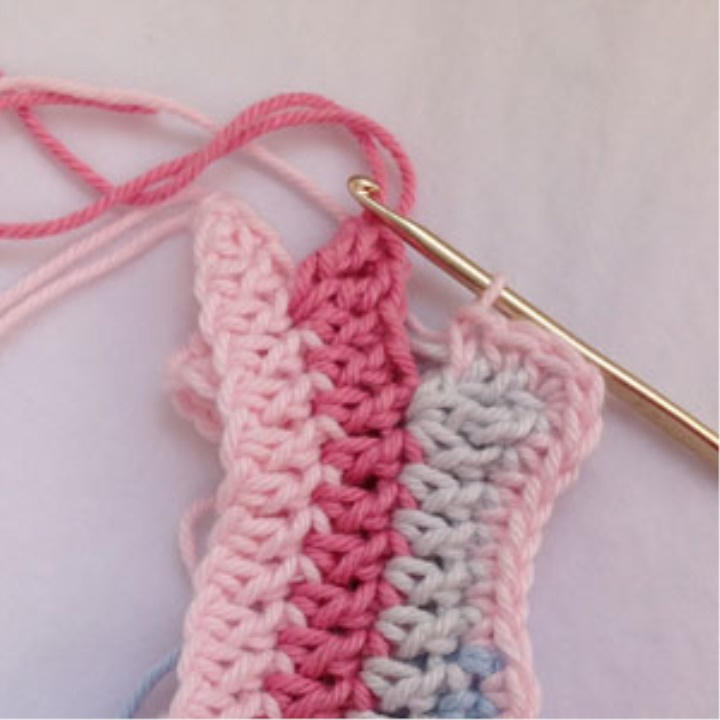
RLS along the top edge of the Bird, leaving a hole of 2.5 cm. Fill the bird a little with filler.
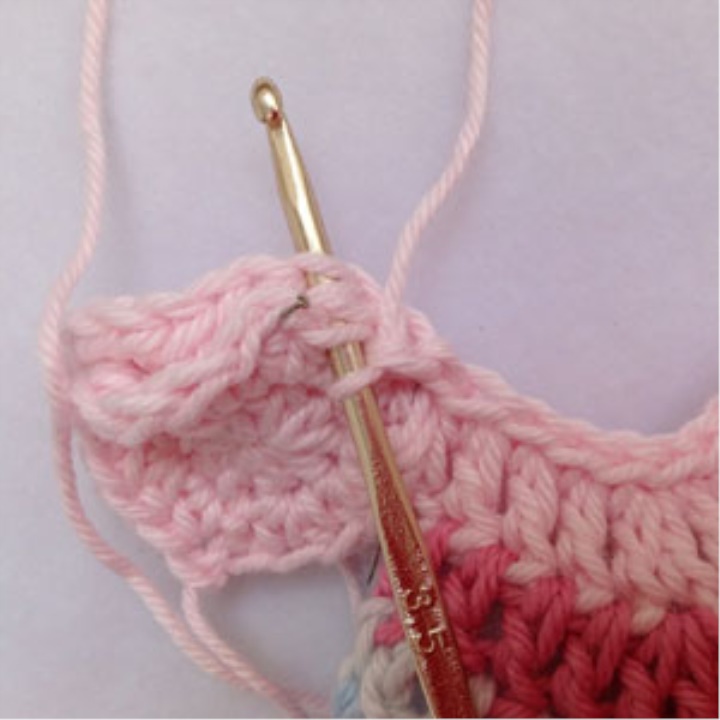
Add together 2 parts of the head, attach the birds to the neck and continue tying the RLS, connecting the body together with the head and 2 head parts to each other.
When there is a small seam, fill the head with filler.
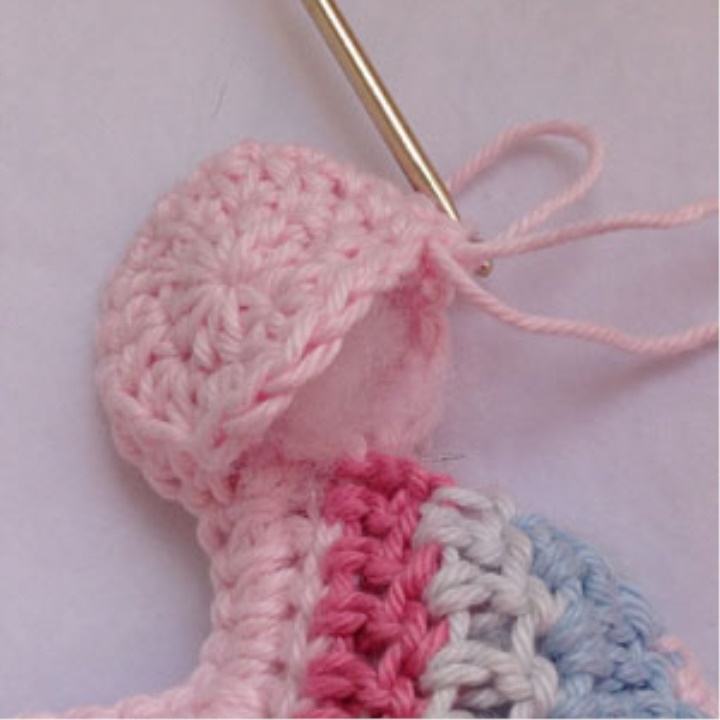
Continue tying the head of the RLS and go back to the strapping of the body to the place where the strap begins. Finish the work, leaving the long end of the thread. Sew the head to the body in the place of the neck on both sides.
Sew on the wings, using the yarn of the color with which they were strapped. Cut 2 small squares of felt 1.5 x 1.5 cm, fold them in half, cut out the triangle in the center and trim on the sides to make the beak. Sweep the beak parts together and sew to the bird.
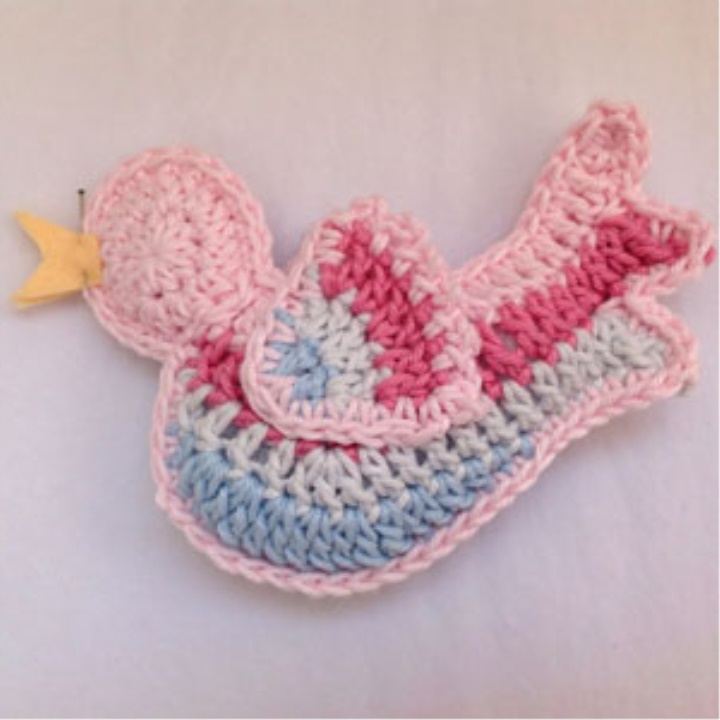
Sew on a small button on each side for the eyes.
Tie a ribbon so that the bird can be hanged somewhere.