Click For Crochet Abbreviations List
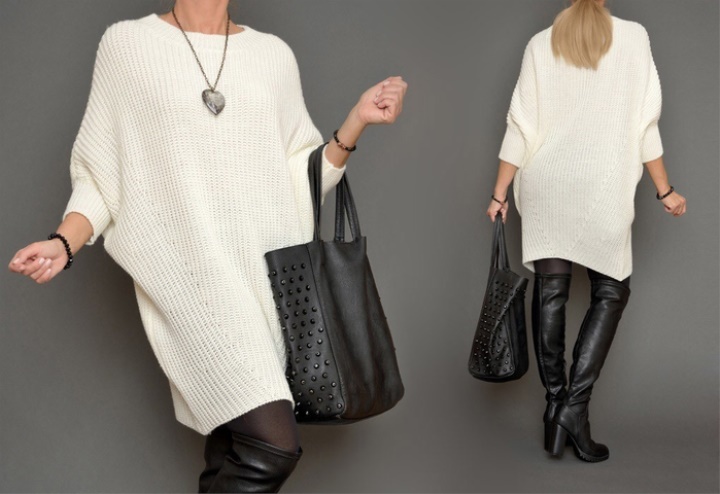
1) Judging by the picture, it starts from the hem. The wedge is knit with an extension upwards, reaches the length to the shoulder, while for 10-12 we knit the neck (this is height without considering the rubber bands). We knit the second same wedge-for the back. After this we knit 2 identical parts-according to the drawing, apparently rectangles, while the edges of these rectangles are the edges of the wedges, we lift the rows from them. In the area of the elbow, we finish everything knitting, we transplant it to circular knitting needles, we add lumens for sleeves with wedges sewn on the shoulder in advance, and we knit an elastic band-sleeve of the second, similarly! At least when considering the drawing, such a sequence is created !!!!

2) We collect loops (depends on the thickness of the yarn) of the bottom. Assume 107 loops, mark the average seven loops and in each fourth row add before and behind these seven loops.
We perform these additions (on the white model 50 times), except for this at the end of the row make additions to 1 loop 6 times. Smash evenly along the length of your product (on the model it's 22 row, 46,70,100,120, 140). Then knit directly without adding. The number of rows without adding is your cuff. Fulfill the neck, the remaining hinges close. Back knit as well, but with a less deep throat. Sew a shoulder seam. Dial the cuff loops. The cuff is elastic 1x1. The length is 10-12 cm.
Source :
https://www.liveinternet.ru/users/hodusyata/post415124102/