Materials: cotton yarn, crochet hook, felt, bag strap, carbine, sling, adjusting frame, fabric glue, lining fabric, synth, ruler, scissors, thread, needles
Cotton yarn (I have Alize Cotton Gold Plus 100 g/200m milk color № 62, Alize Bella 50 g/180 m in two strands of chocolate color № 493, a little black and white for details).
Hook № 5.
Fetr or non-woven material for creativity (red, yellow, green, blue, brown)-small pieces.
Strap for Bag: Metal half-ring (can be replaced by metal or plastic frame)-2 PCs.
Carbine 2 pcs.
Stropa 1.5 m.
Adjusting frame (plastic or metal)-1 pc.
Glue for fabric.
The fabric for the lining-25 cm.
The synthesizer (fleece or doublerine) for the lining is 25 cm.
Line.
Scissors.
Thread.
Needles.
P-Loop
VP-Air Loop
SBN-Non-scale column
Density of Knitting:
10 cm-19 loops
10 cm-18 rows
Preparation for work (if knitting from other yarn):
If you are knitting a bag from a yarn different from the one in the master class, then for the best result I advise you to start by associating a test sample to calculate the loops.
To do this, dial 15-20 of the EAP and link several rows of RVN. Then measure the ruler with the sample size.
Divide the number of loops in one row by the length of the sample — the number of loops in 1 cm.
Divide the number of rows by the height of the sample-the number of rows in 1 cm.
Since we will knit from the center in a circle, the calculations do the following: The bottom of the bag should be the size of 18 * 5 cm. From 18 SM Subtract 5 sm, it turns out 13 SM. 13 cm Multiply by the number of loops in 1 cm (in my case it is 1.9 p, 13 * 1.9 = 24,7, rounded to 25) and collect such a number of air loops to start work.
Bag base
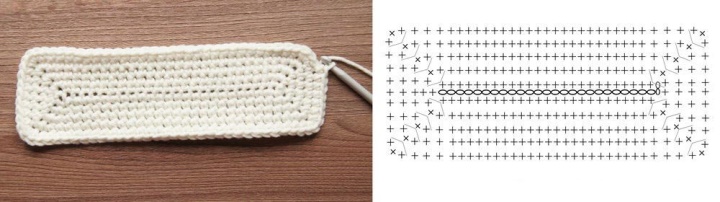
We dial a chain of 25 VP, 2 loops lifting.
1 row: In the third loop from the hook we touch the column without a scale (SBN).
Knit to the end of a series of SBN, in the last loop, we have 3 SBN and tie the chain of the air loops on the other side.
2 row: We touch the RVN in the lifting loops.
3 SBN in the next loop, 1 SBN in the following 23 loops (p), 3 SBN in one loop, 1 SBN, 3 sbn in one loop, 1 SBN in the next 23 p, 3 SBN in one loop, 1 SBN in the next 2 p.
3 row: 3 SBN in one loop, 1 SBN in the next 25 p, 3 SBN in one loop, 1 SBN in the next 3 p, 3 SBN in one loop, 1 SBN in the next 25 p, and 1 SBN in the next 4 p.
4 row: 3 SBN in one loop, 1 SBN in the next 27 p, 3 SBN in one loop, 1 SBN in the next 4 p, 3 SBN in one loop, 1 SBN in the next 27 p, and 1 SBN in the next 5 p.
5 row: 3 SBN in one loop, 1 SBN in the next 29 p, 3 SBN in one loop, 1 SBN in the next 5 p, 3 SBN in one loop, 1 SBN in the next 29 p, 1 SBN in the next 6 p.
There should be a rectangle with the sides of about 18 cm and 5 cm.
Further knit in the circle of the SBN without increments to a height of 22 cm (from the initial chain of the EAP).
Before the last row mark the front, back and sides of the bag at the corners of the rectangle. In the next row, lower one loop in each corner.
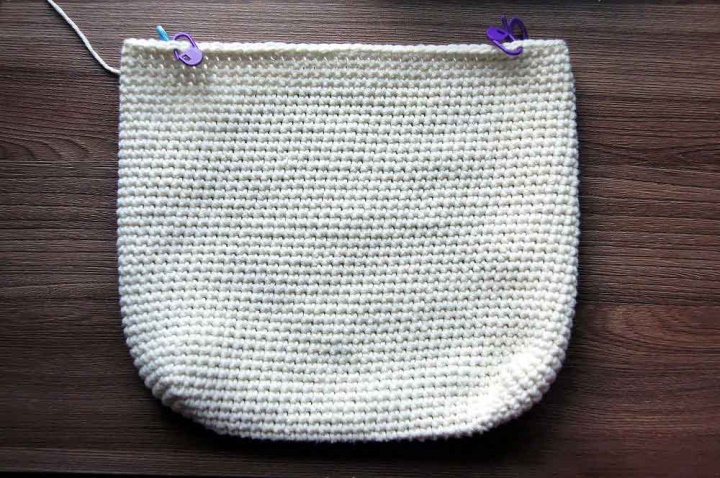
We tie the edge of the Raj step.
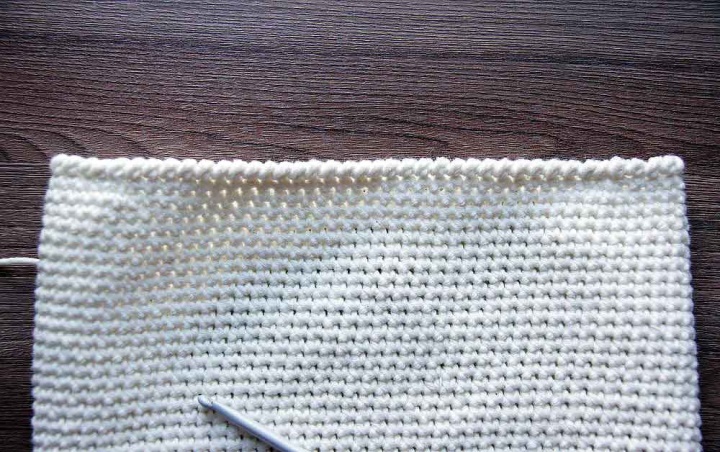
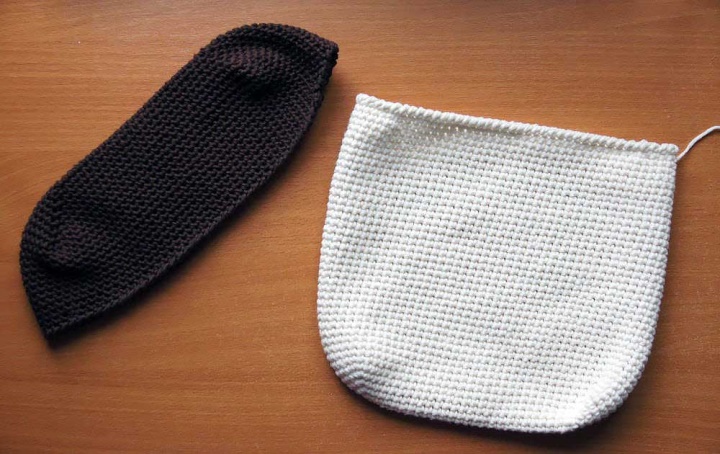
Similarly knit valve bags.
First we knit a rectangle with the size of 21x7 cm and knit directly to a height of 10 cm (from the initial chain of the EAP). Before the last row mark the front, back and sides of the valve at the corners of the rectangle. In the next row, lower one loop in each corner.
We tie the edge of the Raj step.
Details
Lens
From a black yarn.
1 row: In the ring of Amigurumi we have 6 SBN.

2 row: 2 SBN in each loop = 12.
3 row: "2 SBN in one loop, 1 SBN" Repeat from "to" 6 times = 18 p.
4 row: "2 SBN, 2 SBN in one loop" repeat from "to" 6 times = 24 p.
5 row: "2 SBN in one loop, 3 SBN" repeat from "to" 6 times = 30 p.
In the next row the first 8 loops to be white threads, then again to pass on black.
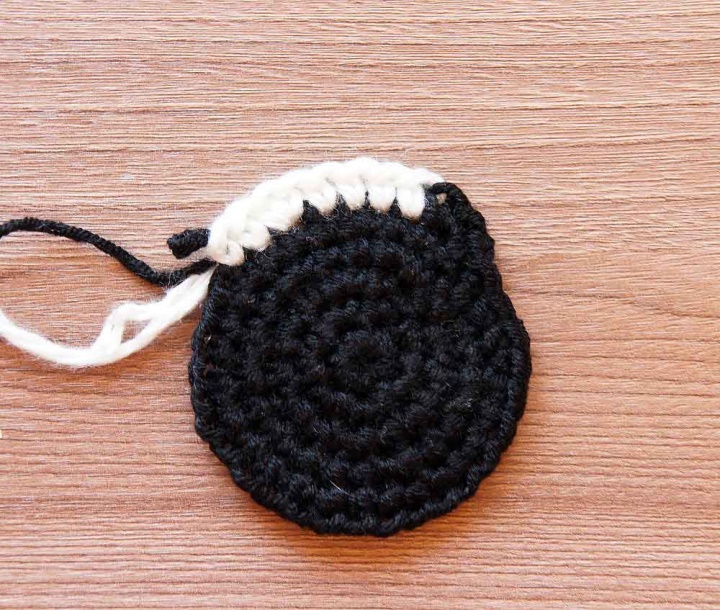
6 row: "2 SBN, 2 SBN in one loop, 2 SBN" repeat from "to" 6 times = 36 p.
7 row: "4 SBN, 2 SBN in one loop, 1 SBN" Repeat from "to" 6 times = 42 p.
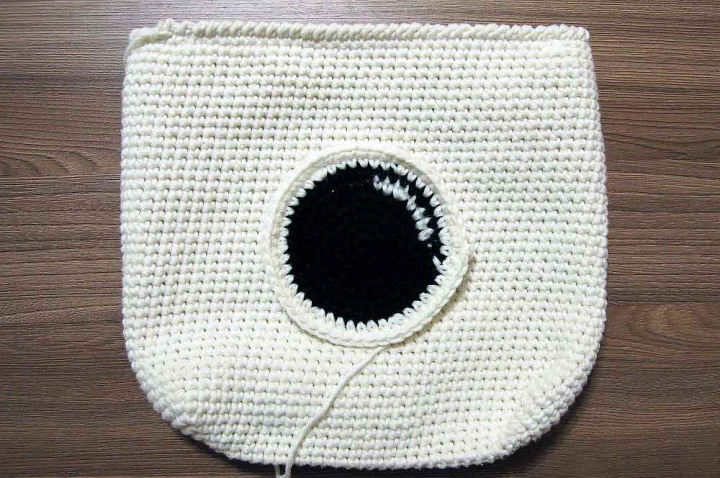
Go for the yarn of milky color, the Kotra knitted the base of the bag.
8 row: "6 SBN, 2 SBN in one loop" repeat from "to" 6 times = 48 p.
9 row: 48 p.
Sew the detail in the center of the front of the bag.
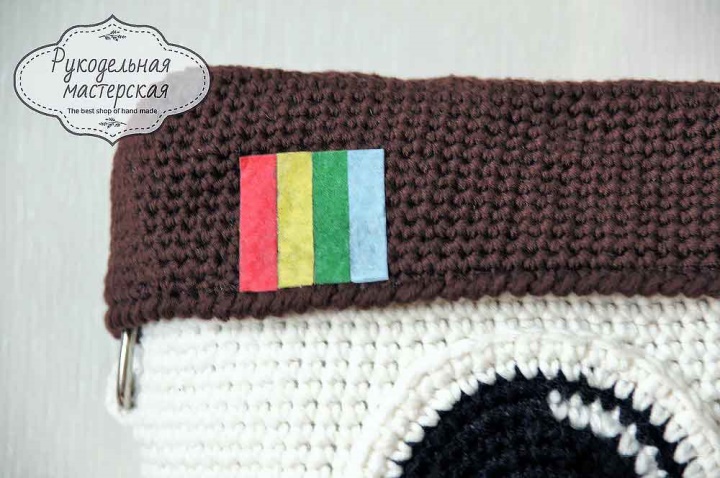
Details on the valve bag.
From red, yellow, green and blue felt cut strips in the size of 3.6 x 0.9 cm (I made of non-woven material, so strips cut the size of 7.2 x 0.9, folded twice and pasted the usual PVA).
Cut off a piece of cloth or felt in the size 3.6 x 3.6 cm and glue to it strips of felt with glue for fabric (on the instruction to glue). Also made of non-woven material and pasted PVA.
Cut out a brown felt square of 3x3 cm and the same size heart of the red felt. Glue the heart to the square with adhesive for the fabric (also made of non-woven material and Prokleivala PVA)
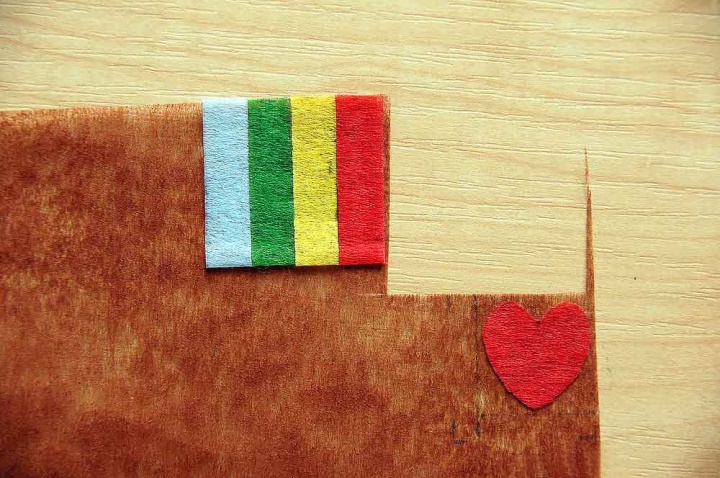
The prepared details are pasted to a valve of a bag also by glue for a fabric (the non-woven material was pasted to a valve by glue for a fabric).
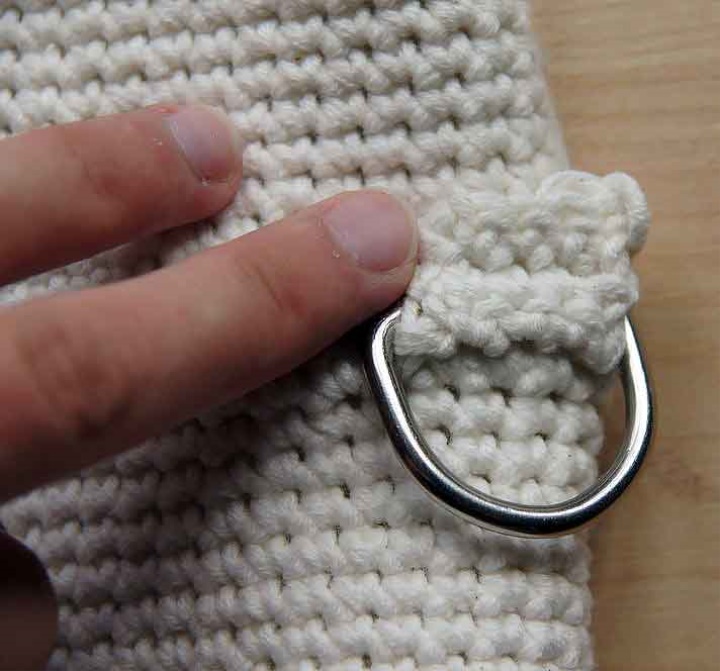
Fasten the half-ring (or other belt mount)
Try on, where it is more convenient to fasten a belt. It is best to do it just below the closed valve bag.
Start the hook in the holes between the SVN at the place of fastening of the belt, Projazhiem 4-5 SBN (depending on the size of the half-ring). There are four rows of RVN in the back-and-forth rows. INSERT into the Projazazit strip half-ring and projazit another row, fastening with the basic detail of a bag. On the other hand we do the same.
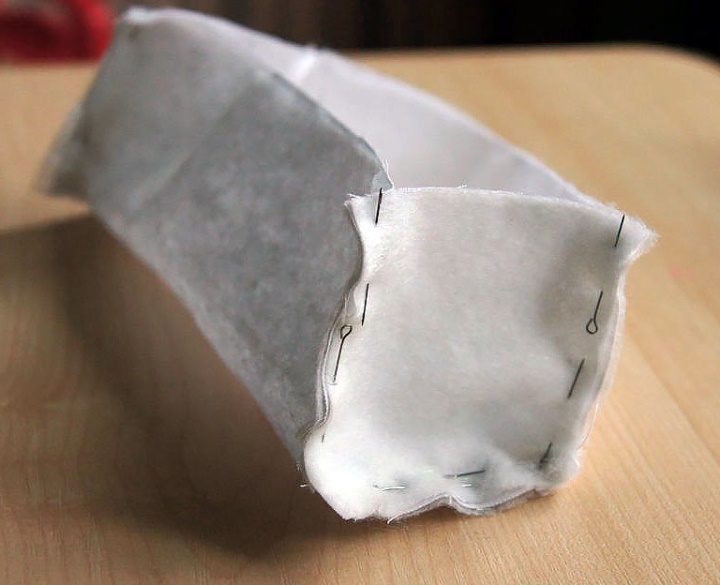
Lining
Cut out the details of the fabric for the lining:
19х 45 cm and 19.5 х6c m (2 pcs.)-For the basis of the bag.
22x21 SM and 6.5 х8 SM (2 pieces)-For a valve of a bag.
The same details are cut out from synthepon (a fleece or a doublerina), to combine with a fabric and iron ironing on the part of a fabric.
We download the details, as shown in the photo, and sew.
Attach the valve to the main part.
Insert the sub-stock into the main part. Reattach.
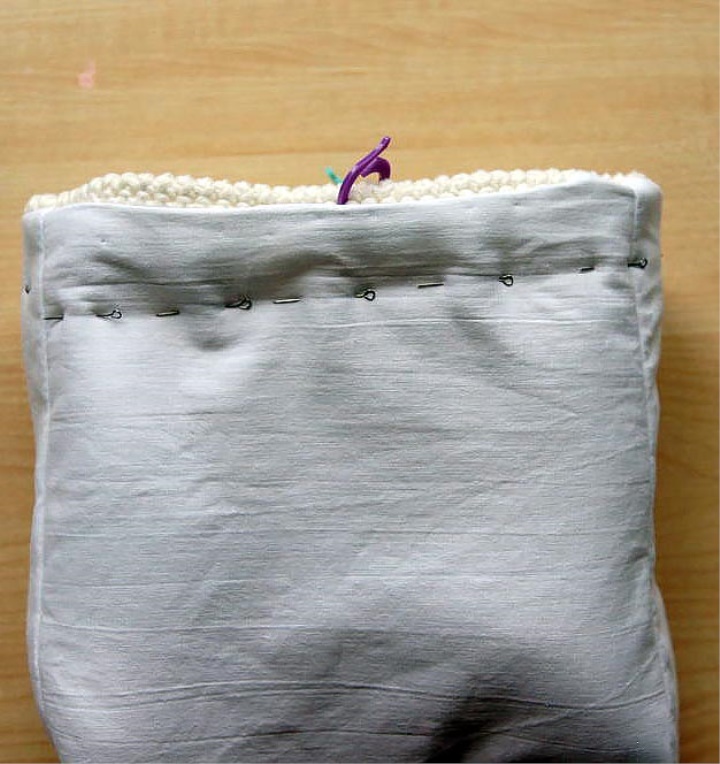
Attach the lining to the valve.
Fasten the belt in the half-ring.