Materials: Yarn Coco Vita Cotton, hook, white cardboard, glue.
I offer you a master-class on knitting of a keed for a toy.
When knitting the specified materials and tools, the sneakers should be with such dimensions: 7 cm * 4 cm * 2.5 cm
-Yarn Coco "Vita cotton" of two colors (100% cotton, 240m/50g), Knit in 2 addition
The parts are knit in a circle, connecting the series with a connecting column, unless otherwise specified.
Knit in the sequence as given in the Master class.
Dial 12VP, start knitting from the second loop from the hook: 5SBN, 5PSSN, 6pssn in the last loop (Photo 1), continue knitting on the other side of the braid from the VP, 5PSSN, 4SBN, 3SBN in the last loop, SS = 28 P: 2VP, 1d of PRSPs, 9PSSN, 6d of PRSPs, 9PSSN, 3 , SS = 38 N (Photo 2).
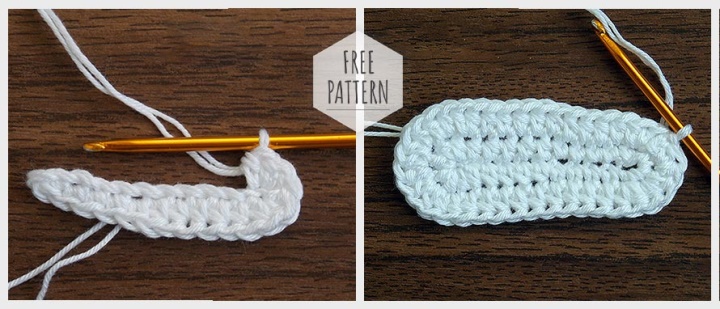
: 2VP, 1SSN, 1d of PRSs, 10SSN, (1d of PRSs, 1SSN) * 2, 3d of PRSs, (1SNN, 1d of PRSs) * 2, 11SSN, 1d of PRSs, 1SSN, 2d of PRSs = 49 p
: Knit 1 Row SS
From a white cardboard cut out a insole, having attached a knitted sole to a paper and having circled on a contour. Then slightly cut the workpiece, reducing it in size (Photo 3, photo 4). Cut out the fabric insole and stick to the cardboard (Photo 4):
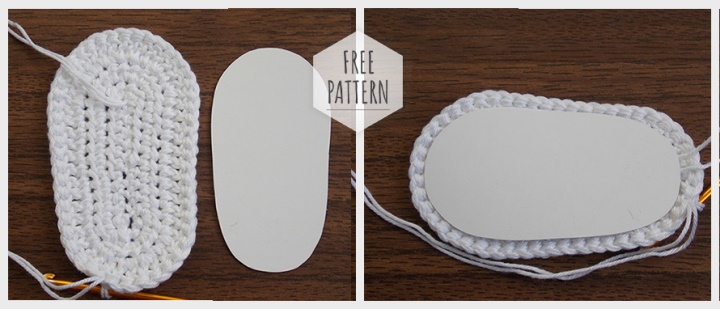
Continue knitting
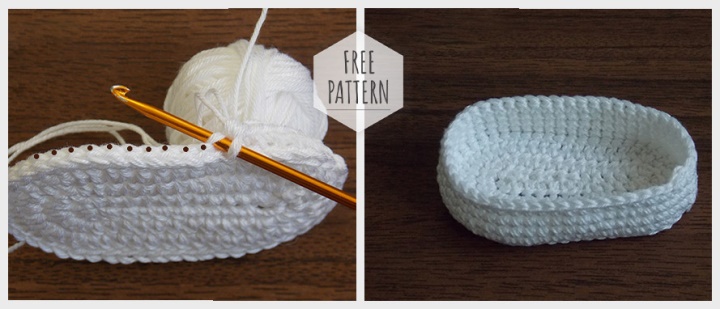
: 1VP, Knit 1 row is on the back wall of the loop, at the end of the row to pass SS = 49 N (Photo 5)
: 1VP, Knit 1 row is for both loop walls, at the end of the series, the SS = 49 N
: 1VP, Knit 1 row for both loop walls, at the end of a row of the SS = 49 N
: 1VP, Knit 1 row for both loop walls, at the end of a row of the SS = 49 N
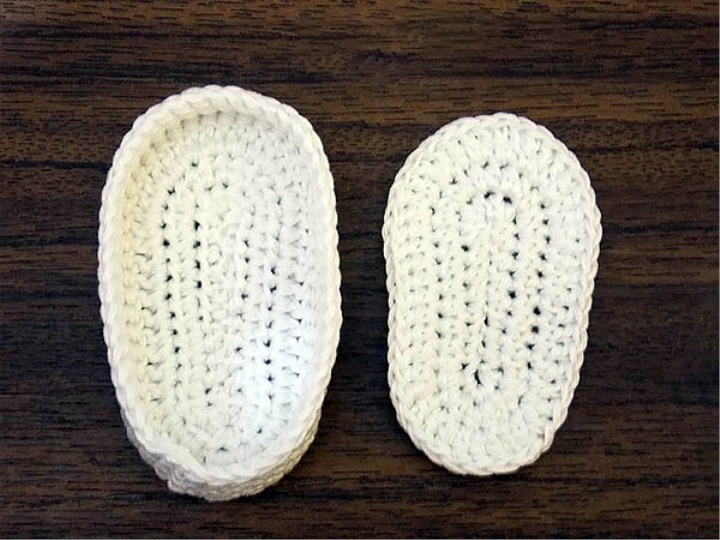
Cut off yarn, all ends of a yarn to tie and for reliability to fasten glue (Photo 6)
Top with "Reed"
Knit is similar to the sole. Dial 10VP, start knitting from the second loop from the hook
: 4SBN, 4PSSN, 6pssn in the last loop, continue knitting on the other side of the braid from the VP, 4PSSN, 3SBN, 3SBN in the last loop, SS = 24 p
: 2VP, 1d of PRSPs, 7PSSN, 6d of PRSPs, 7pssn, 3d of PRSPs, SS = 34 N
: 2VP, 1SSN, 1d of PRSs, 8SSN, (1d of PRSs, 1SSN) * 2, 3d of PRSs, (1SSN, 1d of PRSs) * 2, 9SSN, 1d of PRSs, 1SSN, 2d of PRSs, SS = 45 N
Cut off yarn, all ends of a yarn to tie and for reliability to fasten glue (Photo 7)
Side
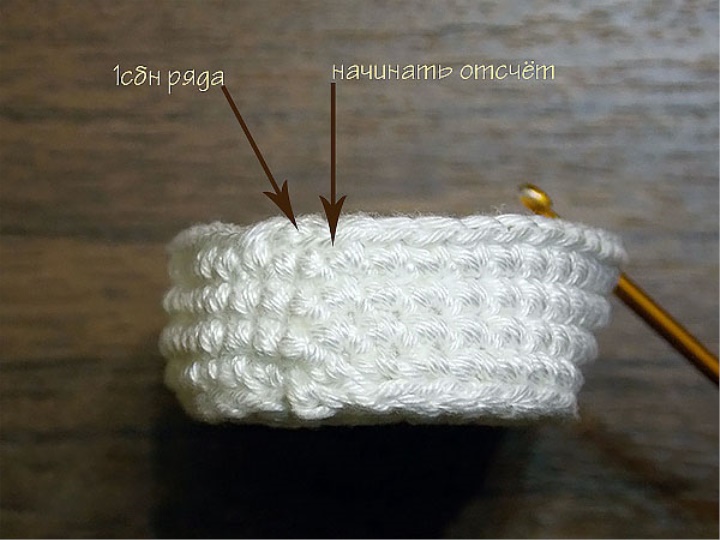
Knit Brown yarn in two addition. Find the end of a series of knitted soles, and begin to count "holes" from the last row of bars against the clock circle, ie right, starting with the "hole" of the connecting column (Photo 8)
Attach the yarn to the 16 "hole" of the column and knit 28SBN, including the "hole" of the connecting column, at the end of the row to hold 1VP and turn knitting = 28 P
: 1ub from SBN, 24SBN, 1ub from SBN, 1VP and rotate knitting = 24 p (Photo 9)
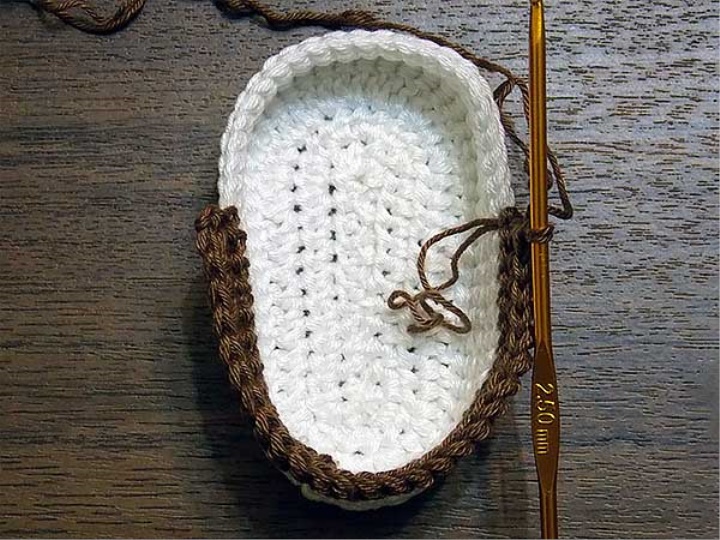
1ub from SBN, 22SBN, 1ub from SBN, 1VP and turn knitting = 22 p
: 1ub from SBN, 20SBN, 1ub from SBN, 1VP and turn knitting = 20 p
: 1ub from SBN, 18SBN, 1ub from SBN, 1VP = 18 p
Cut the yarn (photo 10, photo 11). All ends of a yarn to tie and for reliability to fasten glue
Decorative Strip
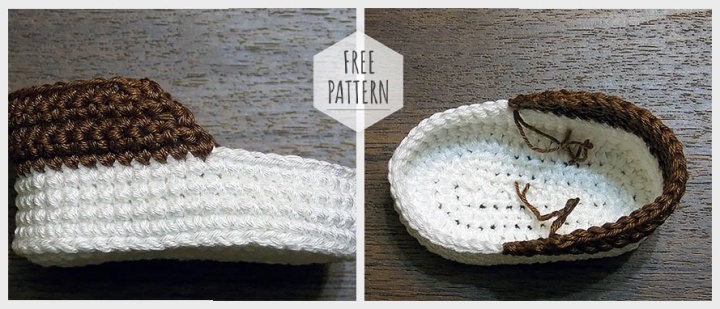
Using yarn in 1 thread, embroider a stripe on "holes" of columns (Photo 12, photo 13)
All ends of a yarn to tie and for reliability to fasten glue. At this point, insert the track, you can glue or leave the interchangeable.
Stitching Parts
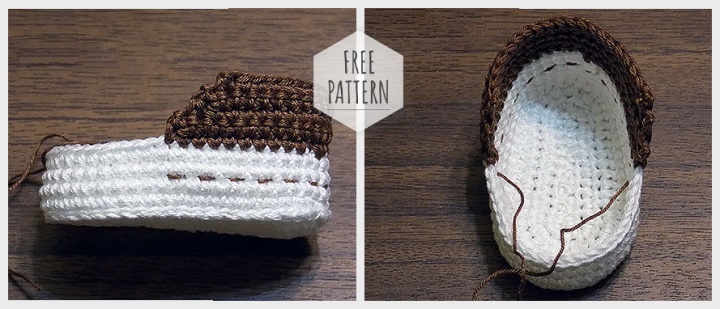
Find the beginning of the last row of the top part with a "reed" and Count 10 loops (Photo 14)
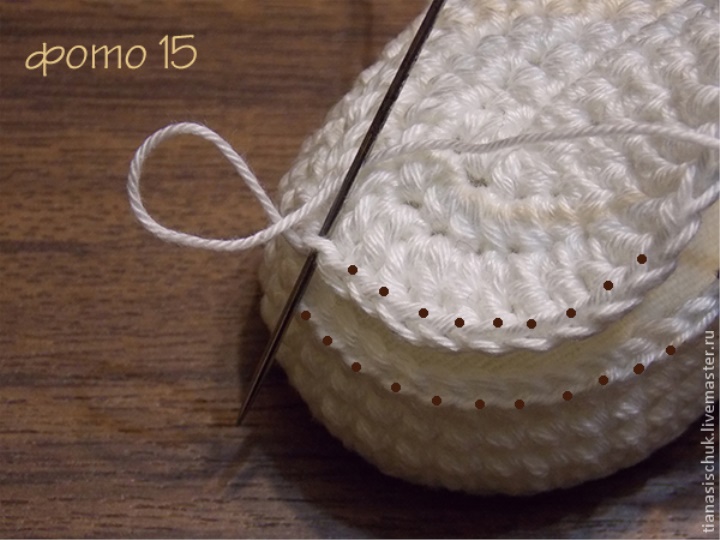
From this point start stitching the parts, capturing the outer walls of the columns of details, to the side (photo 15, photo 16)
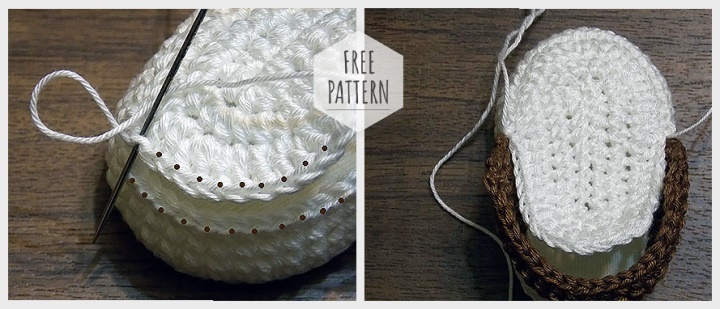
All ends of a yarn to tie and for reliability to fasten glue.
Shoelaces
Cut off the required length of yarn and lace up on the edge of the side: