I suggest to link the Mishka-Amaguumi in winter accessories which at a choice of New Year shades will become a sweet souvenir for holidays. And if you put him in a ball, it will be a Christmas toy.
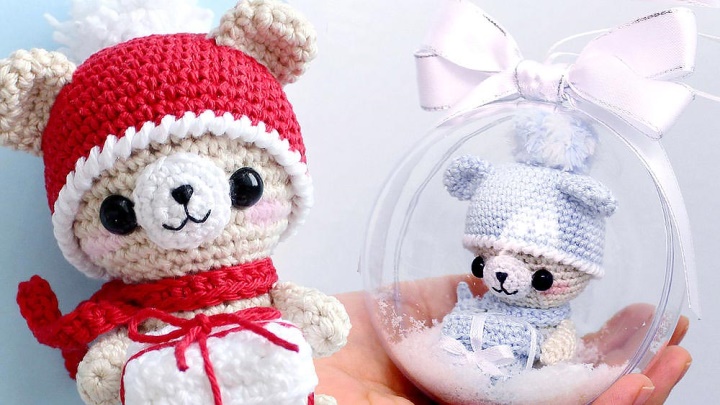
Materials
• Yarn Anabel Alpina or analogue on the thickness of Lily Vita Cotton in beige, red and white colors and hook 2.5 mm;
• White fluffy yarn of Kroha Nazar or Softi alize for Pompon and Hook 3-3.5 mm;
• Thinner yarn for the muzzle in white (Lily Alpina) and a suitable hook (I have 1.6 mm), black thread, needle, scissors;
• Eyes-half beads 8 mm and glue;
• Pink blush and brush for cheeks.
Legend
VP-Air Loop;
RVN-a column without a scale;
d — increments (two from one loop);
UB-Ubavki;
SS-A connecting column or a half-column without a scale;
x N-repeat n times.
All parts are connected in a spiral (except for a spout).
Head
1r-6 in the Ring Amigurumi (6)
2r-6 Ave (12)
3r-(d, 1 SBN) x 6 (18)
4r-(d, 2 SBN) x 6 (24)
5r-(d, 3 SBN) x 6 (30)
6r-(d, 4 SBN) x 6 (36)
7-14 R.-36
15r-(UB, 4 SBN) x 6 (30)
16R-(UB, 3 SBN) x 6 (24)
17r-(UB, 2 SBN) x 6 (18)
Finish the SS, cut the thread, fill the tips and tightly pour the filler.
Body
1r-6 in the Ring Amigurumi (6)
2r-6 Ave (12)
3r-(d, 1 SBN) x 6 (18)
4r-(d, 2 SBN) x 6 (24)
5-12 p.-24 SBN
13R-(UB, 2 SBN) x 6 (18)
14 R.-18
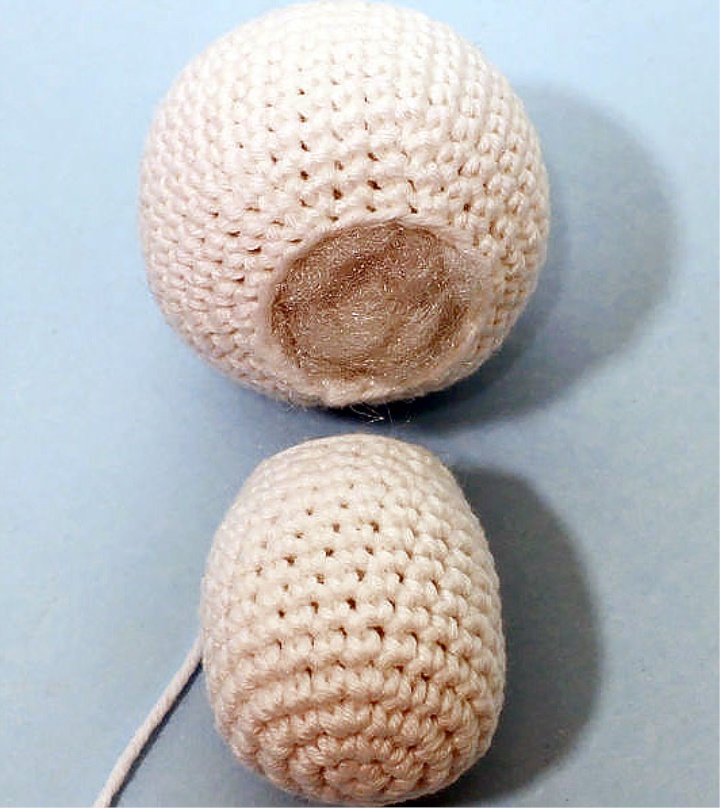
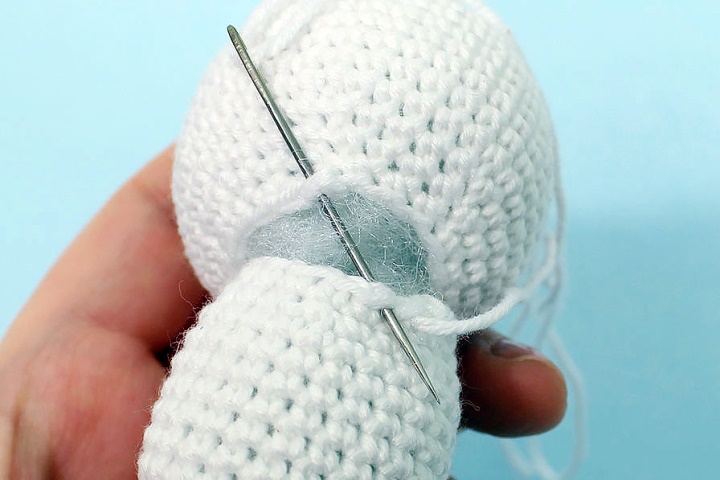
Finish the SS, cut the thread so that the long end remains. Fill the part with filler. Align the body with the head and sew on the edge of all 18 loops, if necessary adding filler.
If you want, you can knit the body and head with one detail, but I like it more when on both sides of the Amaguumi ring.
Cap
1r-6 in the Ring Amigurumi (6)
2r-6 Ave (12)
3r-(d, 1 SBN) x 6 (18)
4r-(d, 2 SBN) x 6 (24)
5r-(d, 3 SBN) x 6 (30)
6r-(d, 4 SBN) x 6 (36)
7r-(Ave, 5 SBN) x 6 (42)
8-15 R.-42
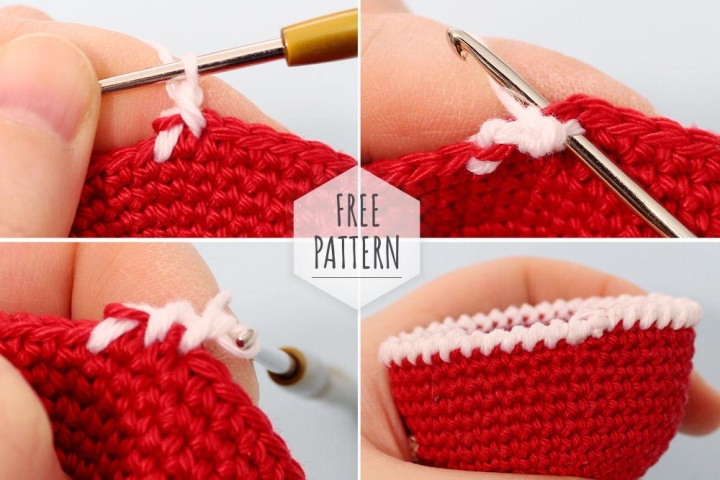
16r-Change the color to white, for this make the SS at the end, but the last move to stretch the new thread, then white dial the VP and tie the edge of the "Raj Step" of the SBN.
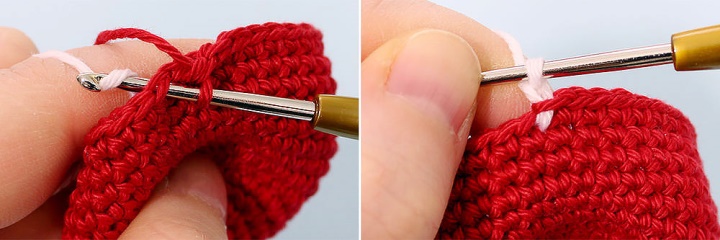
"Rachiy Step"-Knitting in the opposite direction, hook in the loop on the right (and not on the left, as usual), pull the working thread-it will be a re-baptism of threads, everything else-the usual way.
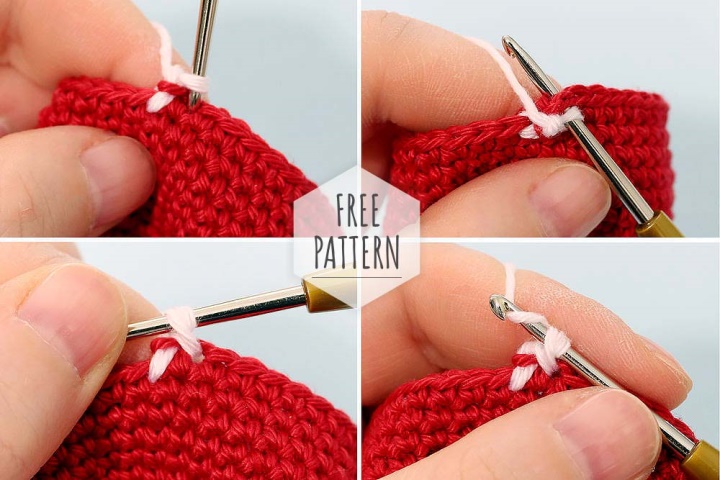
Tie the whole edge, finish the SS, cut the thread, fill the ends.
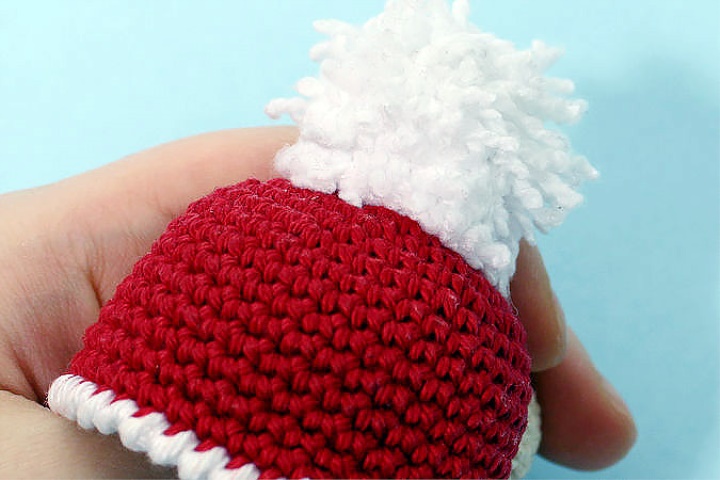
Pompon (made of fluffy yarn)
1r-6 in the Ring Amigurumi (6)
2r-6 Ave (12)
3-4 R.-12 SBN
Finish the SS, cut the thread so that the long end remains. Fill the item with filler and sew to the CAP.
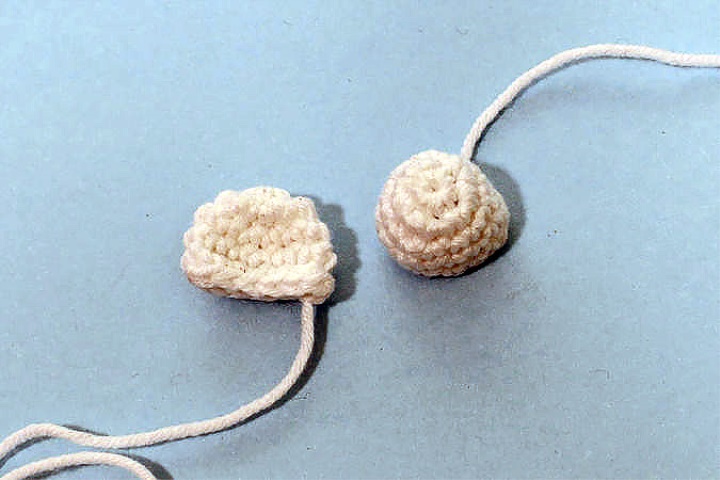
Ears
1r-6 in the Ring Amigurumi (6)
2r-6 Ave (12)
3-5 R.-12 SBN
Finish the SS, cut the thread so that the long end remains. Give details with your hands flattened shape.
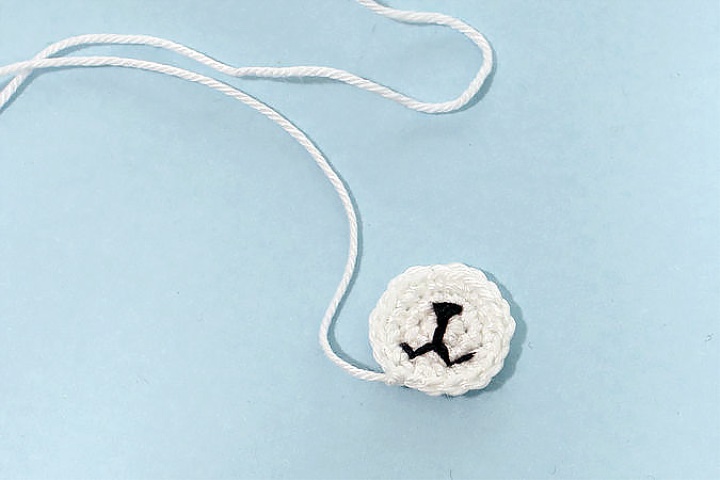
Muzzle
1r-6 in the Ring Amigurumi (6)
2r-6 Ave (12)
3r-(d, 1 SBN) x 6 (18)
If necessary, continue to knit according to the circle rule to the appropriate size. Finish the SS, cut the thread so that the long end remains. With black sewing threads, make a nose and a smile.
Paws
Bottom (2 pcs):
1r-6 in the Ring Amigurumi (6)
2r-(d, 2 SBN) x 2 (8)
3-8 R.-8 SBN
Finish the SS, cut the thread so that the long end remains. Fill the details with the filler.
Top (2 pcs):
1r-7 in the Ring Amaguuumi (7)
2-7 p.-7
Finish the SS, cut the thread so that the long end remains. Fill the details with the filler.
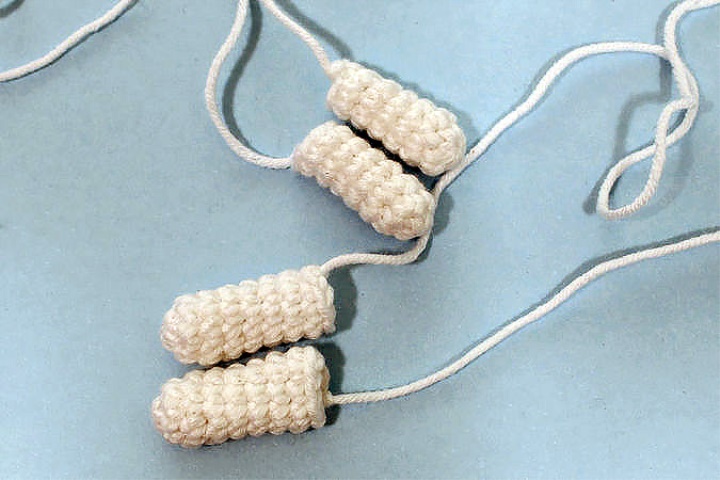
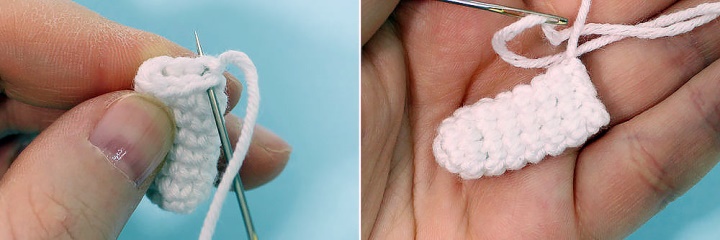
Give the paws a flattened shape (fold the edge in half). The remaining end of the thread sew the edge, but do not cut off after this thread.
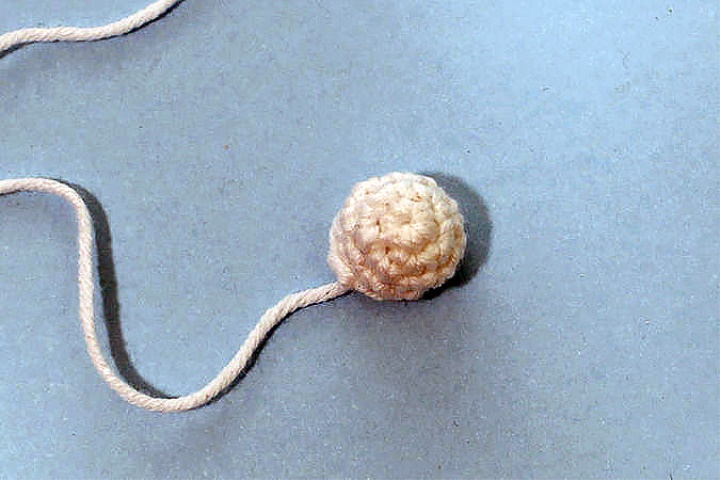
Tail
1r-5 in the Ring Amaguuumi (5)
2r-5 Ave (10)
3-4 R.-10 SBN
Finish the SS, cut the thread so that the long end remains. Fill the part with filler.
Scarf
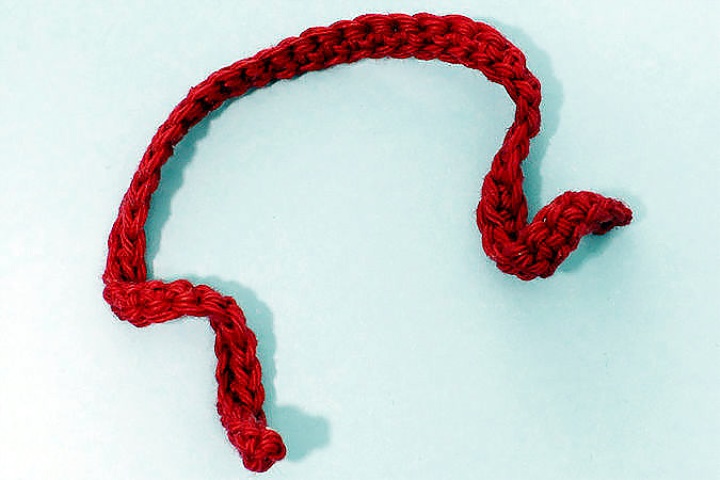
Dial the air chain of the required length (I have 50 vp) and link one row of the SBN (1 column in each VP). At the end cut the thread, fill the tips.
Assembly
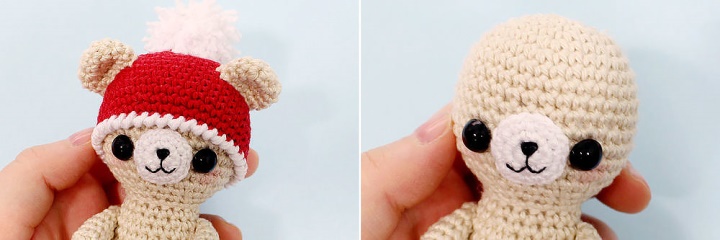
Put the cap on the workpiece so that the cap covered most of the head. Try face, eyes, ears and sew/glue them in a favorite place. In the photo of the eye between 11 and 14 rows, and the spout between 10 and 15, if you count from the top, ie without a hat very high forehead (so the cap is solid, not removed).
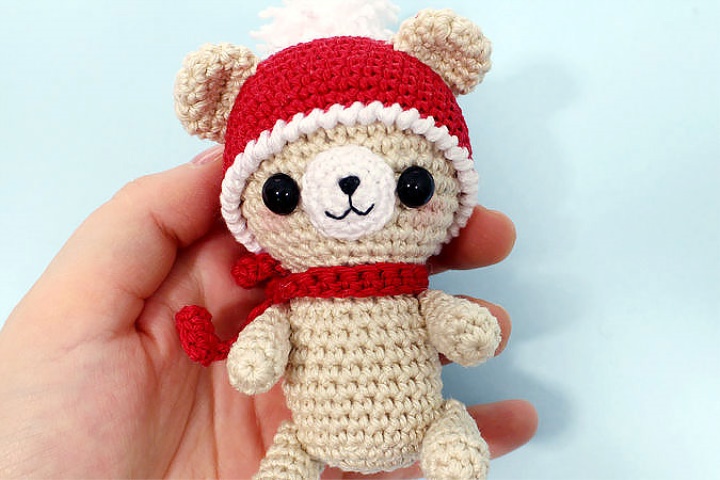
After the design of the head try on the legs and tail, stab them with pins, check that the bear can sit alone (the tail gives stability at the back) and sew all the details to the torso. Add a blush of dry pastel or blush/shadows, tie the scarf on the neck.
Gift
1r-Dial The chain of 8 VP, Hook in 2 loop and tie a row of 7 SBN, expand knitting
2-6 p.-7
7r-Behind the back wall of the Loop 7 SBN
8-12 R.-For both walls on 7 SBN
13R-Behind the back wall of the Loop 7 SBN
14-18 R.-For both walls on 7 SBN
19r-Behind the back wall of the Loop 7 SBN
20-24 R.-For both walls on 7 SBN
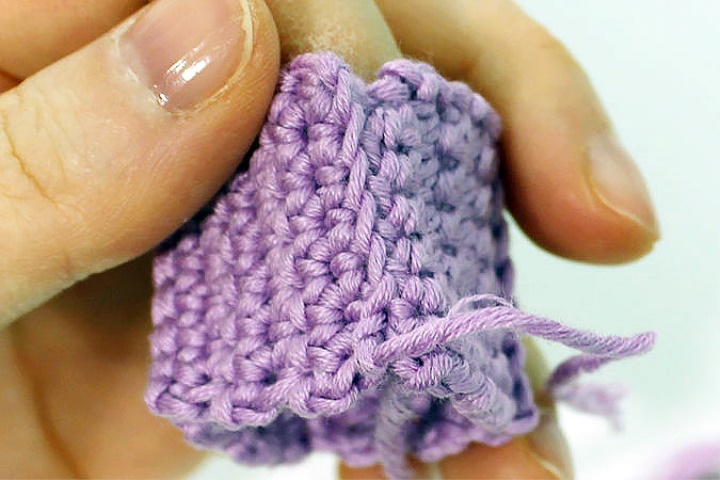
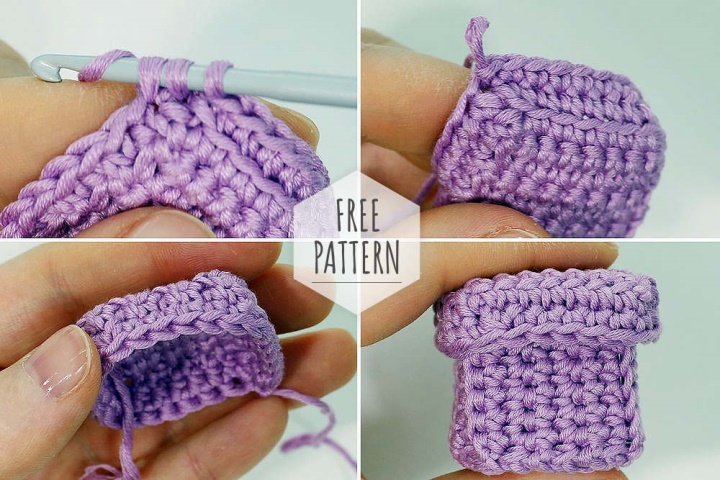
You will get a workpiece that bends on the "ribs" (where they were knitted behind the back of the loop).
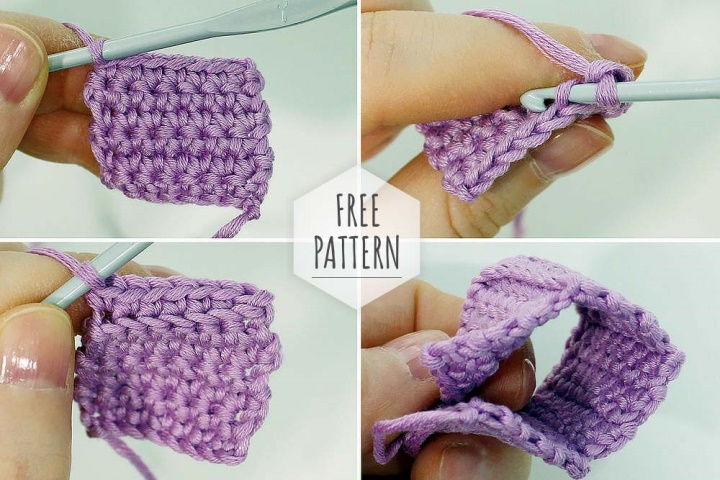
Cut the thread so that there is a long end, sew them the first row and the last one behind the back wall, imitating another "rib". Hide the ends of the threads.
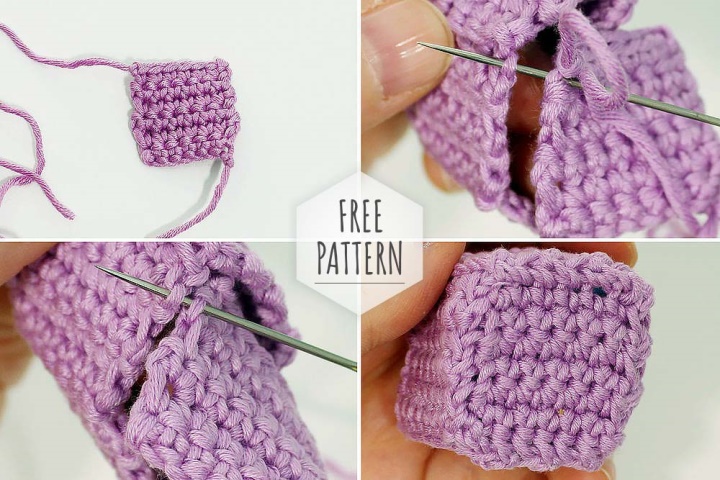
Tie a square of 6 rows to 6 SBN (initial chain of 7 VP), leave the long end of the thread and sew the bottom to the first workpiece. Where possible, twist the needle behind the back half-loop.
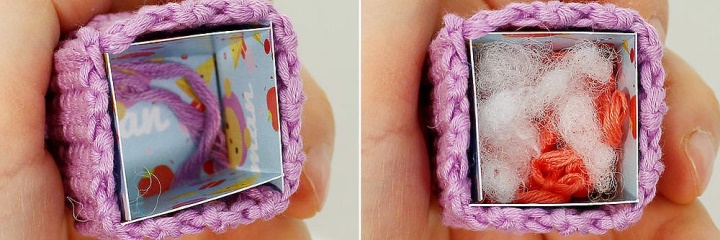
Cut out the cardboard 5 squares and strengthen them the bottom and the walls of the gift, so that it was more smooth and stronger. Inside add filler or unnecessary trimming threads.
Cover:
1-8 the R.-Link a square of 8 rows of 8 RGS (initial chain of 9 VP),
9r — without cutting off the threads, tie the edge of the square (i.e. knit along the perimeter of the square, turn 8 on each side, total 32 on the edge). Where possible, knit behind the back half-loop.
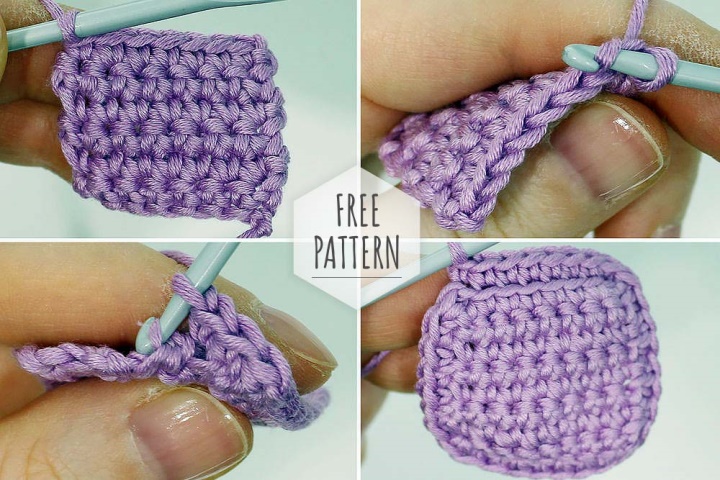
10R-(UB, 6 SBN) x 4 (28)
Cut the thread and hide the ends.
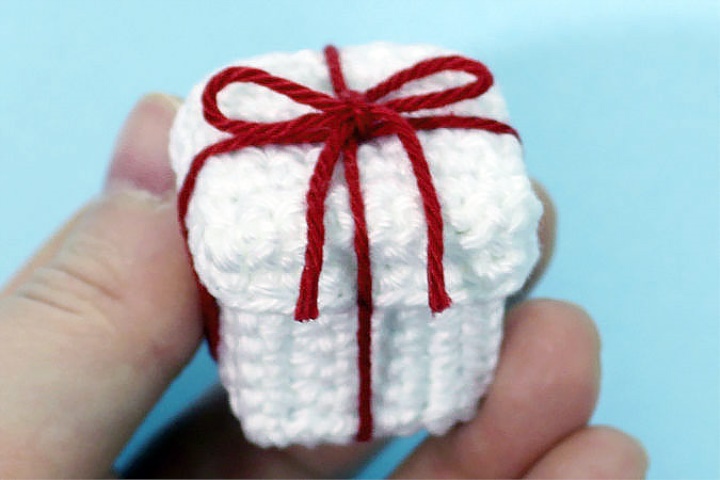
Put the lid on the box, if desired, tie the tape or thread.
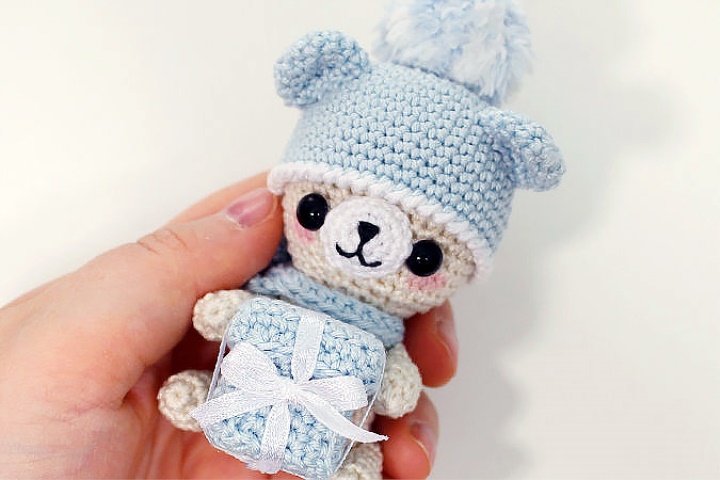
The gift can be sewn to the paws or left as is))
Have a nice knitting!