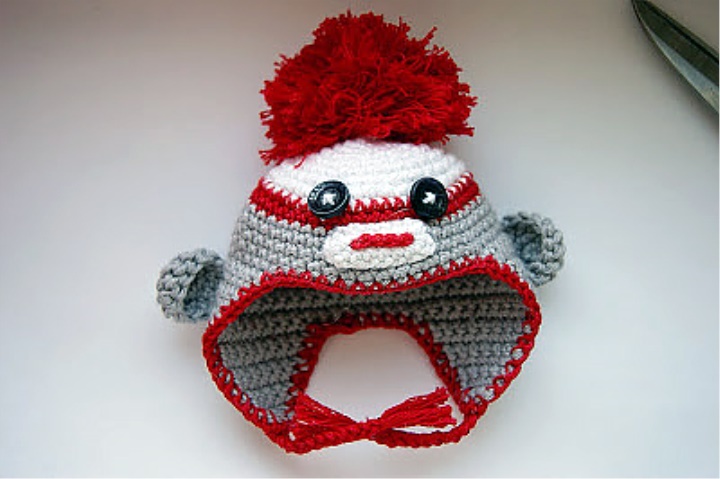
So many questions... That decided to write Mk... By and large, knitting caps for toys based on the knitting caps for the person, but if you suddenly it is unfamiliar-something welcome to MK)))).
For starters, we need yarn. banal), but it is an important component of all calculations. The yarn should be exactly the same in composition or at least on the thickness and length of the thread, as the one-from which you knit the cat. This is important, but if you suddenly have another yarn, do not despair, you will need to make a minimum of calculations.
Bottom cap calculation:
L = 2RP = dп L – Head circumference (required size)
p = 3, 14 R-The radius of the bottom (i.e. 2r = D)
D-Bottom diameter
From the main formula we get the diameter of the bottom: D = L/P
For size 52: D = 52/3,14 = 16.5 cm.
For good ease knitted cloth from the resulting diameter take 0.5-1 cm and get the desired diameter of the bottom.
So, start with the bottom of the hat white color. In the Amaguumi ring we have 6 loops, and then we knit in a circle of 8 rows:
1) 6 Loops
2) 2 in each loop (12)
3) 1 SBN, 2 in 1 loop (18)
4) 2 SBN, 2 in 1 loop (24)
5) 3 SBN, 2 in 1 loop (30)
6) 4 SBN, 2 in 1 loop (36 in)
7) 5 SBN, 2 in 1 loop (42 in)
8) 6 SBN, 2 in 1 loop (48 in)
Change the thread to red color and we have another row with the additions:
9) 7 SBN, 2 in 1 loop (54 in)
10) Knit in a circle (54)
Change the thread to gray and continue to knit in a circle already without increments...
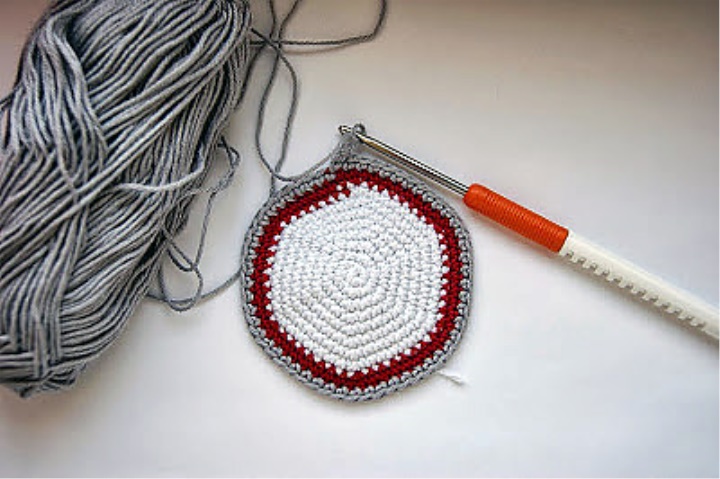
There are 1 row of Grey
I usually do 5 rows in gray before I start the back wall and ears. You can try on the resulting cap on the cat)

War and the Germans......
Do not forget that we still need to tie a number of red, so as a result the cap is not at all on the nose.
Now we need to mention where we will have the side caps. Dress on the cat, and put the beacons. If there are no beacons, just stretch the contrasting threads.
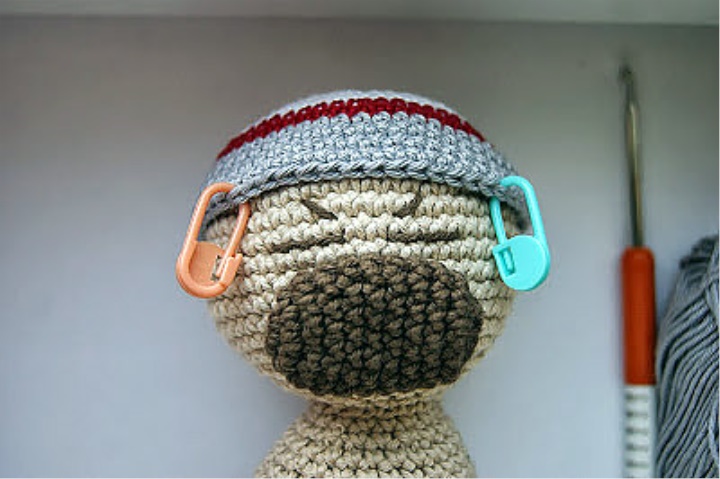
Like earrings....
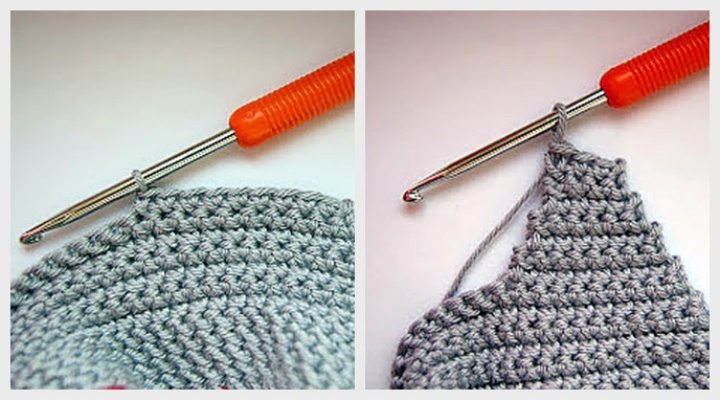
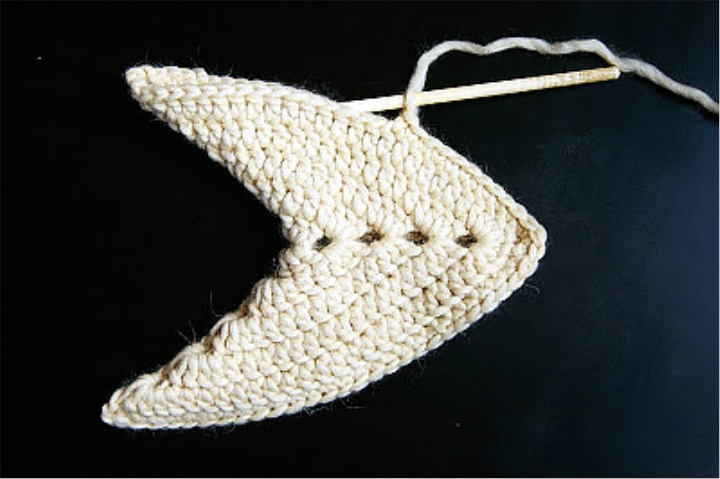
And now, attention... We get the series up to the lighthouse and the knitting turn. Knit in the reverse side of the loop, only without the lifting loop and hook enter the second hinge from the beginning. Thus, we have smooth bevel on each side.
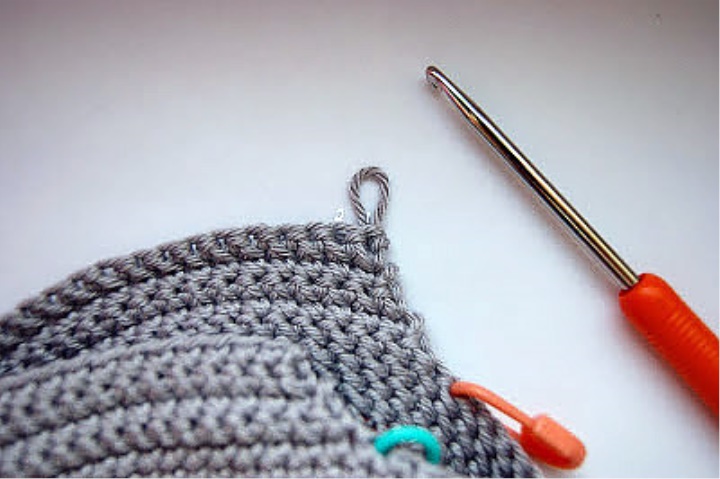
Here I numbered the loops... Insert the hook into the second loop,
See what bevel turns out to be smooth
So we have six rows. It's time to start knitting ears. We count on each side of 10 loops, we will knit them. Remember the direction of knitting of the first ear, it is important that the pattern is preserved. We twist 10 loops and turn, we get 9 loops (do not forget, that at Skazi on 1 loop is lost). And so knit until we have only three loops.
Similarly, repeat the second side. and start to tie all the red color. We only have to formalize, ie make pompom (you can handle it yourself, if you can not cope, then look here), sew eyes in the form of buttons, make a mouth:
Mouth-Dial A white thread chain of 8 loops and tie it on both sides. i.e. knit 7 loops, then knitting without turning, knit on the other side of the chain 7 more loops. Leave the thread more authentic to sew the mouth in the future. Also we knit a chain of 7 loops with red thread and sewing it to our mouth.
Well, there were ears:
1) in the Amaguumi Ring, dial 6 loops
2) Increase to 12 (in each loop we get 2 SBN)
3-4) knit in a circle of 12 loops and leave a thread to sew ears)))...
Oh, here's another, almost forgot.... braids on the cushions. I hope to cope with this, too, but if suddenly not succeed, write.
Elf Socks
Soon the New Year... And everyone begins to think about gifts. But it seems to me that this time is also a little miracles for the beloved... How about a cozy elven socks to feel like a fairy tale?
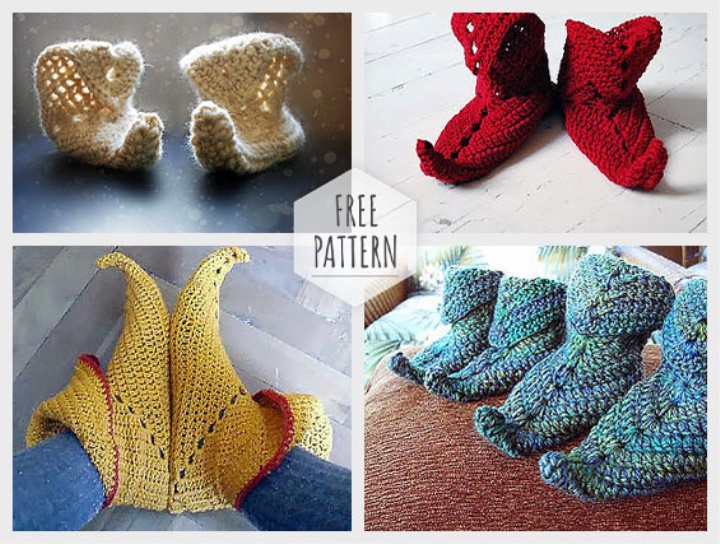
Isn't that wonderful?
So... The binding is very and mega simple-knit square here under this scheme:
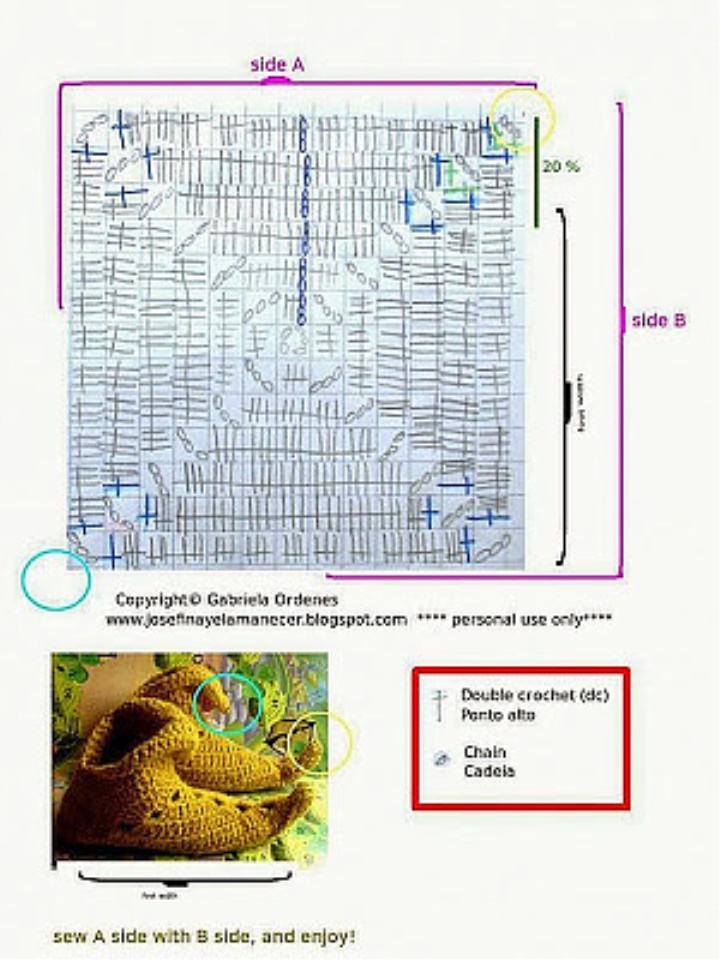
I had a rovnitsa from Semenovskaya yarn. 1 Motochka I had enough for one children's slippers:
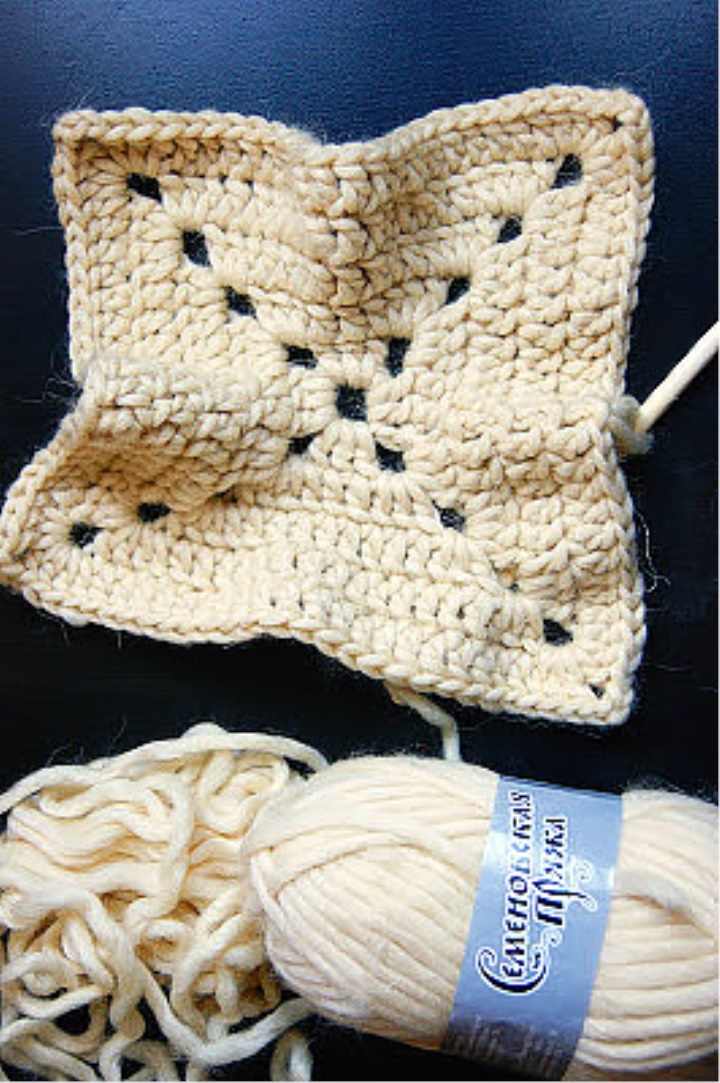
Do not be afraid that the square will be uneven-and conceived. Knit a square in height equal to the length of the foot + another 20%. On the diagram it is marked, but suddenly it is not clear)
Then fold the corners and sew-one side of the whole, the second to the middle
Inside Out and admire the result....