Hook No. 1.25 and No. 1 for knitting fingers on hands
Dress fabric - flax reaper or something similar, preferably monophonic. Or strings - for those who want to knit a dress.
Threads: ALIZE FOREVER 100% microfiber, 50gr = 300m, color No. 292. Threads "Daisy" for hair, any color can be (almost all of the skein leaves)
If you use threads like mine, and hook No. 1.25, then the girl only 20 cm

(first you need to tie the handles, as we will tie them in the process of knitting the body)
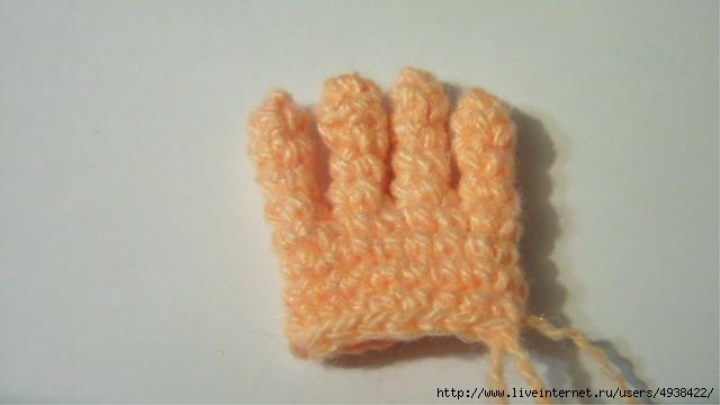
First we knit the fingers for both handles at once:
Middle -
1 row: 4 sbn in k / a
2-5 row: 4 sbn (4 rows) Secure
, cut, hide the tip.
Untitled, index and big fingers knit similarly to the middle
We knit each finger in 2 pieces (10 pieces in total), and we do not cut the thread when knitting the little fingers.
Pinky-
1 row: 4 sbn in a / a
2-4 row: 4 sbn (3 rows)
Do not cut the thread, knit further palm and hand
1 row: 2 sbn on the little finger, 2 sbn on the nameless, 2 sbn on the average, 4 on the index, 2 on the average, 2sbn on the nameless, 2sbn on the little finger. (16 sbn)
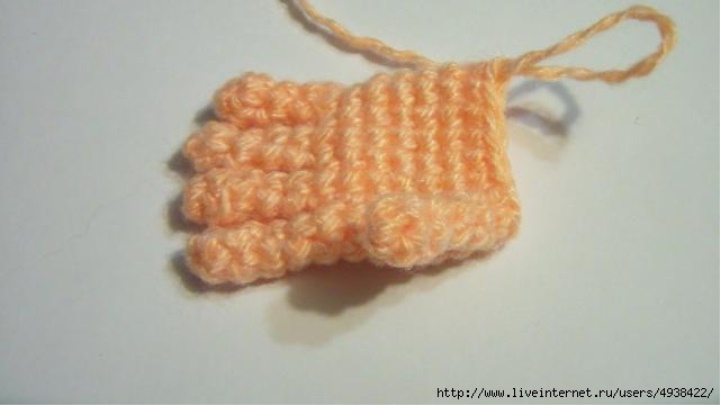
We put a marker.
We continue to knit in a circle.
2-5 row: 16 cbn (4 rows)
6 row: 8 cbn, 2 cbn knit loops of the palm and thumb together, 5 cbn = 15sbn
Right hand:
7 row: 9 cbn, 2 cbn on the thumb, 4 cbn. = 15 Sat
8–9 row: 15 Cl. (2 rows)
10th row: (2sbn, ub) x 3 times, 3sbn (12sbn)
11-13nd: 12 sbn (3 rows)
14ryad: 3sbn, K x 2 times, 2sbn (7sbn)
15-22ryad: 7sbn (8 rows)
23ryad: 3sbn, pr x 2 times, 2sbn (9sbn)
24-27ryad - 9 sc (4 rows)
28ryad: - 4 sc, pr 6sbn, etc. (14sbn)
29-32ryad: -14sbn (4 rows)
thread fasten, cut, tip hide
left arm:
knit little finger and other fingers are similar to the fingers of the right hand
one row: 2 sc on the little finger, sc 2 by nameless, 2 sbn on average, 4 sbn on the index, 2 sbn on the average, 2 sbn on the nameless, 2 sbn on the little finger. (16 sbn)
We put a marker.
We continue to knit in a circle.
2-5 row: 16 sbn (4 rows)
6 row: 14 sbn, 2 sbn = 16 sbn
7 row: 15 sbn, 2 sbn on the thumb = 17 sbn (2 loops of the palm are knitted with two loops of the thumb)
8–9 row: 17sbn. (2 rows)
10ryad (2sbn, K) x 3 times, 3 sc (12 sc)
11-13ryad: 12 sc (3 rows)
14ryad 3 sc, K x 2 times, 2 sc (7sbn)
15-22ryad: 7sbn (8 rows)
23ryad: 3sbn, prh2raza, 2sbn (9sbn)
24-27ryad: -9sbn (4 rows)
28ryad: -4sbn, etc., 6sbn, etc. (14 sc)
29-32ryad: -14sbn (4 rows)
yarn cut off. Secure, hide the tip. Insert the wire frame in the fingers and handles. Stuff a little palm filler.
Stage 2: LEGS (2pcs)
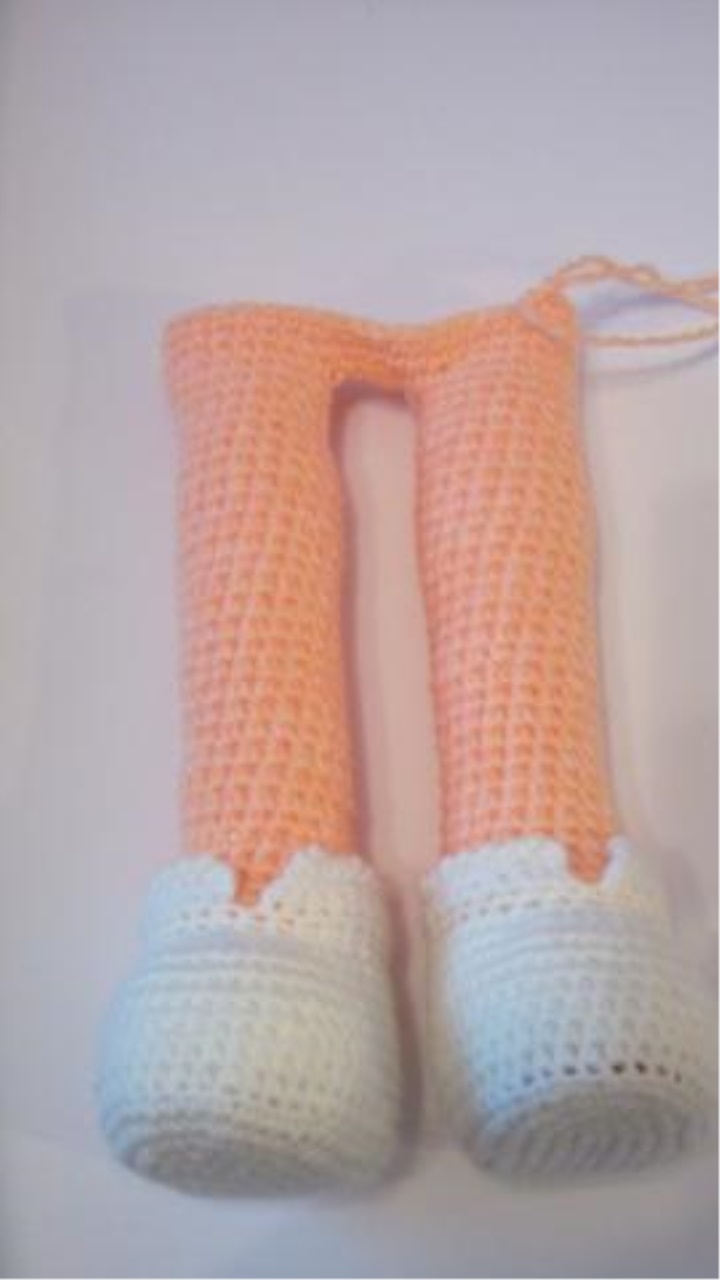
(if you want the girl to stand, then you need to cut the insole from the plastic cover to fit the foot and insert it at the right time of knitting)
1 row: 9 VP, in the 2nd loop from the hook 3 sc, 6 sc, 3 sc in the last run, 6 sc (18)
2 row: (ave) * 3, 6 sc, (ave) * 3, 6 sc (24)
3rd row: (pr, 1 sc) * 3, 6 scn, (pr, 1 scn) * 3, 6 scn (30)
4th row: (pr, 2 scn) * 3, 6 scn, (pr, 2 SBN * 3, 6 SBN (36)
5th row :-( pr, 3 SBN) * 3, 6 SBN, (pr, 3 SNS) * 3, 6 SBN (42)
6 row: 42
SBN 7ryad: p / p: 42
scn 8-13 ranks: 42 sc (6 rows)
We tie several sc (I have 3sbn) ... to the middle of the back of the leg, put a marker.
14 row: 15 sc, (ass) * 6, 15 sc (36)
row 15: 12 sc, (ass) * 6, 12 sc (30)
16 row: 30 sc.
17 row: (2 sc, ass) * 6 , 2SBN (20)
18ryad-20sbn
19ryad-3SBN, ub, 10SBN, ub, 6SBN (21)
20yad: -21 SBN
21st row: -5SBN, 2ub, 12SBN (19)
22-44 order: 19SBN (22 rows) We
fix the thread, cut it, hide the tip. Leg stuffed with filler.
* And to make the leg stand better, you can put something like an insole made of cardboard or a plastic lid made of yogurt into the
foot. We knit the second leg in the same way, but do not tear the thread.
Connect the legs. We have a hook on the inside of the right leg. Exactly in the middle.
Knit 4v.p. and join the second leg, also in the middle on the inside.
Thus, we smoothly proceed to the next stage.
Stage 3: Torso.
1 row - on the left leg-19sbn 4sbn on 4v.p. for the front p / p, 19sbn (42)
2nd row - 4 sbn for the front p / p of 4 vp, set the marker, now we will count from here - (middle back)
3-7 row - 46sbn + 2sbn ss (48)
8 row - 12sbn, kill, 20sbn, kill, 10sbn ( 44)
9th row - 13sbn, ub, 19sbn, ub, 8sbn + 3sbn (offset) (45)
10ryad-11sbn, ub, 18sbn, ub, 9sbn (40)
11ryad-12sbn, ub, 8sbn, ub, 7sbn, ub, 7sbn (37)
12ryad-13sbn, ub, 15sbn, ub, 5sbn (35)
13-20ryad-35sbn (8 rows)
21stryk-14sbn, ub (back), 19sbn (34)
22ryad-7sbn, ub, 16sbn, ub, 9sbn (34)
23ryad-6sbn, ub, 15sbn, ub, 7sbn (30)
24ryad: -30sbn
25ryad- connect handles and body:
7sbn, and take the right handle attachable to the body by grabbing the handles and trunk hinges = 4sbn further dorsally 11sbn, 4sbn handle and body together ... 4sbn further over the front (29)
26ryad translational 8sbn back over the front, on the forward 10sbn pens, 7sbn ... set the marker (25)
27th row: -4sbn in the back, 10sbn in the left-handed, 27sbn to the marker. (41)
Stuff the carcass tightly with filler.
28th row :-( 4sbn, ub) x6 times, 4sbn (34)
29th row: -34sbn 30th
row :-( 3sbn, ub) x 7 times (+1 loop under the marker) we insert the wire into the torso and legs. (28)
31stry :-( 2sbn, ub) x 6 times, 2sbn (20)
32-36streamed: -20sbn -shea (5 rows)
37th row: -3sbn, killed, 7sbn, killed, 6sbn (18)
38-40nd: -18sbn (neck) (3 row)
Stuff with filler.
Stage 4: HEAD
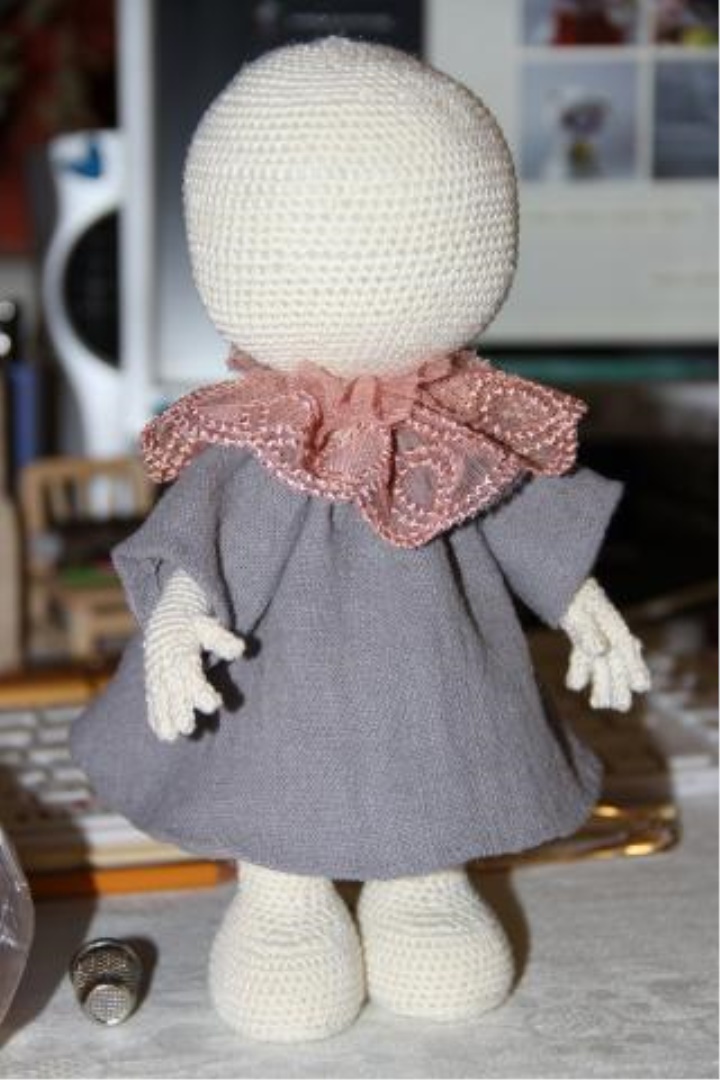
Head stuffed with filler is VERY tight, as there will not be any drapes.
SHE MUST BE ALMOST ROUND.
neck extension
1 row: - 18
pr- (36)
2 row : -36 sbn (36) 3 row: - (5 sbn, increase) - 6 times (42)
4 row: -42
sbn 5 series: (6 sbn, increase) - 6 times (48)
6th row: -48
7th row: - (7 sbn, increase) - 6 times (54)
8th row: -54
9 row: (8 sbn, increase) - 6 times (60)
10 row: -60
11 row: (9 Sbn, increase) - 6 times (66)
12–17 row: 66 Sbn (6 rows)
18 row: (10 Sbn, increase) - 6 times (72)
19 - 20 row: 72 sat (2 rows)
21 row: ( 11 sbn, increase) - 6 times (78)
22-28 row: 78 sbn (7 rows)
29 order: (2 sbn, decrease) - until the end of the row (60)
30th row: (9 sbn, decrease) - 5 times, 5sbn (55)
31st row: (8 sbn, under construction) - 5 times, 5 sbn (50)
32 row: (7 sbn, under construction) - 5 times, 5 sbn (45)
33 row: (6 sbn, decrease) - 5 times, 5 sbn (40)
34 row: (5 sbn, under construction) - 5 times, 5 sbn (35)
35 row: (4 sbn, slack) - to marker
36 row: (3 sbn , decreasing) - up to the
37th row marker : (2 sbn, subtracting) - up to the
38th row: (1 sbn, decreasing) - up to the end
of stage 5: Making the
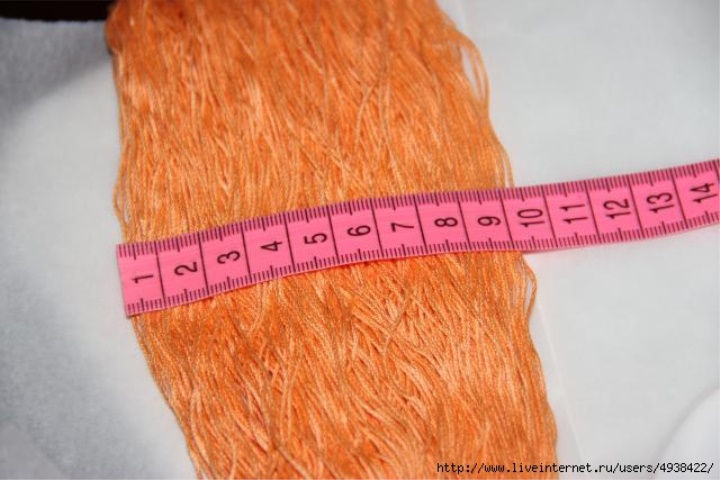
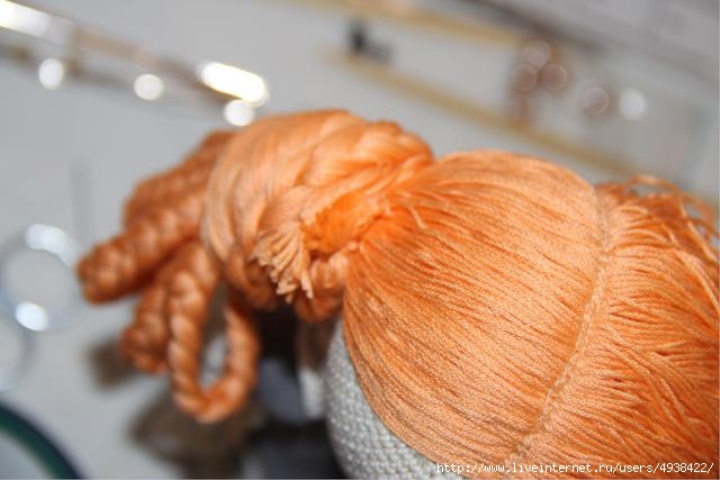
threads cut into the desired length of about 60-70 cm.
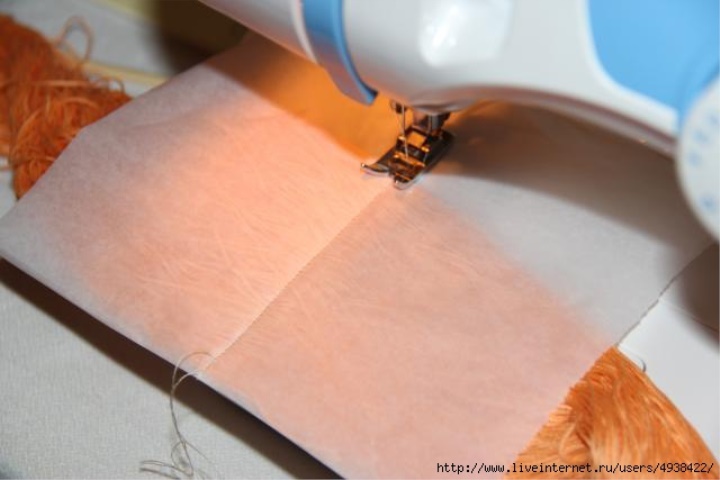
Sew on the sewing machine with paper -parting.
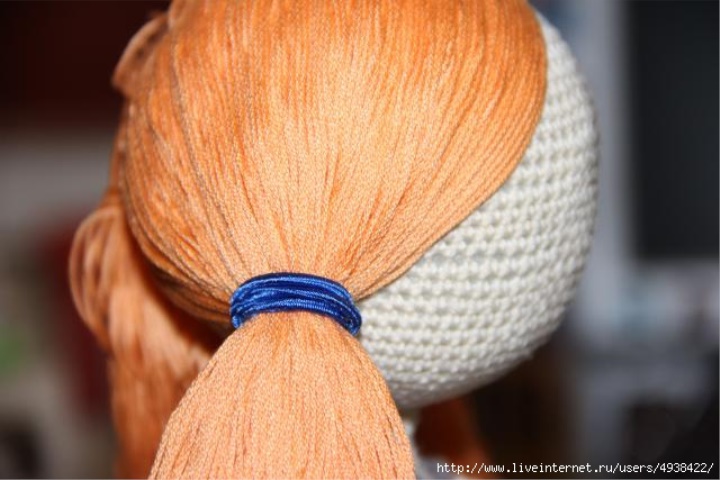
Sew hair to head.
Divide our hair into two parts and tie a tail with an elastic band.
I counted every thread to make the braids perfect.
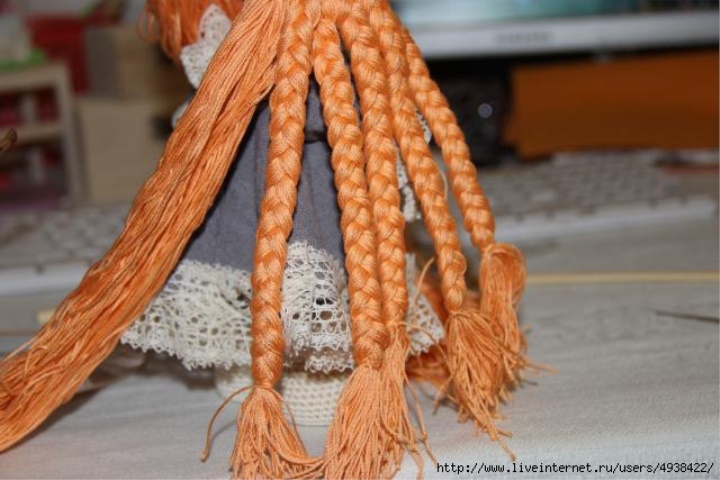
For each braid I took an equal amount of strings.
When all the braids are braided, we fasten them ...
Then measure the strings separately, but the length (I have about 1.5 m) we take more and weave one braid and we wrap the already finished hairstyle from the braid with it.
Fastened to the bottom so that it is not visible. I tied the edge of the braided braid with a thread, leaving the two ends more authentic ... and with this thread I tied this long braid around the braids ... so it is easier to fasten.
So that the attachment was not visible, I tied little flowers.
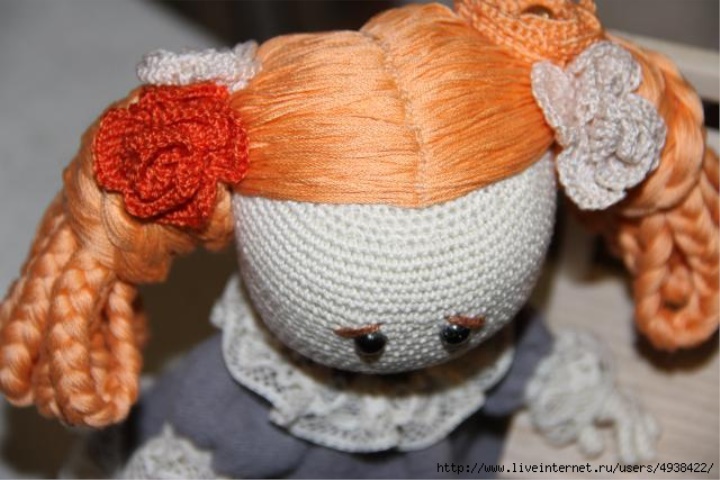
But you can come up with another decoration ... or you can braid the braids in your own way ...
Glue semi-bead eyes. Embroider the edge.
I sewed a dress on this photo (the basis of the blouse is a peasant woman).
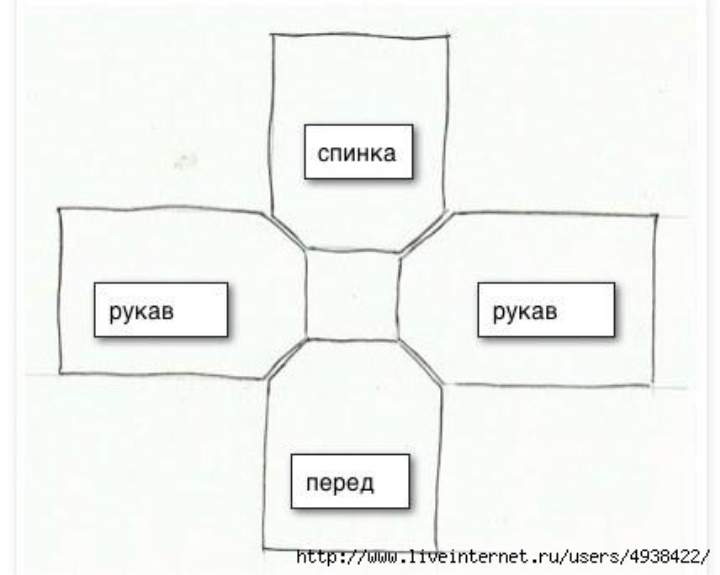
Then, when I put it on the doll, I pulled off the thread around my neck ... the bottom of the dress, the sleeves and the collar I decorated with lace.
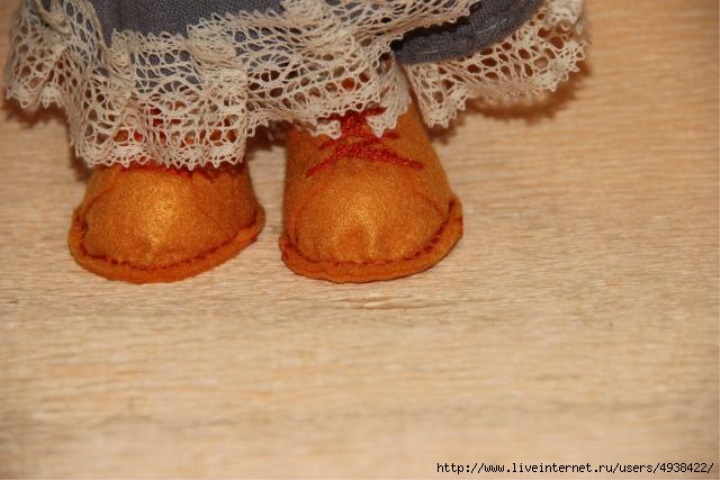
Felt boots I sewed on this MK. Thanks to the author!