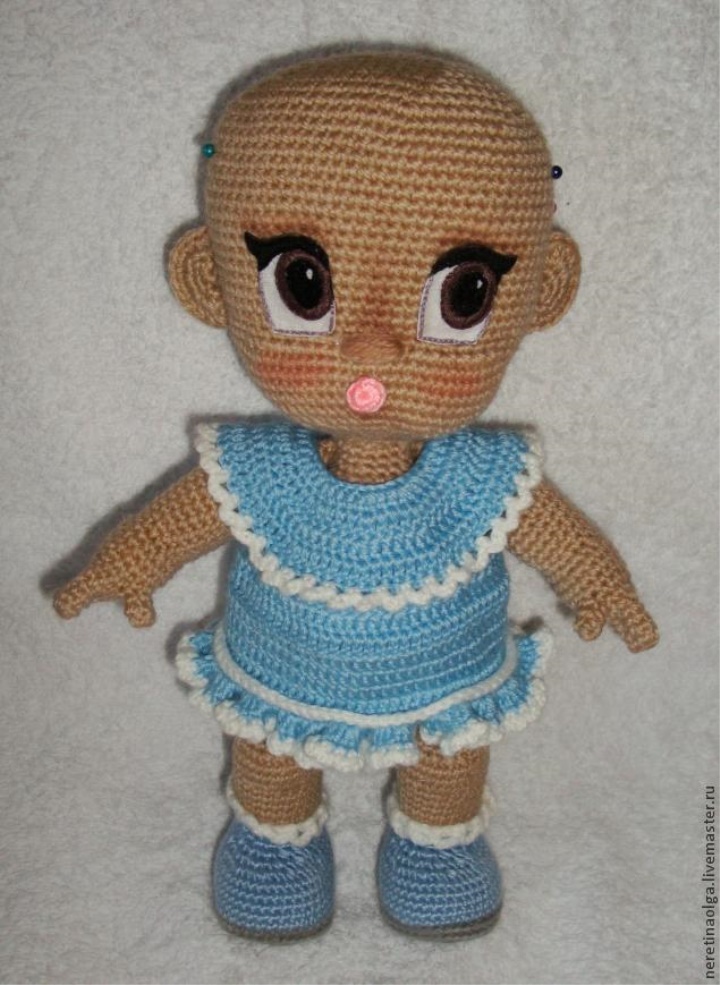
So, we are watching a master class on creating a magnificent hairstyle for a knitted pupa, which the little girl will really like to play. By the way, you can learn about games, but only computer games, which are also popular not only with children, but also with adults,
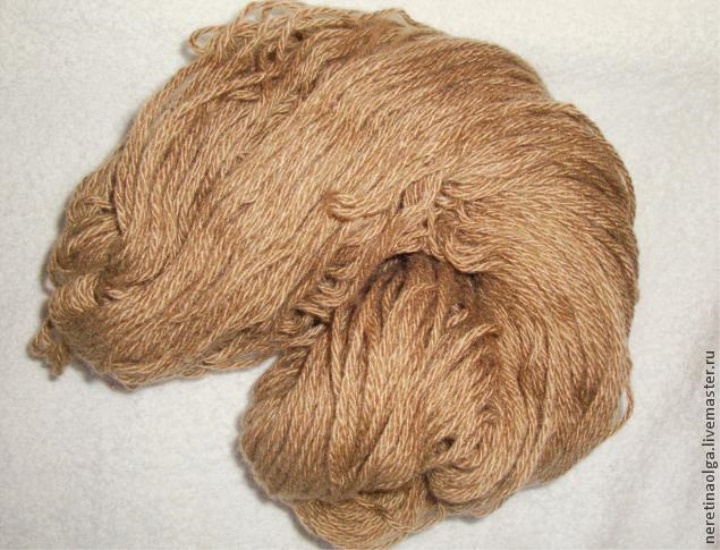
This yarn is not suitable for threading hair, as a thin, loose thread breaks, but for a fluffy hairstyle, like Polinochka and Ariel, it fits just fine. You can also use another thread: for example, pehorka folk, yarn from trinity, magic, etc. We also need: needles, hook, scissors.
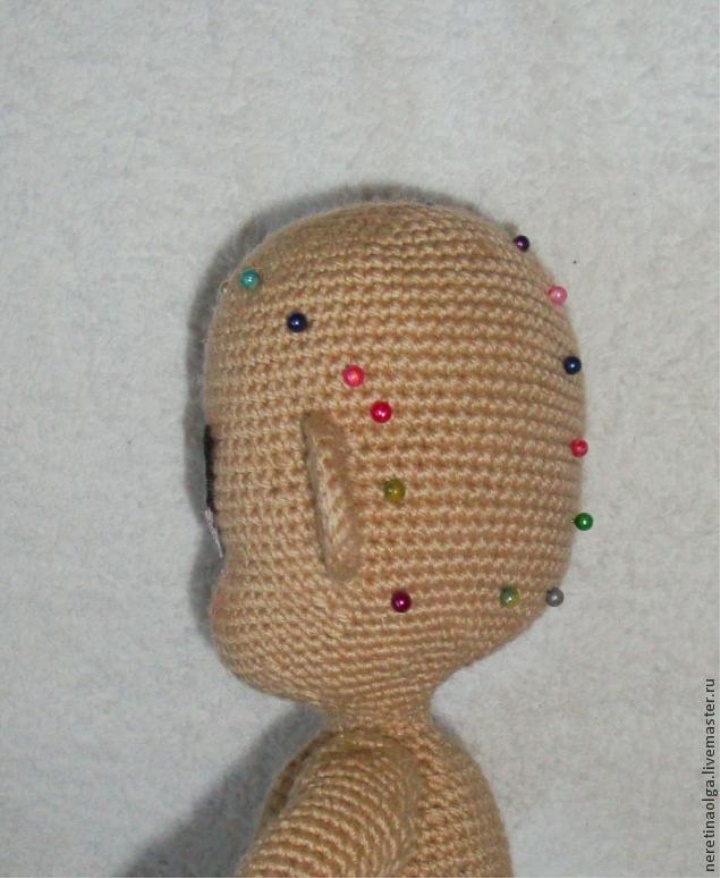
To begin with, so that the doll’s head doesn’t “fall” (due to pomp), we need to strengthen the neck: insert the wire half the head and half of the body length, and when stitching the head and neck, fill the neck more tightly, then the head will not fall and the neck will bend. Here is our almost finished doll, lacking only hair:
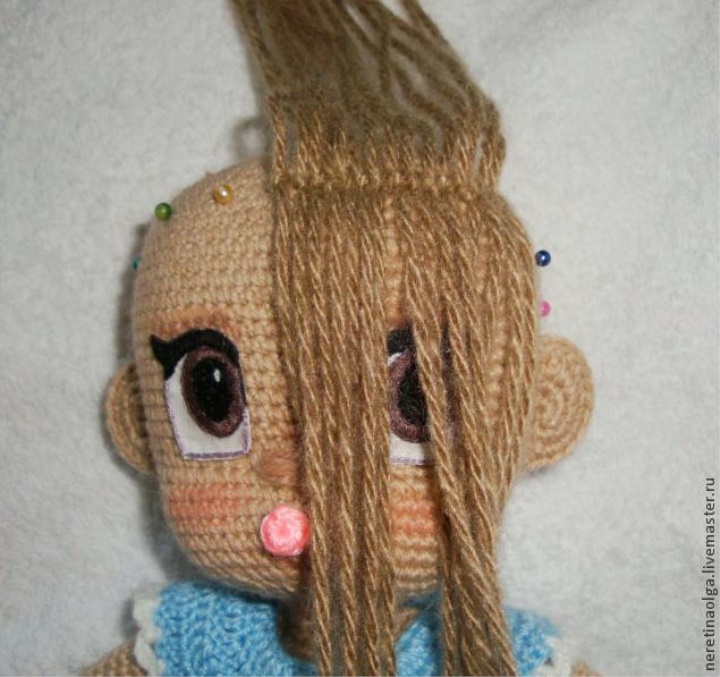
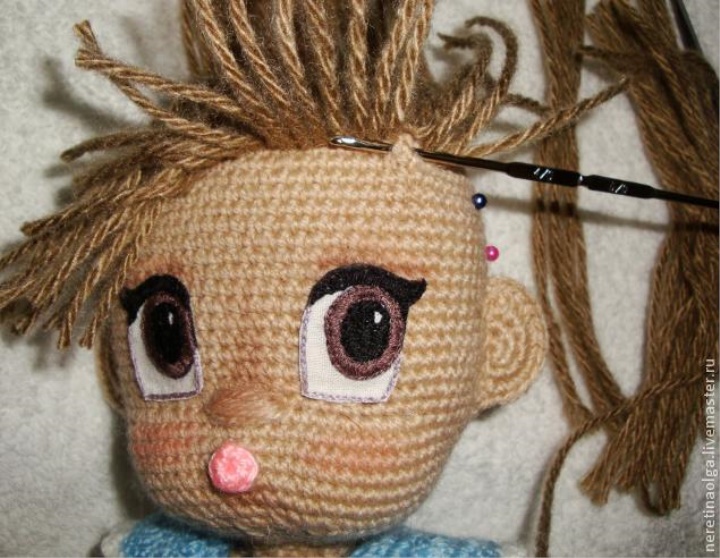
We will do hair with bangs. To begin with, we mark the boundaries of the hair with needles:
Parting will make a straight line in the middle. Let's bang: measure the threads of the same length. We tie the threads in each loop on the head, with one end of each thread left in the "shovel" of hair, and the other end will bang.
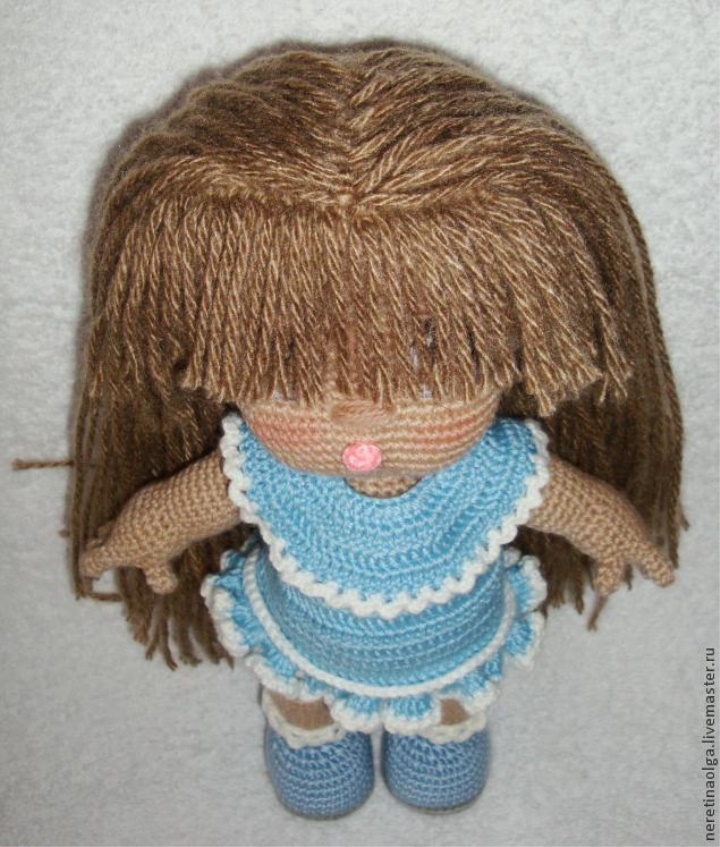
Here's what we got:
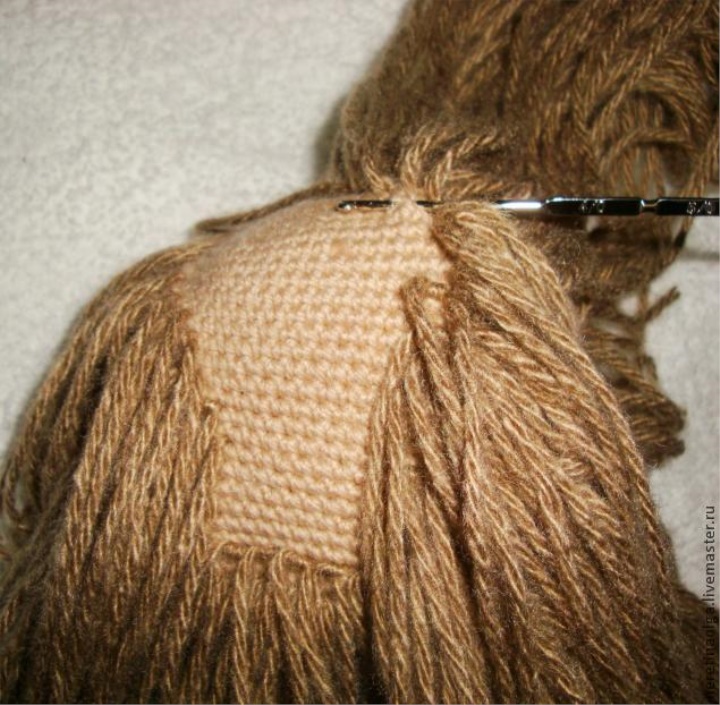
Now cut the thread bangs and do under the resulting bangs another row of bangs. Here you can pull the thread through the hook through 1 loop:
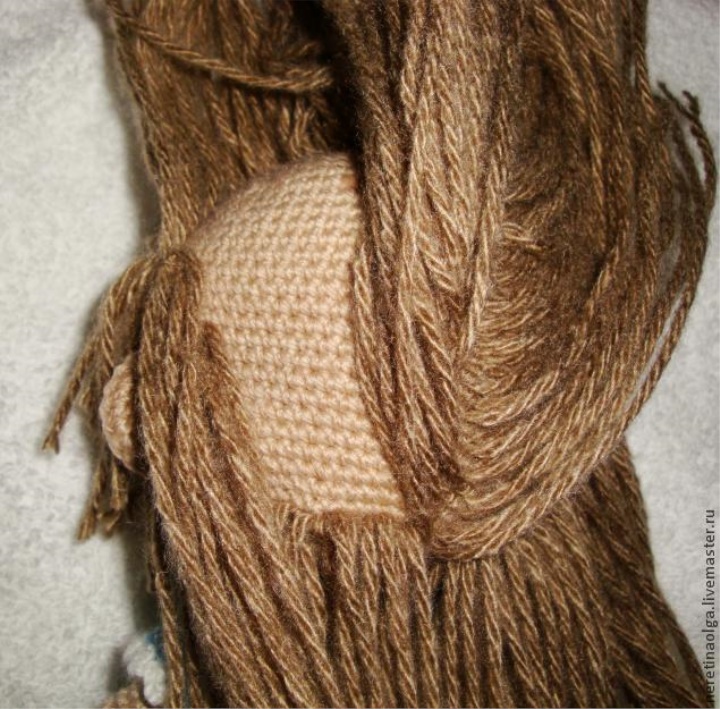
Look: since we fastened each thread to each loop, and we divided one part into the hair, the other part into the fringe, we do not see “bald” parts of the head.
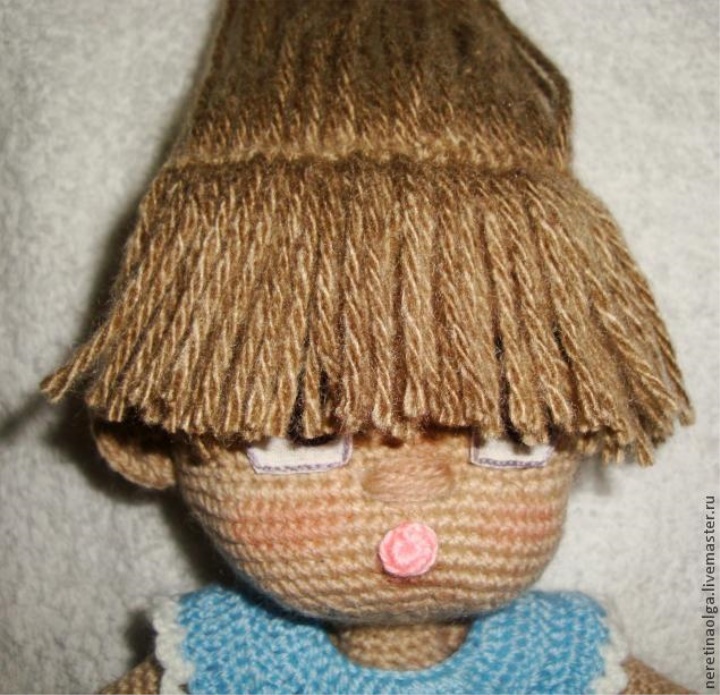
Haircut bangs do in the end. The same is repeated on the sides: from the line with bangs to the ear. Threads cut just below the ear.

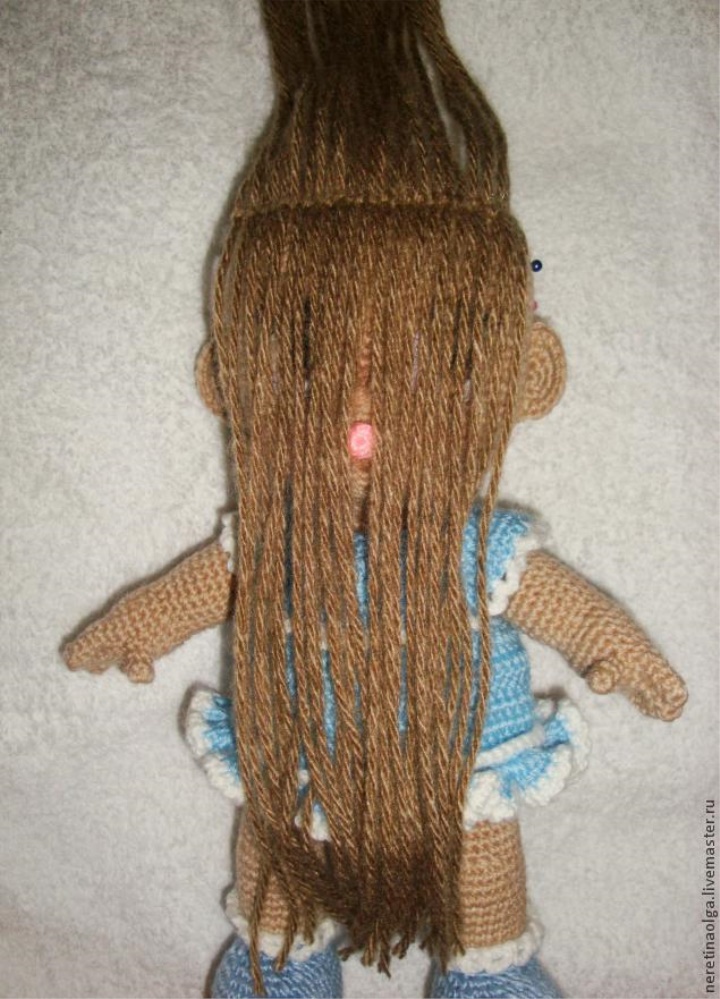
Now let's take a parting: measure the thread, cut it, and use the hook to pull it out in each loop, dividing the ends of the thread in different directions (this way small “bald spots” on the head will not be seen). I start from the bottom up:
Through each loop we pull out the hairs from behind, below:
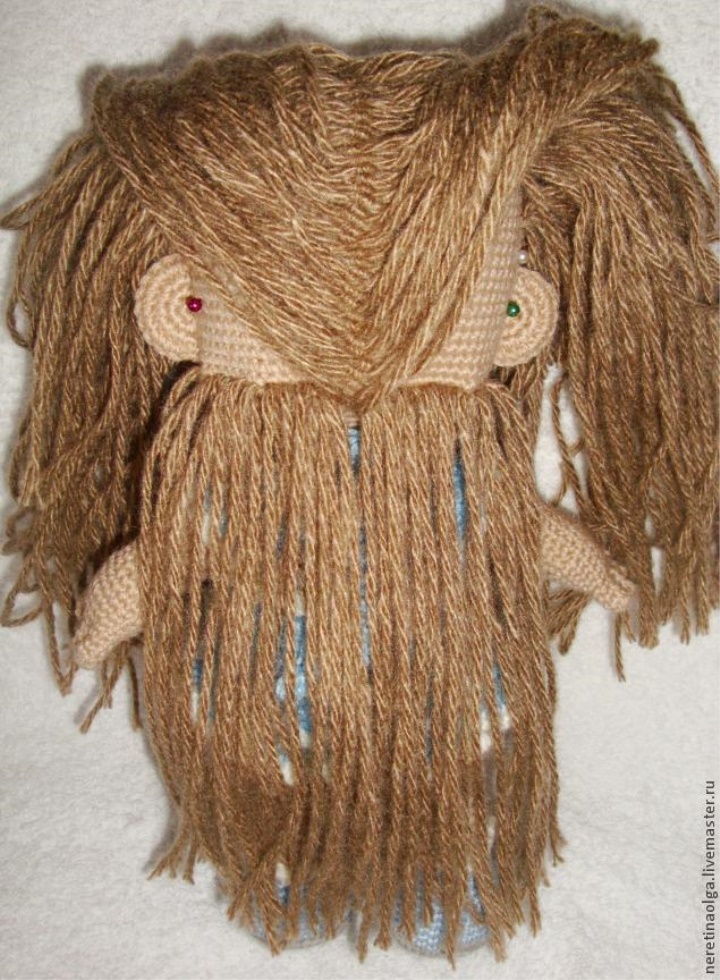
And on the sides of the head, behind the ears:
In the second row, inside the empty area, we are already pulling the thread through 1 loop, and after 1 row:
The rest of the crown: stretch the thread less often: through 2 loops, and through 2 rows. Here is a hairstyle at the doll turned out.
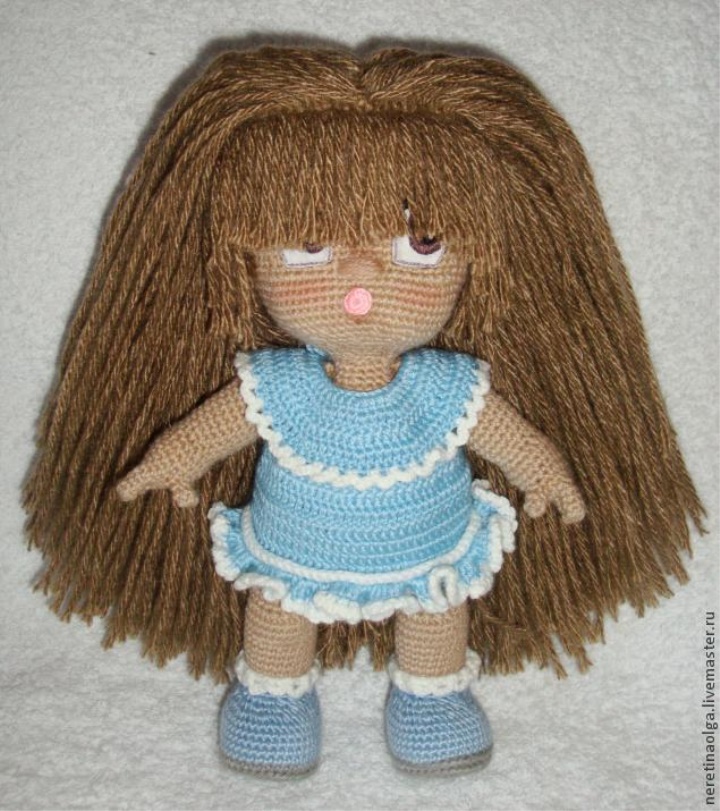
Now you need to carefully trim the ends and cut the bangs.

According to this principle, I did my little hairstyle at the little mermaid Ariel, only a parting on the side:
Source : http://livemaster.ru/topic/824185-pyshnaya-pricheska-dlya-kukolki-master-klass