Fish are small, 3-4 cm in length, depending on the thickness of the thread used. In order to connect such fish, you need minimal knitting skills: to be able to knit stitches without a crochet (sb), columns with a crochet (ssn), connecting posts (ss), do increments (prib) and decrease (yb).
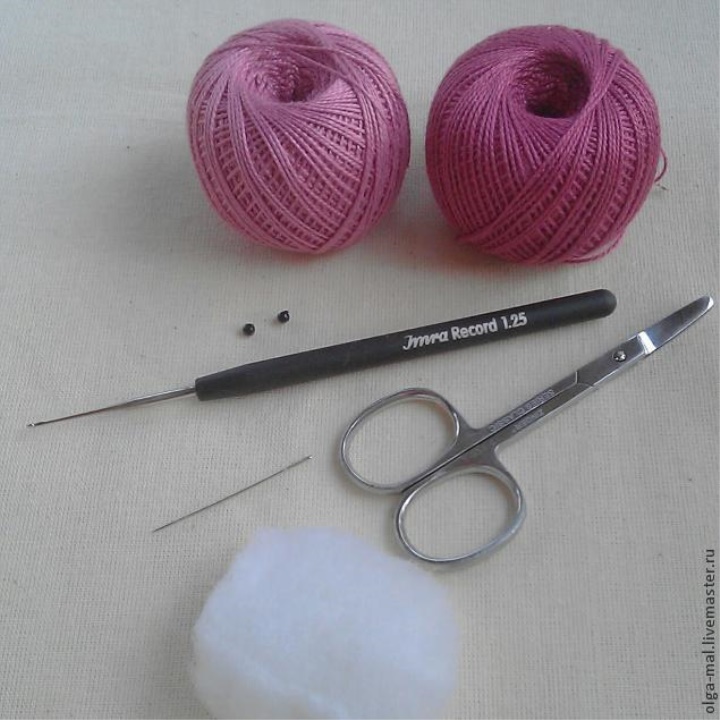
For knitting fish, I needed the following materials and tools: the "Iris" thread (two colors or shades), the knitting hook No. 1,25, the sintepon, the 2 peepholes for the peephole, the needle for sewing the peephole and pulling the thread, the scissors.
Since the fish is small, it is important to count the loops (changing the number of loops, even one, will be noticeable in the proportions of the fish).
We knit for both stenochki loops of the previous series.
Nose and the body of the fish knit in a circle, without lifting loops.
1 row: with a light thread, dial two air loops (or make a loop amigurumi),
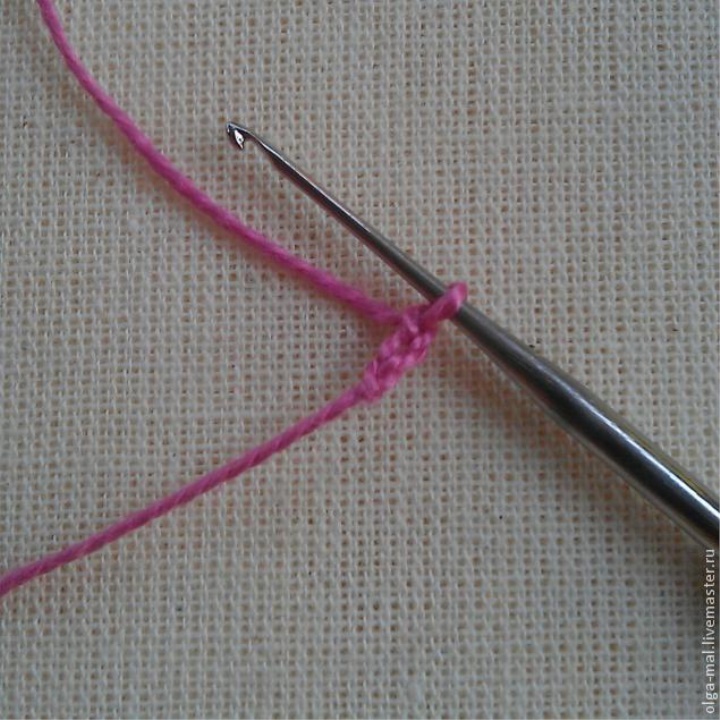
then in the first loop (or in a loop amigurumi) we sew 6 columns without a crochet.
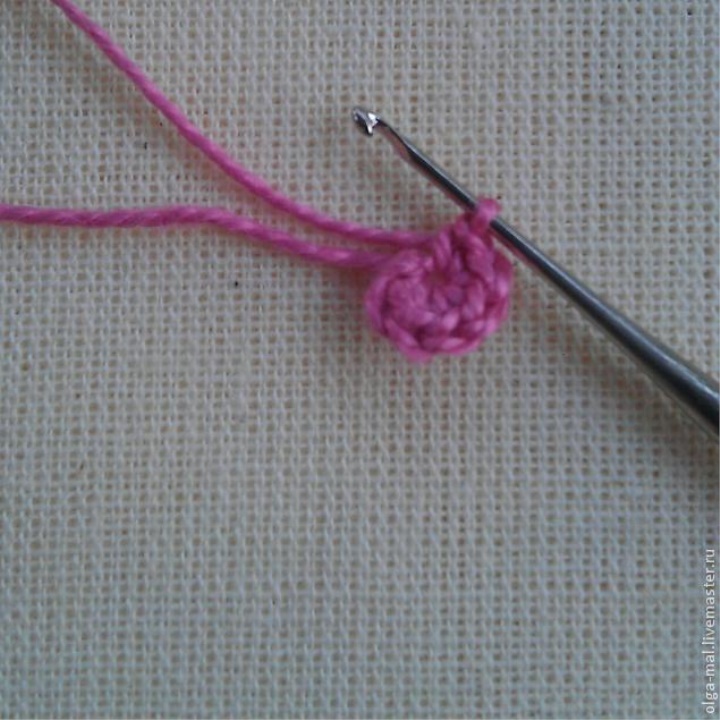
2 rows: 6 posts without a crochet.
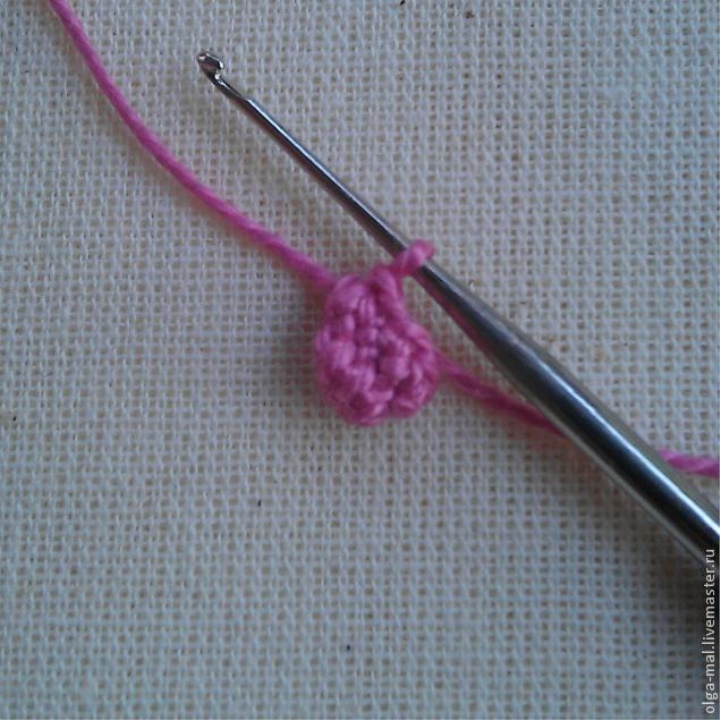
3 row: in each loop we make an increase (prib) - 6 times (12).
4 series: (1 sb, prib) - 6 times (18).
5 row: (2 sb, prib) - 6 times (24). It turns out here is such a spout:
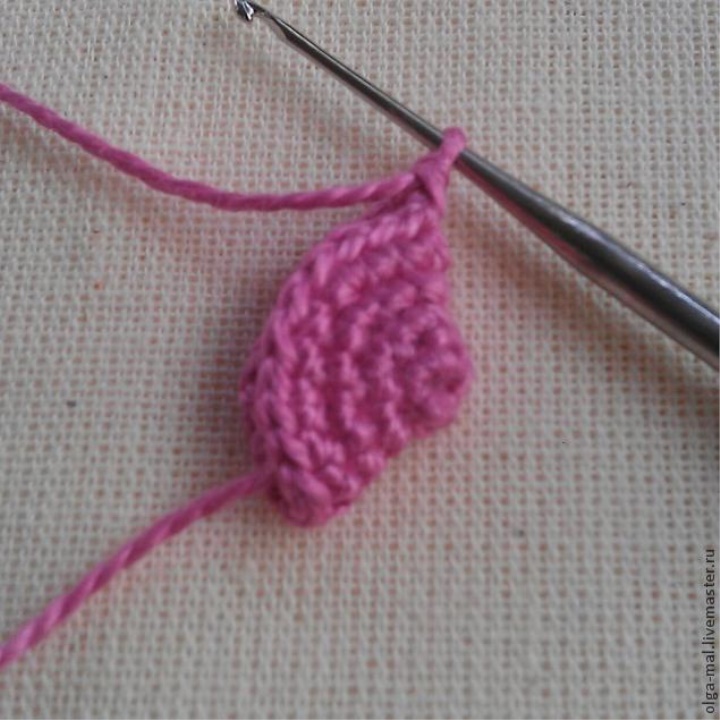
6-9 series: 24 sc. For convenience, when tying 6-9 rows, at the beginning of the sixth row I use as a marker a thread from the beginning of knitting, then you can not count the eyelets.
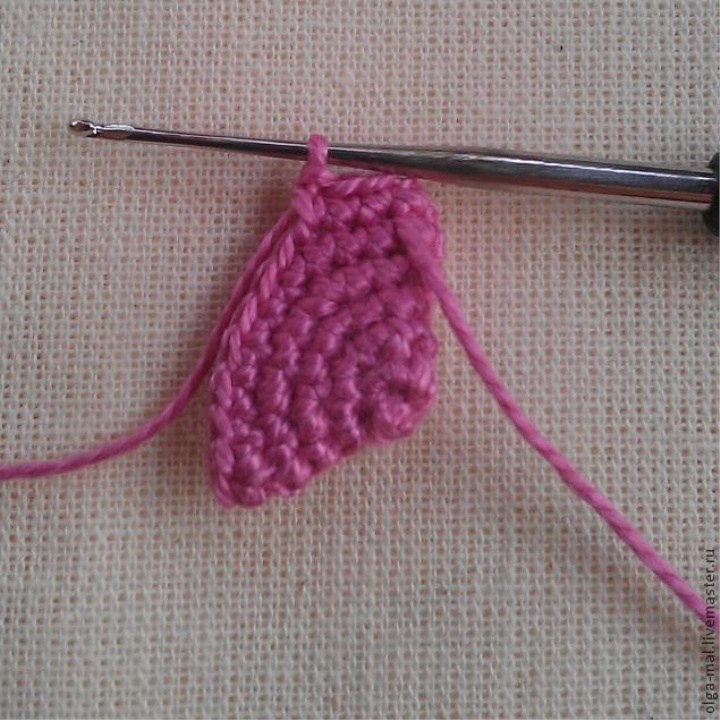
These are the spouts and bodies:
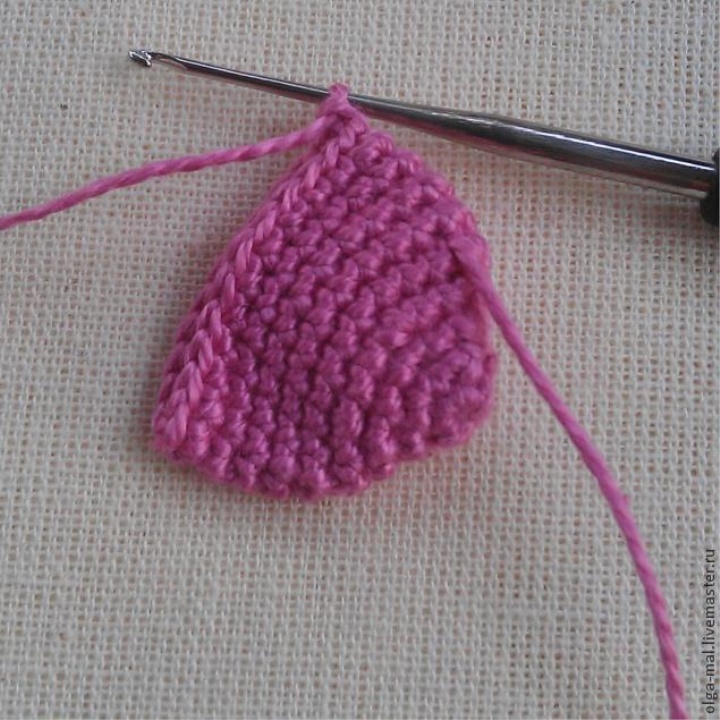
Then we make adjustments.
10 series: (2 sb, ub) - 6 times (18).
11 series: (1 sb, yb) - 6 times (12).
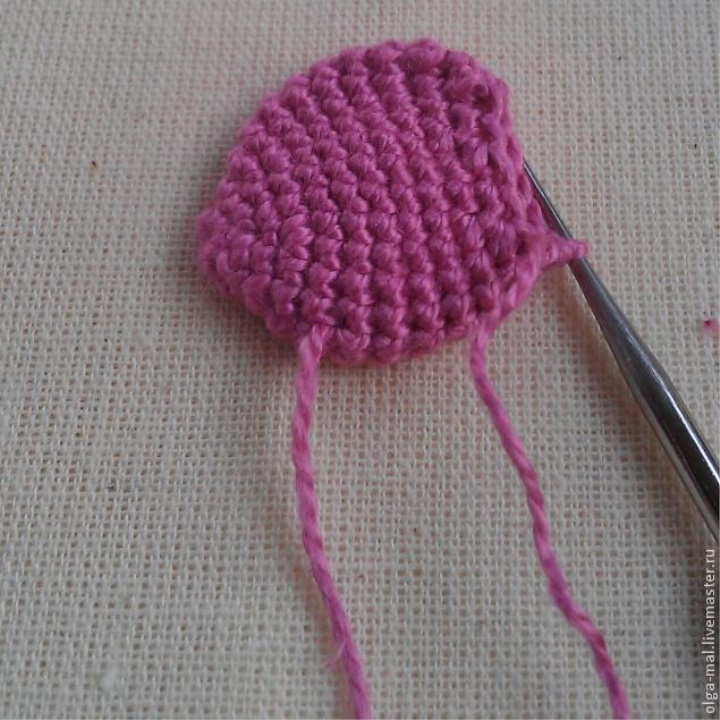
We fill the fish with a sintepon, lightly squeezing the sides and giving the calf a shape.
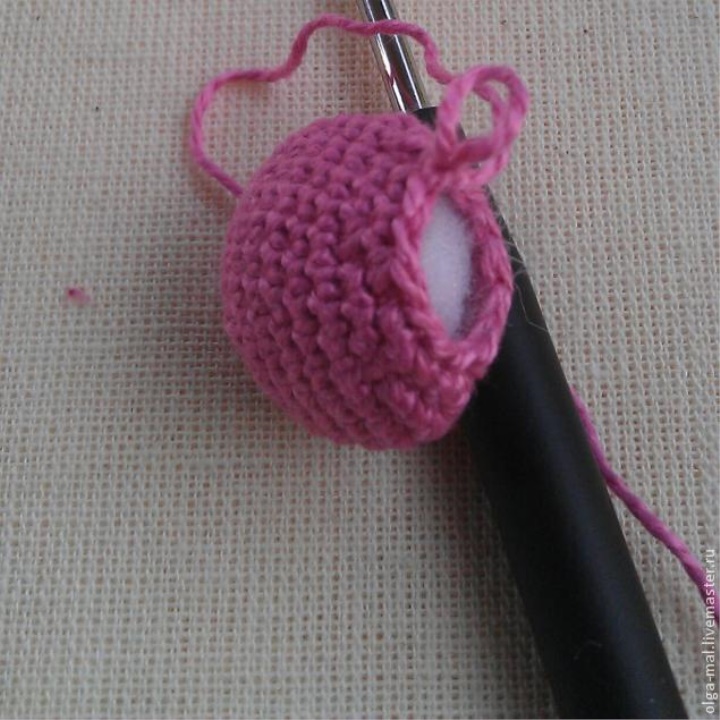
12 row: 6 sb, finish the series with a connecting post.
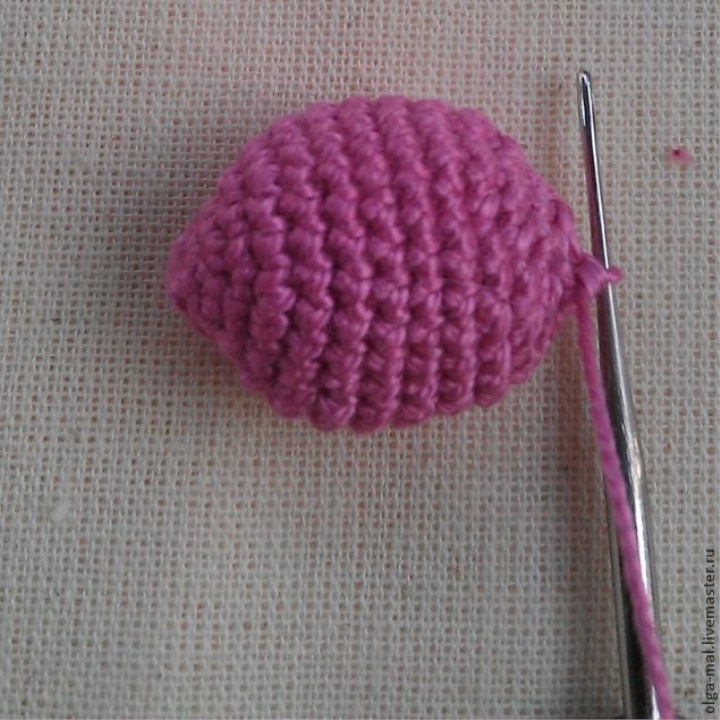
Tail.
13th row: With a thread of a different color, we make 2 air loops (in) - the lifting loops.
I leave a long, about 40 cm, thread, which then I tie the fins. The thread does not interfere, because all the time is inside the tail.
We send two slots (12) to each loop of the previous row. At the end of the row we sew a connecting post.
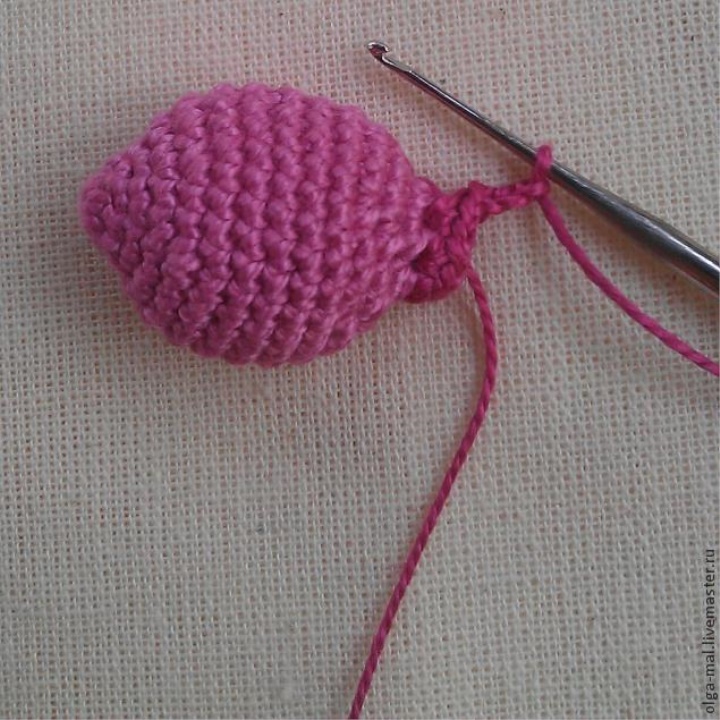
14 row: 3 in (lifting loops), 2 ssn in each loop (24). We finish the series with a connecting post.
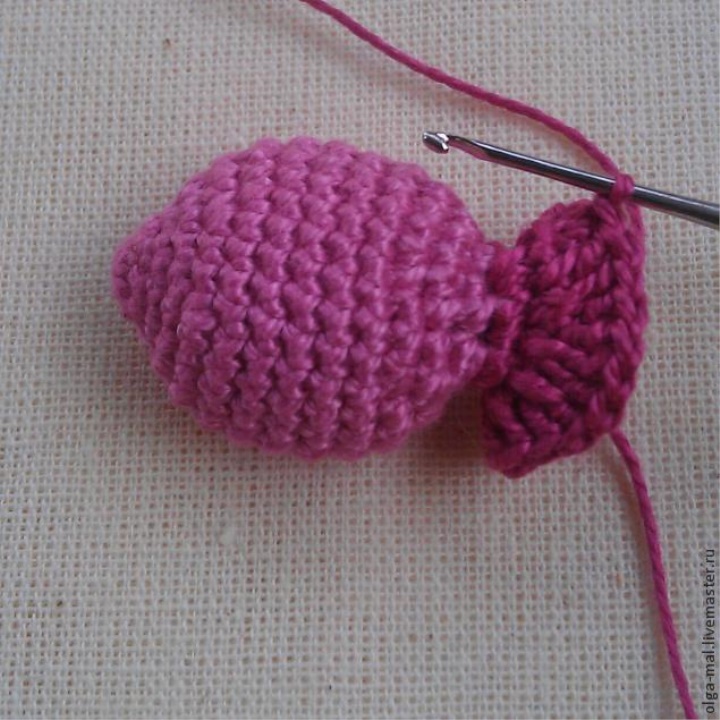
15 row: we make the harness of the tail arches - 3 in, then sbn into the next loop,
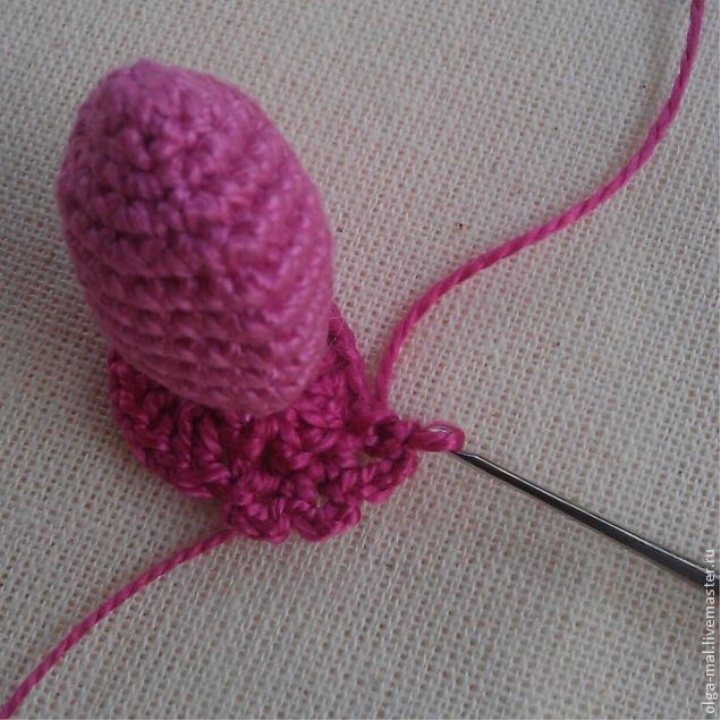
We repeat to the end of the series. Thus, 24 arches are obtained.
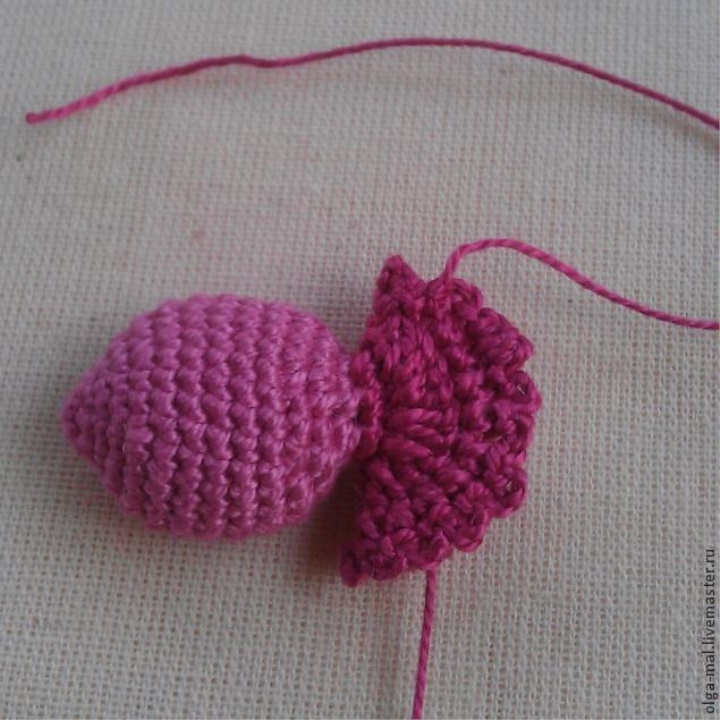
Lock and trim the work thread.
You can experiment with the tail:
If you want the tail to be less lush, then in the 14th row, you can alternate (1 ssn and 2 ssn) - 6 times (18).
Tie the tail can be done in the following way: 3 (or 2) in, the connecting column in the next loop, repeat to the end of the row. Then the tail will be a little shorter.
You can tie two rows of arches ...
In general, there are a lot of knitting options, everything depends on your imagination.
Fins.
Left at the beginning of the knitting of the tail, the thread is threaded through the needle to the upper part of the head (where the upper fin will be determined by the shape of the spout: the spout on one side will be more "tucked up").
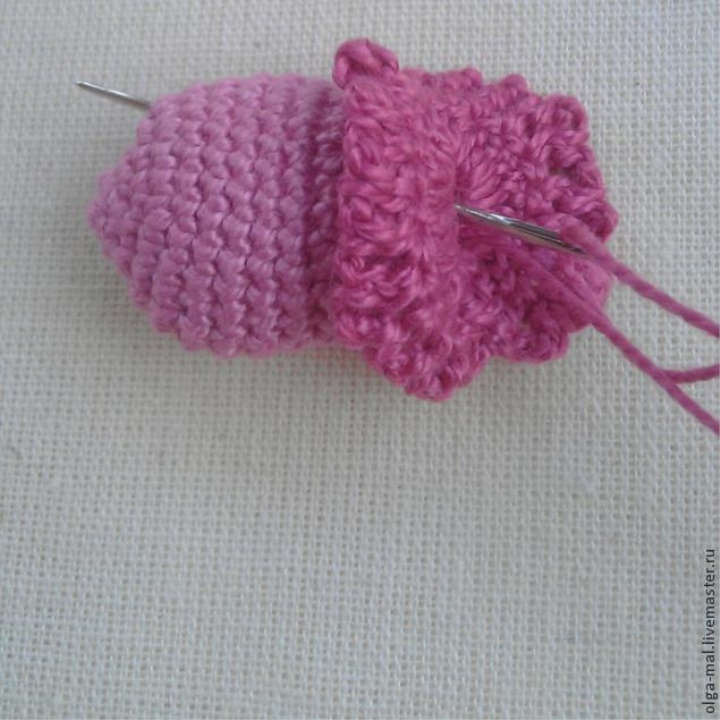
To knit along the back 7-8 columns with a crochet.
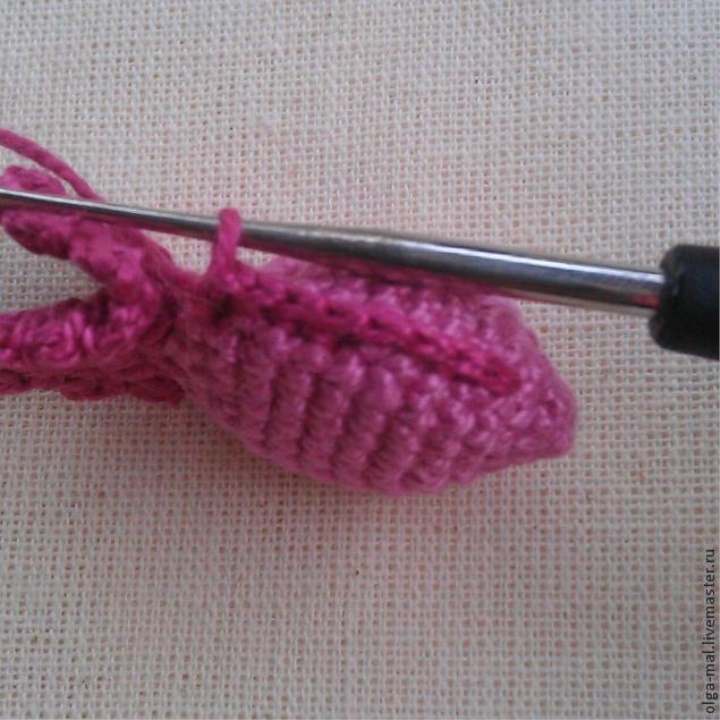
Turn the knitting and tying the arches: 2 air loops, then the column without the crochet in the next loop.
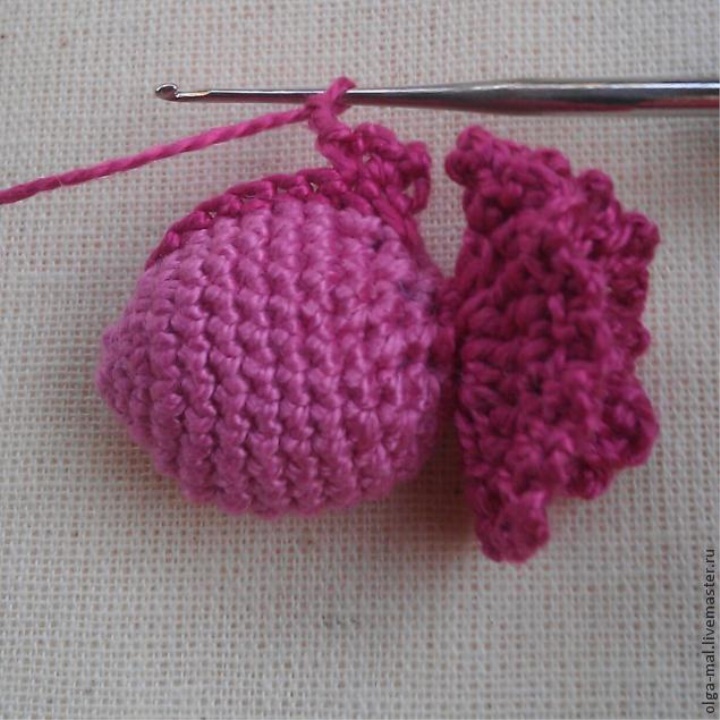
Knit to the end of the fin (7-8 arches). Then pull the thread,
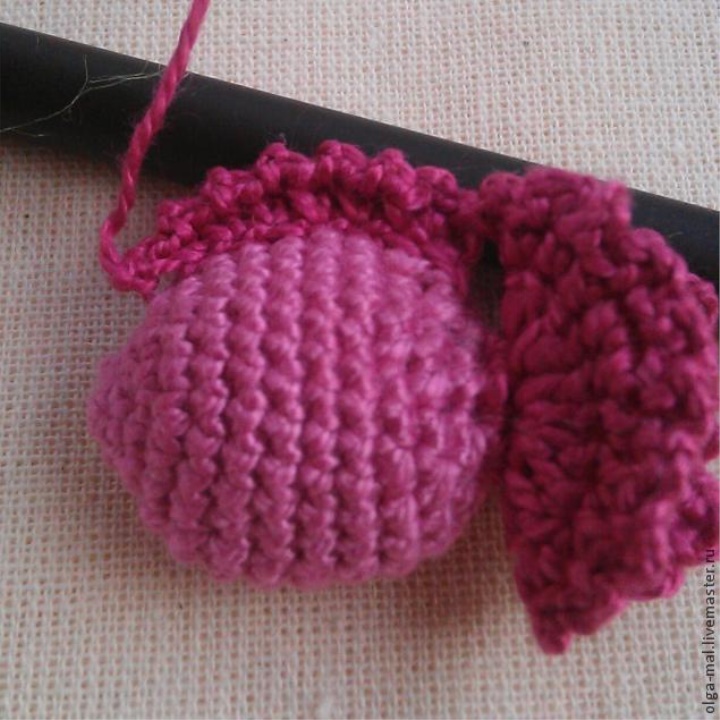
Insert the thread into the needle and stretch it to the bottom of the fish.
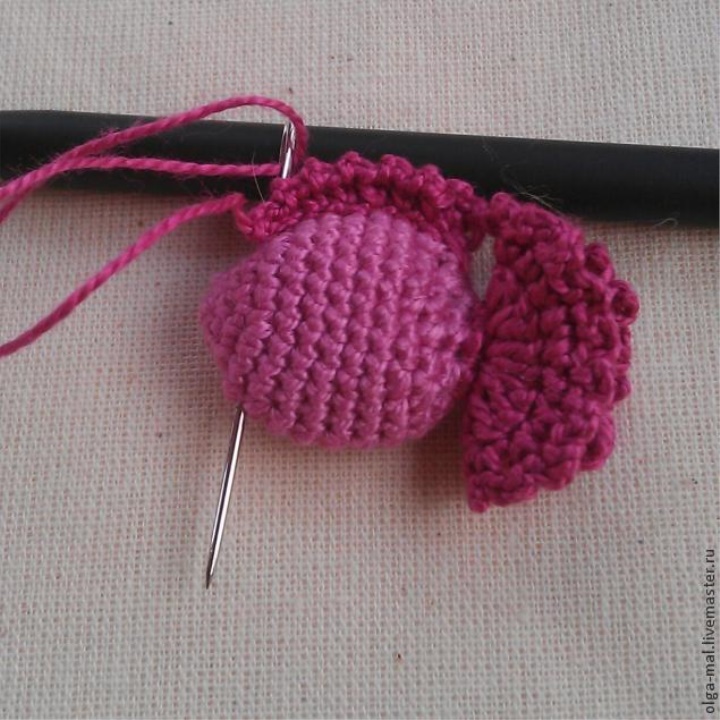
To knead along the tummy of a fish 6-7 columns without a crochet.
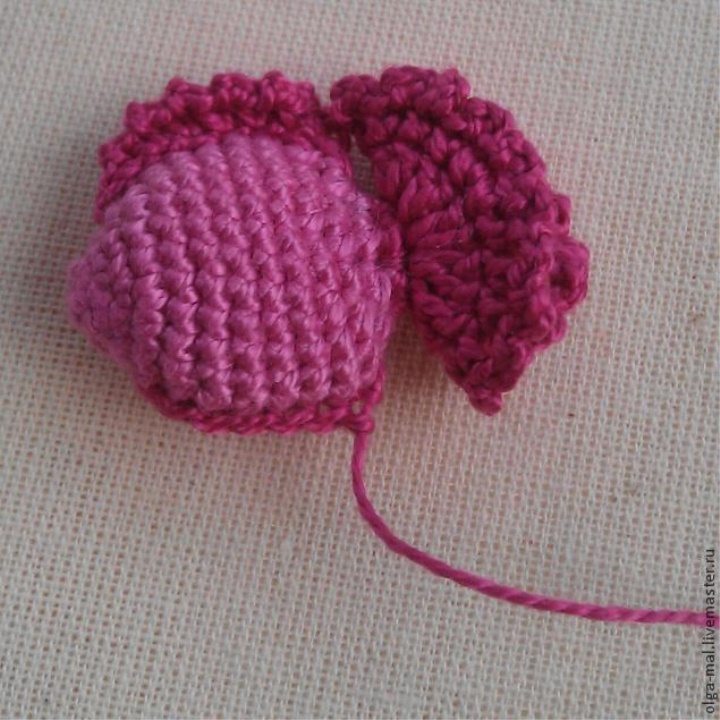
Pull out the thread, thread it into the needle and thread it into the hole at the beginning of the tail.
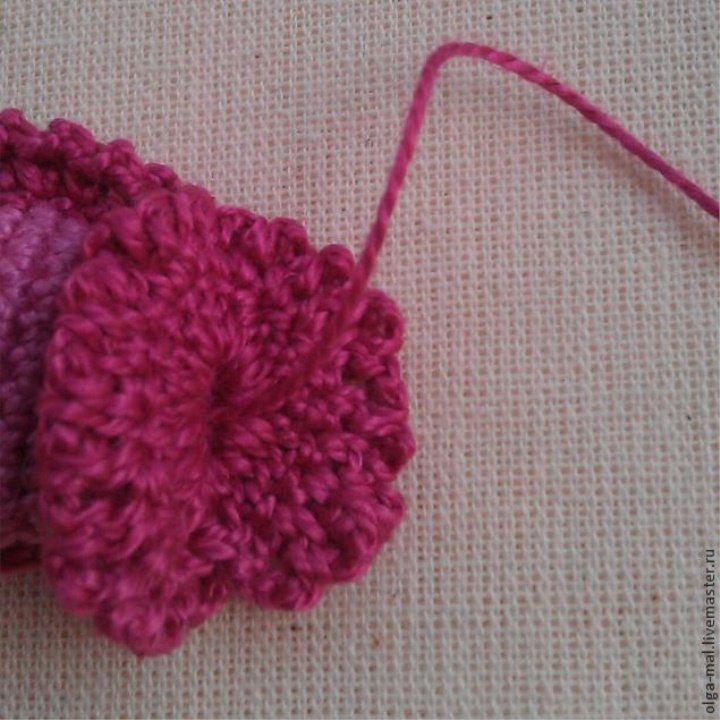
Fold the tail and sew it to avoid seeing the sintepon (if desired, the tail can not be stitched, then it will be more magnificent). Secure the thread.
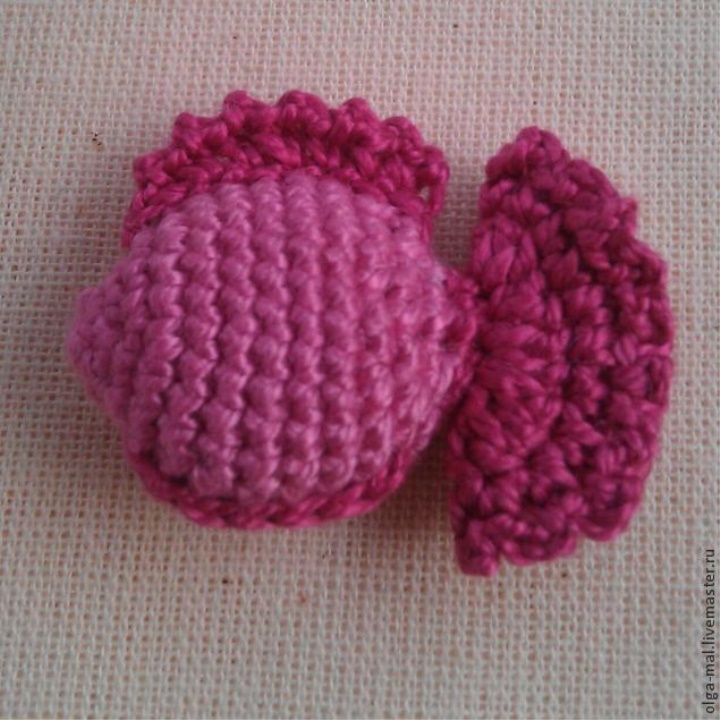
A thread of black color to sew eyes.
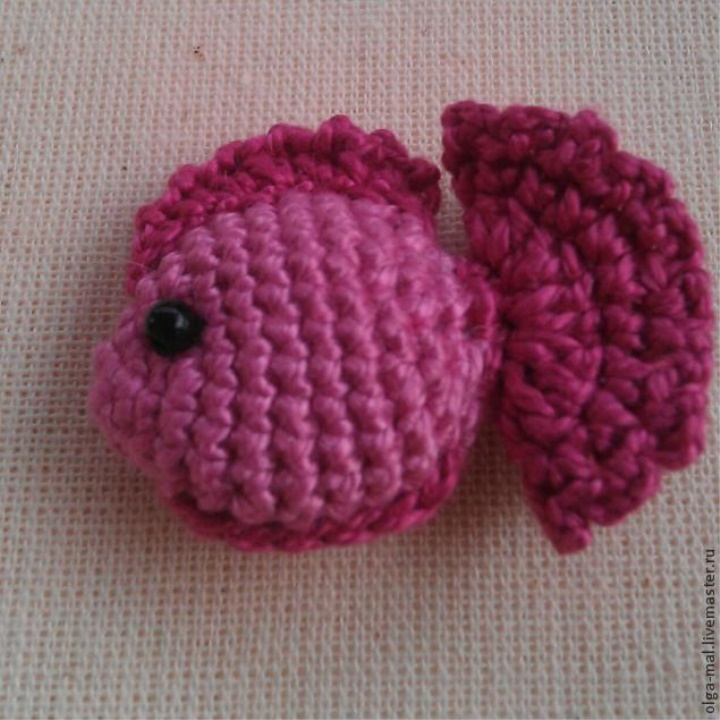
The fish is ready!
The fish can be attached to the base for the key fob, the base for the brooch, to make a pendant for the phone, the magnet, the clip, used as an element for the sling bus (tie a bead), used as counting material, material for studying flowers by young children, etc. I use fish like a pendant for pens and pencils (at work such pencils and pens remain on my desktop, and do not "go" to my colleagues' workstations).