which are fixed from the inside).
instruments.
ub. - decrease
arr. - an increase
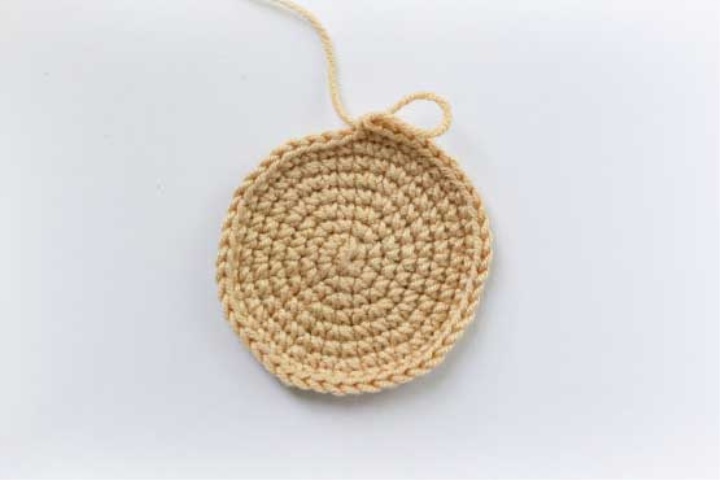
Head:
(knit in a spiral, fill in the course of knitting)
1) 2 in, 6 sb in the first loop (6)
2) aprox6 (12)
3) (1, app) x6 (18)
4) 1, arr., (2, arr.) Х5, 1 (24)
5) (3, app) x6 (30)
6) 2, arr., (4, arr.) Х5, 2 (36)
7) (5, app) x6 (42)
8) 3, arr., (6, arr.) Х5, 3 (48)
9-16) 8 rows unchanged (48)
17) 3, уб., (6, уб.) Х5, 3 (42)
18) (5, уб.) Х6 (36)
19) 2, уб., (4, уб.) Х5, 2 (30)
20) (3, уб.) Х6 (24)
21) 1, уб., (2, уб.) Х5, 1 (18)
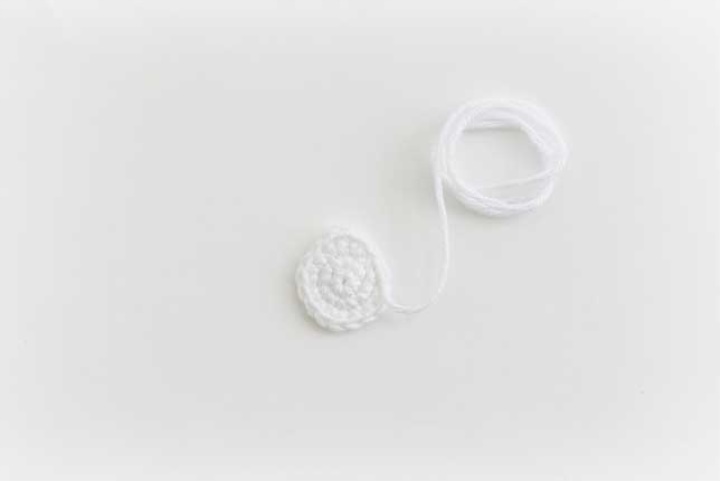
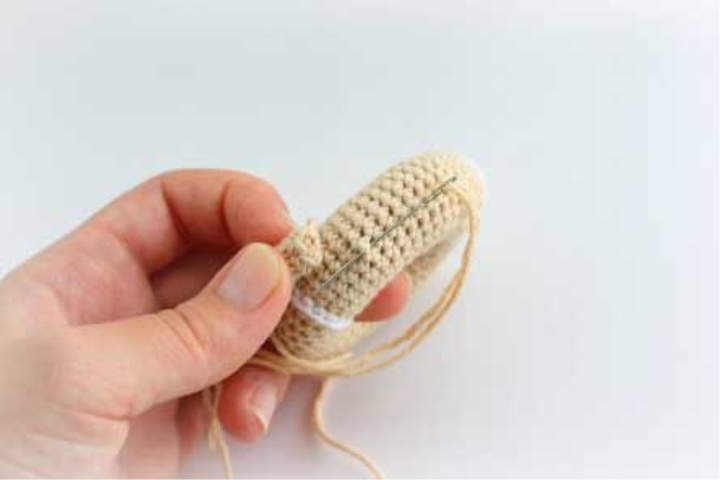
22) (1, уб.) Х6 (12), сс, cut the long tail for
sewing and pull the thread, without tightening the knot,
then refill it, restoring the edge. After
end of knitting, we pile up the head until it is
becomes dense.
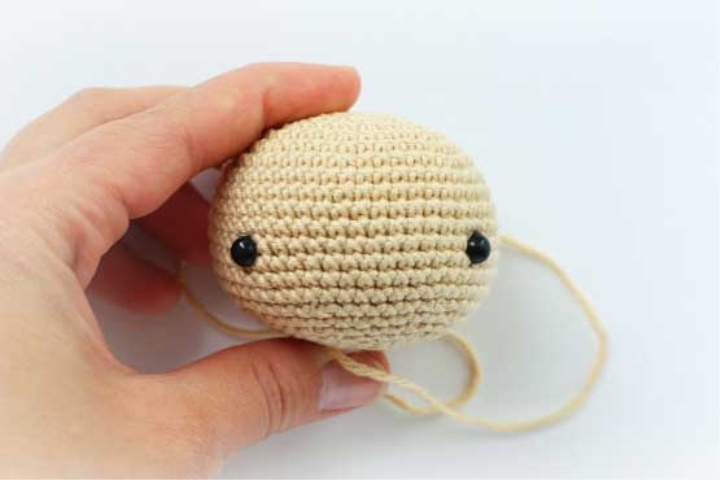
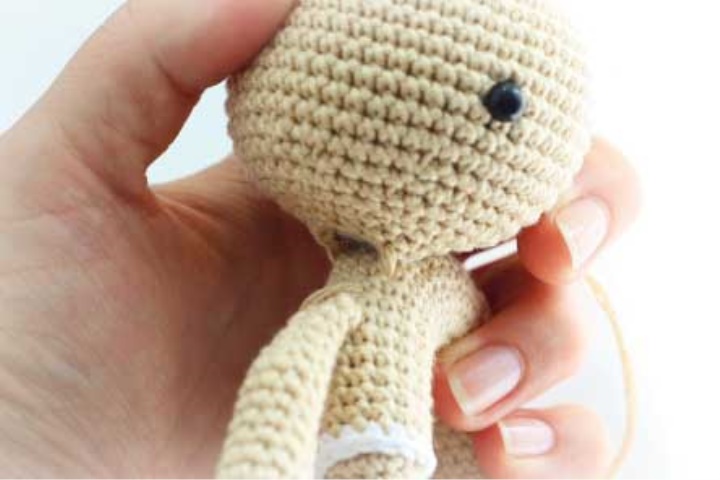
Eat them between 13 and 14 rows on
a distance of 14 sb from each other. Start of series
while it must be on the opposite
side of the peephole.
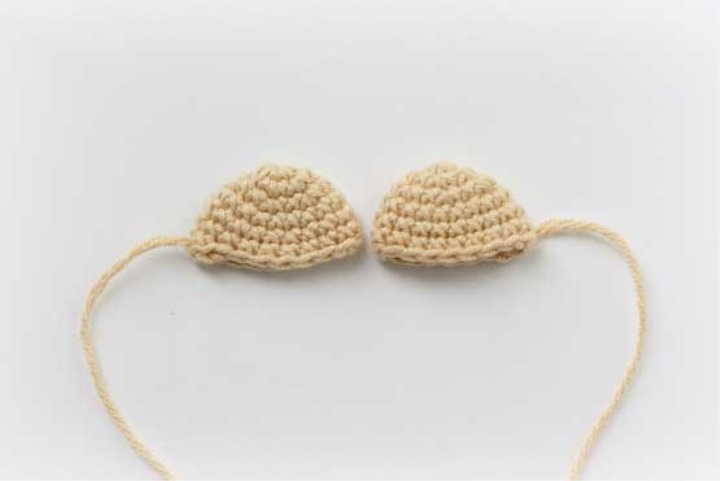
Ears:
(knit in a spiral, do not fill)
1) 2 in, 6 sb in the first loop (6)
2) aprox6 (12)
3) (1, app) x6 (18)
4-6) 3 rows without changes (18), ss, crop
long tail for sewing and pull the thread,
without tightening the knot, then refill it,
restoring the edge. Fold the ears in half,
so that the sewing thread is on the side.

Muzzle:
(knit in a spiral)
1) 2 in, 6 sb in the first loop (6)
2) aprox6 (12)
3) (1, app) x6 (18)
4) 1, arr., (2, arr.) Х5, 1 (24)
5) (3, arr.) Х6 (30), 2 сс,
trim a long tail for
sewing and pulling the thread, not
tightening the knot, then refill
her, restoring the edge.
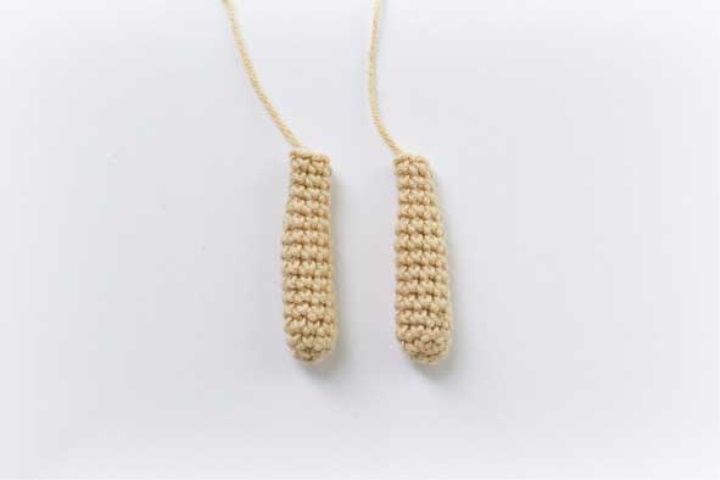
Pens:
(knit in a spiral, fill tight until the first reduction)
1) 2 in, 6 sb in the first loop (6)
2) (1, app) x3 (9)
3-10) 8 rows without changes (9)
11) уб., 7 (8)
12) уб., 6 (7)
13) ub., 5 (6)
14) 1 row unchanged (6), ss. For a bear on
ring trimmed long tail for
sewing and pulling the thread, without tightening
node, then refill it, restoring the edge.
For a normal bear, tighten the knot and short
Cut the thread.
Puziko for bears with legs:
1) 2 in, 6 sb in the first loop (6)
2) aprox6 (12)
3) 2 sb, 1 psn and 1 ssn in one loop, 1
ssn and 1 pcn in the next loop, 1 sbn,
prib., 2 sc., ap., 3 sc, 2 cc,
cut a long tail for sewing and
pull out the thread without tightening the knot, then
fill it up, rebuilding the edge.
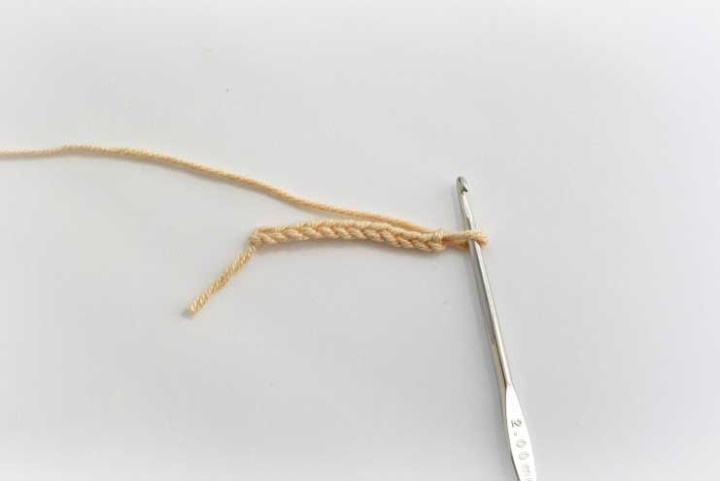
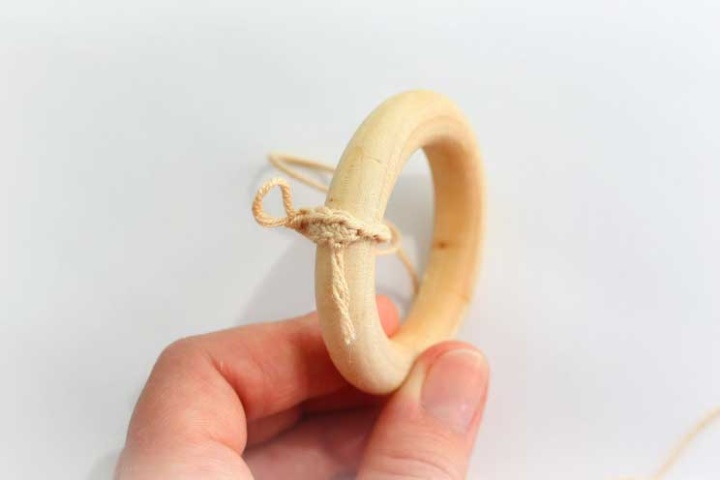
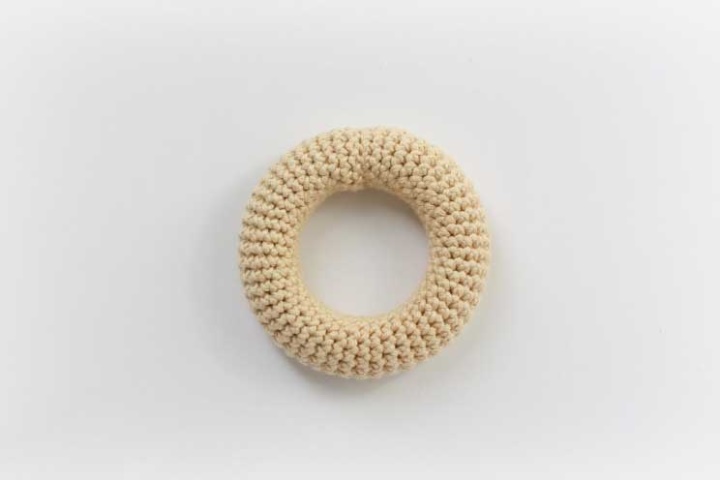
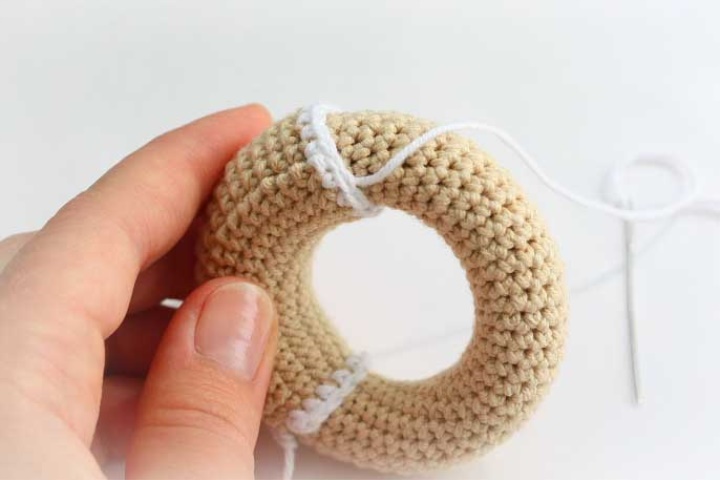
Bears on the ring: we collect on the grasp of our ring air loops. At Дменя it turns out 12, but it depends on thickness of a yarn. It is necessary that
the bundle sat tight enough. We pass the chain through the ring and knit
in the first loop a column without a crochet. Next, we tie a spiral, until
completely do not close the ring. For ease of tying you can turn the
ring. At the end, we leave a long tail for sewing and restore the edge,
as we did before, and then sew up both ends, tighten the double knot and
we hide the thread in the canvas.
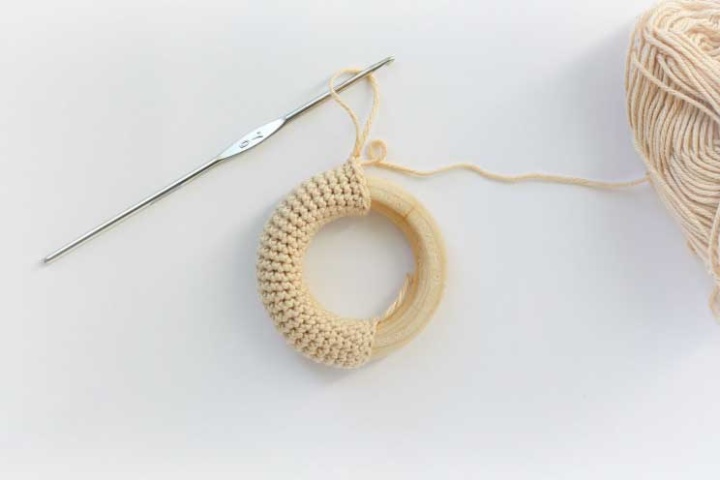
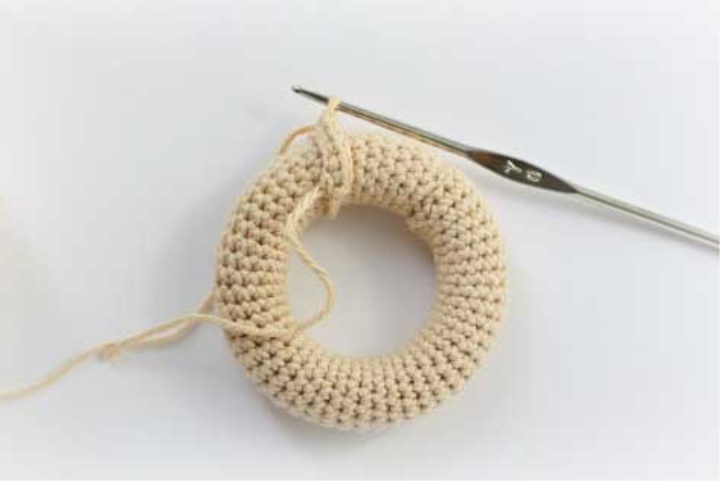
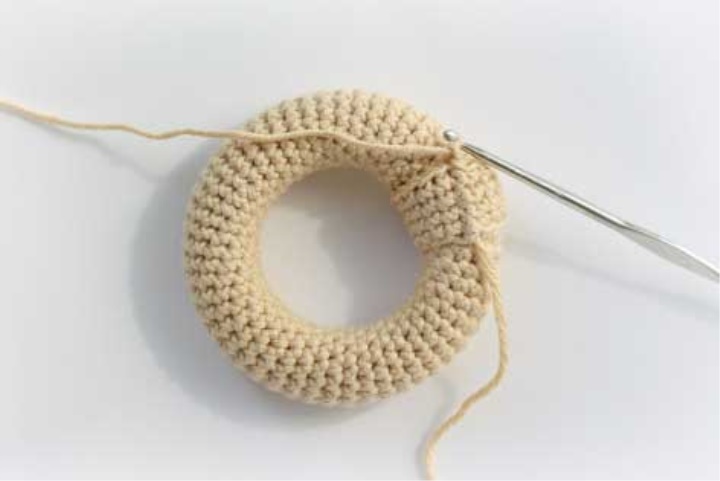
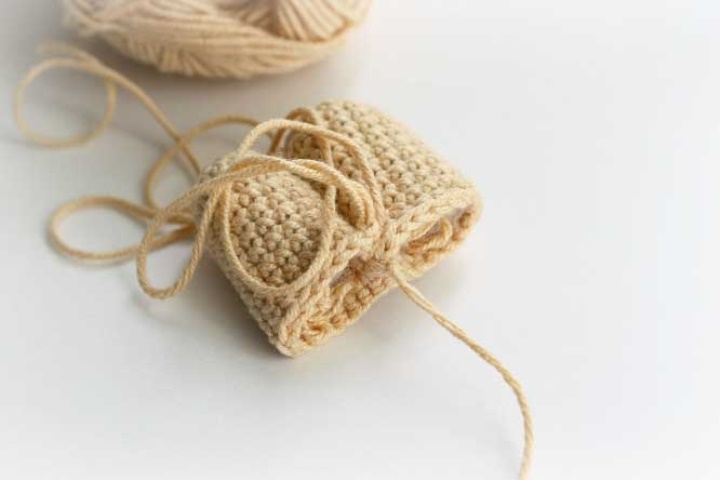
Now we knit the muff. We dial the air loops - about 4 Tolshe (I have 16), than when tying the ring, we pass through already
tied ring, we knit cc and np in the first loop, and then in the same loop
loop first sbn first row. Now we will not be knitting in a spiral, but
on a circle, at the end of each row making a connecting post and a loop
lifting. In total it is necessary to link 18 rows. Before you make the last one
the connecting column (at the end of the 18th row), change the thread to white (more precisely,
we sew the second loop of the latter with a white thread, and then make ss). Both
tie the tail into a white row to hide. Then, at the last
To the column, instead of the cc, we draw the thread, without tying the knot, we cut off and
restore the edge, as we have done before.
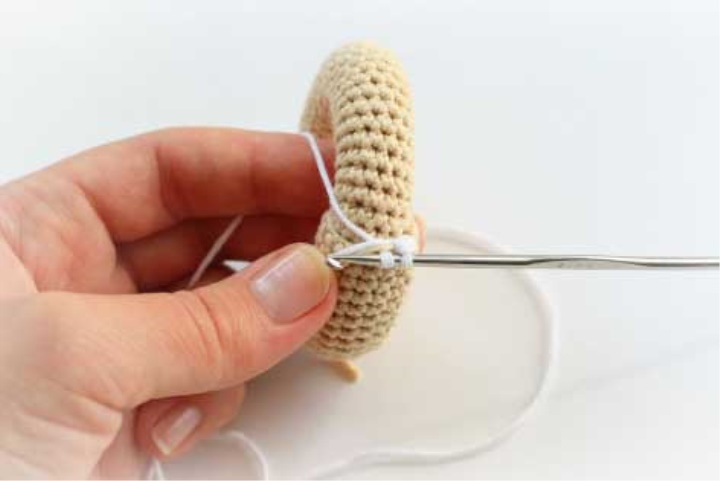

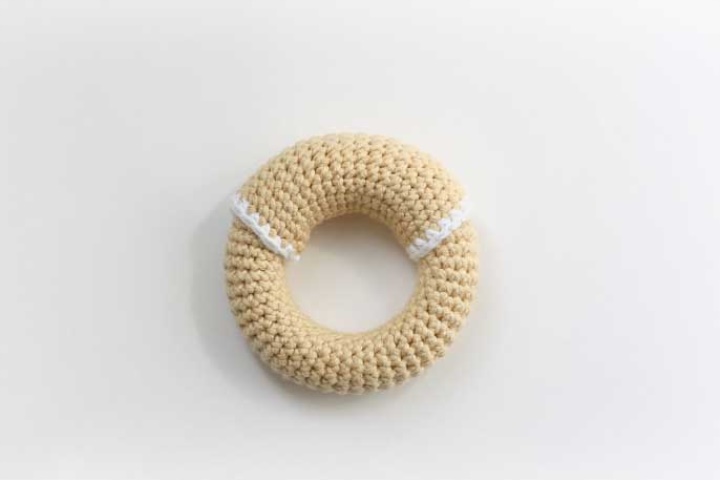
we return to the first row, attach the white thread, we tie the first row of Pkray in the same way, hiding the tail, connect the edges and
finally hide and cut off all the tails. The last two whites
The tail is better to hide in white sticks from the wrong side. Then the muff
turn the connecting bars to the inside and with the help of
Hook the hook so that the seam on the harness is in the middle of the
the muff.

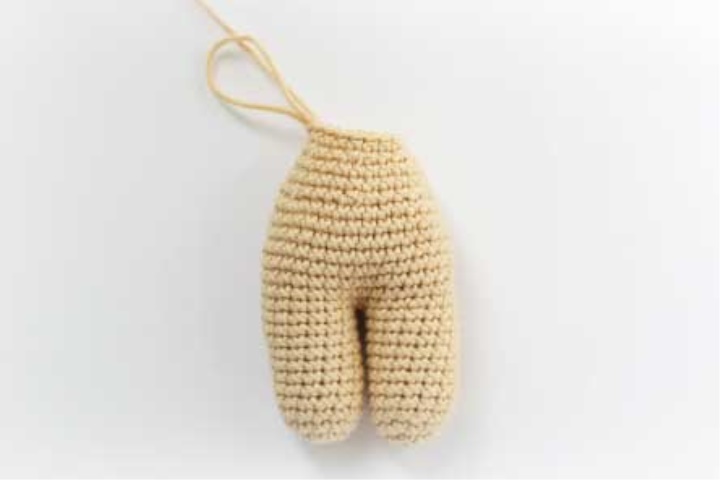
Now go to the bear with legs.
Legs: (knit in a spiral, slightly
fill in front of the strapping):
1) 2 in, 6 sb in the first loop (6)
2) aprox6 (12)
3) (3, arr.) X3 (15)
4-12) 9 rows without changes (15),
knot, cut the thread.
Torso (knit in a spiral, fill
in the course of knitting):
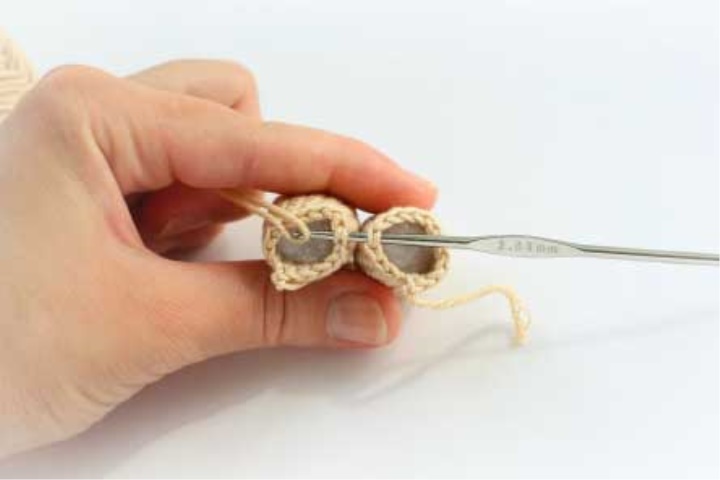
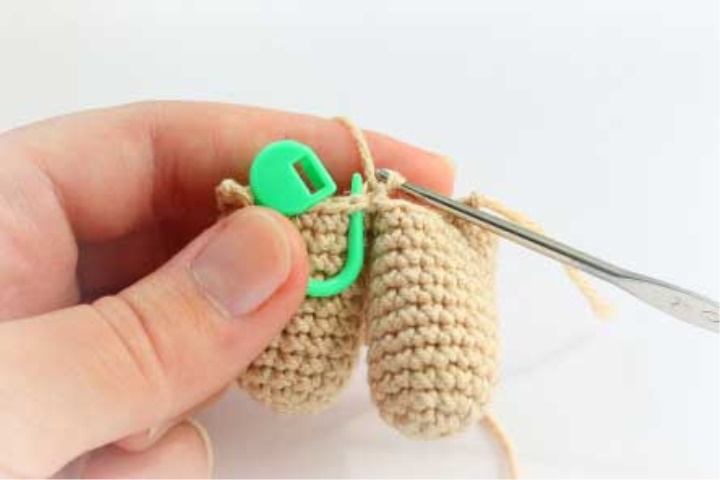
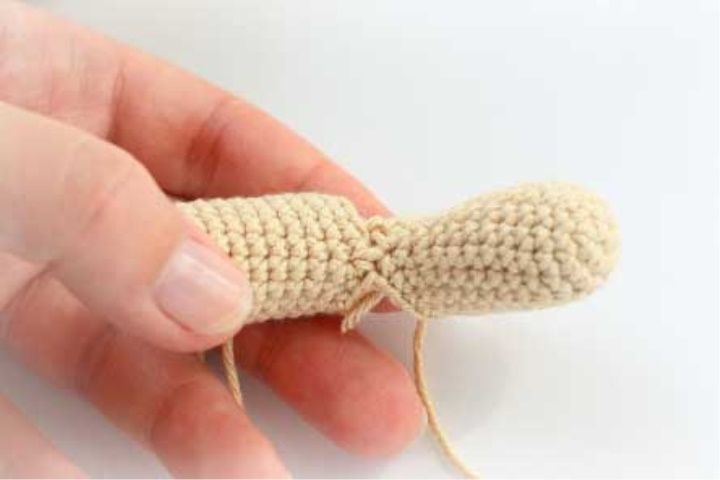
13) connect both legs so that
Attach the thread by capturing adjacent
loops on different legs and tied with one
next to the sb, making increases in the loops
connections (32)
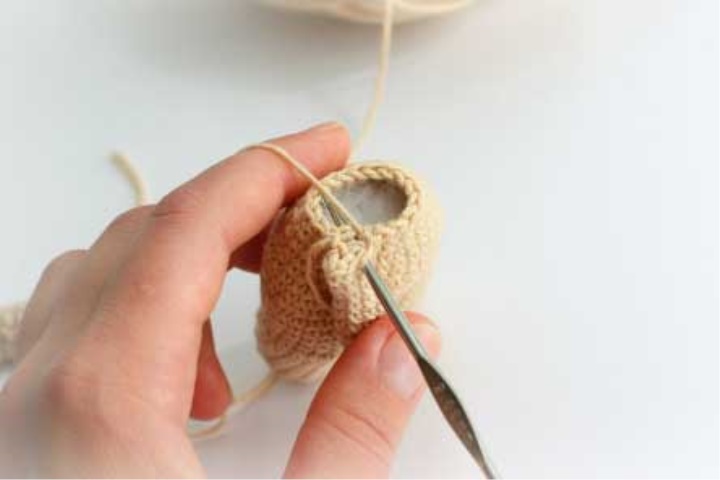
I will explain. In the photos you can see
more. You pass the hook through
two loops on different legs (1),
grab a new thread, pull out
her and do 1 in (2). Then you
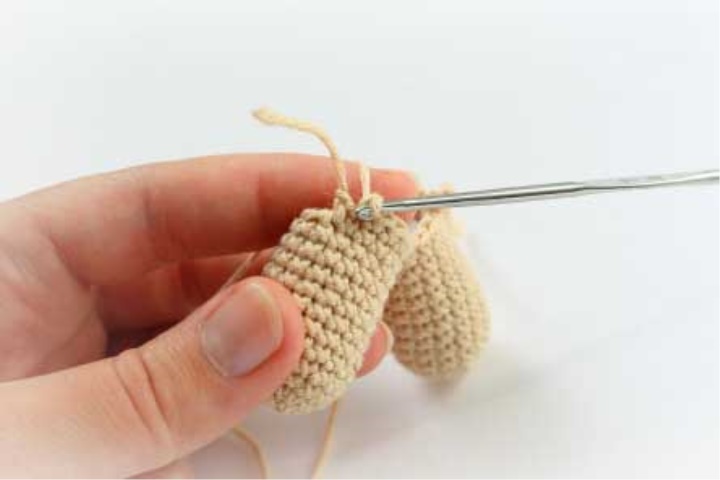
put the hook in the same column, but
only on one leg from the outside
(3), tying the leg of the saber, and the last
sbn on this leg should be in the same
join bar, go to
the other leg to the other post
join and repeat the same
(6). Thus, in these two bars
you first attach the thread and connect
thereby two legs, and then you will bind
one more time on each side, and
you will get an increase between your legs
(7).
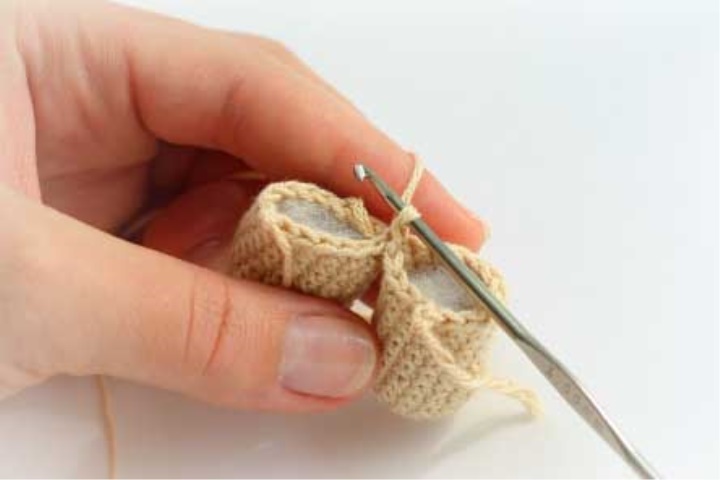
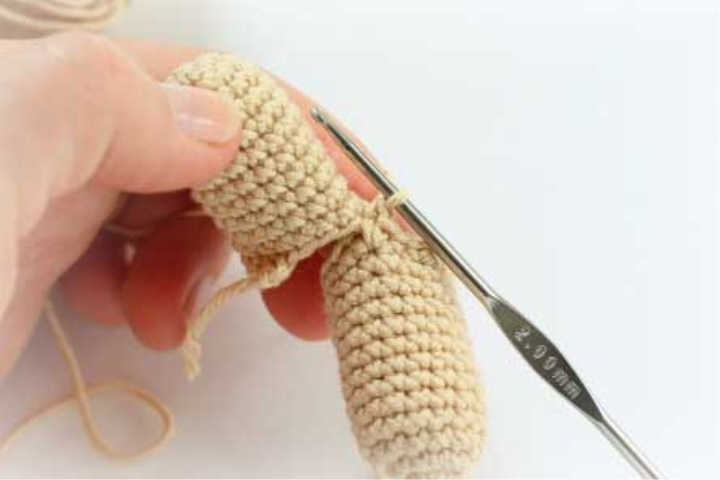
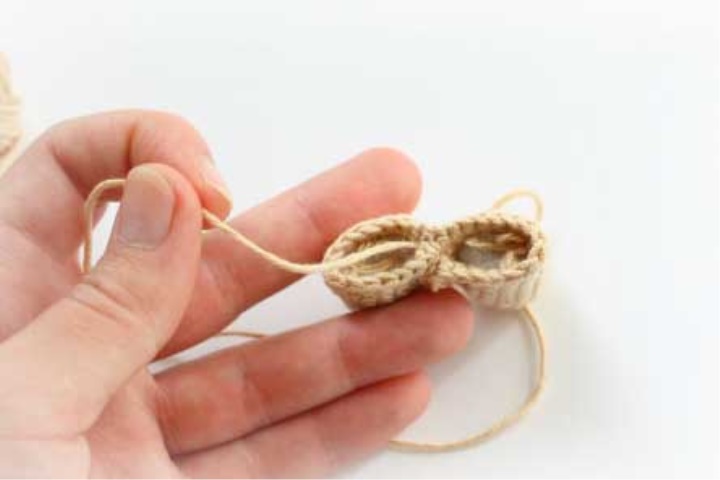
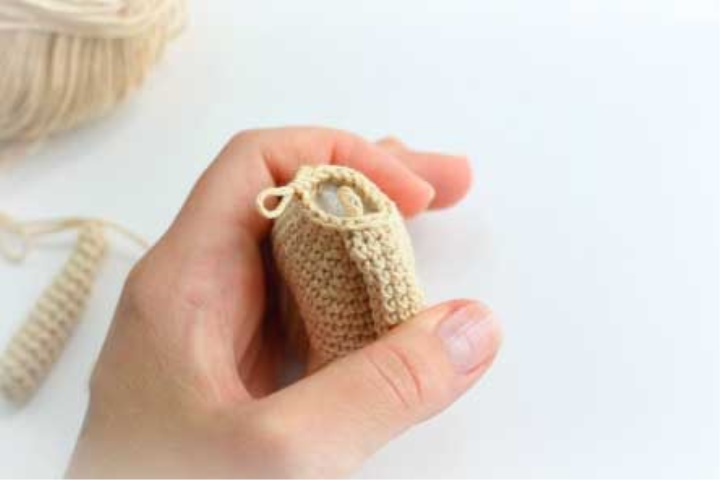
One more thing: when you will
bind your legs, you will need
bend the column to the node. This is done
so - you reach the penultimate
post a leg, tie it (4), and
The next column is not done in
The last (with a node), but in his
Base, while the very column you
bend inward and thread lay
before him (5). It is important to tie here
densely, so as not to catch the eye
transition.
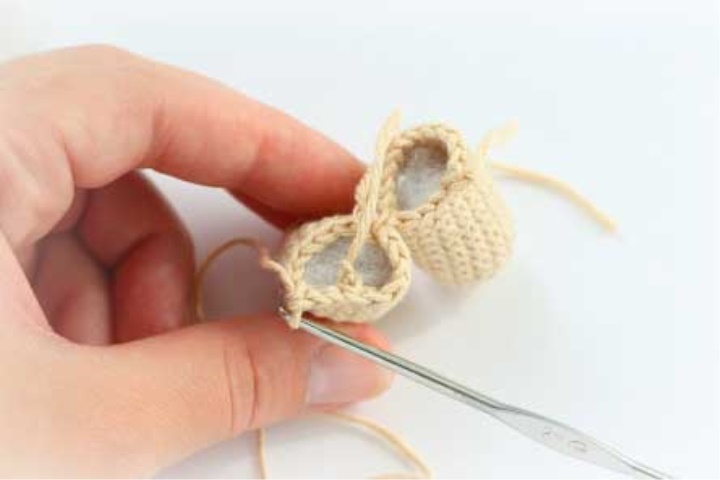
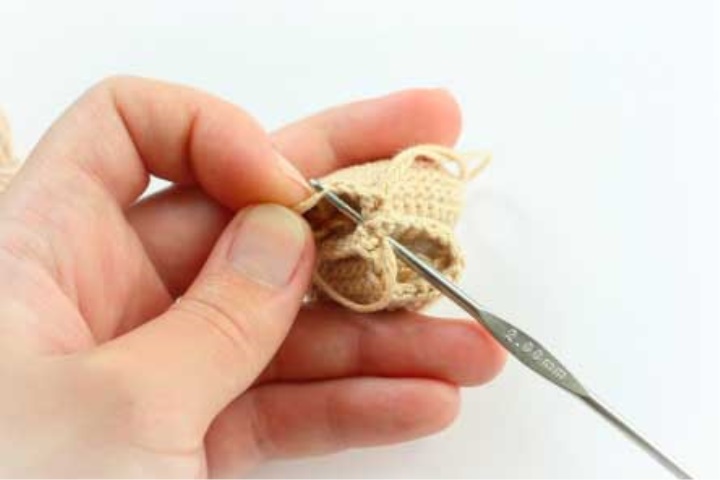
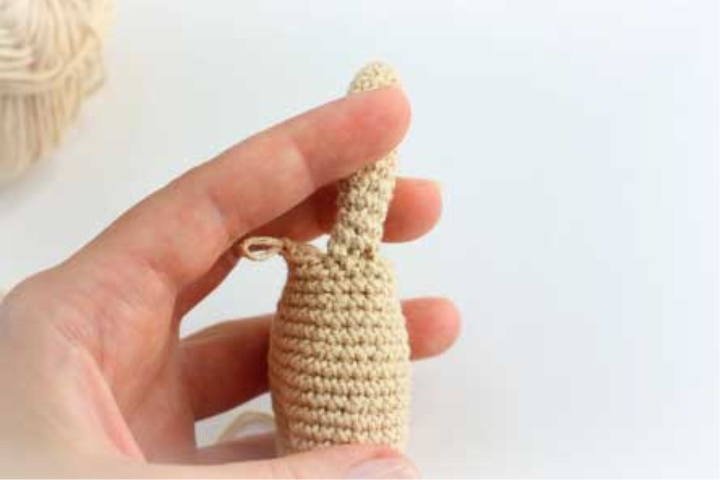
And still: between the legs we have a tail
(8). In order not to crawl the connection,
proceed as follows -
we put a hook in the same bars
connection, which at the first
photos, from the side where from
(9), we catch it with
reverse side, pull the loop,
do 1 b and tighten the knot (10).
We hide the tail in the stuffing.
Torso (continuation):
(knit in a spiral, fill in the course of knitting)
14-17) 4 rows without changes (32)
18) 8 сбн, уб., 14 сбн, уб., 6 сбн (30) - Decrease
should be clearly on the sides, so do not be shy
They shift, if you are on this scheme goes
differently.
19-20) 2 rows without changes (30)
21) 1, (уб., 3) х5, уб., 2 (24)
22-23) 2 rows without changes (24)
24) 1, (уб., 2) х5, уб., 1 (18)
25-26) 2 rows without changes (18). In the second row
we get in touch with our hands. I managed to get my hands on
sides according to the scheme: 4 sb, 4 sb - the first hand, 5 sbn, 4
sbn - the second hand, 1 sbn (18). If you have hands
turned out beveled, try to move the hinges
getting involved.
27) (ub., 1) x6 (12), ss, cut off a small tail and draw the thread, not
tightening the knot, then refill it, restoring the edge, but on the outside
do not refuel, leave inside. Do not forget to tightly fill.
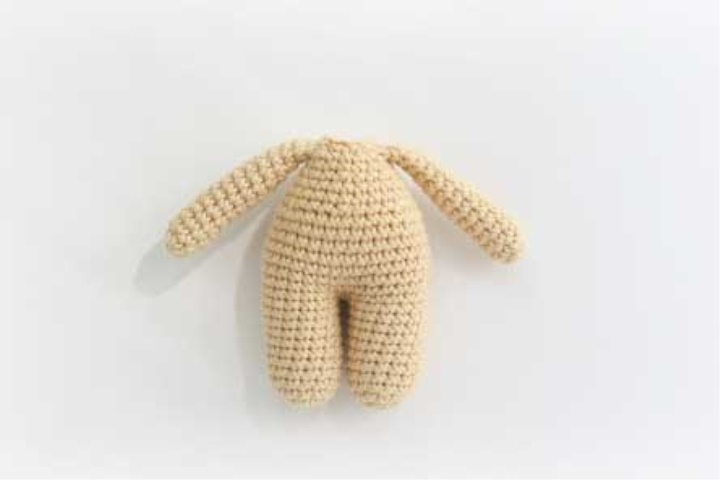
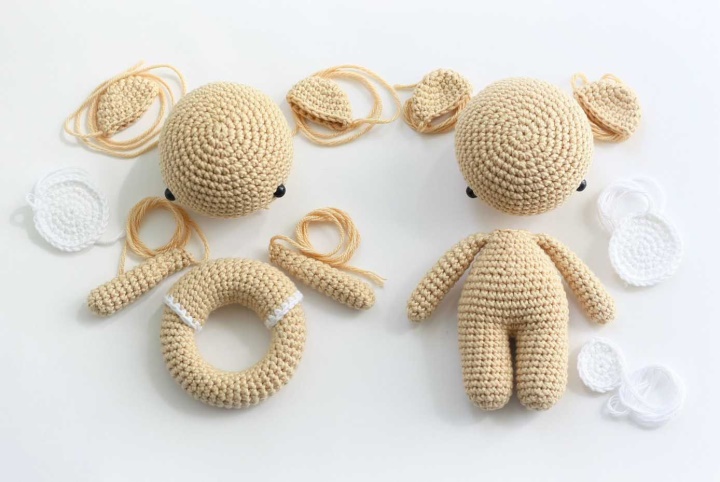
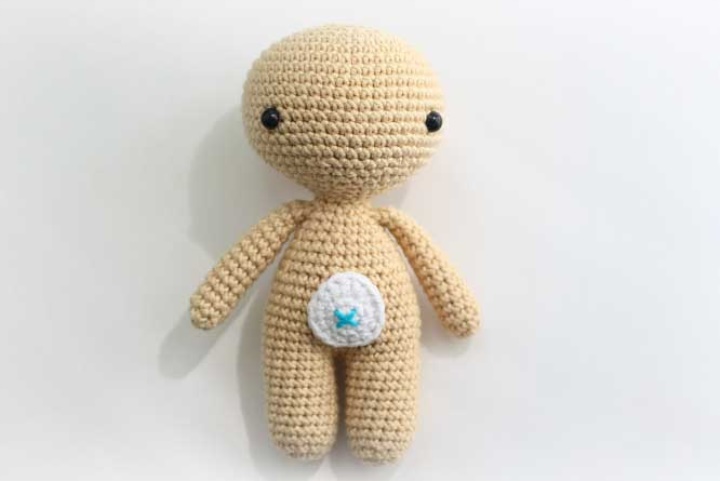
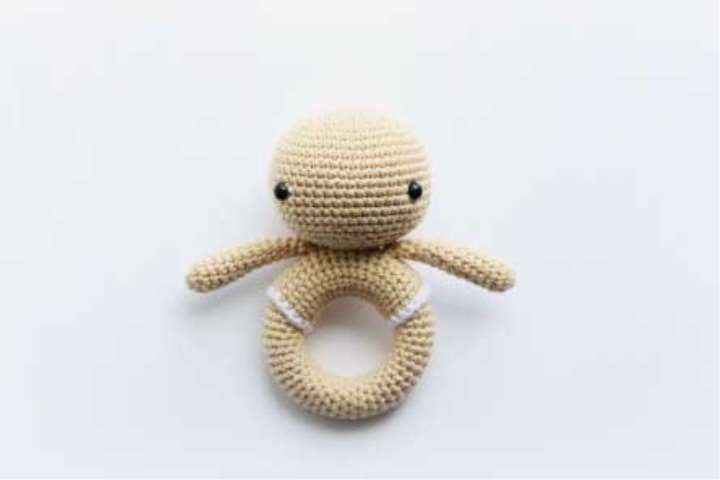
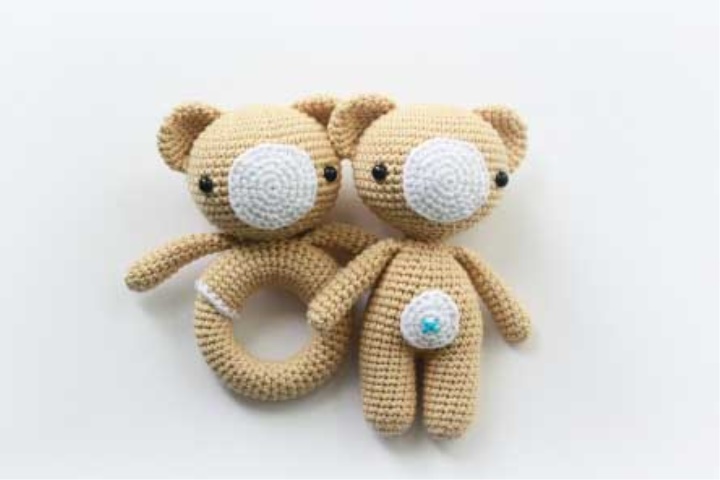
So, we finished knitting all the details of the bears. At the moment they look like this:
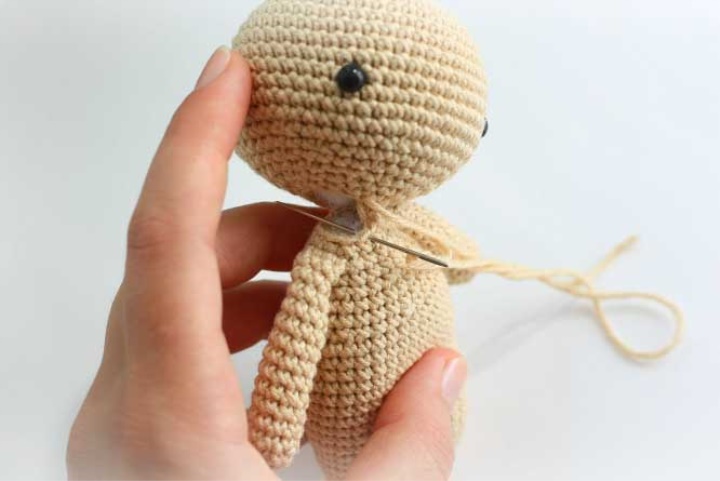
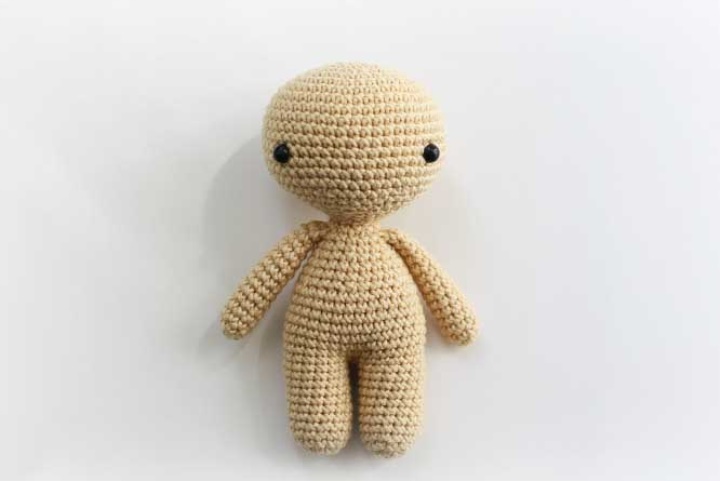
Assembly:
To start we will collect a bear with legs. With the sewing of the head everything is simple - You align the head on the body so that the eyes look clearly forward and,
grasping the outer stitches, stitching the parts together. At the end
tie two or three knots on the thread and stretch it into the fabric so that the knot
there he left. Do not forget to add a little stuffing to the neck.
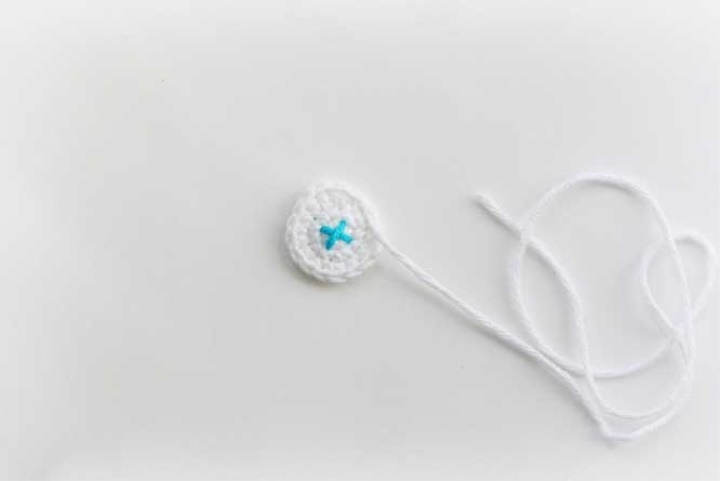
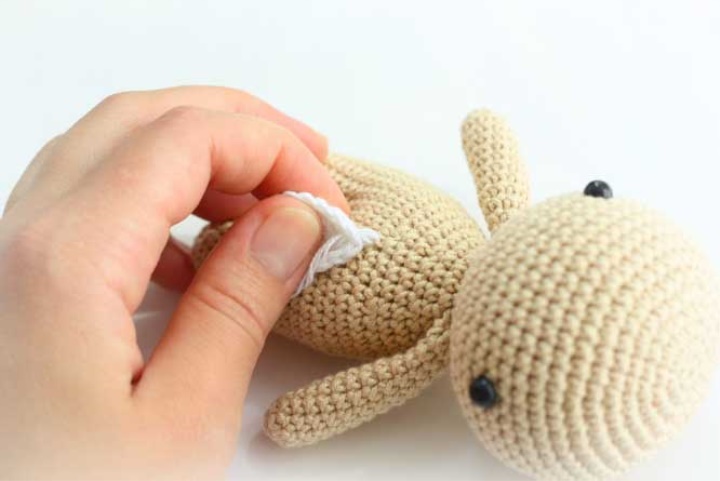
Now take the pussy. To begin with, we will embroider on it the cross-navel with the same Tweaks as we will knit a scarf and embroider a nose. We will fasten on
on the wrong side of the double knot and we cut the extra threads. Sewing
puziko to the trunk flat, from above we pass the needle under the extreme loops, from below
- grabbing strings of columns. In the end we deduce a thread on purl
side of the pussy, we tie two or three knots on the thread and stretch it into the canvas
torso, so that the node went there.
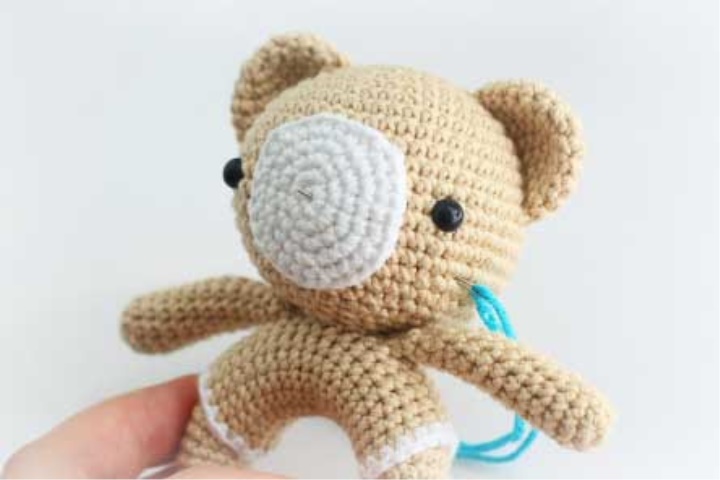
In the same way we sew the muzzle to the head. The upper edge of the muzzle should be three rows above the eyelet attachment.
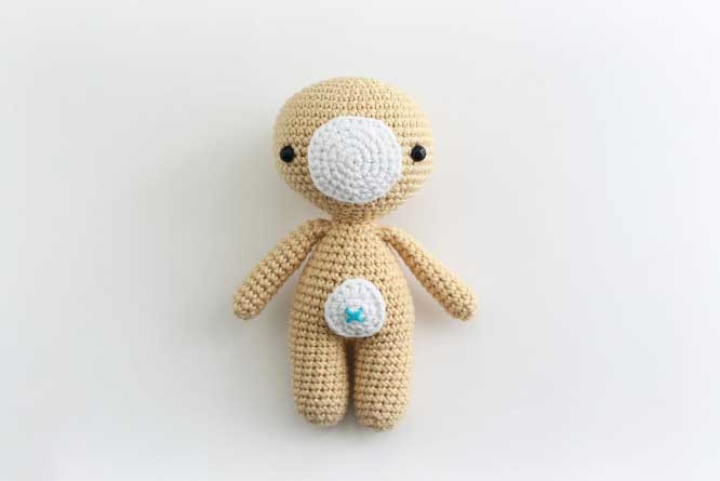

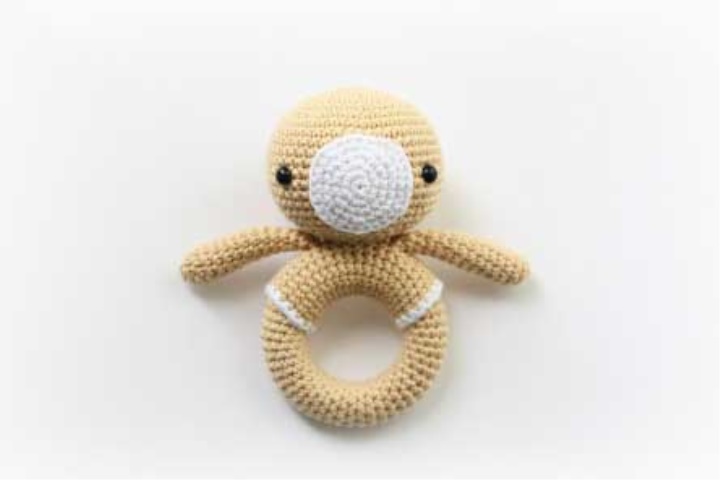
eye.
Now it's time to put the bear on Tkoltz. First hands. They should be sewn
to the seventh row from the edge of the muff
stitch (width - two bars) in the middle. On
We tie two or three knots and stretch it out
in the cloth of the muff, so that the node went there.
Tin we sew between the handles with an indentation of the Goat them in one row. Do not forget to add
a little stuffing in the neck. With the thread we arrive
same.
Then sew the muzzle - the same as in Zmishki with legs.
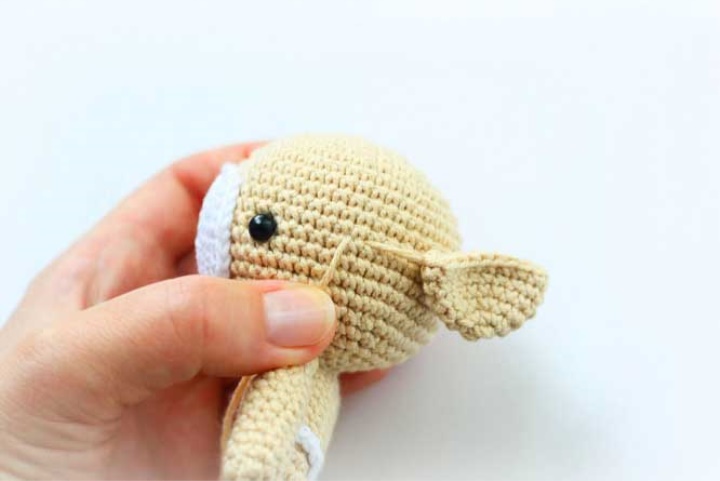
sew the ears. The principle they have the same, so I'll show you on the Todd toy. The lower edge of the ears from which we begin is sewn
to the sixth column from the upper border of the eye. Then, poddevaya
pillars on the head and two adjacent loops of a half-folded ear,
sew it in a semicircle and finish at a distance of 4 rows from the crown.
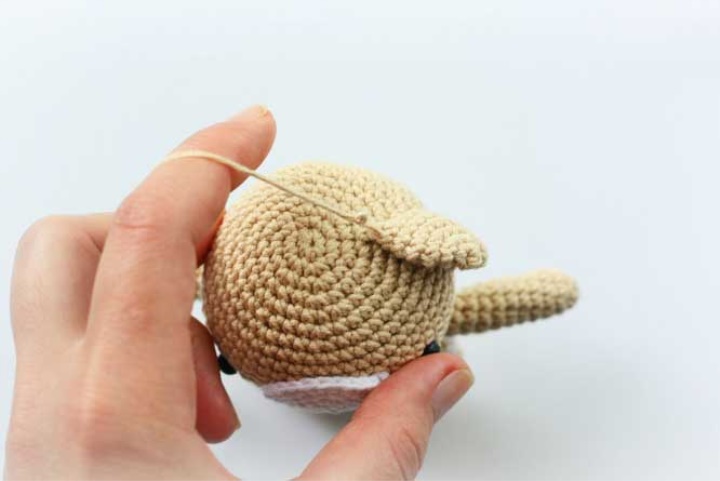
The second ear is sewn on the other side in exactly the same way. Counting 5
columns, under the sixth we pass a needle and a semicircle in a direction to
we sew the ear to the crown. At the end we tie two or three knots on the thread and
We stretch it into the canvas of the head, so that the knot goes there.
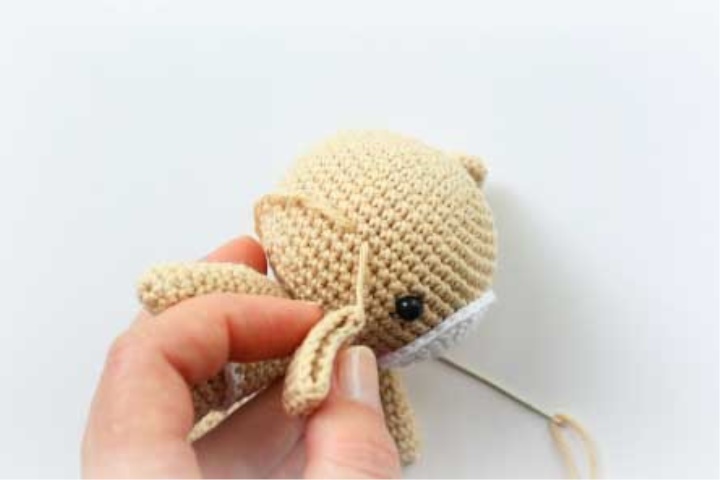
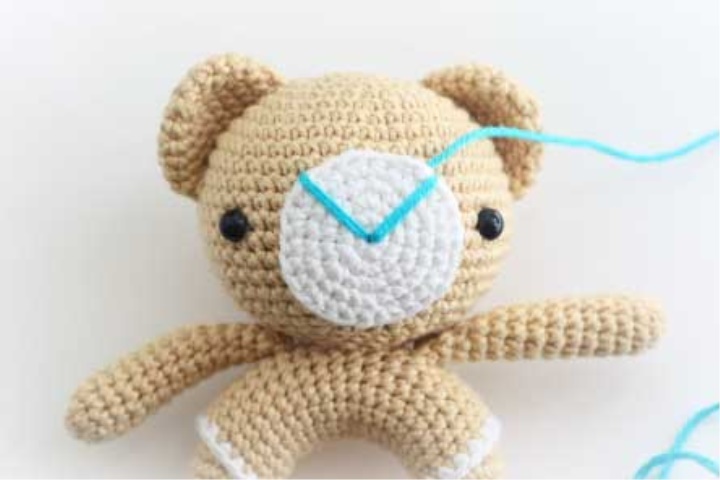

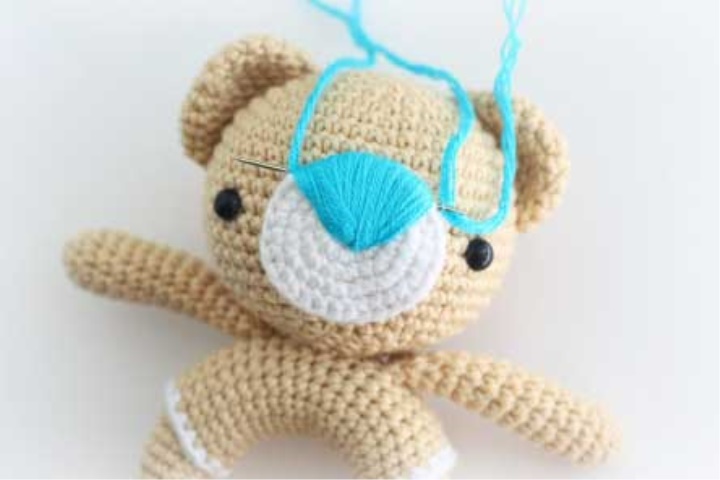
Let's get down to the muzzle design. Cut
long thread, tighten the knot at the end and
we stick into the head somewhere between the
columns, and we deduce from the middle of a muzzle,
pull the knot into the canvas. We embroider side strips, denoting borders
nose, and then start filling it out
space stitches, sticking a needle in
middle of the nose and withdrawing it from the upper edge of the muzzle. Conveniently align
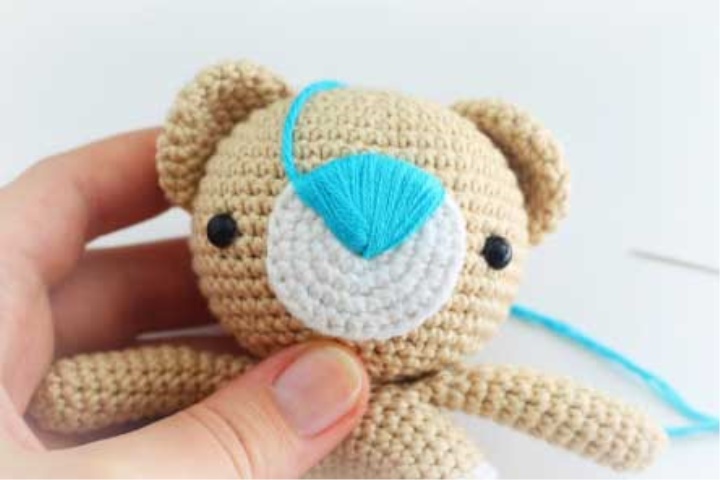
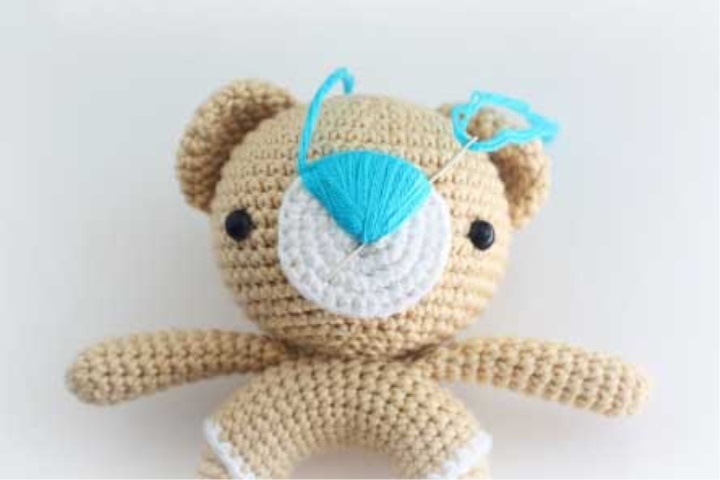
thread, clamping her finger, and the other hand pulling the thread until it stops. At the end
embroidery in the middle will begin to cross threads - in order that this
close, you can return to the right side and lay two or three more stitches
over crosses. When the embroidery of the main part is finished, we deduce
thread on the side and lay two or three stitches over the nose to hide
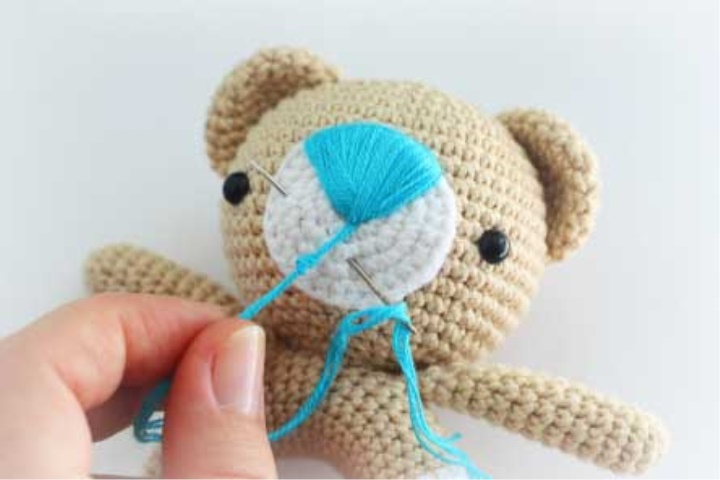
edge stitches. At the very end we draw the thread in the middle of the muzzle, tighten two
knot at a distance of 1 cm from the base and insert into two rows lower in
a convenient gap between the bars, forming a dash. We pull the thread,
so that the node crawls into the canvas and cuts off the remaining tip.
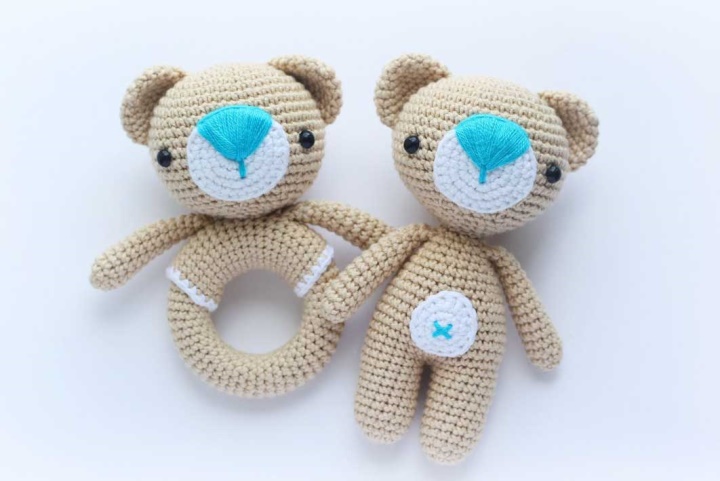
And the final touch ...
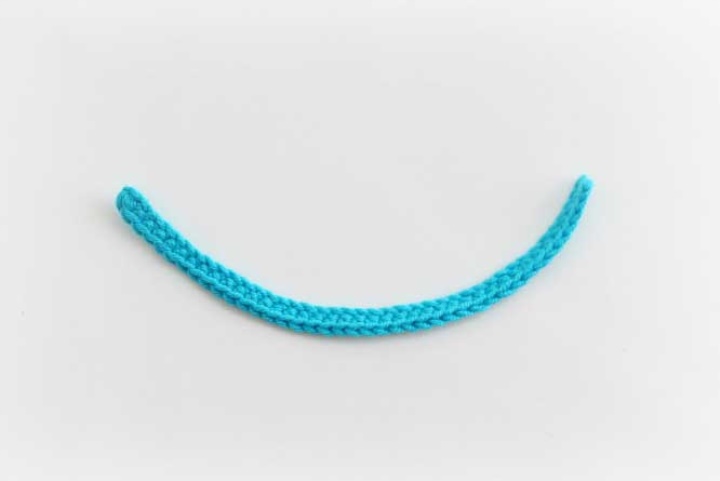
Sharpik: dial 40 in + 1 pp (leave the initial tail of 10 cm) and
we sew in the opposite direction 40 sb. At the end, tighten the knot and
we fill both tails into the canvas. Superfluous threads are cut off.
We put on scarves ... and the bears are ready!

Creative climbing byMarieSmthred