Now I will tell you about my last needlework .... Never in my life so I did not worry))
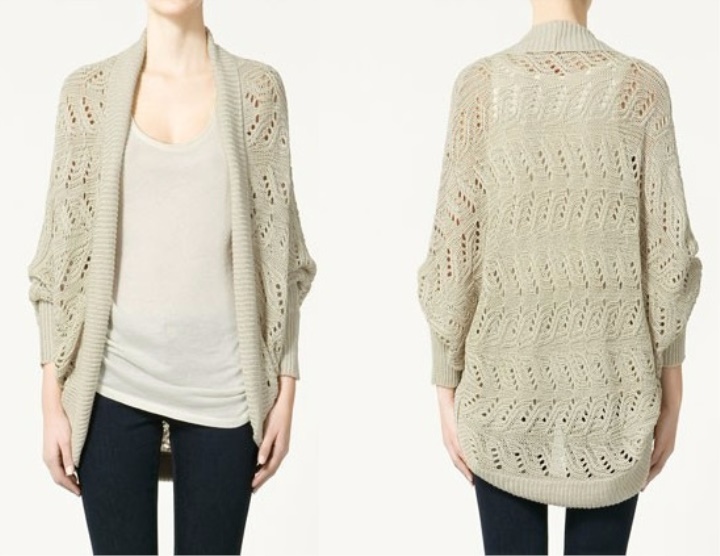
One evening I was looking through an article about the new Zara lukbuk, and I really liked this cardigan.
Immediately for some reason I did not think to tie myself up like this, but I went to bed, got up in the morning ... and realized that I could not without it, took the money in my hands and went to the store with yarn.
My hobby for knitting dates back to the distant 1996. I still could not really read and write, but I already knew exactly how to do the front and back.
My first works were father and mother's scarf. When I look at them now, of course, I understand that they are not subject to wear: where the loop is missing, where the wrong one was tying, the size of the hinge is different. But then everyone praised me, they said that it was very beautiful, so as not to discourage the hunt for this kind of needlework, and for this they thank you very much.
Over the years I "stuffed my hand", I gained experience and now I can knit for myself, my family, friends and, of course, my beloved.
Something my introductory speech was very protracted))))
I chose the following color:
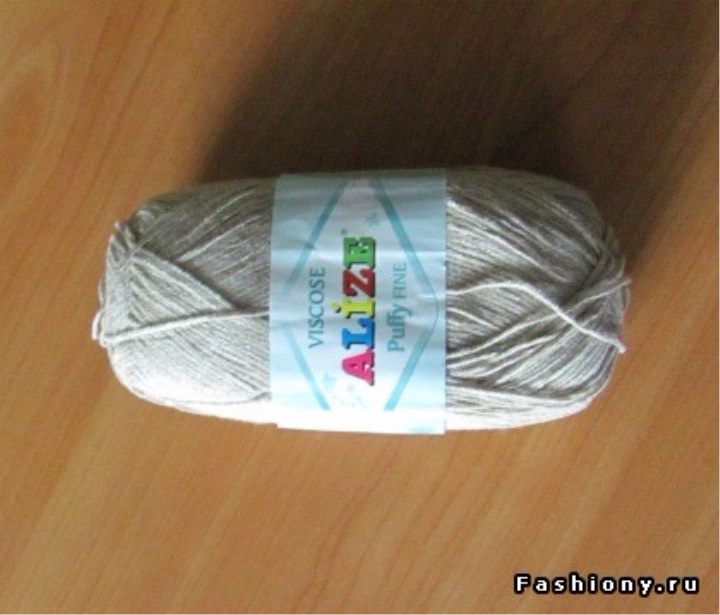
Composition 50% viscose and 50% acrylic, 440 meters long, I took first 3 but then I had to buy another skein. In the amount of 74 hryvnia, it's a little less than 10 dollars.
Then I chose this pattern:
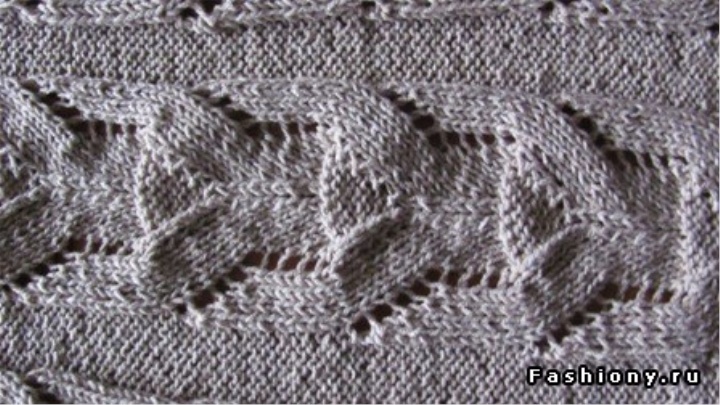
It is very light - it only has facial, purl and nakidy.
Since I did not think to take part in the contest, not all steps will be accompanied by the photo, but I'll try to describe everything very specifically.
I knit the right shelf:
We start to knit from the sleeve. Report drawing 20 loops, this is the "braid".
I dialed 58 loops:
- 20 * 2 two braids;
- 4 purl at the beginning and 4 purl at the end;
- 8 purl between the braids;
-2 edges.
Why in the beginning and in the end there are 4 loops, and not 8 as in the middle? When you stitch 4 + 4 will give you 8 - as in the middle.
So, the first row I tied with the purlins - so that when I dial the cuffs on my sleeve it would be more convenient and beautiful. This will be the purl series.
Next, I knit the front row like this:
- the lip hinge
- 4 backstitches
- 20 loops report on figure
- 8 backstitches
- 20 loops report on figure
- 4 backstitches
- buttonhole bead
The backing range knit in a pattern nakida provyazyvayu purl loop.
In the 46 row (purl), at the end I add 1 loop.
Of the four purlins we make 8, and then we knit by drawing.
So I add 32 times (along with this). The last addition I make in the 106th row.
When you tighten the 108 row - type on the spokes 56 loops - 20 report loops + 8 purl + 20 report loops + 8 purl.
109 row (or to make it easier to continue to consider it first) this will be the start of the report, start like this:
- Edge
- 8 purlins
- 20 stitches of the report according to the drawing
- 8 purlins
- 20 stitches of the report according to the drawing
- and then, according to the drawing,
in the 27th row from the bottom transfer, remove one loop for rounding, so do 8 times.
Through 42 rows (or 42 + 108 = 150 rows) from the beginning we close knitting.
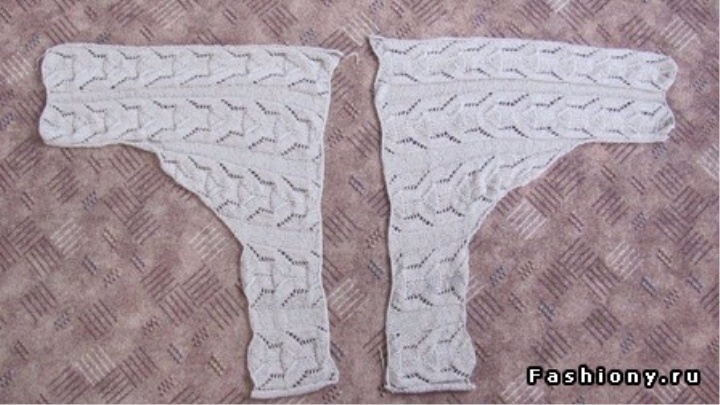
The right shelf of the transfer is ready)))
It should look like this:
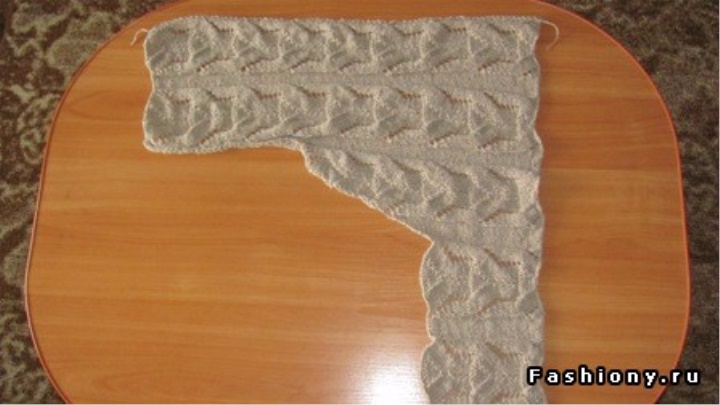
Now we knit the left shelf.
It is knitted just like the right one, only in the 46 row (purl), at the beginning I add 1 loop.
Also we subtract 8 loops at the bottom but already in the 26 row (or 134 row, if you count from the very beginning of the sleeve).
Through 42 rows (or 42 + 108 = 150 rows) from the beginning we close knitting.
So two passages look together:
Now we knit the left side of the back:
Begin knitting, as well as the right hand shelf pass.
Everything is absolutely the same. Only after you have typed 56 knitting needles you are tying not 42 rows, but 64 rows. After tying in 64 rows, you close the knitting.
Now we knit the right side of the back:
We begin to knit as well as the left hand shelf.
Everything is absolutely the same. Only after you have typed 56 knitting needles you are tying not 42 rows, but 64 rows. After tying in 64 rows, you close the knitting.
Sorry that there are no photos of the back shelf separately, only sewn together:
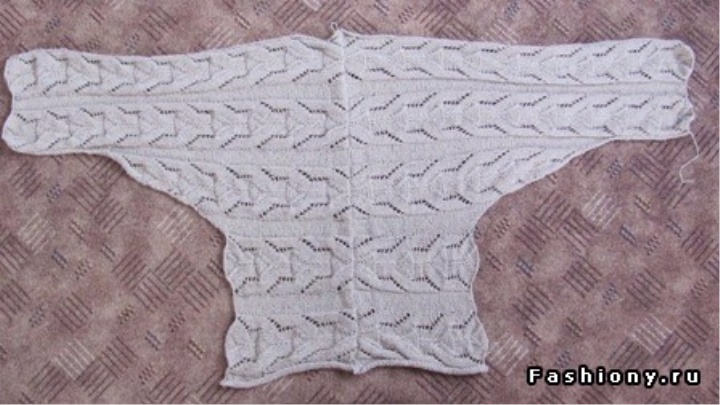
When sewing the back shelves together, we sew the front shelves one by one:
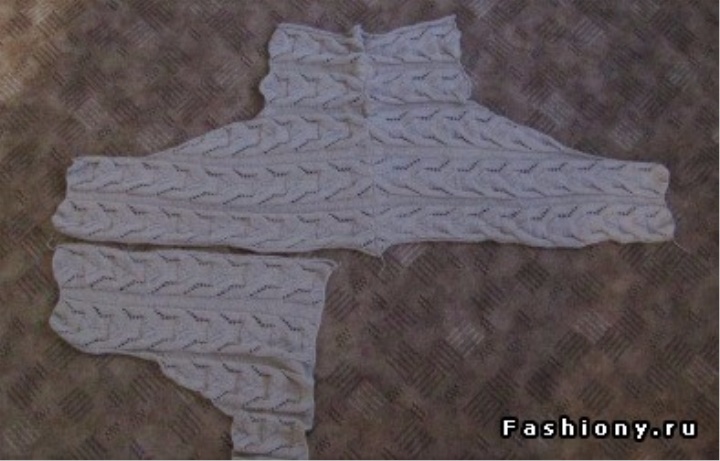
And now the left:
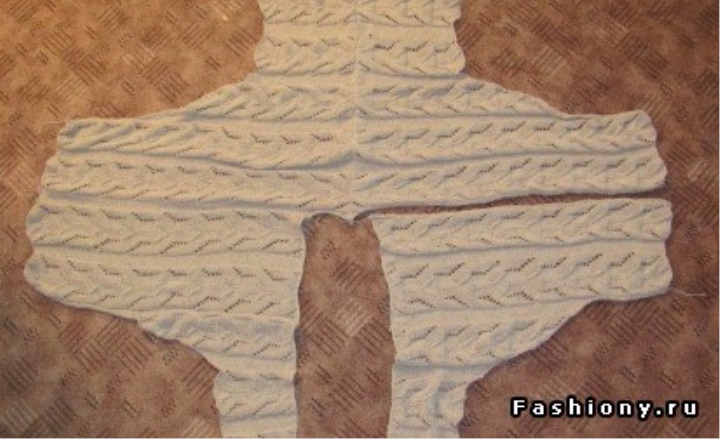
Now we sew the side seams:
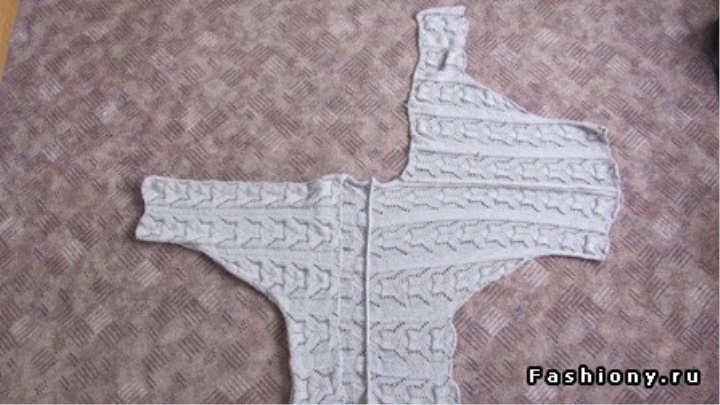
When all the seams are sewn, "this" is sewn:
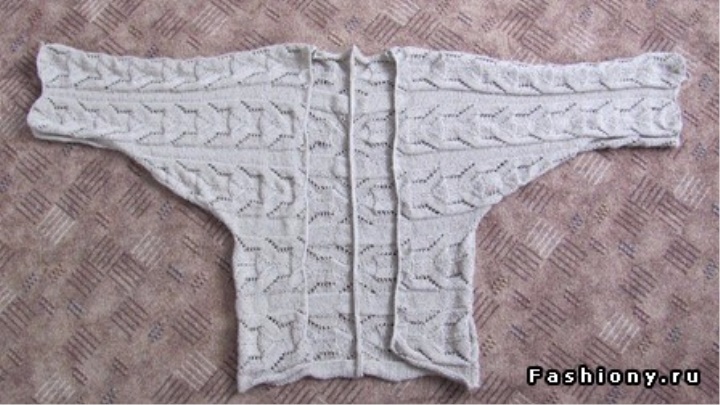
Now we knit cuffs.
In the end, we get such a cardigan: