Piglet is bound from cotton, yarn "Narcissus", crochet №1.25.The height of the toy is 9,5 cm. For hooves used Semenovskaya "Carolina" (the thickness of the two types of yarn are the same).
For example, "1p.6x = 6Sbn" - in the first row, fasten 6 posts without a crochet.
As a result, in the tied row should be 6 posts without a crochet (or six loops on top of the pigtail).
Or, "2x, v, 3x, v, ..., etc." - we knit in this order: 2 Sb, addition (2Sbn in the next loop) 3Sbn, adding, etc.
All the details are knitted in a spiral.
1p. 6x in the ring amigurumi. = 6Sbn 2p. 6V = 12Sb 3p. 6 times (V, x) = 18Sbn 4p. 6 times (2х, V) = 24Сбн 5р . V, 5 times (3x, V), 3x = 30Sbn 6p. 2х, V, 5 times (4х, V), 2х = 36Сбн 7-9р. 36х = 36Сбн 10р. 3х, 4V, 4х, 4V, 21х = 44Сбн 11р. 3х, 2V, 4VT, 2V, 4Сс, 2V, 4VT, 2V, 21х = 60 loops 12р. 3х, 16х, 4сс, 16х, 21х = 60Сбн 13р. 3х, 2А, 4АТ, 2А, 4Сс, 2А, 4АТ, 2А, 21х = 44 loops 14р. 3х, 4А, 4Сс, 4А, 3х, 2раза (А, 5х), А, 2х = 33 Сбн 15р. 3x, 6A, 3x, 2 times (A, 4x),
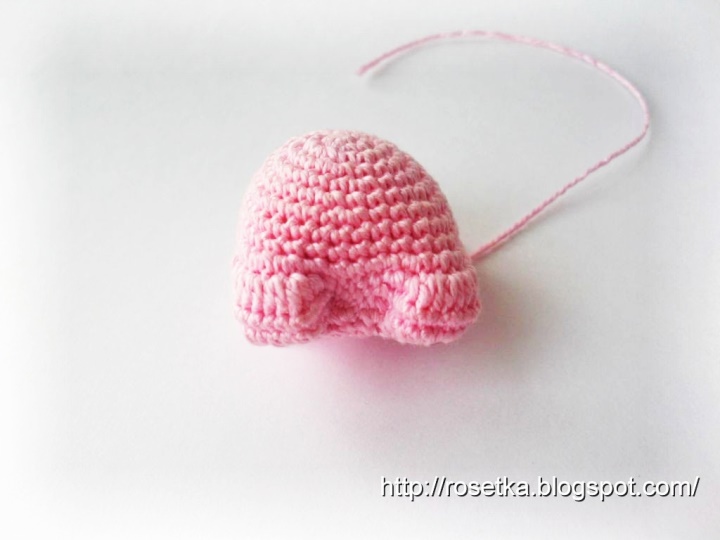
A, x = 24Sb
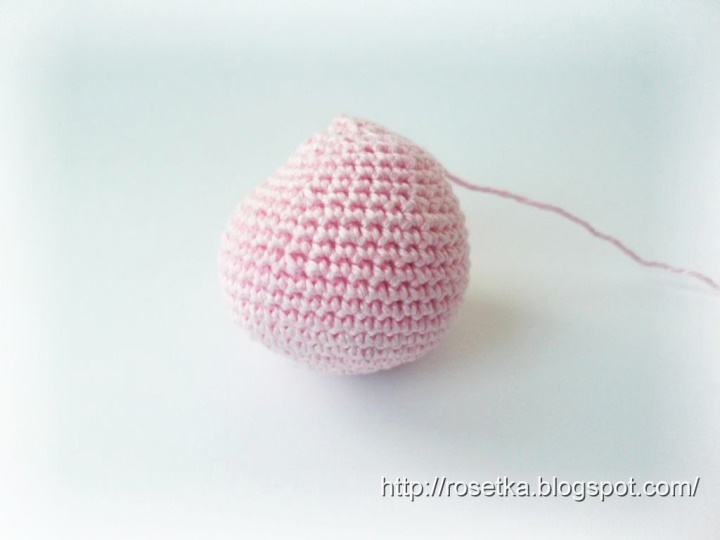
Before filling the last rows, the part is filled. We fill it tightly enough.
16r. 6 times (2х, А) = 18Сбн
17р. 6 times (A, x) = 12Sbn, Cc, cut the thread, leaving a sufficiently long end, for the subsequent tightening of the hole at the bottom of the head part.
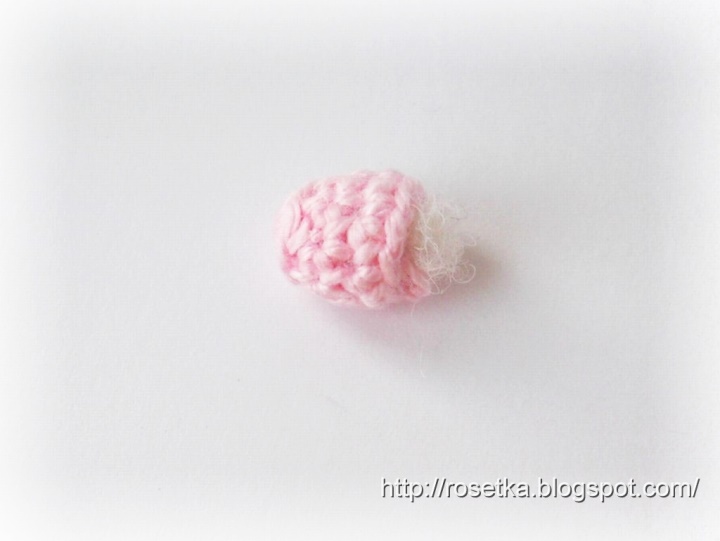
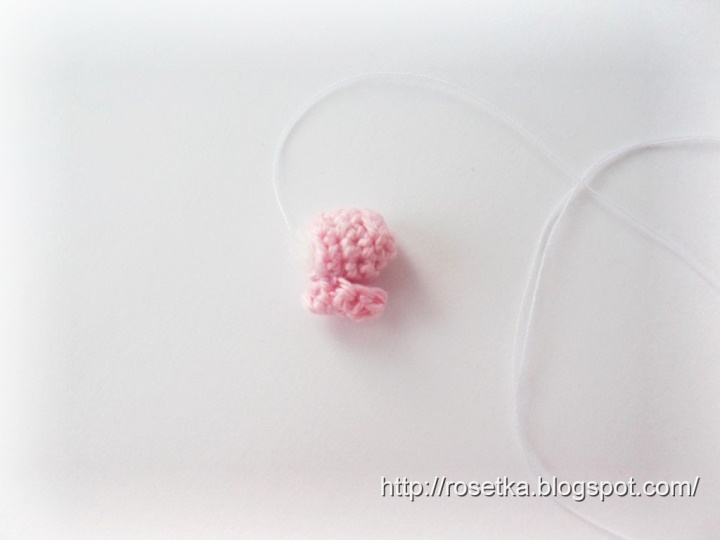
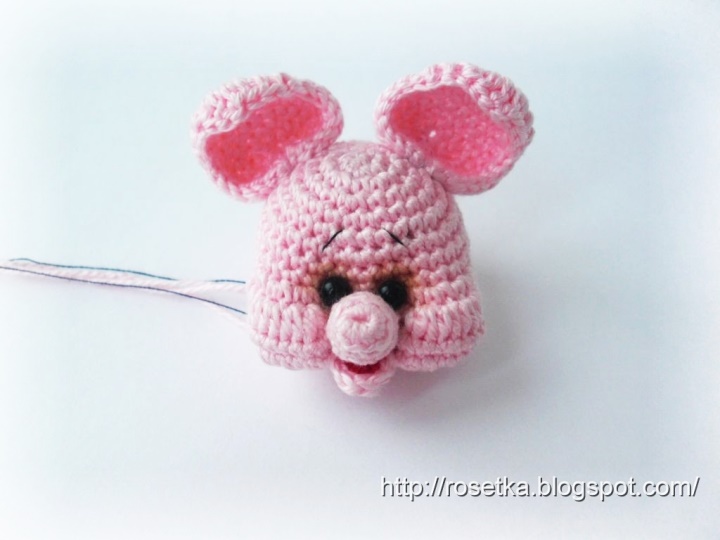
Now we need to tie the stigma.
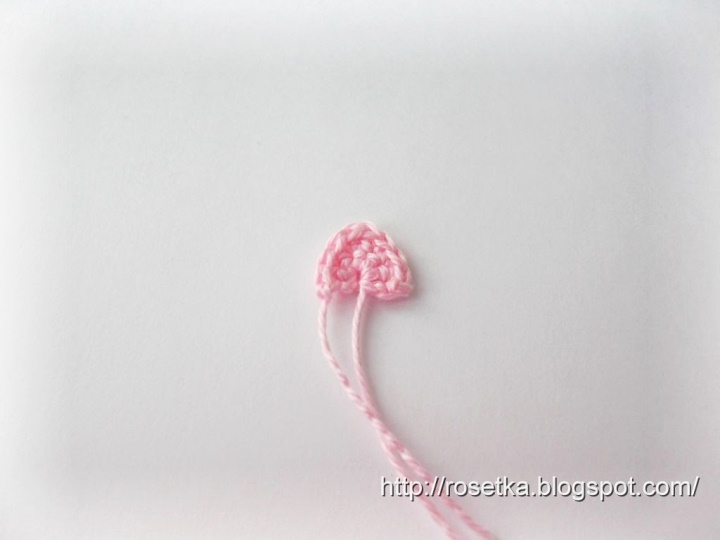
1p. 8x into the ring amigurumi. = 8Sbn 2p. and 3p. 8x = 8Sbn (Moreover, the second row is knitted behind the back wall of the loop, so that the shape of the future stigma is more clearly visible ) 4p. 4x, V, 4x = 9Sbn, Cc, cut the thread of Rotik. 1p. 6x in the ring amigurumi. = 6Sbn.
We do not tighten the ring. Turn the work. 2p.
2x, V (in a single loop xT), V (in a single loop tie Tx), 2x.
Cut the thread.
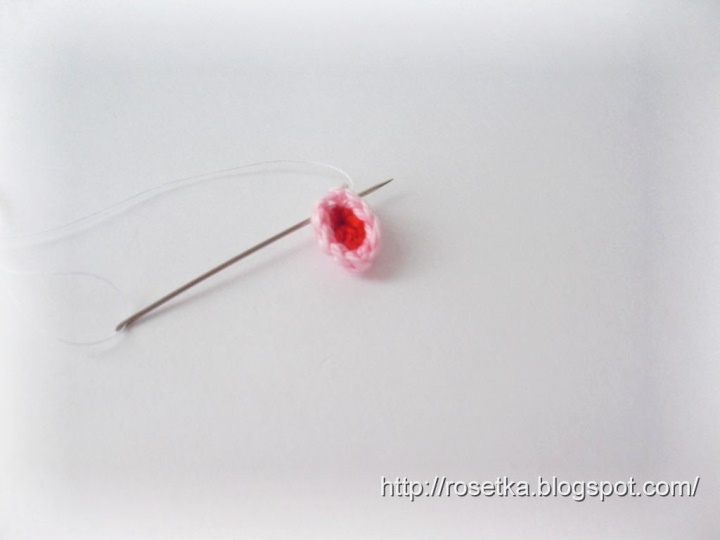
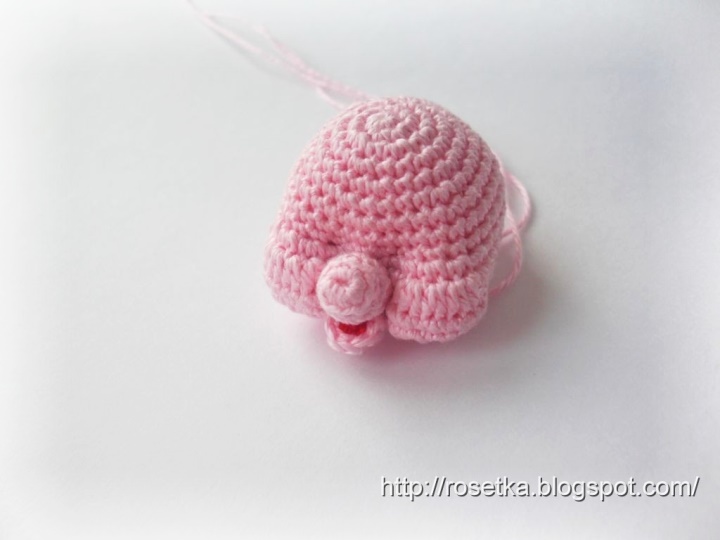
Thread a red color to embroider inside the mouth. Pull out the detail with the boat and fasten it to the base. The resulting mouth sewn to the nozzle. The resulting stigma is sewn on its rightful place, between the cheeks. Now you can do the tightening for the peephole. Each eye has its own thread. The tightening should be done more forcefully, so that the pig does not turn out to be a goggle. When forming the muzzle, it is important to remember here that the expression "little piggy eyes" is not in vain. Let's postpone the head of our pig. And tie his ears. 1p. 6x in the ring amigurumi. = 6Sbn. We do not tighten the ring. Turn the work. 2p.
6V = 12Sb
3p. 6 times (x, V) = 18Sbn
4p. 8x, 2VT, 8x = 20 loops
5p. 7x, 2T, 2VI, 2T, 7x = 22 loops
6p. 7C, 2x, T, V (in one loop TI), V (in one loop IT), 2x, 7Cs.
Cut the thread.
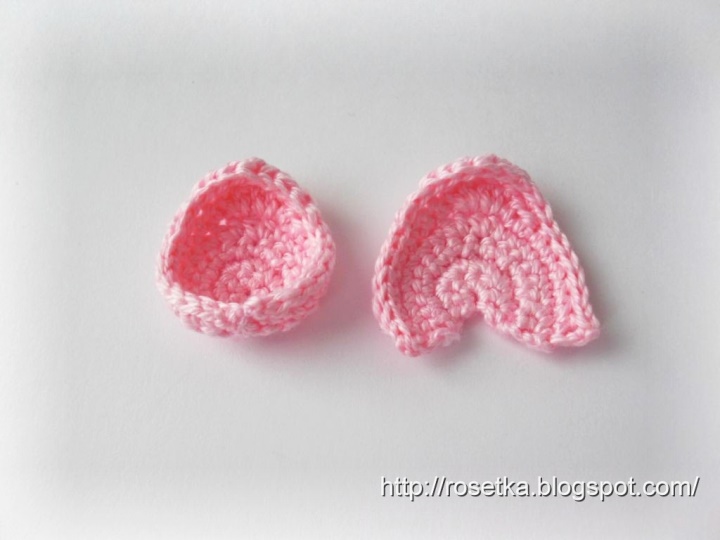
In the finished part of the eyelet, it is necessary to sew the resulting recess.
The eye slightly bends inside. Prikolov ears to a detail of a head by pins, we sew them on a line of an undercut, slightly flattening. And then sew in a circle (around the ear), its back and front
parts to the head. Lightly tint the area of the peephole
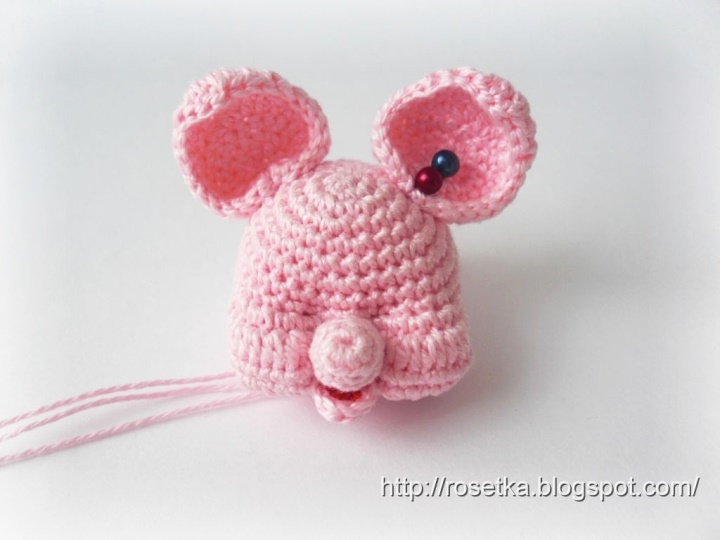
I toned with beige eye shadow. Here the main thing is not to overdo it (so that your pig does not become a sad emblem of the epidemic). Now we sew beads. And with a thin black thread we embroider a small house over the eyebrows.
Torso. 1p. 6x in the ring amigurumi. = 6Sbn 2p. 6V = 12Sb 3p. 6 times (V, x) = 18Sbn 4p.6 times (2x, V) = 24Sbn 5p. V, 5 times (3x, V), 3x = 30Sbn 6p. 2x, V, 5 times (4x, V), 2x = 36Sbn 7p . 18x, 6 times (V, 2x) = 42Sbn 8-11p. 42х = 42Сбн 12р. 18x, 4 times (A, 4x) = 38Sbn 13r.
38х = 38Сбн 14р. 18x, 4 times (A, 3x) = 34Sbn 15p
3 times (A, 4x), 3 times (A, 3x), x = 28Sbn
16 -18p. 28х = 28Сбн
19р. 4 times (A, 5x) = 24Sbn 20r
. 6 times (A, 2x) = 18Sbn
21p. 18x = 18Sb
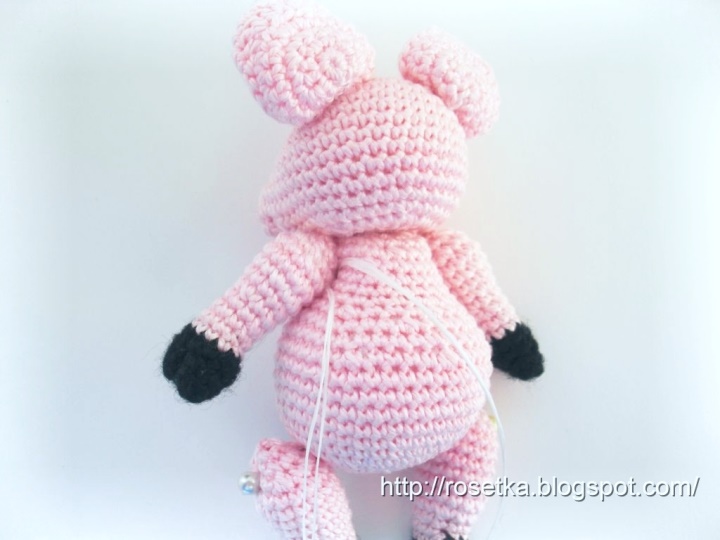
Before filling the last two rows, fill the part. You need to fill very tightly.
In order for the piglet to stand on its own in the future, it needs a center of gravity.
And we need to sew our feet to strong sides, and not to something maloformlennuyu and ill-fed 22p
. 6 times (A, x) = 12Sbn
23p. 6A = 6Sbn, Cc.
Cut the thread, leaving a long tip in order to tighten the hole.
We proceed to the legs.
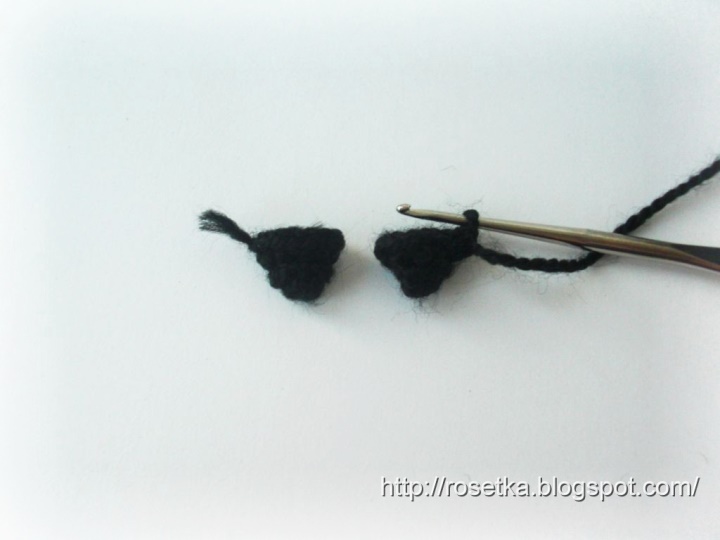
They begin with hoofs. Each hoof consists of two parts.
We knit a thread of black color.
1p. 6x in the ring amigurumi. = 6Sbn
2p. 6x. = 6Sbn
At this point the part is wrapped inwards - it needs to be unscrewed and the next row must be bound like the previous ones on the front side. This is necessary for the hoof to be pointed.
3p. 6V = 12Sb.
Having connected one detail of the hoof, cut the thread. We knit the second part in the same way, only we do not cut the thread ... We
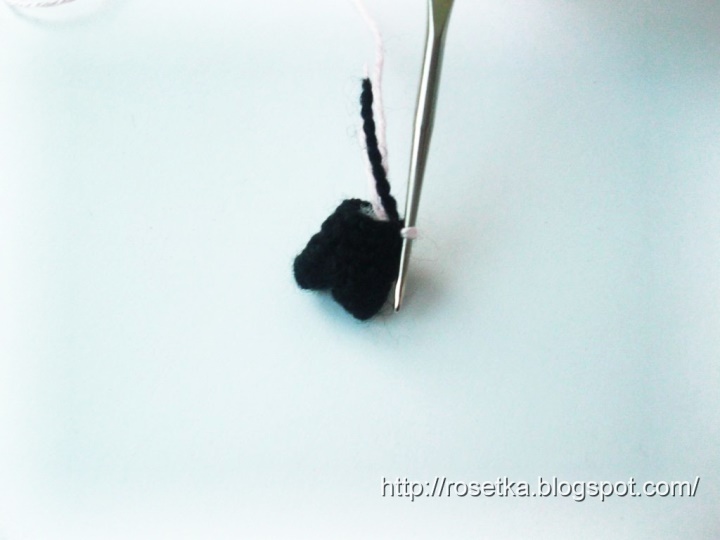
connect two hooves and continue knitting as follows. 3x one hoof (which we had left with uncut thread), 6x in the second, without tearing the threads, 3x again on the first = 12Sb. Instead of the last Sbn, it is better to tie Cc, in which to change the color of the thread to pink.
In the center of the hoof hole sew up. Sew up should be so that the hoof does not fall apart, but, on the contrary, keep the form.
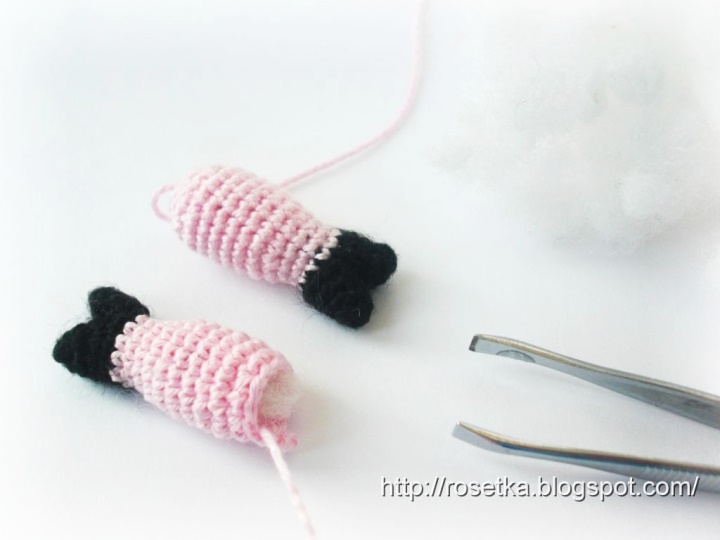
We continue to bind the leg. Rows I designate from the first row of pink color (the hoof does not count). 1-2p. 12x = 12Sb Here it is better to fill the hoof, its both parts. 3p. 3 times (V, 3x) = 15Sbn 4-7p. 15x = 15Sbn 8p. 3 times (V, 4x) = 18 Sb 9p. 18х = 18 Сбн 10р. 6 times (A, x) = 12Sb. Detail of the fill. 11p. 6A = 6 Сбн, Сс. Cut the thread, leaving a long tip to tighten the
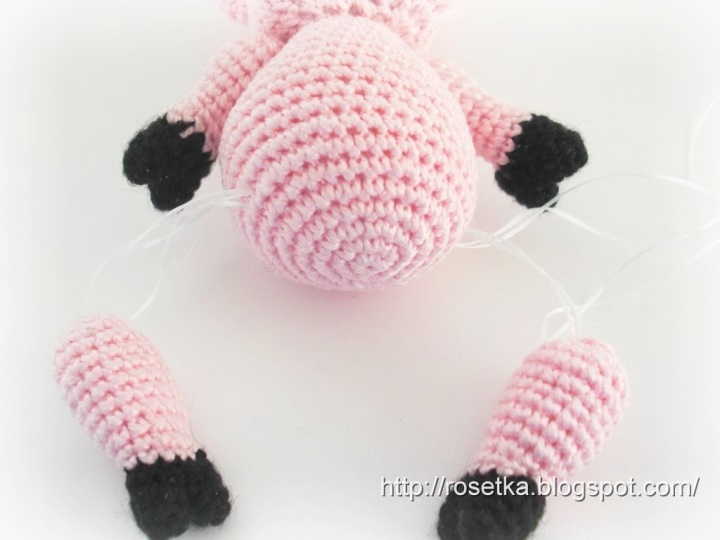
hole. These are the legs you should get
The photo shows one finished part, one at the time of filling.
Pens. We begin to knit these details exactly with the same hooves as on the legs. Next I show the rows, beginning with the first row of a pink string. 1-2p. 12x = 12Sb 3p. 2 times (A, 4x) = 10Sbn 4p. 10x = 10Sb 5p. x, 3 times (V, 2x) = 13Sbn 6p. 13x = 13Sb 7p . x, 3 times (V, 3x) = 16 Sb 8p. 16х = 16 Сбн 9р. 4 times (А, 2х) = 12 Сбн Fill the handle part. 10r. 4 times (A, x) = 8
Сбн, Сс. Cut the thread, leaving a long tip
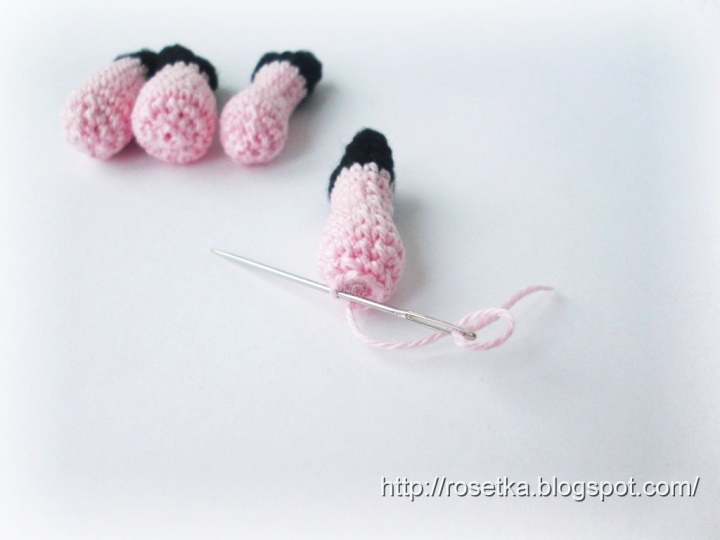
On all the details, except for the head, the hole is tightened as follows. We insert the tip of the thread into the needle and the seam over the edge, we poke each eyelet of the pigtail by the front wall and pull the hole together, bringing it to zero.
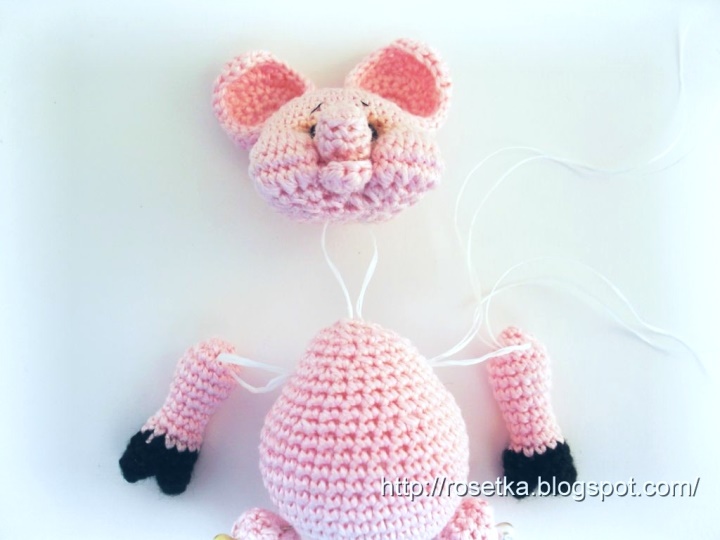
Finished parts before sewing pin to the trunk pins. Already at this stage the pig must stand and sit on its own. Let's proceed to assembly. First we sew handles and head. The thread must be taken very strong. I used a dental floss folded in half (one thread, at least, it breaks). So, we sew in nine stages: 1. We inject a needle in the trunk, in the place of growth of the left handle. 2.
Puncture in the place of attachment of the head 3.
We catch the head, for 2 Sb.
4. Again, we inject the needle in the trunk, next to the first stitch.
5. Puncture the needle in the place of attachment of the right handle.
6. We hook for two Sbornik handle.
7. We work in the trunk (through two stitches from the place where the thread emerges from the trunk)
8. We pass the trunk through, we puncture the needle in the place of attachment of the left handle, next to the very first stitch.
9. We hook the left handle for two Sb.
And now tightly tightly tighten this hinge, tie a string to several knots. This knot will be under the handle. Maybe you will have enough of one such circle. I, frankly, do not have enough.
I repeat it. At the same time, the head is engaged not in the same place, but on the stitch forward, under the chin.
Having tied the thread to the knots, the ends of the threads are again threaded into the needle and pass into some distant hole between the Sbn, the thread is cut off, the tip hides neatly in the trunk.
We fasten the legs just like the pens, only here there is no moment with the head.
For the tail we knit a chain of 15Вп. This chain is greased on one side with PVA glue, winds on something round and thin. At me it was a tip of a handle of a brush №2. It can be a rod from a ballpoint pen ... It is left to dry. And dry, twirled ponytail we sew ... to the back. You can make a nurse for the navel. That's what it turns out. And the final touch is the patch.
We take a piece of felt, cut out a circle in the shape of the stigma.
We paint it with a volumetric contour.
Then a pink acrylic paint (I have glossy acrylic colors).
In a darker color, draw the nostrils. We paste the finished patch with transparent glue "Moment".
I think, maybe a piece of pink skin or oilcloth (as on inflatable toys).
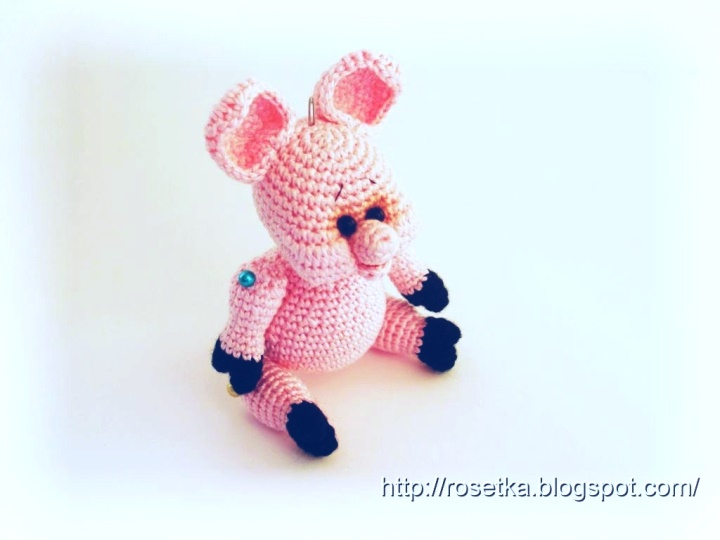
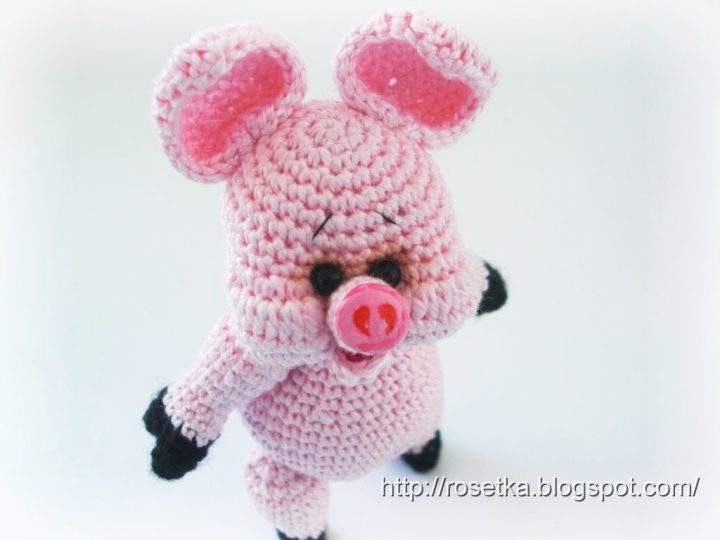
Piglet is ready!
I have as many as two piglets appeared! And on the occasion of the approaching colds dressed up I hope, inspired Piglet pigeon with pleasure (or piglets)! Love it and give it to your relatives

and friends!