I want to share with you an excellent way of linking the ideal crown for a hat. The vertex will be smooth, even, neat and the cap will sit perfectly on the head.
In the photo above, the crown of the cap is connected in this way and see how gently and smoothly the rounding goes.
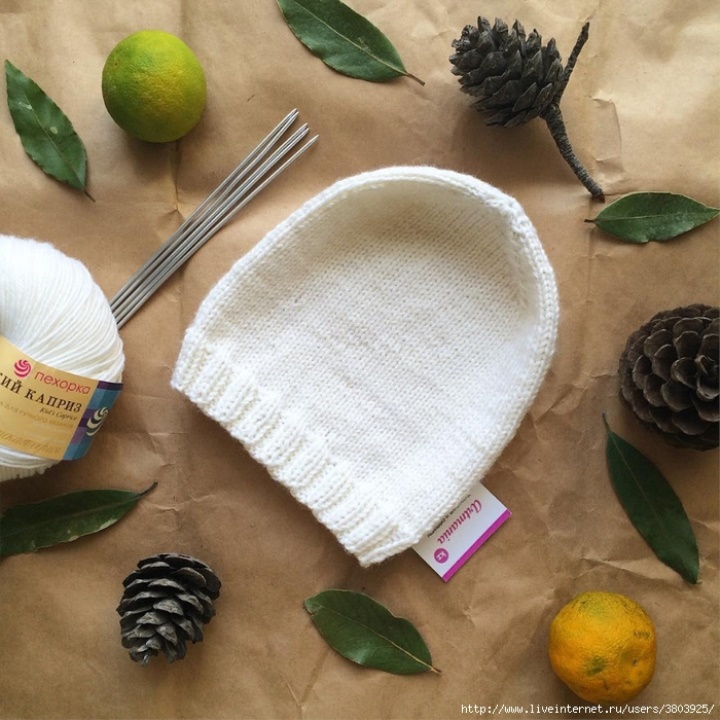
This method is best suited for a cap connected by facial loops. In addition, it is very easy to understand.
So, we knit the crown of the head with knitting needles :
1. After you have fastened the required height of the cap on the circular knitting needles with the front hinges, we begin to form the crown of the cap, for this it is necessary to switch to hats of the same or smaller size (for example, we knitted the cap on 3.5 mm spokes, , 5 mm or less).
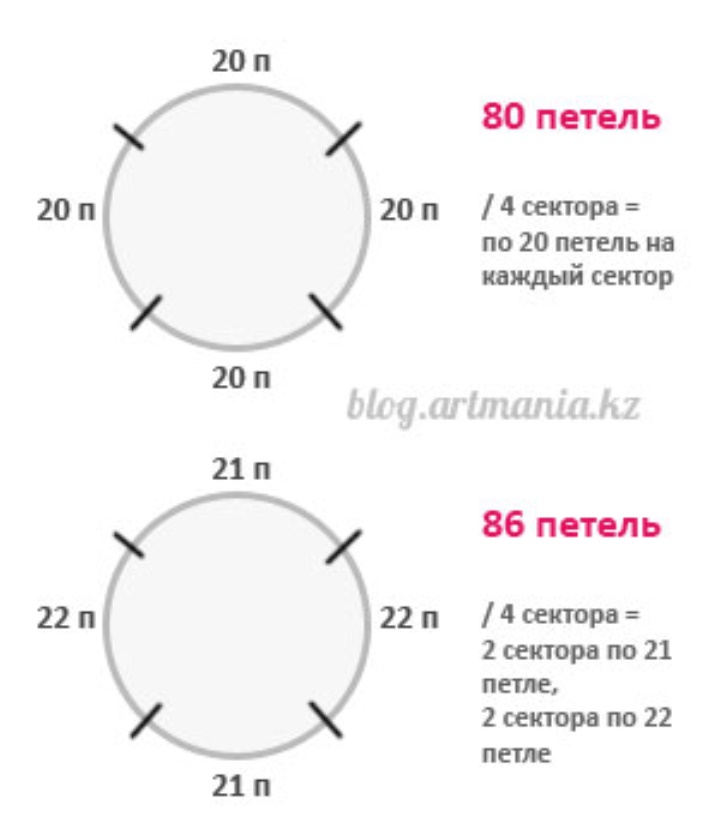
2. In order to switch to knitting on stocking knitting needles, we need to divide all the hinges of the cap into 4 equal (or almost equal) sectors.
For example, in your cap 80 loops, distributing them equally, we will get 20 loops per sector.
If the number of hinges of the header is not divided equally by 4, you can divide it into roughly equal sectors, for example, in the header 86 of the loops, then you can divide them into 4 sectors: 21 loops into 2 sectors and 22 loops to the other 2 sectors:
3. After the hinges have been transferred to 4 spokes, we begin to knit a row with decrements, for this:
- the first 2 loops are tied together behind the front wall;
- further we knit loops in the usual way, without tying the last 3 loops;
- When unbonded 3 loops are left on the knitting needle, we knit them as follows: we remove the first loop without loosening, the second one is tied as usual, then we poke the loop, which was simply removed and stretched through it already tied, that is, we perform the so-called broach. The last of the three loops we sew the front.
We carry out this sequence of actions for each spoke the whole series.
4. The next row goes without decrements, we simply knit all the loops.
5. Then again, the row with decrements according to the above scheme.
Thus, we alternate the series (one with decrements, one ordinary), or we can say that we perform decrements in every second row.
6. As soon as there are 4 or fewer loops on each spoke, you can tighten the crown.
You can do this with a needle, you can pull the crochet by pulling the thread through the open hinges.
Especially for you, I prepared a video lesson on how to tie the crown caps, look, it's all very simple, and the finished product turns out very neat:
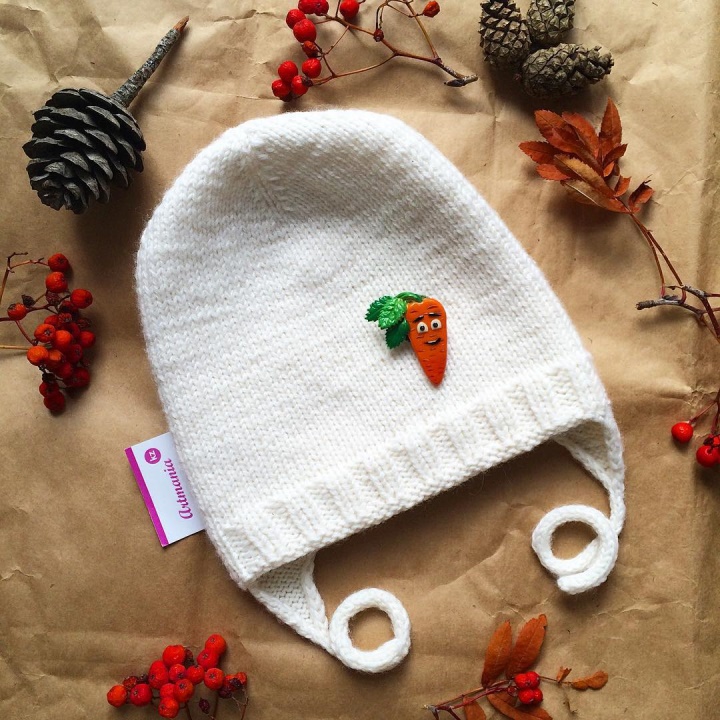
The photo below shows a baby cap with a knitted lining, the decrements for the crown are made in a way from the video tutorial.
Also, I want to draw your attention to the strings, they are in the form of a cord, which gives the hat a more factory look, and even such ties are much more convenient, stronger and presentable than crocheted, for example. How to knit such ties, I'll tell you in the next post and video tutorial.
A few tips:
1. To form the crown, you can divide all hinge loops not only into 4 sectors, but also into 5, 6, etc. But in this case, the rhythm of the deductions must be calculated individually, because Decrements in each second row are suitable for a cap with 4 wedges.
2. For a cap with a pattern of garter stitch, this method is suitable, but it is necessary to divide all the hinges of the caps into more than 4 sectors (how many, it is necessary to calculate individually, because much depends on the yarn, the number of spokes, the manner of knitting and the vision of the finished result ).
3. If you want the head to exactly fit the head from above, then you need to start decreasing in the region of the upper tips of the ears (± 1 cm), if, on the contrary, you want a longer elbow, then you need to start decreasing later, depending on the length of the crown (for example , 3-5 cm from the ears).
Source :
http://artmania.kz/kak_svyazat_makushku_shapki