but you can use any yarn you want.
Cake:
1. Round: 6 sc in magic ring, join, chain 1 (6)
2. Round: 2 sc into each stitch, join, chain 1 (12)
3. Round: 2 sc in first st, sc in next, repeat around, join, chain 1 (18)
4. Round: 2 sc in first st, sc in next 2, repeat around, join, chain 1 (24)
5. Round: 2 sc in first st, sc in next 3, repeat around, join, chain 1 (30)
6. Round: 2 sc in first st, sc in next 4, repeat around, join, chain 1 (36)
7. Round: BLO, 36 sc around, join, chain 1 (36)
8.-10. Round: make 36 sc around, join, chain 1 (36)
11. Round: 2 sc in first st, sc in next 5, repeat around, join, chain 1 (42)
12.-13. Round: 42 sc around, join, chain 1 (42)
14. Round: *sk st, 4 hdc in next stitch, sk st, sl st* repeat ** around, join and fasten off
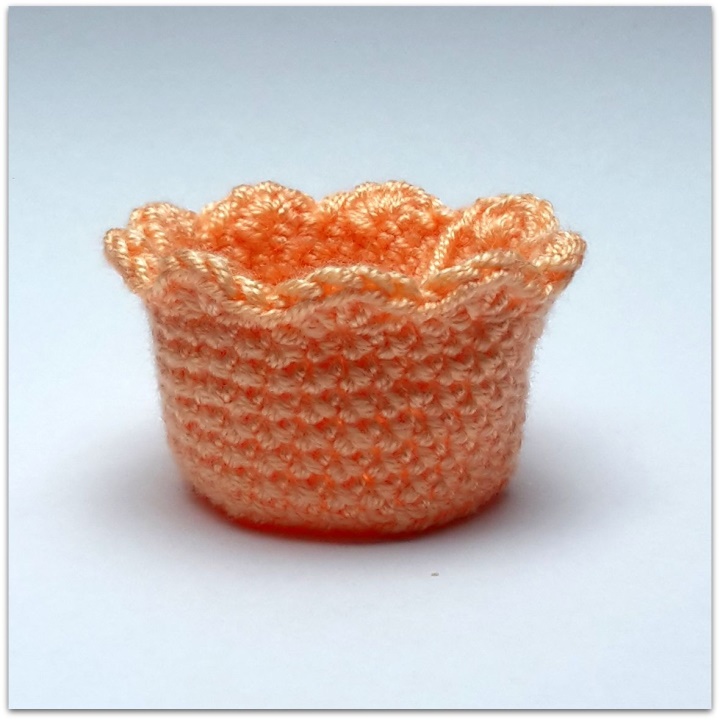
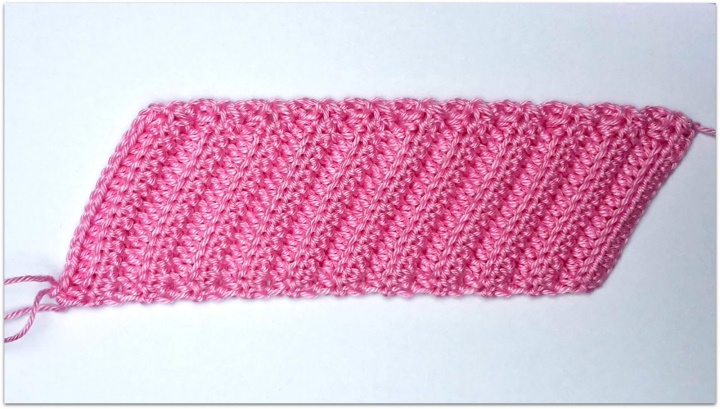
Frosting:
Ch18
1. Row: sk first 2 stitches, (2 hdc), hdc in next 13 stitches, hdc2tog, ch 2, turn (16)
From now on BLO, except first and last stitch of each row
2. Row: hdc2tog, 13 hdc, (2hdc), ch 2, turn
3. Row: (2hdc), 13 hdc, hdc2tog, ch2, turn
4.-22. Row: repeat row 2+3 ( ending with 2. row)
With sl st in BLO attach row 1 to row 22 to form a tube. Of course you can also sew the parts
together, but I like the texture more with sl st. And as you read above, I hate to sew. Leave a bit
of yarn to close your tube. Now turn it inside out.
Please take a look at the pictures on the next page, for how to close the ends. Weave the yarn
with your needle in and out of every second row.
When you have finished one side, fill your frosting with stuffing. Afterwards close your second
opening.
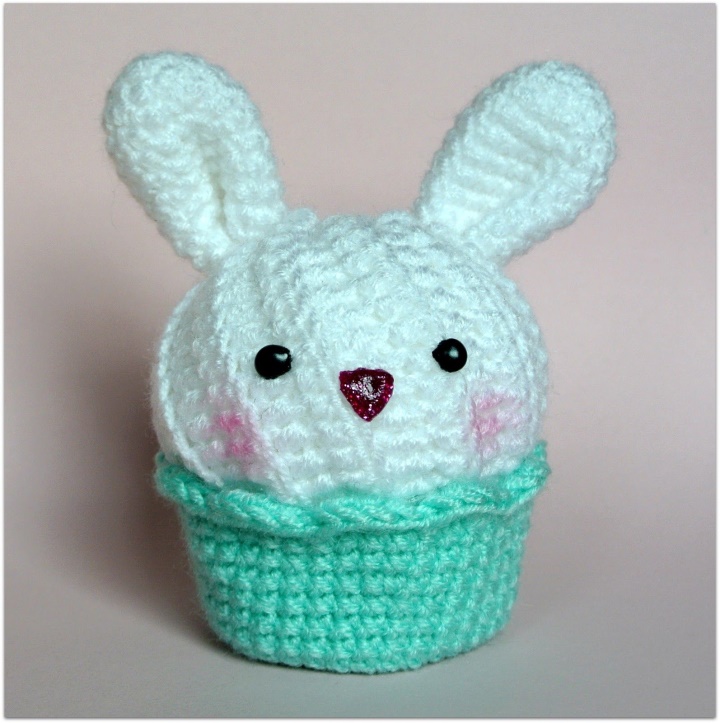
Ears (make 2):
1. Round: 5 sc in magic ring
2. Round: 2 sc into each stitch, join, chain 1 (10)
3. Round: 2 sc in first st, sc in next, repeat around, join, chain 1 (15)
5. - 10. Round: make 15sc around, join, chain 1 (15),
join and fasten off

Face:
I used puff paint for the eyes and the nose. Of course you can also use felt or safety eyes.
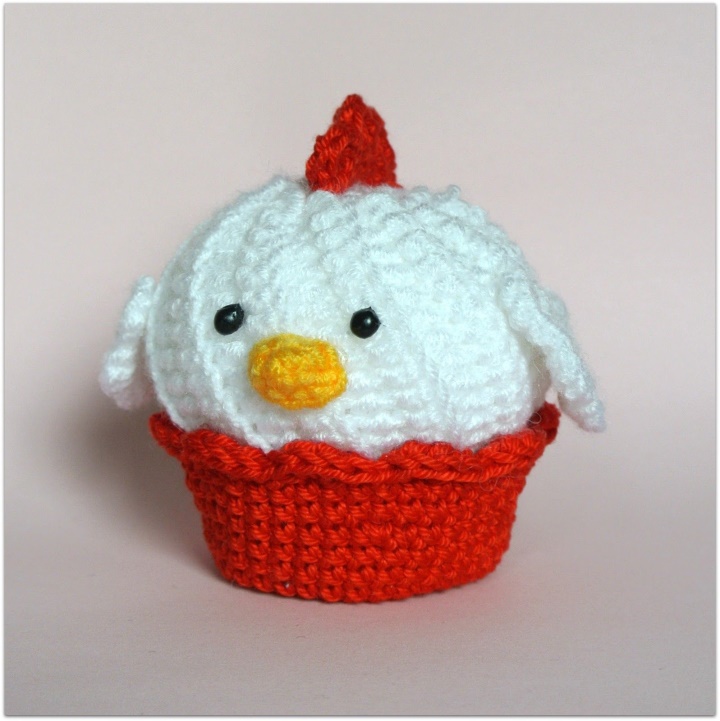
Comb:
1. Round: ch 9
2. Round: sc 8, ch 1, turn
3. Round: sk st (4hd in one, sl st) repeat 3 times, fasten off
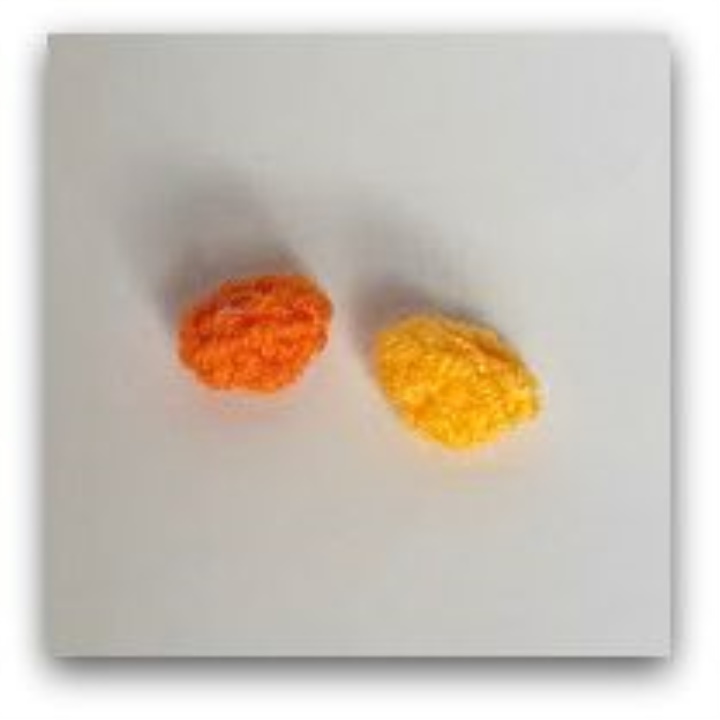
Beacon:
1. Round: 4 sc in magic ring, join, chain 1 (4)
2. Round: 2 sc into each stitch, join, fasten off (8)
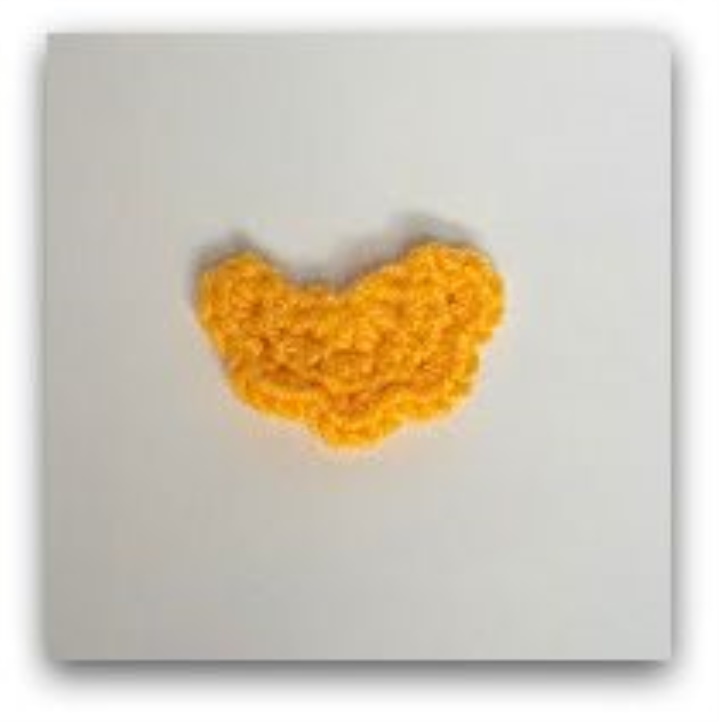
Wings:
1. Row: 5 hdc in magic ring, chain 2, TURN (5)
2. Row: 2 hdc into each stitch, chain 2, turn (10)
3. Row: (4 hdc in on stitch, sl st), repeat 4 times, fasten off
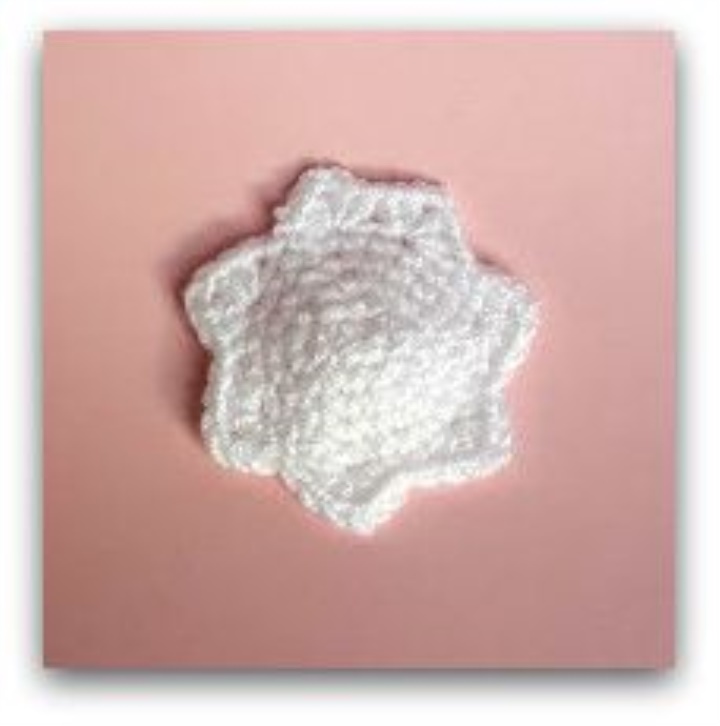
Eggshell (top):
1. Round: 5 sc in magic ring, join, chain 1 (5)
2. Round: 2 sc into each stitch, join, chain 1 (10)
3. Round: 2 sc in first st, sc in next, repeat around, join, chain 1 (15)
4. Round: 2 sc in first st, sc in next 2, repeat around, join, chain 1 (20)
5. Round: 2 sc in first st, sc in next 3, repeat around, join, chain 1 (25)
6. Round: *sk st, (3 hdc, ch 2, 3 hdc), sk st, sl st*, **repeat around, join, fasten off
Eggshell (bottom):
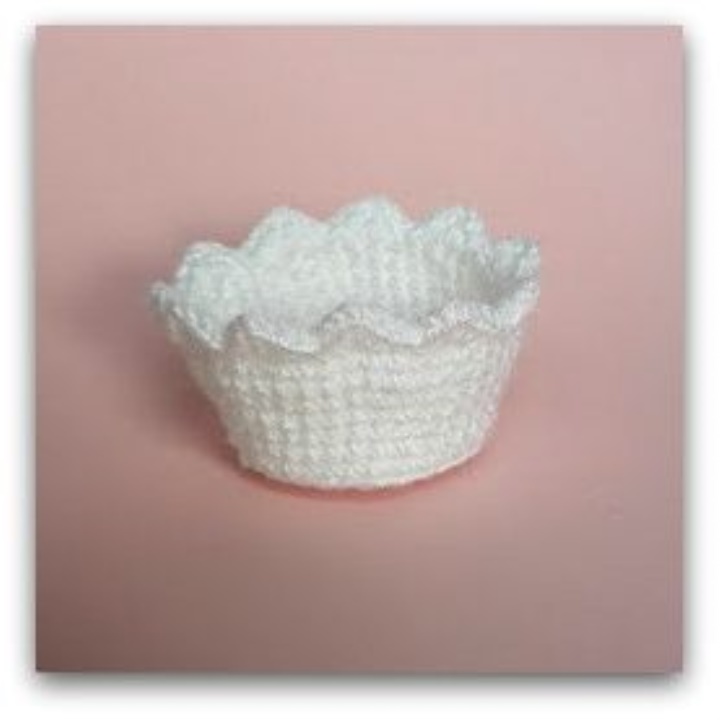
This is mainly the pattern for the cake on page 3, except round 14.
14. Round: *sk st, (3 hdc, ch 2, 3 hdc), sk st, sl st*, **repeat around, join, fasten off
Use puff paint or safety eyes for the eyes.
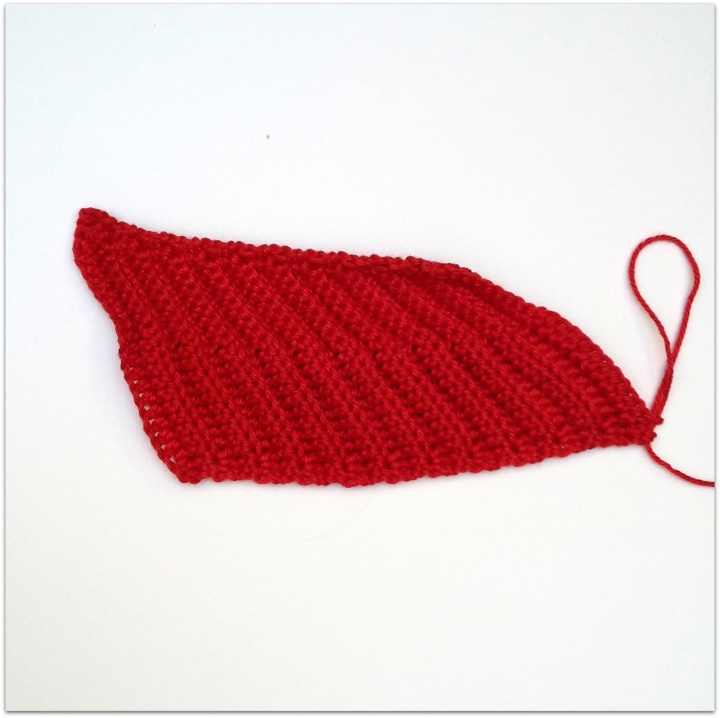
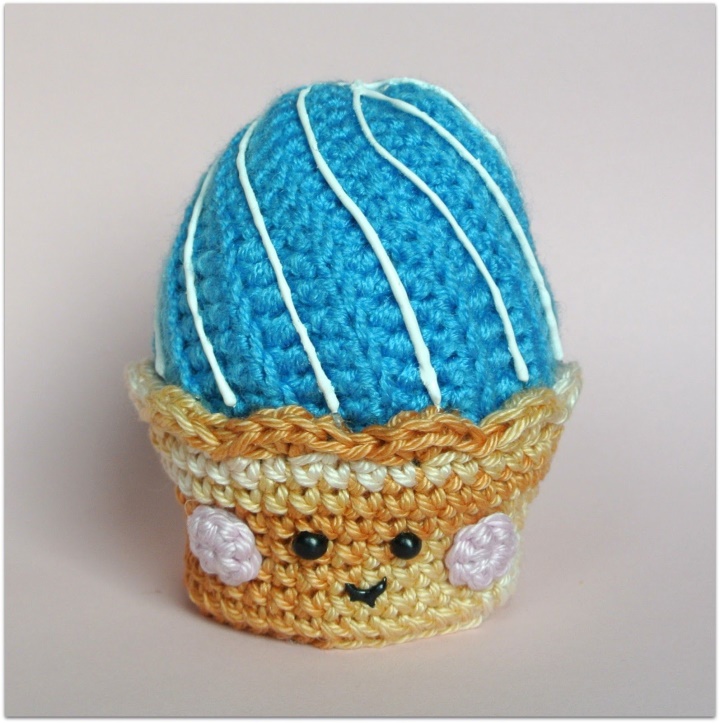
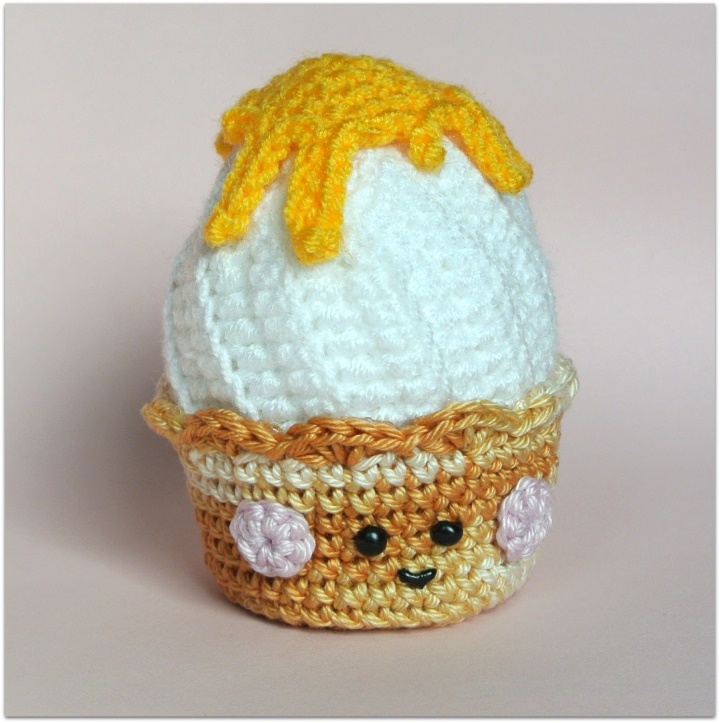
Eggshaped Frosting:
Ch 24
1. Row: sk first 2 stitches, (2 hdc), hdc in next 10 stitches,9 sc, sc2tog, ch 1, turn (22)
From now on BLO, except first and last stitch of each row
2. Row: sc2tog, 9 sc, 10 hdc, (2 hdc), ch 2
3. Row: (2 hdc), 10 hdc, ,9 sc, sc2tog, ch 1, turn
4.-22. Row: repeat row 2+3 ( ending with 2. row)
I know it looks really strange right now. But don’t worry, it will look like an egg at the end. Trust
me. I was a bit scared, too :D
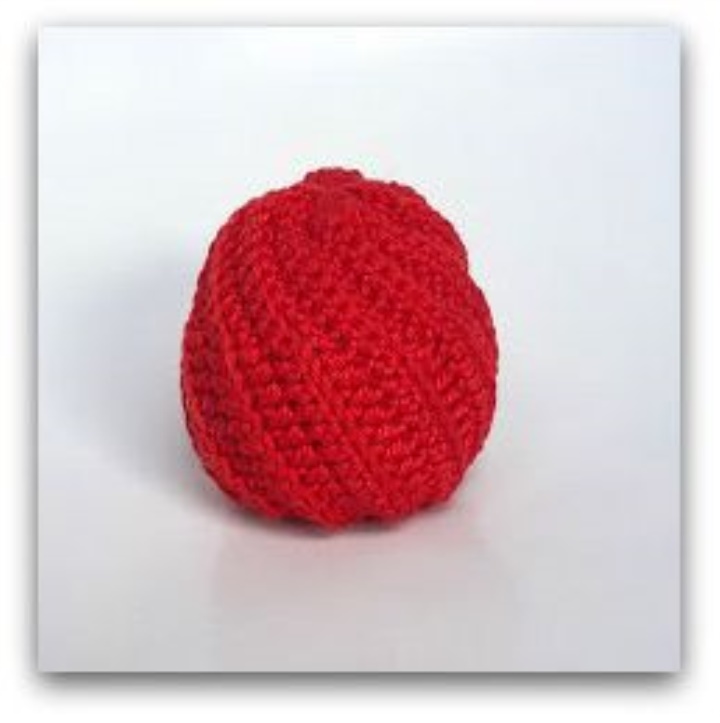
Finish the “eggshaped” frosting like the
“normal” frosting on page 4.
I’m sure you know how it’s done by now :)
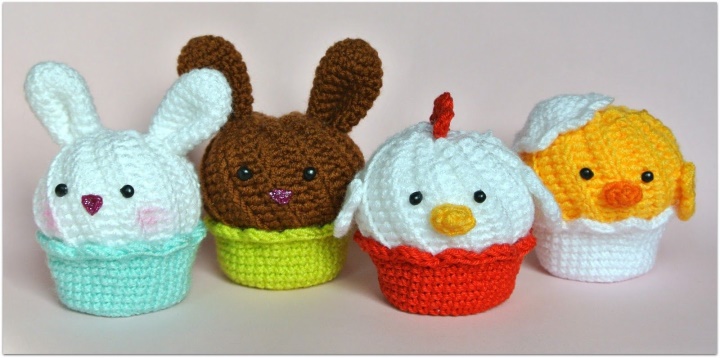
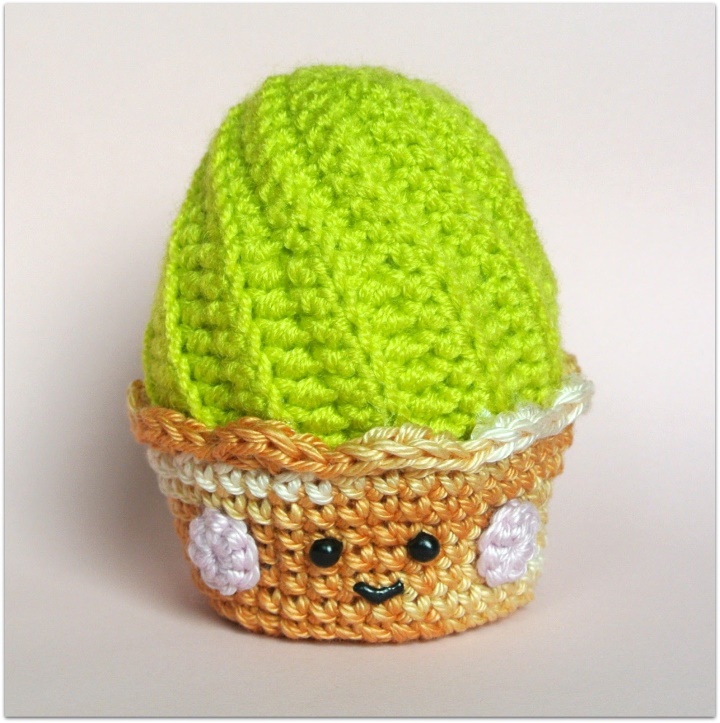
Now it’s time to decorate those cute little eggs.
There are billions of ideas I had in mind, but I
only had the time to use some puff paint. Be
creative and use glitter, rhinestones, pearls,
feathers… and don’t forget to show me some
pics ;)
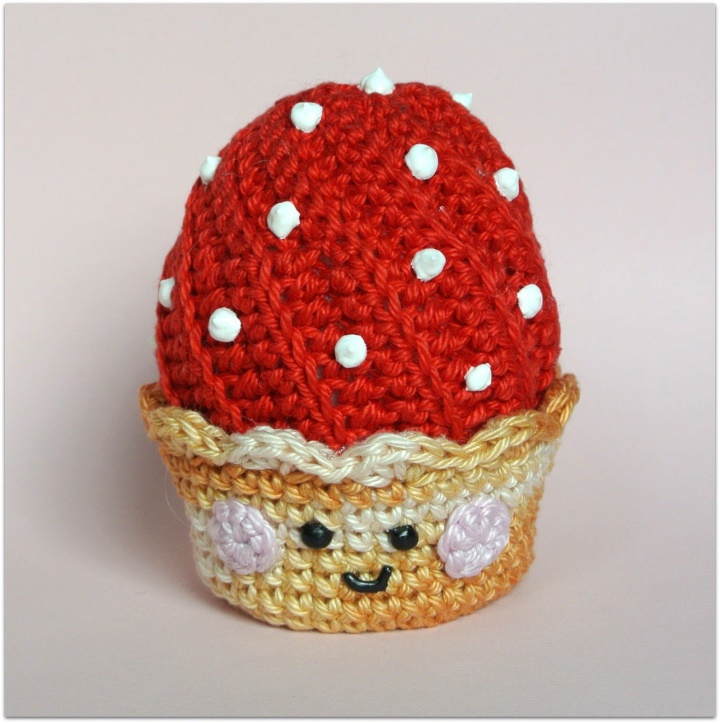
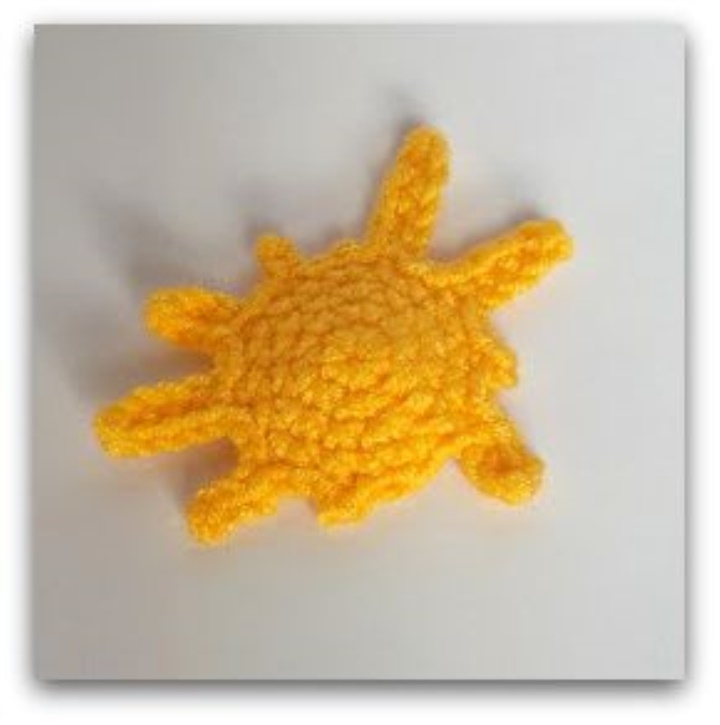
Color spot:
1. Round: 5sc in magic ring, join, chain 1 (5)
2. Round: 2 sc into each stitch, join, chain 1 (10)
3. Round: 2 sc in first st, sc in next, repeat around, join, chain 1 (15)
4. Round: 2 sc in first st, sc in next 2, repeat around, join (20)
5. Round: ch 4, into second ch from hook work 1 sc in each of the 3 remaining ch, 2 sl st,
ch 2, into second ch from hook work 1 sc in each of the 1 remaining ch, 2 sl st,
ch 5, into second ch from hook work 1 sc in each of the 4 remaining ch, 2 sl st,
ch 6, into second ch from hook work 1 sc in each of the 5 remaining ch, 3 sl st,
ch 3, into second ch from hook work 1 sc in each of the 2 remaining ch, 3 sl st,
ch 5, into second ch from hook work 1 sc in each of the 4 remaining ch, 2 sl st,
ch 6, into second ch from hook work 1 sc in each of the 5 remaining ch, 2 sl st,
ch 5, into second ch from hook work 1 sc in each of the 4 remaining ch, 2 sl st,
and fasten off
Congratulations! When you’re reading this, you mastered this pattern and I hope it was
understandable enough.
Now the only thing left is sewing all those parts together. Or as in my case, use your glue gun for
attaching the parts. Don’t forget the eyes and mouth. You can either use safety eyes or stitch
them on. I prefer using puff paint or pearl maker pens.