The proposed yarn is just one of many options! Note that when choosing a yarn of another manufacturer, composition and size, the yarn volume can both increase and decrease.
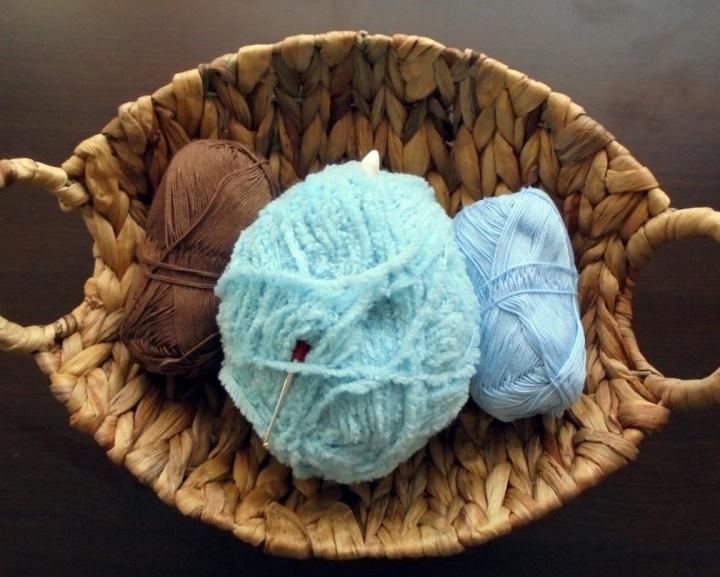
Head
Do not forget about the start mark of the series! I recommend using a contrasting thread.
1) 8 loops in the ring amigurumi
2) 8 units - 16 loops
3) 1 loop 1 prib (8 times) - 24 loops
4) 24 loops
5) 2 pet 1 prib (8 times) - 32 loops
6) 32 loops
7) 32 loops
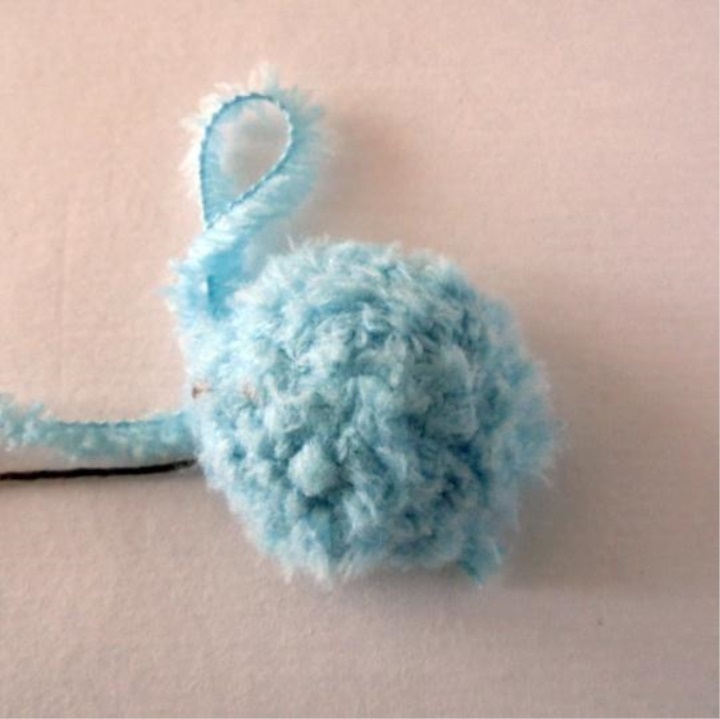
8) 3 pet 1 prib (8 times) - 40 loops
9) 40 loops
10) 4 pet 1 prib (8 times) - 48 loops
11) 48 pet
12) 5 loop 1 prib (8 times) - 56 loops
13) 56 loops
14 - 18 rows) 56 loops (At this stage place the eyes, if using screw)
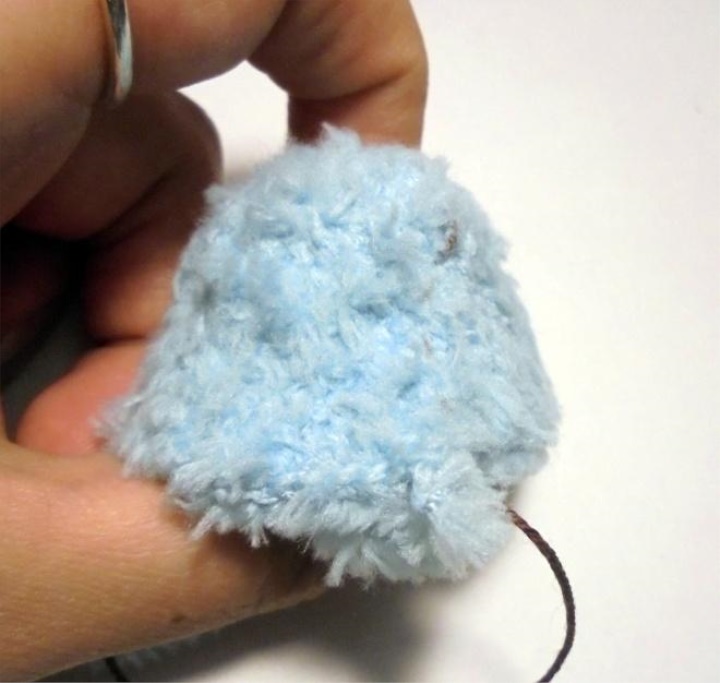
19) 5 loop 1 ub (8 times) - 48 loops
20) 48 loops
21) 4 pet 1 ub (8 times) - 40 loops
22) 3 loop 1 ub (8 times) - 32 loops
23) 2 pet 1 ub (8 times) - 24 loops (To fill)
24) 1 loop 1 ub (8 times) - 16 loops
25) 8 deductions - 8 loops
Pull off the ring, leave a long thread for sewing.
If you are embroidering eyes, you can make glare on them, using white paint on the fabric, or embroider glare with white thread. Glare will give the look of the toy a live look.
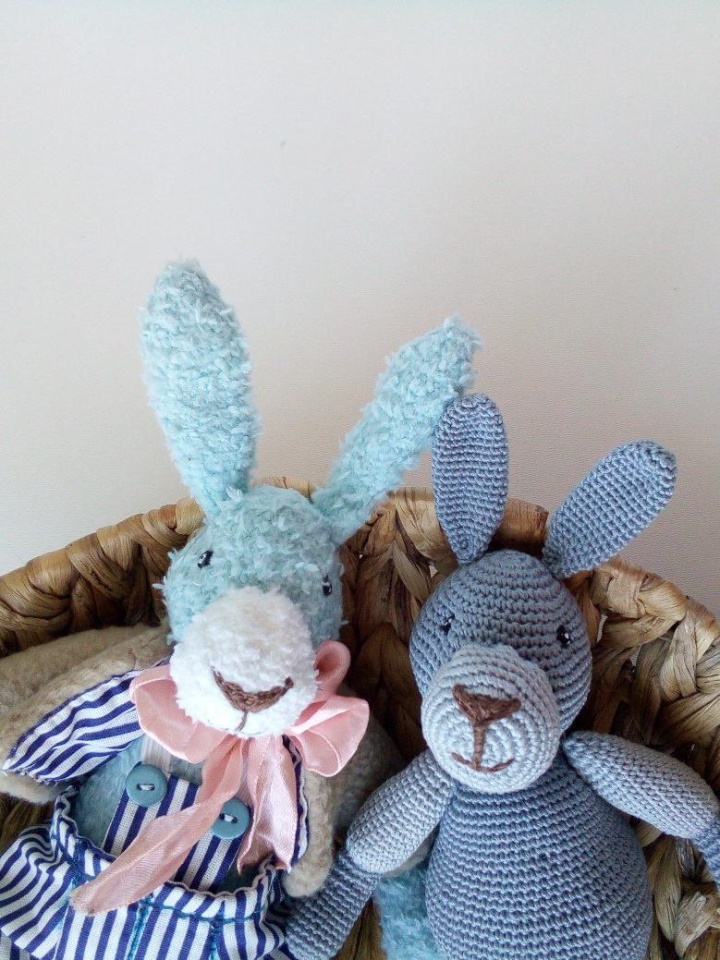
Muzzle
Consider that, when knitting from textured yarn, it will be easier for you to make slings if you do not like something. Cotton yarn will give you a tight muzzle.
1) 8 loops in the ring amigurumi
2) 8 increases - 16 loops
3) 1 loop 1 prib (8 times) - 24 loops
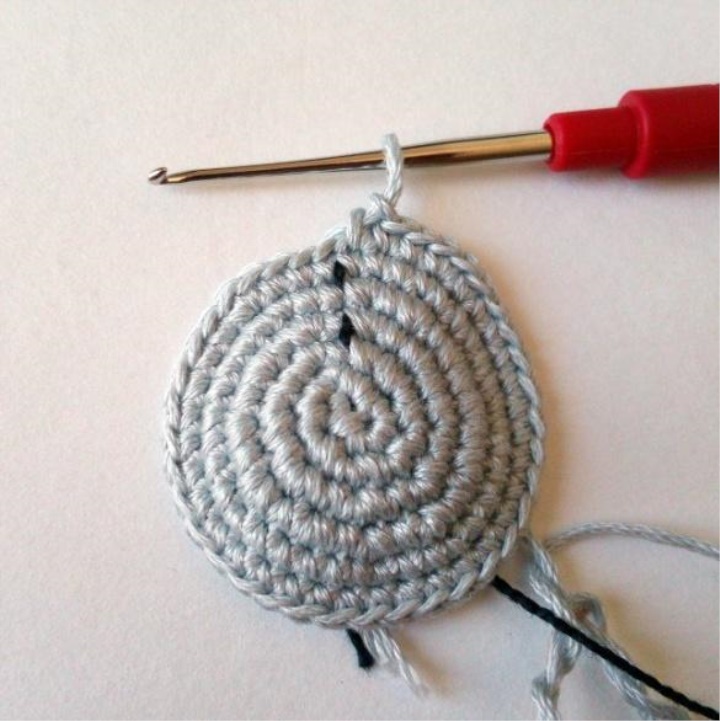
4) 1 loop 1 prib (12 times) - 36 loops
5) 36 loops
6) 3 pet 1 prib, 28 pet, 1 prib, 3 pet - 38 loops
7, 4, 1, 5, 1, 2, 1, 2, 2, 1, 2, 1, 2, 1, 2, 1, 5, 1 Prib, 4 pet - 46 loops
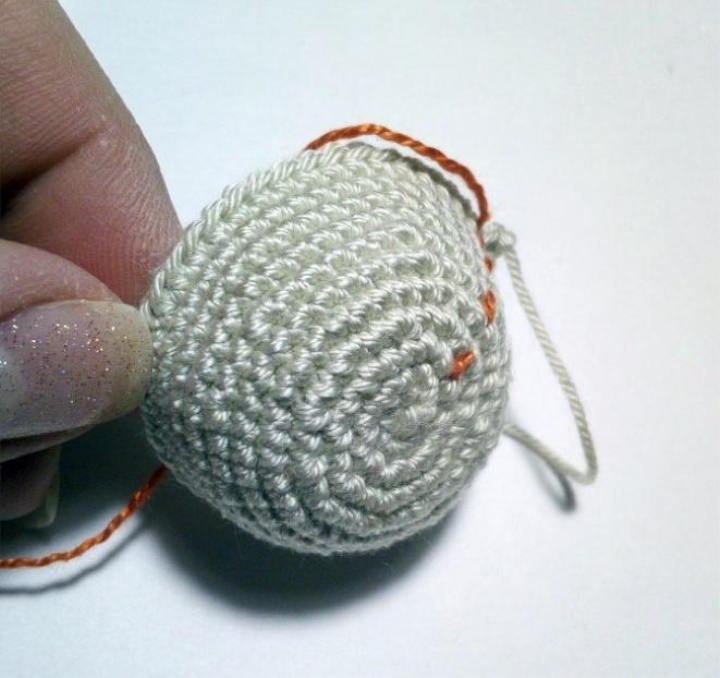
8) 46 loops
9) 4 pet, 1 prib, 36 pet, 1 prib, 4 pet - 48 sts
10) 48 loops
11) 48 loops
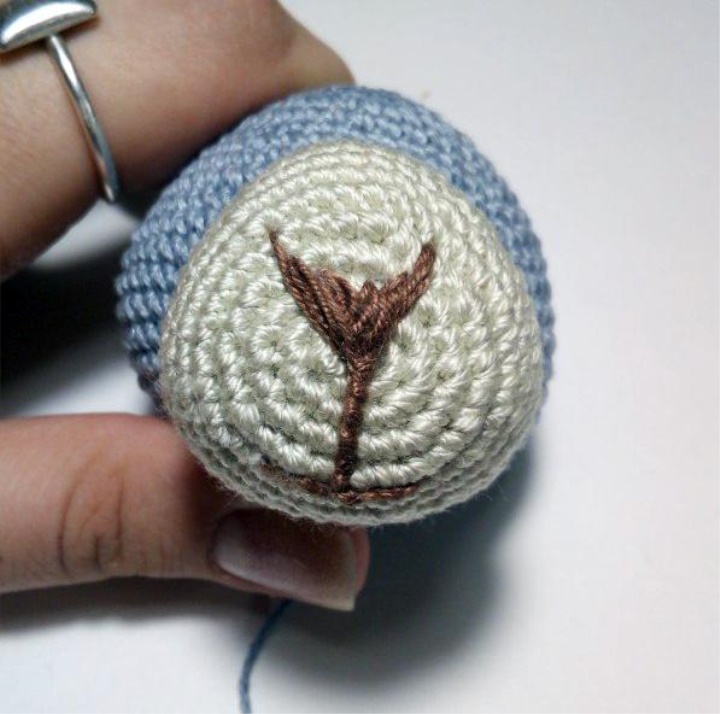
Stitch the muzzle between 11 and 21 rows.
Fill tightly, so that it is tight.
If you knit from the textured yarn, you can imperceptibly make the deductions, pulling the muzzle down to a suitable look.
Ears
1) 6 loops in the ring amigurumi
2) 6 increases - 12 loops
3) 12 loops
4) 12 loops
5) 1 loop 1 prib (6 times) - 18 loops
6-18 rows) 18 loops
19) 1 loop 1 ub (6 times) - 12 loops
20-23) 12 loops
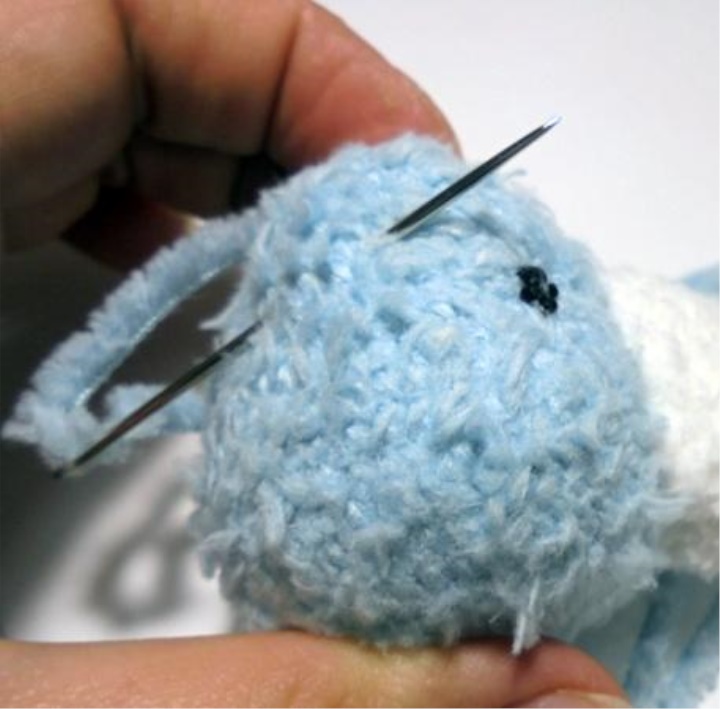
Ears sew on the sides of the head, on the very top, so that they stick up.
Torso
1) 8 loops in the ring amigurumi
2) 8 increases - 16 loops
3) 1 loop 1 prib (8 times) - 24 loops
4) 2 pet 1 prib (8 times) - 32 loops
5) 3 pet 1 prib (8 times) - 40 loops
6) 4 pet 1 prib (8 times) - 48 loops
7) 5 loop 1 prib (8 times) - 56 loops
8) 6 pet 1 prib (8 times) - 64 loops
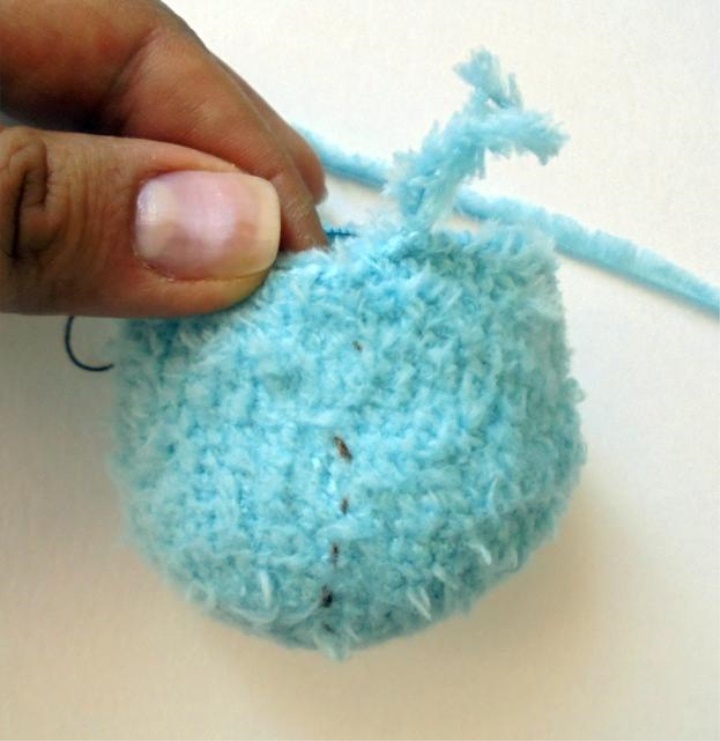
9-23 rows) 64 loops
24) 6 pet 1 ub (8 times) - 56 loops
25) 10 pet, 1 ub, 4 pet, 1 ub, 20 pet, 1 ub, 4 pet, 1 ub, 10 pet - 52 loops
26) 52 loops
27) 9 pet, 1 ub, 4 pet, 1 ub, 18 pet, 1 ub, 4 pet, 1 ub, 9 pet - 48 loops
28) 48 loops
29-34 rows) 48 loops
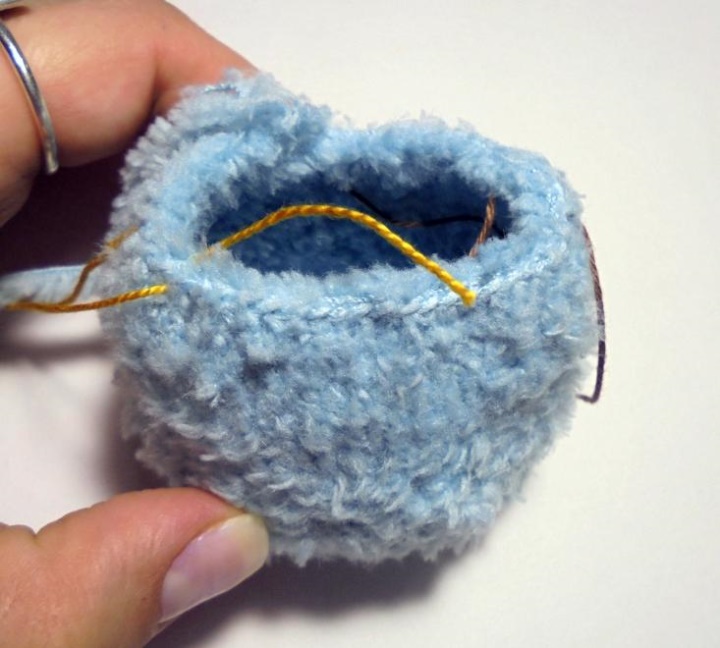
35) 8 pet, 1 ub, 4 pet, 1 ub, 16 pet, 1 ub, 4 pet, 1 ub, 8 pet - 44 pet
36) 7 pet, 1 ub, 4 pet, 1 ub, 14 pet, 1 ub, 4 pet, 1 ub, pet - 40 loops
37) 6 pet, 1 ub, 4 pet, 1 ub, 12 pet, 1 ub, 4 pet, 1 ub, 6 pet - 36 loops
38) 5 pet, 1 ub, 4 pet, 1 ub, 10 pet, 1 ub, 4 pet, 1 ub, 5 pet - 32 loops
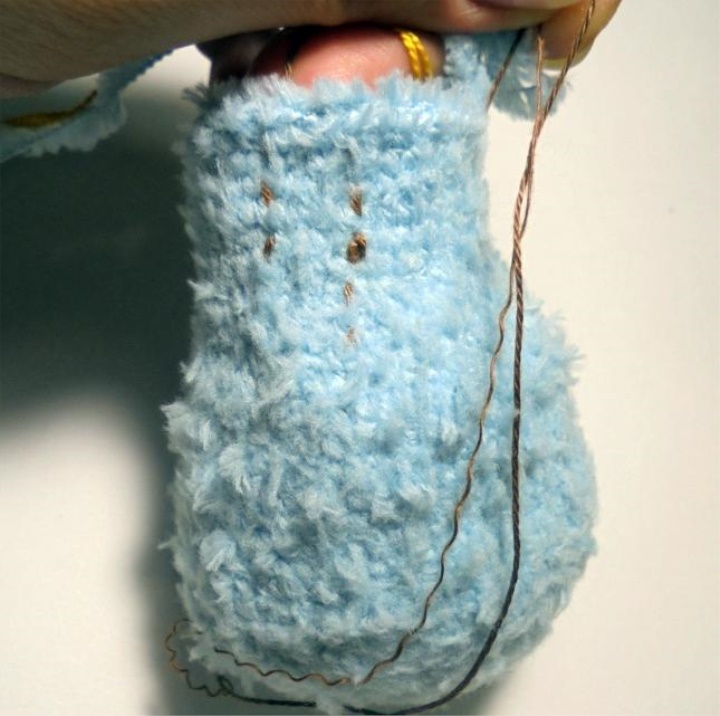
Fill the carcass at this stage.
39) 2 pet, 1 ub (8 times) - 24 loops
40) 1 pet, 1 ub (8 times) - 16 loops
41-43) 16 loops.
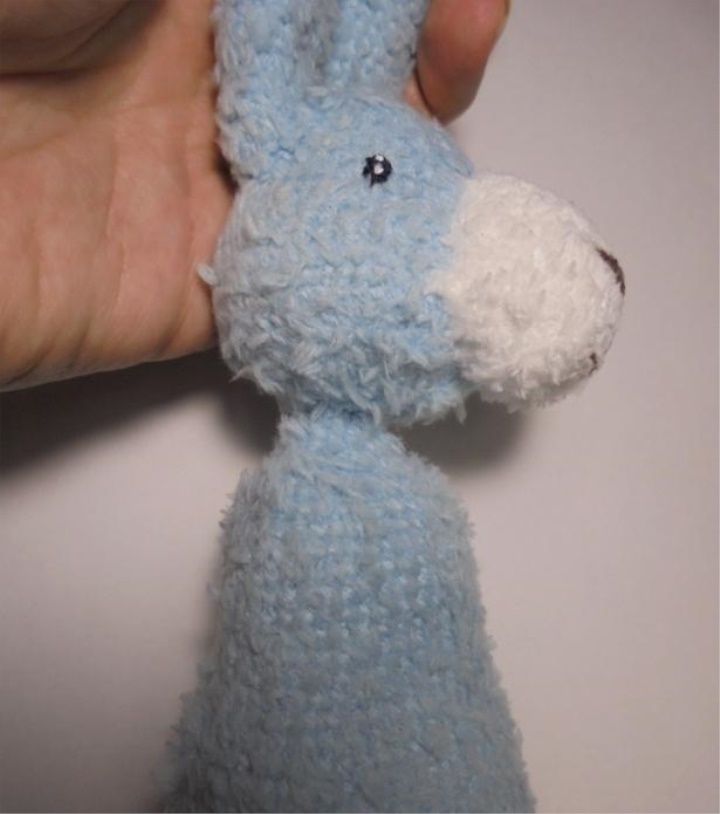
Thread the thread, cut it. You'll sew your head to the neck.
Feet
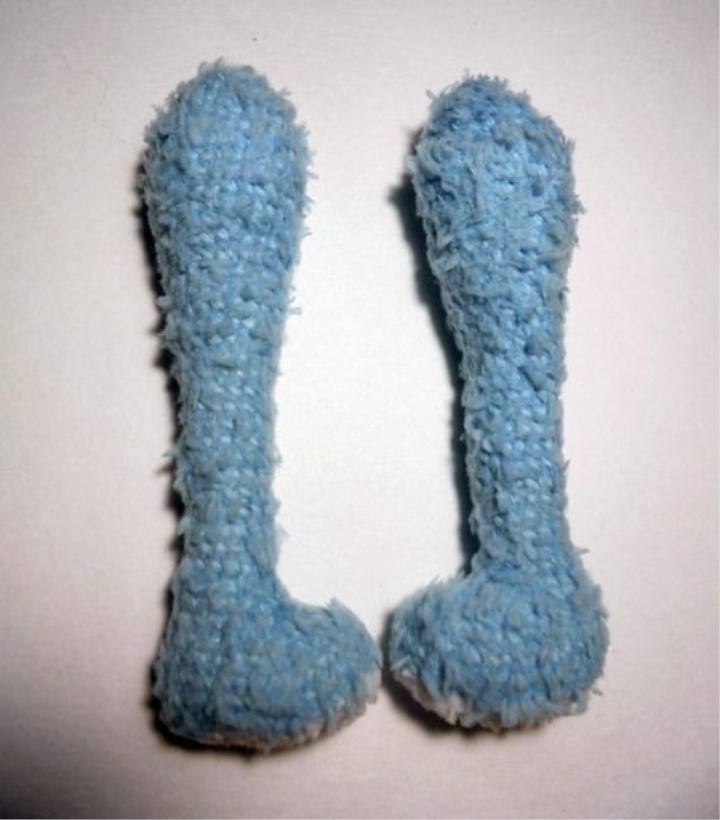
Start knitting with the soles of the yarn, which you have chosen for the heels.
1) Tie a chain of 10 air loops, insert a hook into the 2 loop from the hook, connect 3 more loops to the same loop, fasten 7 loops, then tie 4 loops to 1, 7 loops - 22 loops
Do not forget about the contrasting marker thread!
2) 4 Prib, 7 pet, 4 prib, 7 pet - 30 sts
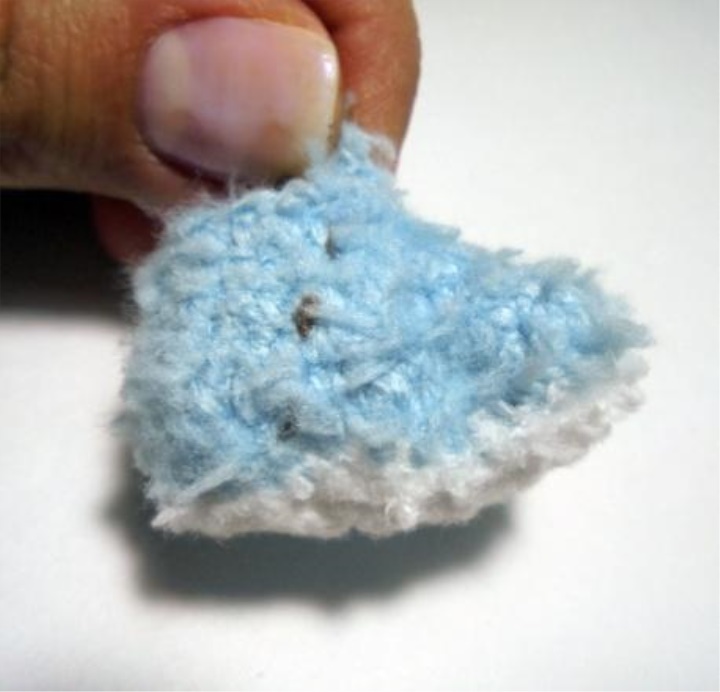
3) Change the yarn to the main color yarn. 30 loops
4) 30 loops
5) 30 loops
6) 12 pet, 1 ub, 1 pet (6 times) - 24 loops
7) 12 pet, 1 ub, 1 pet (4 times) - 20 loops
8) 12 pet, 4 ub - 16 loops
9) 12 pet, 2 ub - 14 loops
10-21 rows) 14 loops
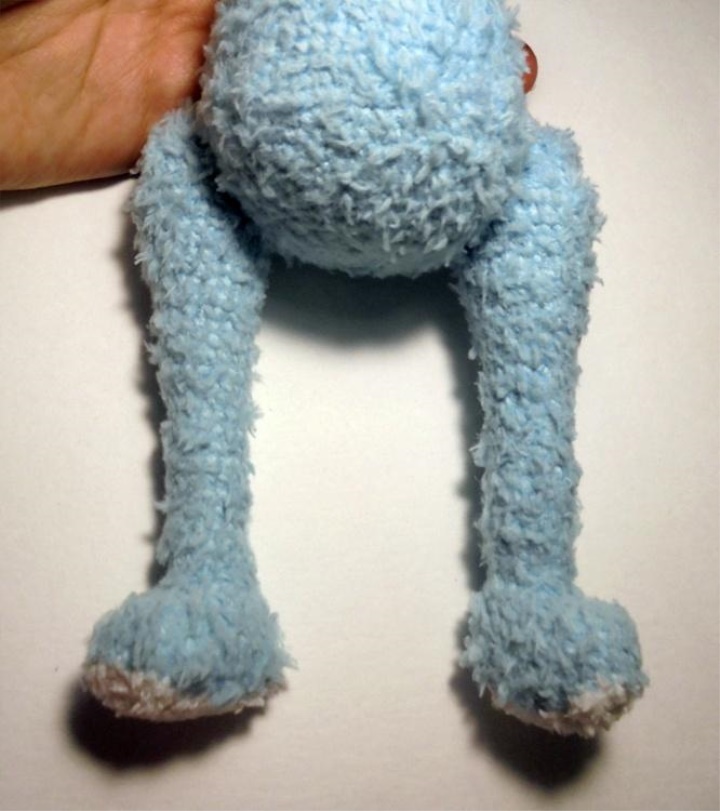
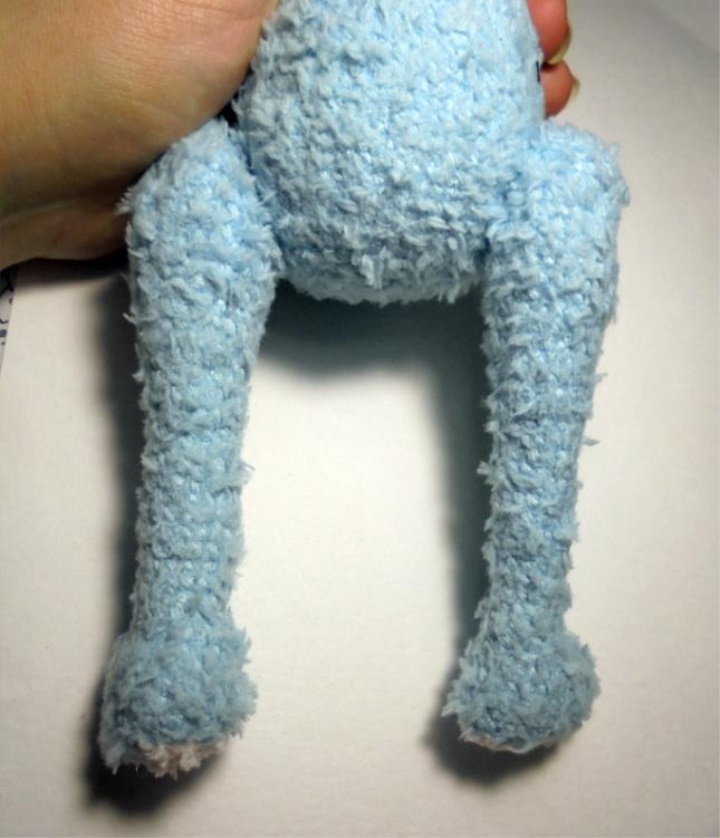
Now watch the marker. It can move to the right or left. All the increments that go further, should be done strictly in the middle of the detail, as shown in the photo. Correct the marker, moving it relative to the center.
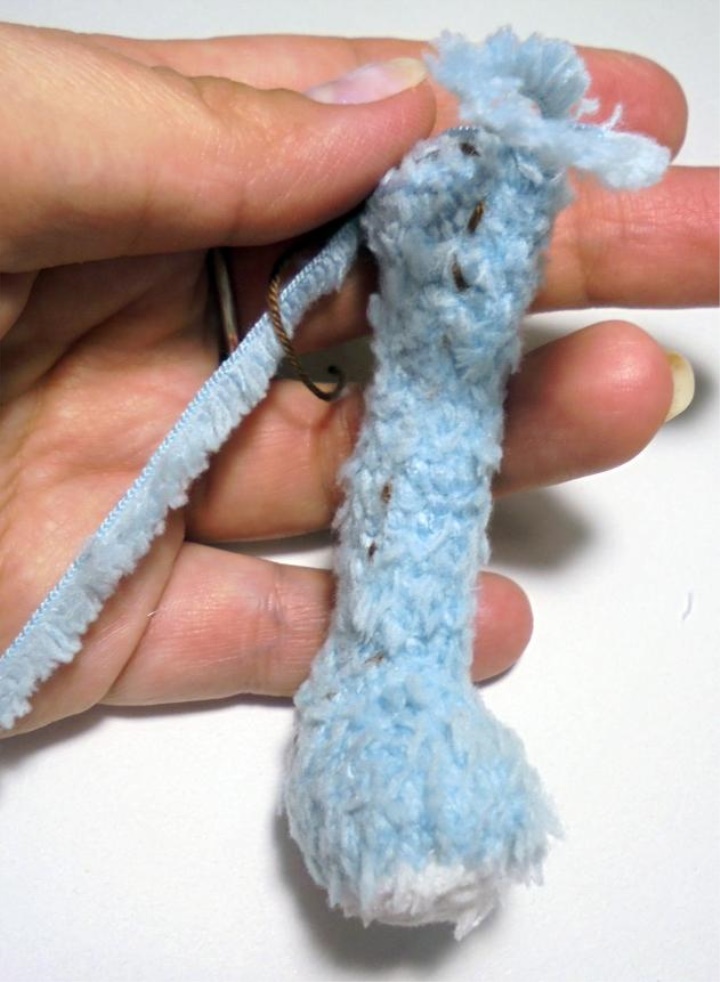
The following increases are given as an EXAMPLE for knitting. Additions can be shifted relative to the position of the marker, and there, for example, where 7 pet, 1 pr, 7 pet, 1 surf are written in the diagram, the shifts of the marker can result in 9 pet, 1 pr, 5 pet, 1 arr.
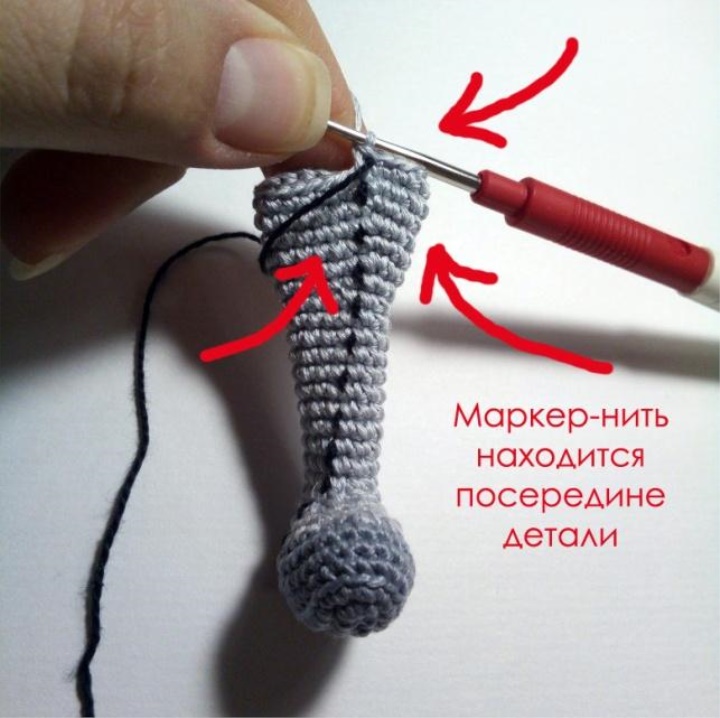
22) 6 pet 1 prib, 6 pet, 1 prib - 16 loops
23) 7 pet, 1 prib, 7 pet, 1 sur - 18 loops
24) 18 loops
25) 8 pet, 1 prib, 8 pet, 1 prib - 20 loops
26) 20 loops
27) 9 pet, 1 prib, 9 pet, 1 sur - 22 loops
28) 22 loops
29) 10 pet, 1 prib, 10 pet, 1 prib - 24 loops
30) 24 loops
31) 11 pet, 1 prib, 11 pet, 1 sur - 26 loops
32-37 rows) 26 loops
38) 11 pet, 1 ub, 11 pet, 1 ub - 24 loops
39) 10 pet, 1 ub, 10 pet, 1 ub - 22 loops
40) 2 pet, 1 ub (5 times) 2 pet - 17 loops
41) 1 loop 1 ub (5 times) 2 pet - 12 loops
42) 6 deductions
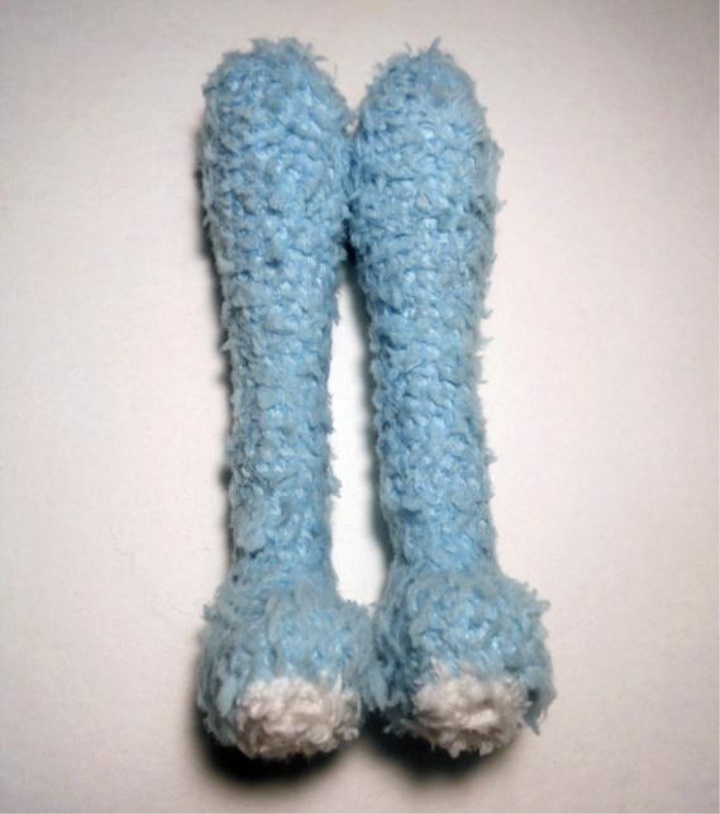
The hole is pulled off, the thread is hidden. You can simply sew the legs, attach a thread or a cotter pin (this should be done as the knitting process).
Pens
1) 6 loops in the ring amigurumi
2) 6 increases - 12 loops
3) 1 loop 1 prib (6 times) - 18 loops
4-8 rows) 18 loops
9) 7 pet, 2 ub, 7 pet - 16 loops
10) 7 pet, 2 connecting posts (cc), 7 pet - 16 loops
11) 16 loops
12) 6 pet, 4 ss, 6 pet - 16 sts
13) 16 loops
14) 5 pet, 6 cc, 5 pet - 16 loops
15) 16 loops
16) 5 pet, 6 cc, 5 pet - 16 loops
17) 16 loops
18) 5 pet, 6 cc, 5 pet - 16 loops
19) 16 loops
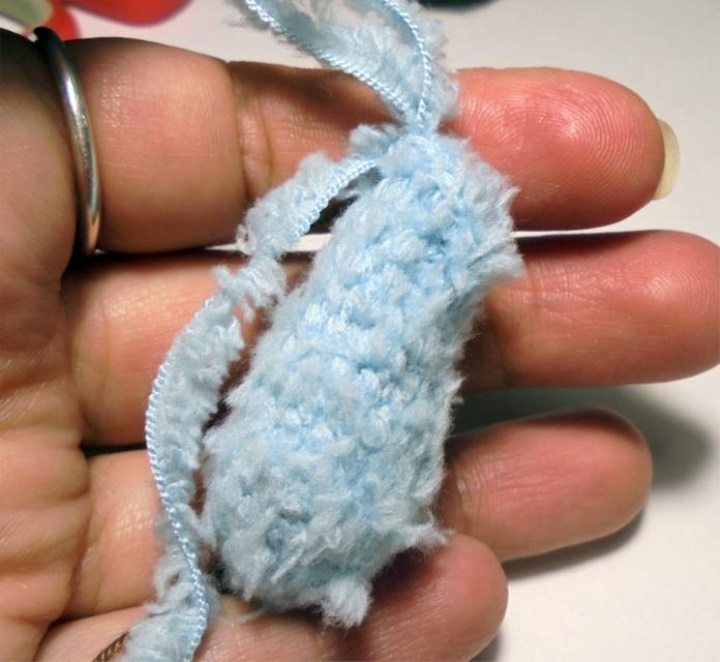
20) 5 pet, 1 prib, 4 pet, 1 prib, 5 pet - 18 loops
21-25) 18 loops
Fill in at this stage.
26) 1 ss, 16 pet, 1 ss - 18 loops
27) 18 loops
28) 2 ss, 14 pet, 2 ss - 18 loops
29) 18 loops 30) 3 ss, 12 pet, 3 ss - 18 loops
31) 18 loops
32) 3 ss, 12 pet, 3 ss, - 18 loops
33) 18 loops
34) 2 ss, 14 pet, 2 ss - 18 loops
35) 18 loops
36) 18 loops
37) 1 pet, 1 ub (6 times) - 12 loops
Nabeyte.
38) 6 deductions - 6 loops.
Nabeyte more, so that the handle is dense. Pull off the hole, hide the thread.