Before the New Year a couple of months left, it's time to think about gifts. But it's so nice to please loved ones with something done with their own hands ... I suggest you tie a cute monkey - a symbol of the upcoming 2016th. In this you will help my small master class. Let this be my gift for you :)
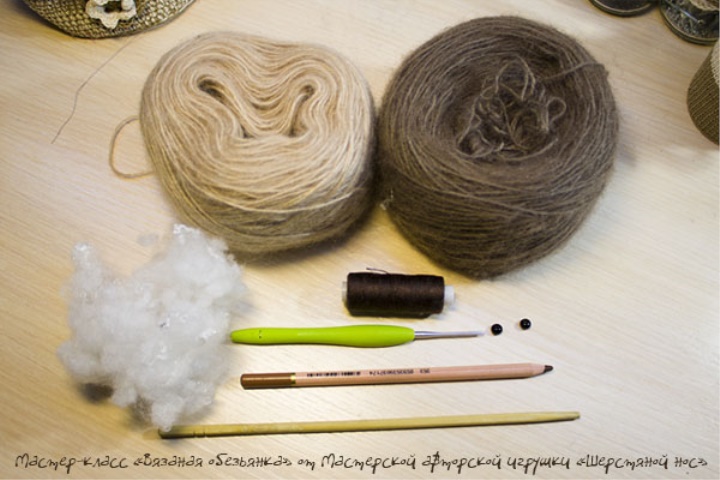
For work you will need:
yarn of two colors. I used a mohair (550m per 100g.) Beige and brown. (The size of the toy will depend on the thickness of the yarn you choose);
Sturdy thread for sewing of eyes and nose;
eyes - a pair of glass beads or a sledge on a loop;
The hook is suitable in size to the yarn. In my case 2 mm;
stuffing material. I use sintepuh, you need it quite a bit;
stick for stuffing;
knitting needle (it has a wide eyelet and a rounded tip that allows the threads of the knitted fabric to be moved apart);
a pencil for toning a muzzle of a monkey (it is not obligatory).
In this paper we use the following notation:
VP - air loop;
SBN - a column without a crochet;
СС - connecting column;
2СБНв1 - 2 columns without a crochet tied in one column of the previous row (increase);
2SBNvmeste - 2 posts without a crochet tied together (reduction).
We knit a dark thread. We begin knitting from the ring in which we make the first 6SBN. You can use to start knitting an amigurumi ring. I do this: we knit 3VP (the first of them will be a loop-base, and the other two - lifting loops), in the first of which we knit 5SBN, we connect to the ring with the help of the SS. We got the first row of six columns.
Knitting goes in a circle. Each row starts with two air lifting loops (replacing the first column without the crochet) and ends with closing the row into the ring using a connecting post.
1 row - 6СБН.
2 row - 2СБН in each column of the previous row (we get 12СБН).
3rd row - * 1СБН, 2СБНв1 * 6 times (we get 18СБН).
4th row - * 2СБН, 2СБНв1 * 6 times (we get 24СБН).
The 5th row - * 3СБН, 2СБНв1 * 6 times (we get 30СБН).
6 row - * 4СБН, 2СБНв1 * 6 times (we get 36СБН).
7 row - * 5СБН, 2СБНв1 * 6 times (we get 42СБН).
8 row - * 6СБН, 2СБНв1 * 6 times (we get 48СБН).
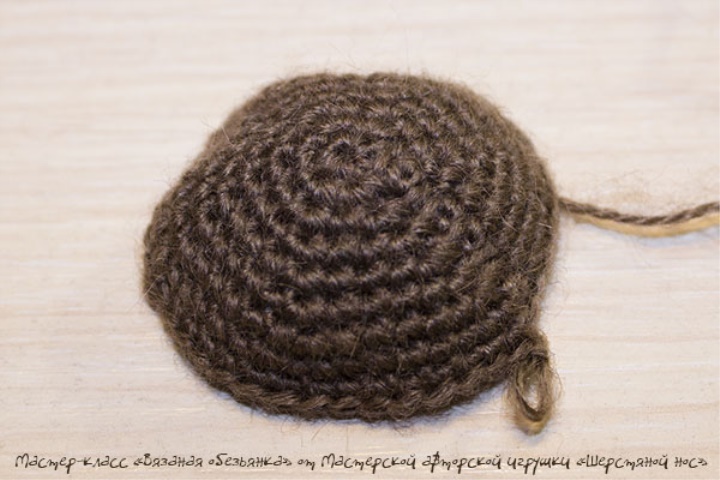
9-10 series - 48SBN.
The front part of the head is ready. Now begin the narrowing.
11 row - * 6СБН, 2СБНмдем * 6 times (we get 42СБН).
12th row - * 5СБН, 2СБНмдем * 6 times (we get 36СБН).
13 row - * 4СБН, 2СБНммест * 6 times (we get 30СБН).
14 row - * 3СБН, 2СБНммест * 6 times (we get 24СБН).
15 row - * 2СБН, 2СБНммест * 6 times (we get 18СБН).
16th row - * 1СБН, 2СБН in a row * 6 times (we get 12СБН).
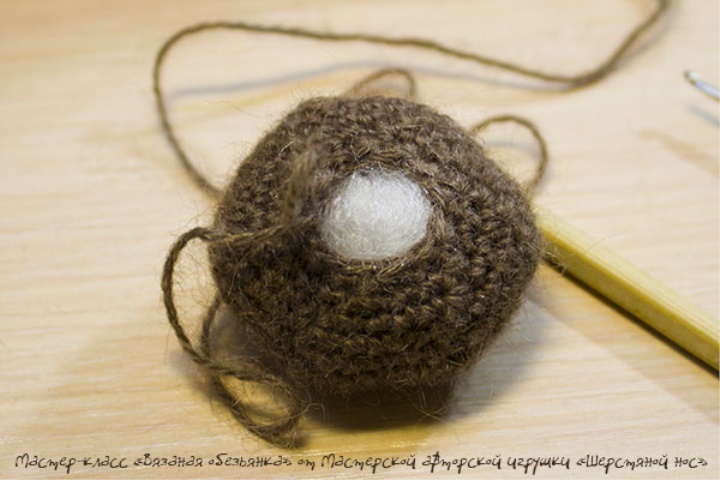
The remaining hole we use for stuffing.

Accurately and evenly fill our part. We help ourselves with a stick for stuffing. Now you need to close the remaining hole.
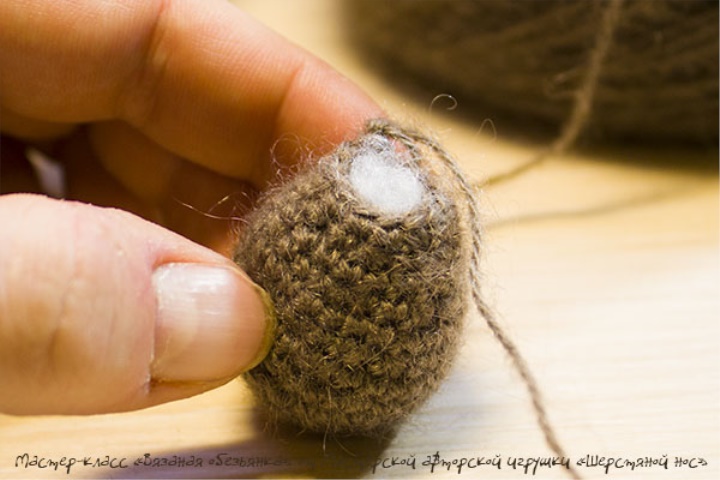
17th row - * 2CBN in the same place * 6 times (we get 6CBN).
We close the remaining hole by tying on 2SBN together or simply pulling off the remaining loops with a knitting needle (as you prefer and more familiar).
Now we knit the body. As in the case with the head, we begin knitting from the ring in which we make the first 6DSN.
1 row - 6СБН.
2 row - 2СБН in each column of the previous row (we get 12СБН).
3rd row - * 1СБН, 2СБНв1 * 6 times (we get 18СБН).
4th row - * 2СБН, 2СБНв1 * 6 times (we get 24СБН).
The 5th row - * 3СБН, 2СБНв1 * 6 times (we get 30СБН).
6-7 series - 30SBN.
8 row - * 3СБН, 2СБНммест * 6 times (we get 24СБН).
9th row - 24SBN.
10 row - * 2СБН, 2СБНммест * 6 times (we get 18СБН).
11th row - 18SBN.
12 row - * 1СБН, 2СБНмдем * 6 times (we get 12СБН).
13th row - 12SBN
The remaining hole we use for stuffing. The thread is left more authentic. We need it to sew the body to the head.
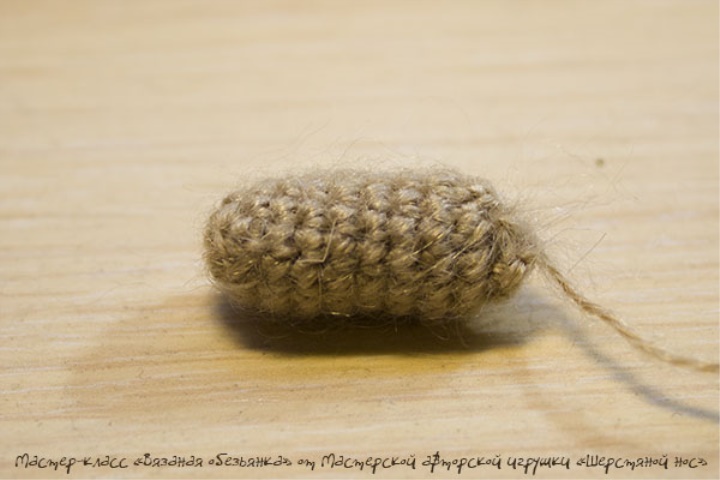
Now take the light thread. We knit a muzzle, we do it also in a circle, starting with the ring.
1 row - 6СБН.
2 row - 2СБН in each column of the previous row (we get 12СБН).
3-9 series - 12СБН.
Gently stuff the part, make the packing not too dense. Now you need to close the remaining hole.
10 row - * 2CBN in a row * 6 times (we get 6СБН).
We close the remaining hole by tying on 2SBN together or simply pulling off the remaining loops with a knitting needle (as you prefer and more familiar).
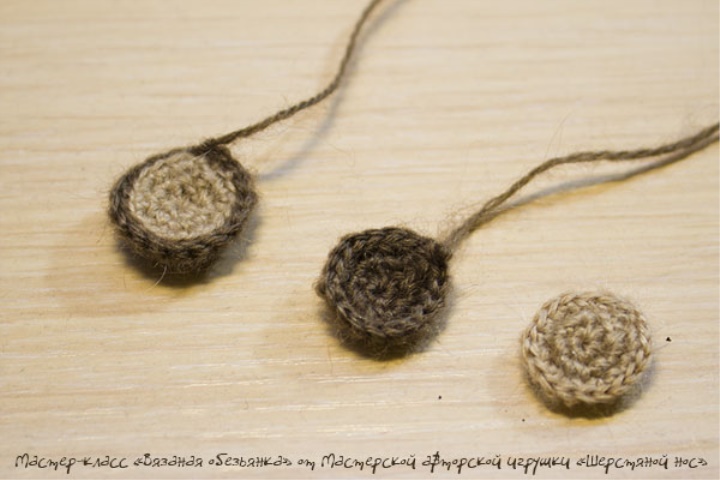
Now the ears. Light thread, start with the ring.
1 row - 6СБН.
2 row - 2СБН in each column of the previous row (we get 12СБН).
3rd row - * 1СБН, 2СБНв1 * 6 times (we get 18СБН).
We fix and cut the thread.
Now we knit such a detail, but with dark yarn. We can not cut the thread from the 3 rows, fold the light and dark detail with the wrong sides and, simultaneously grabbing both parts, we sew around the edge 1 row with columns without a crochet. The thread is left long enough to use it to sew the ear to the head. These ears, as you know, you need to tie two :)
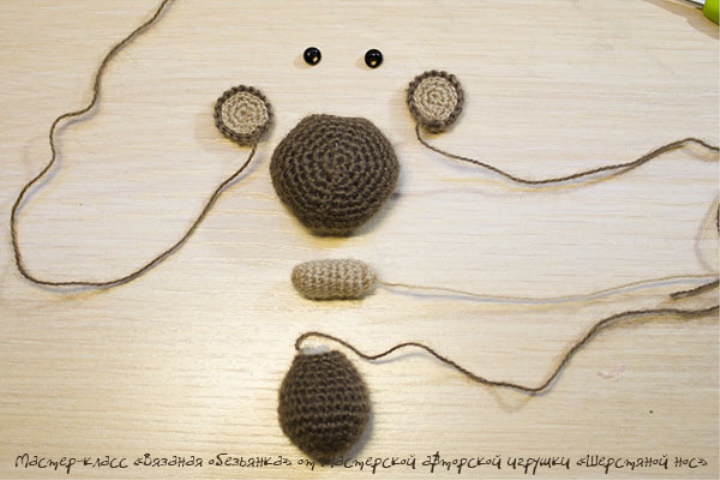
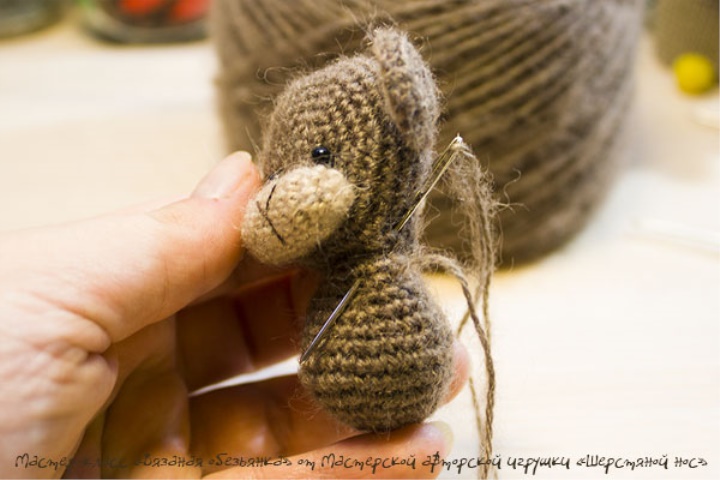
The head parts and body are ready for us, it's time to connect them.
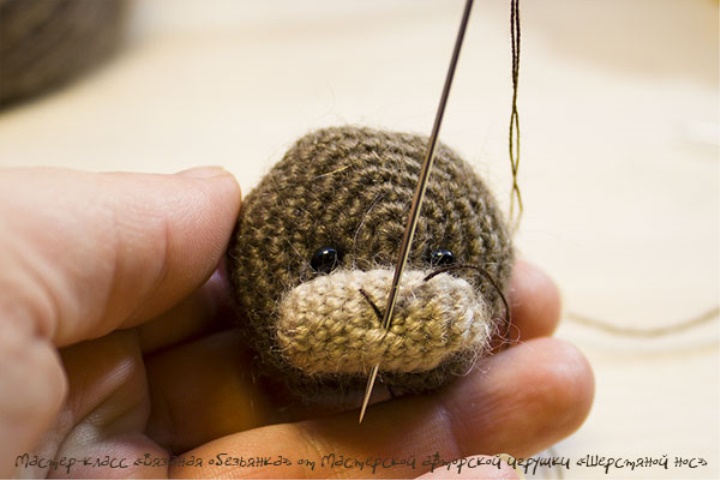
We sew the muzzle to the head with a hidden seam. Using a strong thread, sew eyes. The same thread embroider on the muzzle triangular spout. We fasten the thread and hide it inside the head.
We find a place for the ears and sew them with an unnoticeable seam, gently picking up the eyelet and the head part in turn. With the help of the left thread, sew the body to the head with small secret stitches. The thread is also fastened and hidden inside the body part.
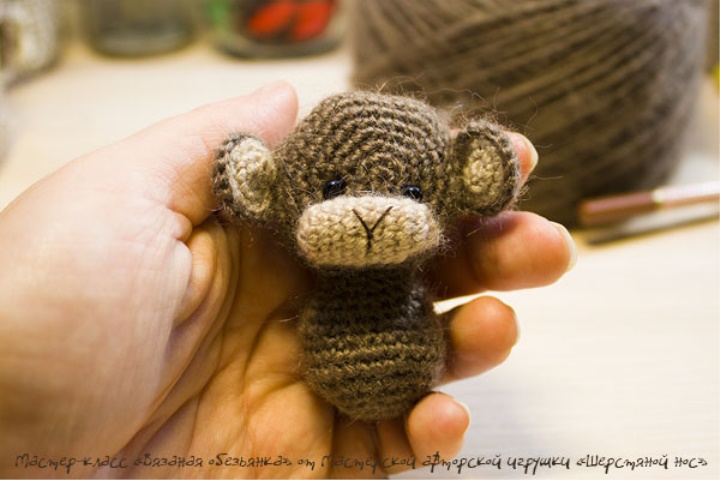
It already looks like a monkey :)
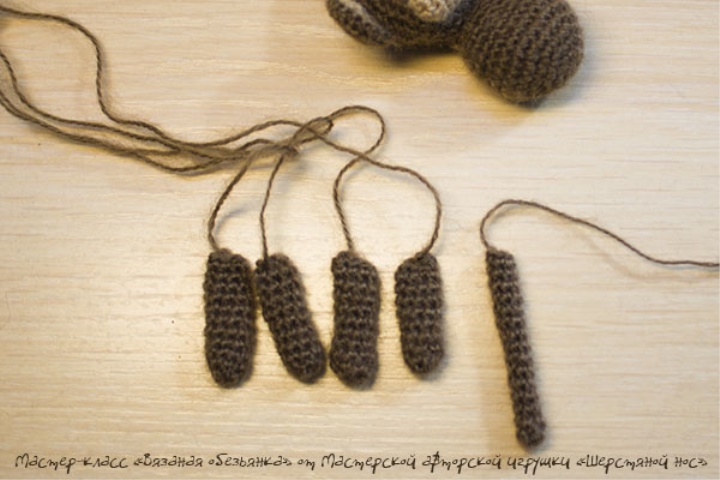
Next we knit paws and tail with a dark thread. Everything is also in a circle, beginning with the ring.
Front feet:
1 row - 6СБН.
2nd row - * 2СБН, 2СБНв1 * 2 times (we get 8СБН).
3-9 series - 8SBN.
Hind feet:
1 row - 6СБН.
2nd row - * 2СБН, 2СБНв1 * 2 times (we get 8СБН).
3-11 series - 8SBN.
Tail:
1 row - 6СБН.
2-16 row - 6СБН.
When completing each part, leave a sufficient end of the thread for sewing.