The master class is distributed free of charge and is intended for personal use. It is not allowed to sell the master class, translate, publish, share in common parts (text, photographs, diagrams) without attribution.
Created on the basis of the master class toys are allowed to use at their discretion.
When publishing photos of toys created based on the master class, you should indicate in the description the name or nickname of the author of this master class, optionally
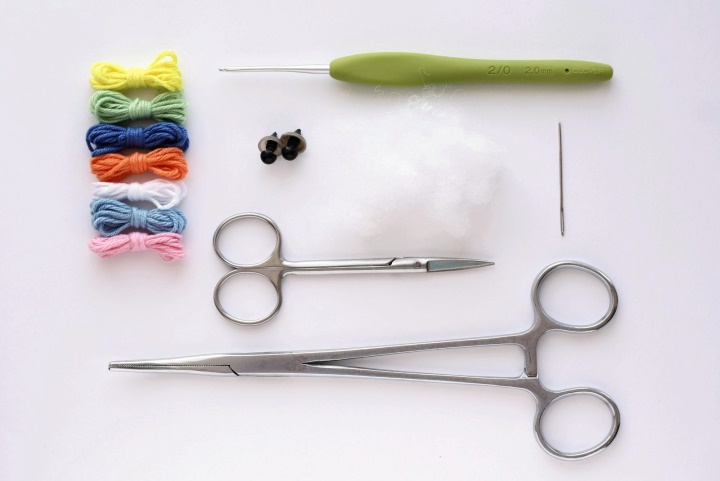
cotton yarn or cotton / acrylic (in the master class Vita Cotton Lira yarn is used);
hook number 2, scissors, tweezers for packing, needle, other auxiliary tools
Conventions
Вп - air loop
ss - connection bar
пп - lifting loop
sb - column without crochet
pcc - half-shell with crochet
ssn - column with crochet
ss2n - column with two crochets
arr. - an increase
ub. - decrease
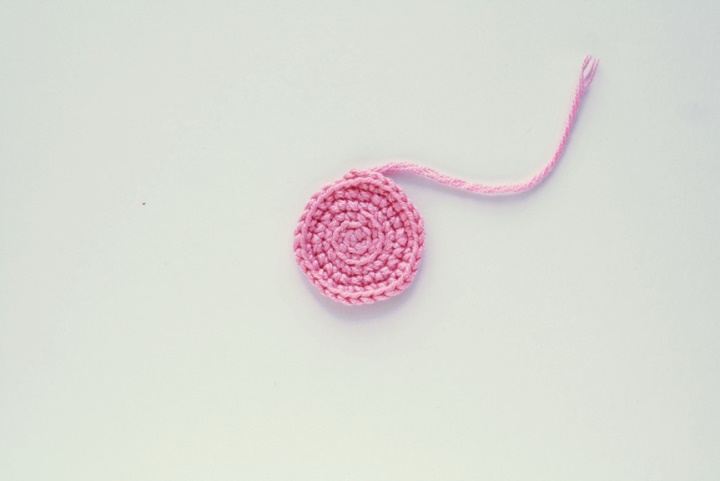
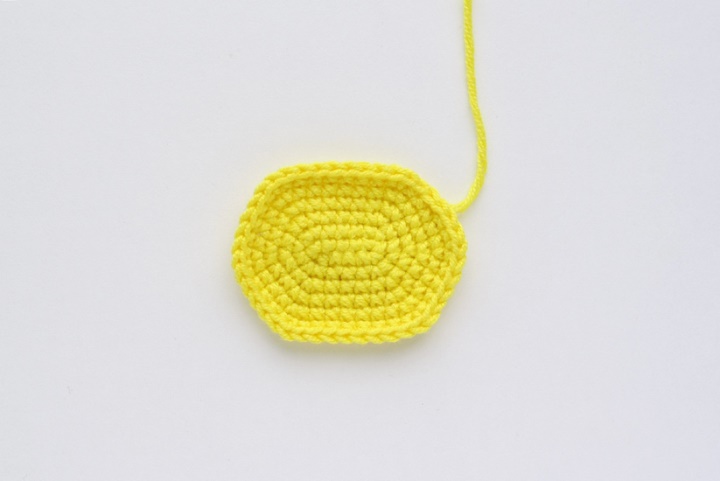
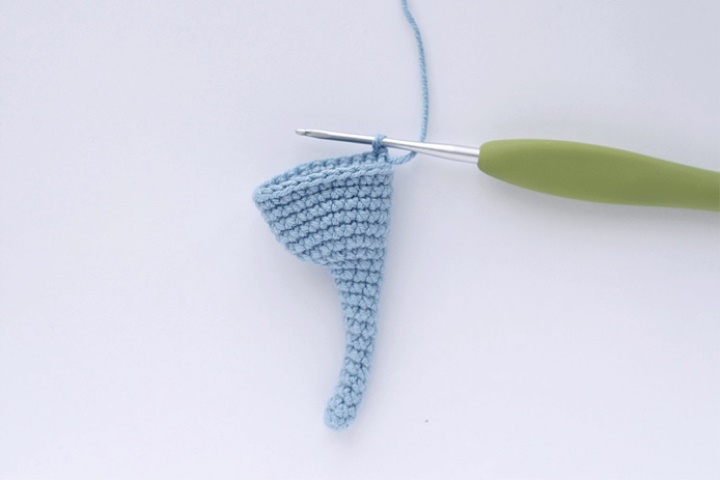
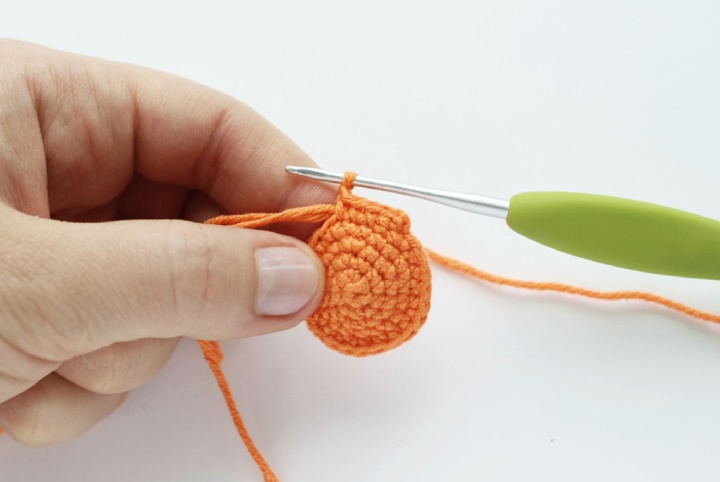
Bottom:
spirally
1) 2 in, 6 sb in the first loop (6)
2) about 6 x for the back half loop (12)
3) (1, app) x6 for the back half loop (18)
4) 1, arr., (2, arr.) Х5, 1 (24)
5) (3, arr.) Х6 (30), сс, cut the thread and fill it with loops through one bar.

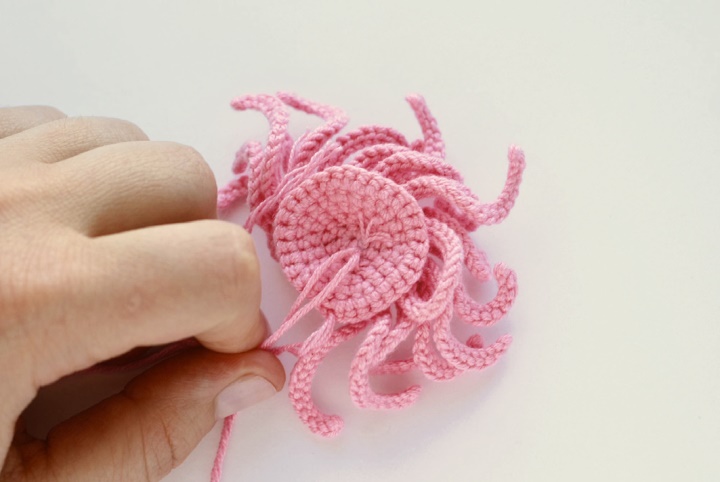
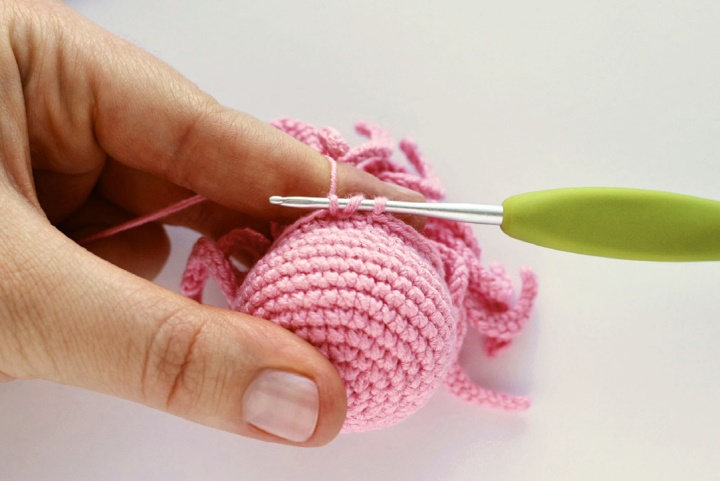
Attach the thread to the first half loop of the third row. Dial 21 in, return 20 ss, go to the next half loop with the help of ss, dial 21 cc, return 20 ss. Thus, to tie all 18 hemipers in two rows. Cut the thread, pull both ends with the hook to the wrong side and tie it with a knot.
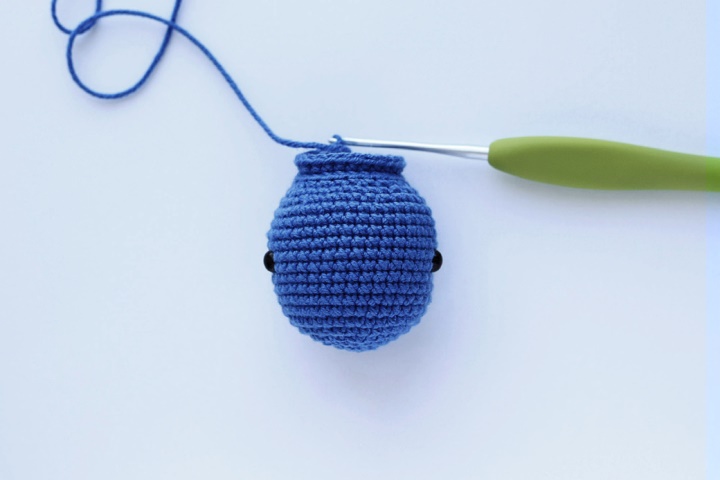
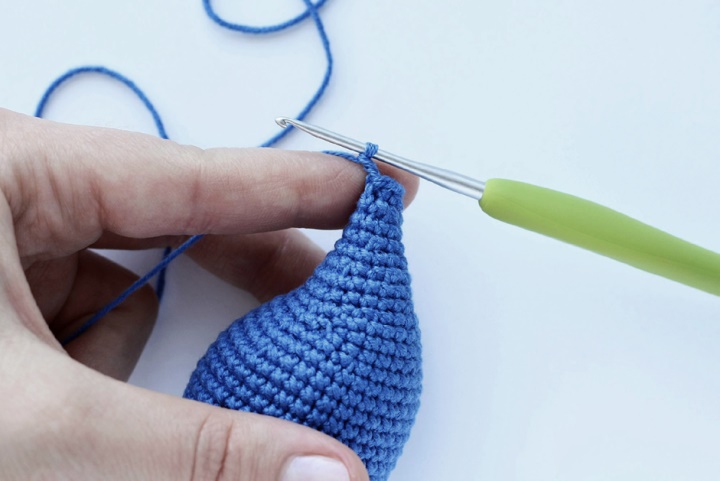
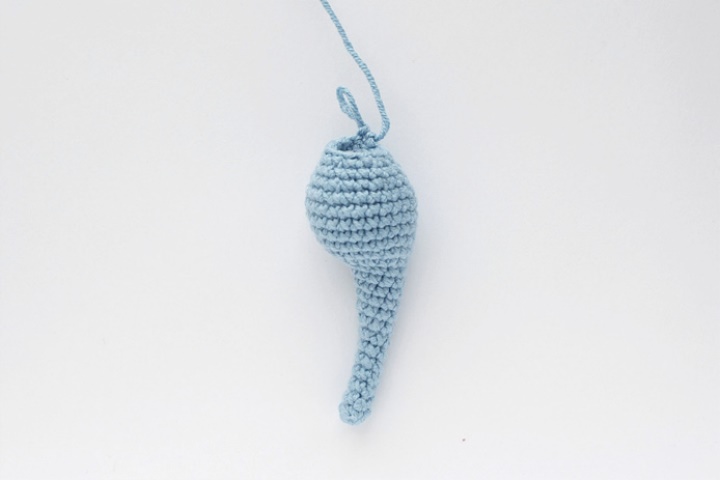
Hat:
on a spiral (stuffed in the process of sewing with the bottom)
1) 2 in, 6 sb in the first loop (6)
2) aprox6 (12)
3) (1, app) x6 (18)
4) 1, arr., (2, arr.) Х5, 1 (24)
5) (3, app) x6 (30)
6) 2, arr., (4, arr.) Х5, 2 (36)
7-11) 5 rows (36)
12) 2, уб., (4, уб.) Х5, 2 (30), remove the hook from the loop, leave it like that.

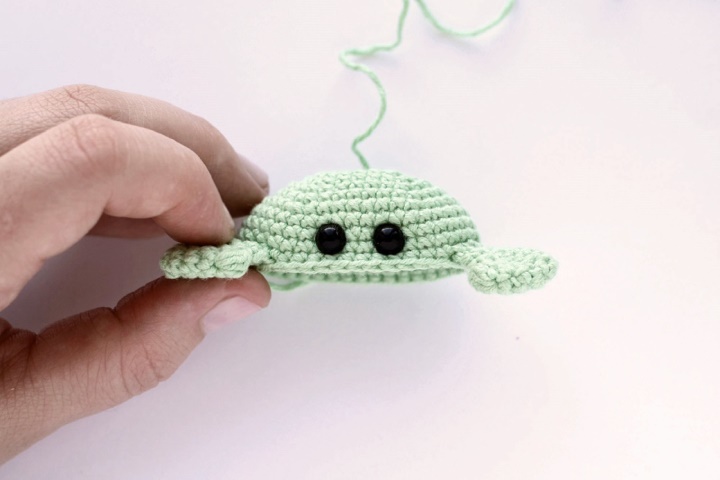
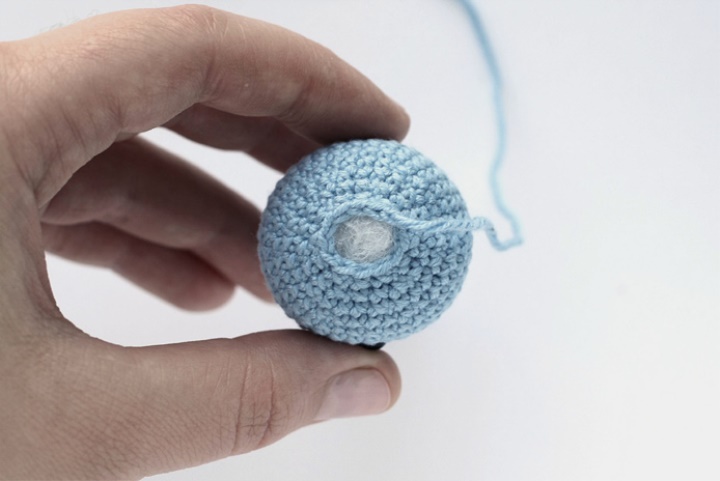
Insert the eyes in the hat between 10 and 11 rows at a distance of 4 sb from each other.
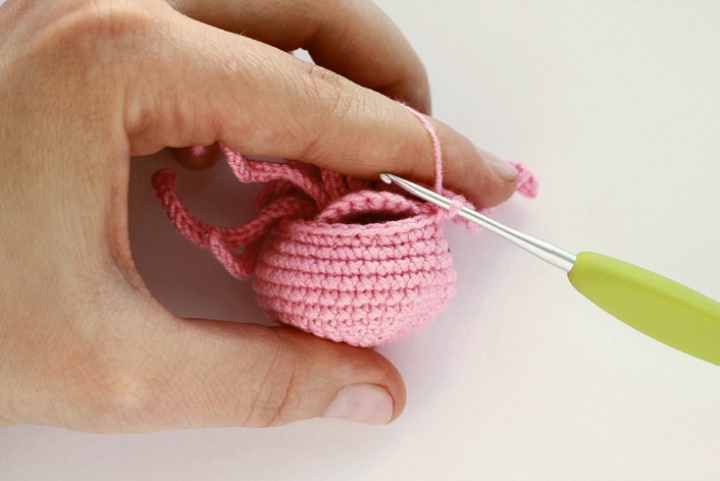
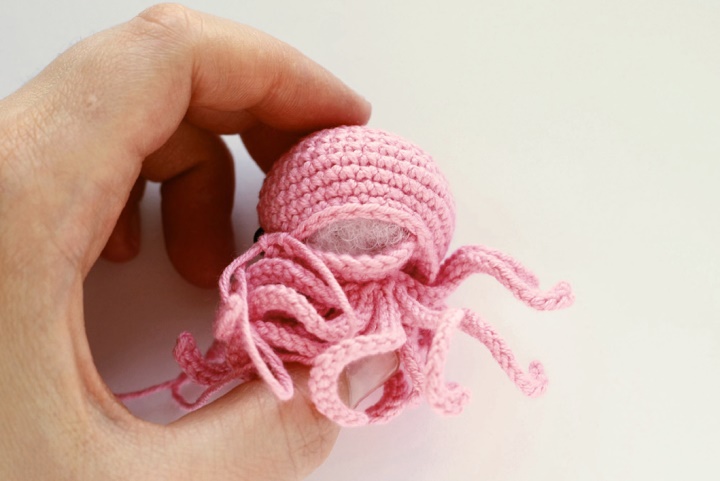
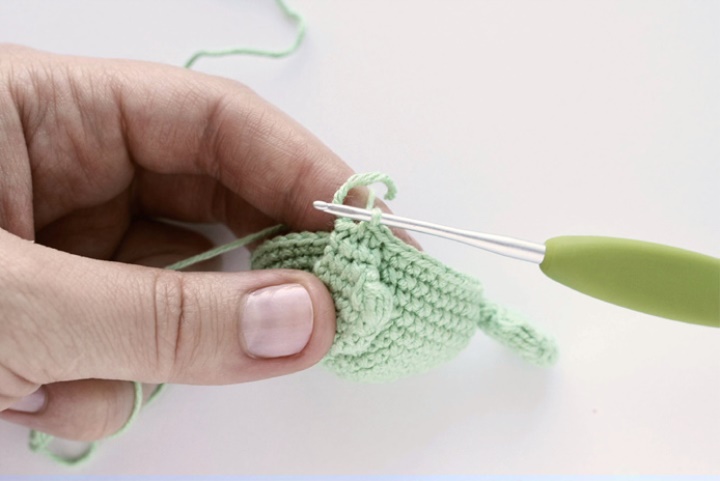
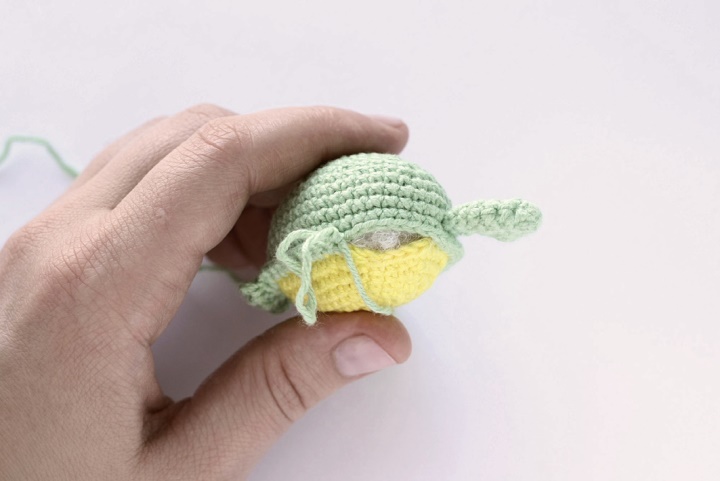
Connect the bonnet and the bottom with the wrong sides to each other. We return the hook to the loop and continue to knit the columns without the crochet, only now we are connecting the two parts, passing the hook immediately through the two loops. When the end of the series there are about 10 bars, fill jellyfish, and then finish knitting the row. Before closing the row, remember to add more stuffing, and after closing - remember the toy a little to distribute the filler.
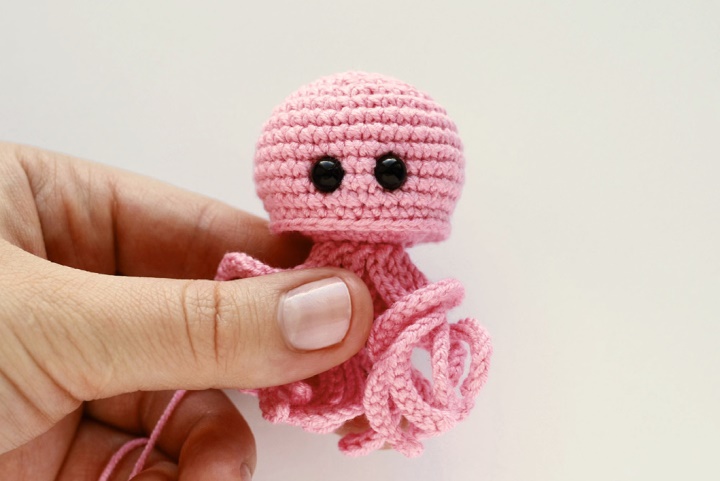
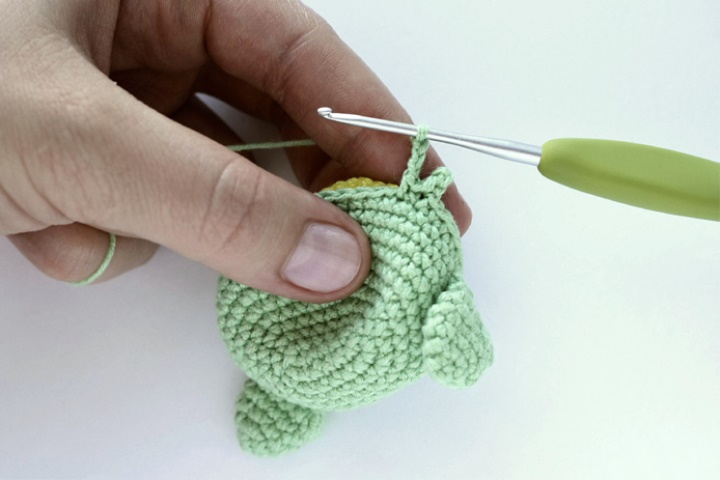
The second row is knitted as follows: skip one loop, next knit 5 cn, skip a loop, knit 1 cc. Next, we continue to knit in the scheme * 5 ssn, skip sb, ss, skip sb * to the end of the series. But there is one thing - in the last pattern you need to make a pass in 2 sb, since the total number of loops in a row is not a multiple of four. After the last column, the thread is pulled out without tightening the knot, and through the next loop we restore the edge. Then, tighten the thread with a double knot and stretch it into the fabric so that the knot is hidden among the posts.
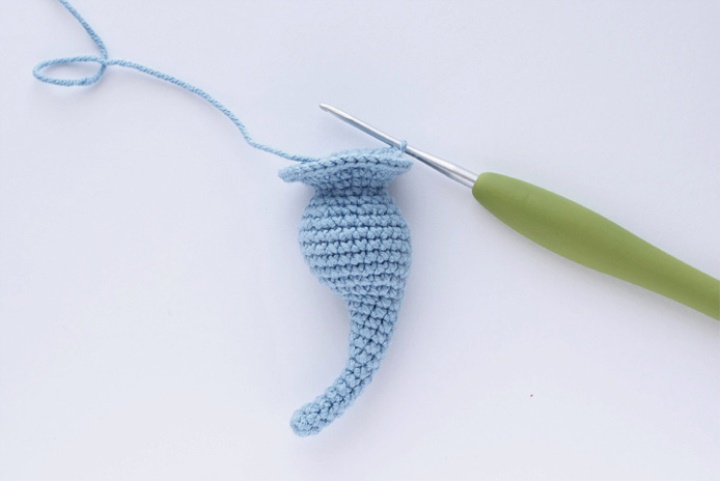
1) 2 in, 6 sb in the first loop (6)
2) aprox6 (12)
3) (1, app) x6 (18)
4) 1, arr., (2, arr.) Х5, 1 (24)
5) (3, app) x6 (30)
6) 2, arr., (4, arr.) Х5, 2 (36)
7-16) 10 rows (36)
17) 8 сбн, (уб., 4) х4, 4 сбн (32)
18) 10 сбн, уб., 8 сбн, уб., 10 сбн (30)
19) (3, уб.) Х6 (24)
20) 5 sb, 14 sb for the back half loop, 5 sb (24)
Eyes are inserted between 11 and 12 rows: the first - after 7 sb from the beginning of the series, the second - after 17 cb from the first.
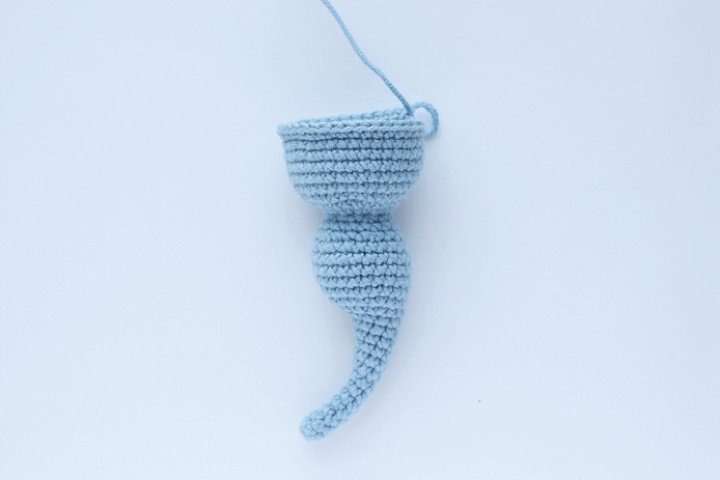
21) 1 row (24)
22) 5 sb, 14 sb for the front half-loop of the 20th row, 5 sbn (24)
23) (2, уб.) Х6 (18)
24-25) 2 rows (18)
26) (1, уб.) Х6 (12)
27) 1 row (12)
28) (1, уб.) Х3 (9)
29) 1 row (9)
30) (1, уб.) Х3 (6)
31) 2 sb, 1 cc per body of the next
column, 2 in, turn. Further
tie the tail in half according to the scheme:
1 ссн, 1 сс2н, 3 вп в пико, 1 сс2н, 1
ssn, 2 in, 1 cc in the next loop, 2 in, 1 ssn into the next loop, 1
сс2н, 3 вп в пико, 1 сс2н, 1 ссн, 2 вп, 1 сс, pull the thread, tie it up
knot and hide in the canvas.
1) 6 in, 4 sb in the opposite direction, 3 sb in
the last column, then on the other side
3 sc., Arr. (12)
2) prib., 3 sbn, prib.kh3, 3 sbn, prix.x2
(18)
3) 1 sb, ap, 4 sb, (ap, 1) x2,
Approx., 4 sc, (ap, 1) x2 (24)
4) 1 сбн, приб., 5 сбн, (arr., 2) х2, arr.,
5 sb, prib., 2 sc., Ap., 1 sbn (30)
5) 2 sb, ap, 6 sb, (apprx, 3) x2,
apr., 6 sc., ap., 3 sc, ap., 2 sb (36)
6) 3 sb, ap, 7 sb, (apprx, 4) x2, prib, 7 sb, prib, 4 sbn,
pr., 3 sbn (42), ss, cut the thread and fill it with loops after one
column.
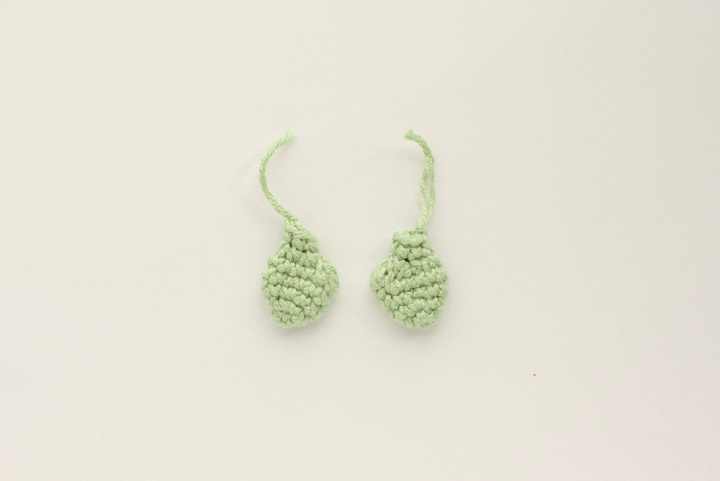
Pincers:
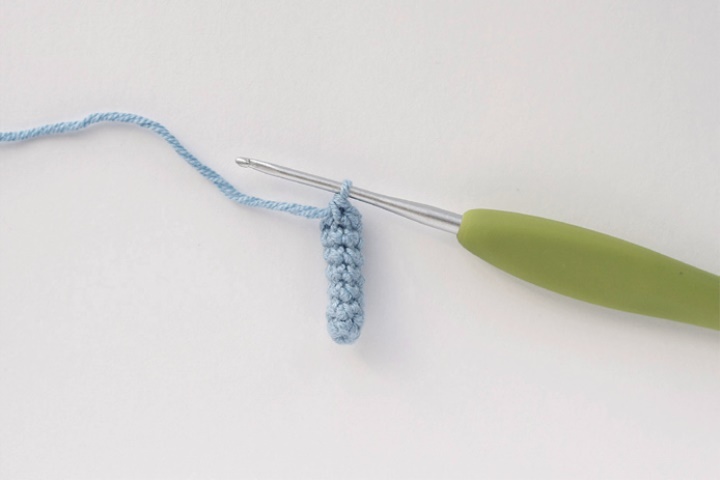
1) 2 in, 4 sb in the first loop (4)
2) about 4 (8)
3) (1, app) x3 (12)
4) 1 row (12)
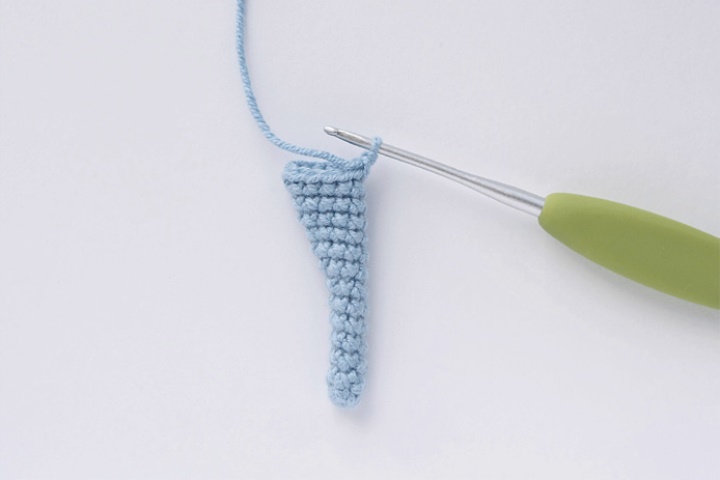
5) 5 sb, 4 ssn with one vertex in
one loop, 6 sbn (12)
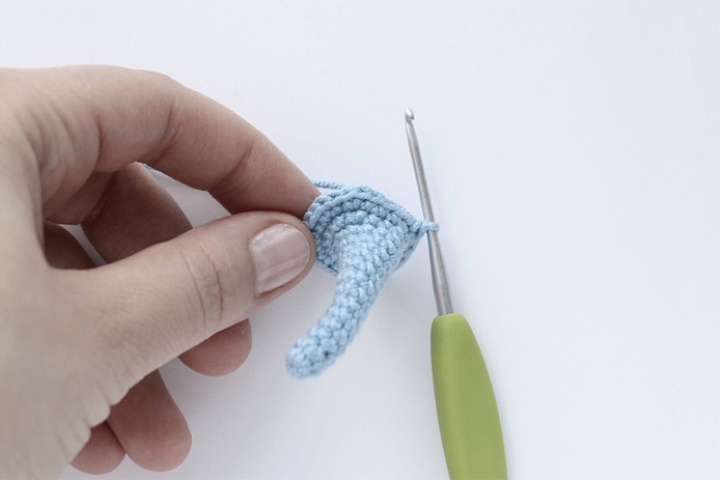
6) уб.х6 (6)
7) 1 row (6), ss, knot, thread
to cut off.
Top part:
spiral (stuffed in the process of connection with the bottom)
1) 6 in, 4 sb in the opposite direction, 3 sb in the last column, then on
the other side of the 3 rd, arr. (12)
2) apr., 3 sb, pr.x3, 3 sb, prix.x2 (18)
3) 1 sb, ap, 4 sb, (apprx, 1) x2, prib, 4 sbn, (arr., 1) x2 (24)
4) 1 сбн, приб., 5 сбн, (arr., 2) х2, приб., 5 сбн, приб., 2 сбн,
pr., 1 sbn (30)
5) 2 сбн, приб., 6 сбн, (arr., 3) х2, приб., 6 сбн, приб., 3 сбн,
arr., 2 sb (36)
6) 3 sb, ap, 7 sb, (apprx,
4) x2, arr, 7 sb, prib, 4 sbn,
appr., 3 sc. (42)
7-8) 2 rows (42)
9) to engage the claw, 11 sb, to tie in
second claw, sbn to the end of the row
(42), pull the hook out of the loop,
leave so.
Eyes are inserted between 7 and 8 rows, the distance between them is 4 sb.
The top part with the knitted claws and the bottom are folded
sides to each other, pass the hook into the left loop and,
starting from the next loop, start tying as follows:
21 sb, * 1 sb in the next loop, 3 in, 2 ss return, 1 sb in the same
loop * - 4 times, 9 sb, * 1 sb in the next loop, 3 in, 2 ss return,
1 sb in the same loop * - 4 times, then remove the hook from the loop
Through the remaining hole, fill the crab. Do not tamp the toy too tightly so that the padding does not begin to peer between the bars. Then insert the hook back into the loop and tie the last four bars. Do not forget to add packing before the final closing of the series.Then pull the thread out, without tightening the knot, and restore the edge through the next loop, draw the thread from the bottom, tighten it with a double knot and stretch it into the fabric so that the knot crawls between the posts.
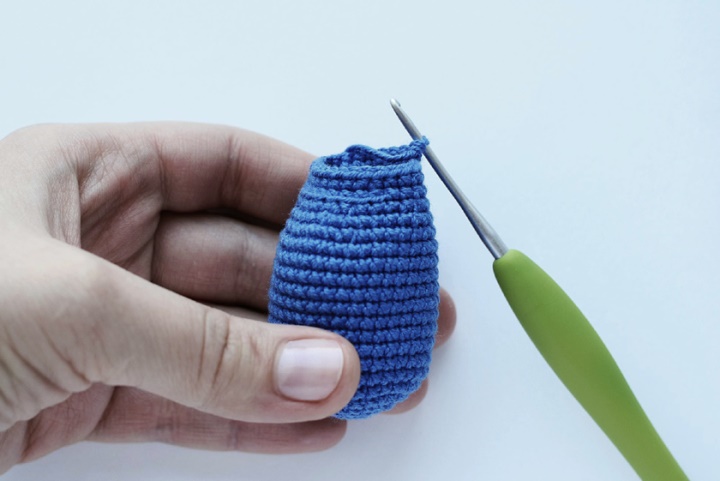
Torso:
on a spiral (to fill up on a course of knitting)
1) 2 in, 6 sb in the first loop (6)
2-9) 8 rows (6)
10) apr., 5 sbn (7)
11) 1 сбн, приб., 5 сбн (8)
12) 2 sb, ap, 5 sbn (9)
13) 1 row (9)
14) 3 sb, ap, 5 sbn (10)
15) 4 sb, ap, 5 sbn (11)
16) 5 sb, ap, 5 sbn (12)
17) 2 sb, prix. X6, 4 sbn (18)
18) 1 row (18)
19) 3 sb, (ap, 1) x6, 3 sbn (24)
20-24) 5 rows (24)
25) 1 сбн, уб., (2, уб.) Х5, 1 сбн (18)
26) 1 row (18)
27) (1, уб.) Х6 (12)
28) Approx. 12 (24)
29) (3, arr.) X6 (30)
30) 2 сбн, (4, arr.) Х5, 2 сбн (36)
31-36) 6 rows (36)
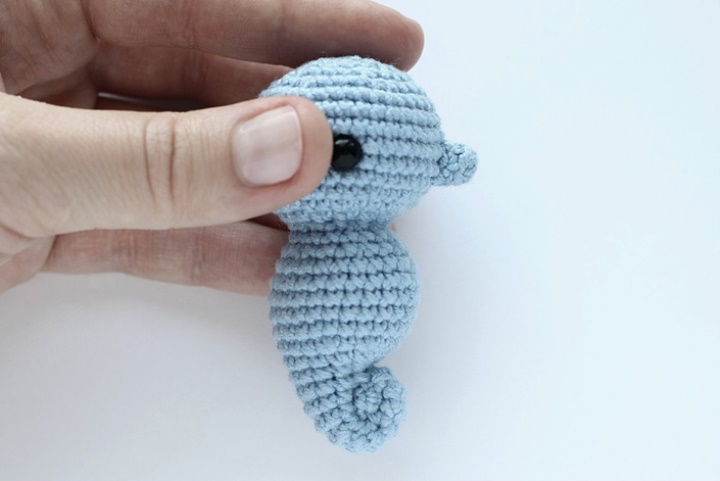
Eyes are inserted between 32 and 33 rows, the distance between the eyes is 18 cm.
37) 2 сбн, уб., (4, уб.) Х5, 2 сбн (30)
38) (3, уб.) Х6 (24)
39) 1 сбн, уб., (2, уб.) Х5, 1 сбн (18)
40) (1, уб.) Х6 (12), сс, add packings to the head, pull the hole through the front half loops, pass the needle again under the loops, thread the knot with a double knot and hide it in the linen.
Spout:
knit in a spiral (do not stuff)
1) 2 in, 6 sb in the first loop (6)
2) 1 row for the back half loop (6), ss, pull the thread, without tightening the knot, cut for sewing and fill, restoring the edge, through the next loop. Sew to the head exactly between the eyes.

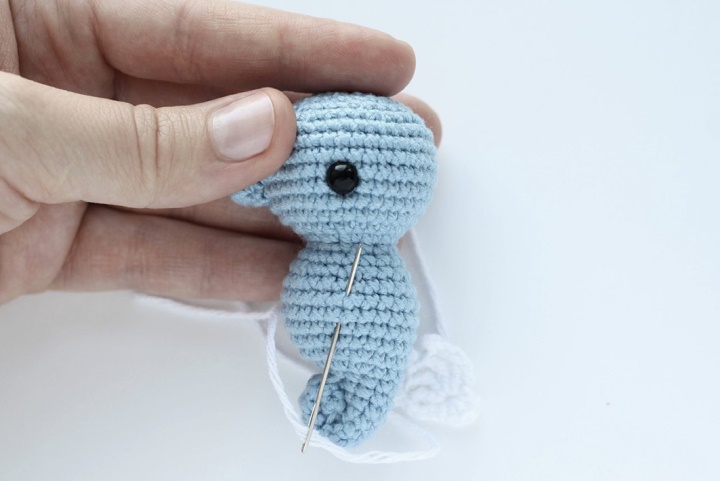
On a new thread, tighten the knot and insert it into the tail, so that the knot crawls into the canvas, as shown in the photo. We bend the tip of the tail (the tail is folded twice), we find a convenient position, at which it will fit tightly, but there will be room to fold it again, and sew it with two or three stitches, then we move the needle higher, again we find the convenient place for sewing, again sewn with two or three stitches, tighten the thread with a double knot and hide it in the canvas.
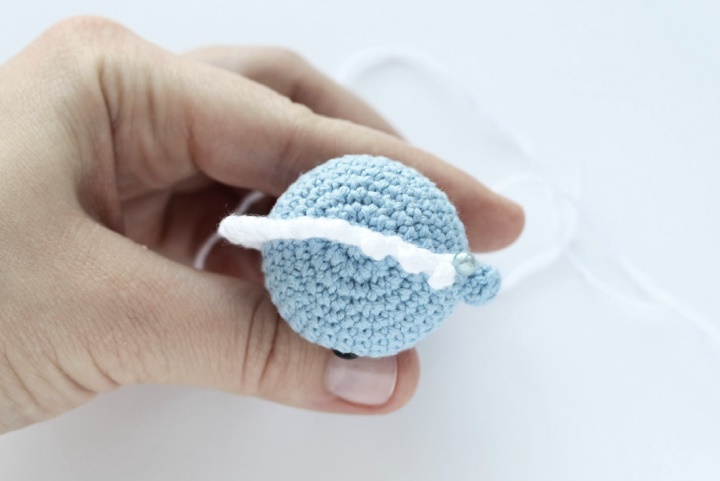
Fins:
4 in, in the first loop: * 1 cc2n, 3 cd in picos * - 3 times, 1 cc2n, 3 cd, 1 cc, on the other hand - 1 cd, 2 cms, 1 cd, 1 cc, draw and thread for sewing.
The fins are sewn on the sides with two stitches, the thread must be tightened so that in the future it does not loosen and during the use of the toy fins did not begin to hang out. We tighten the double knot on the thread and hide it in the cloth. Make sure that the parts are sewn symmetrically.
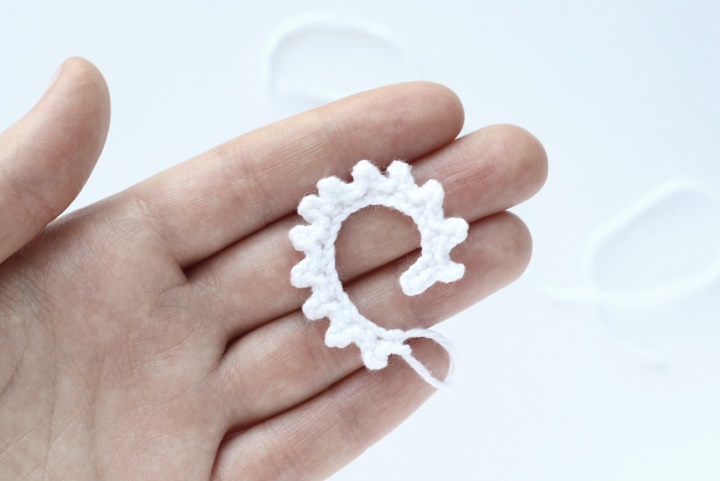
Head comb:
24 cp (leave a long initial tail), 3 in the picot, 1 cc, 1 cb, then knit * 3 cp in picos, 1 cc, 1 cb * - 12 times, in the last element, instead of the last sb, tie the suture, without tightening the knot.
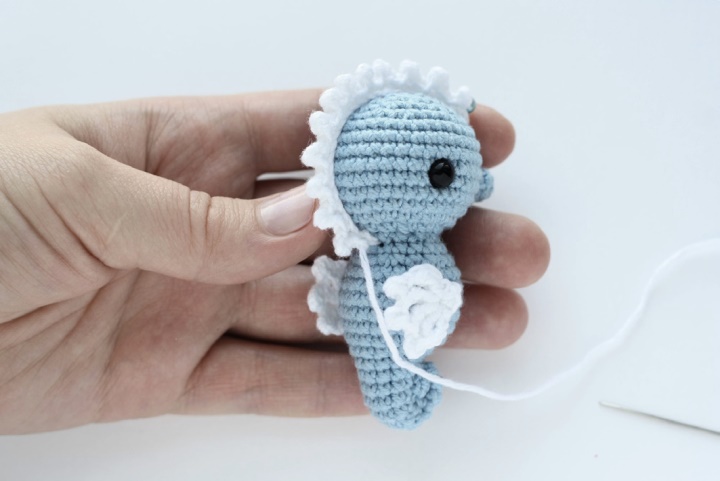
First, we insert the initial thread into the needle. We are sewing a comb at the base of her head. It is enough two stitches. It is best to sew in one post, but if it does not work out exactly, then it can be done in two. Then we tie a string with a double knot and hide it in the linen.
Then insert the main thread into the needle. We introduce it into the same hole where the previous one was hid, and we translate it slightly higher in the middle of the head, where we will then sew the comb. It is most convenient to take the thread out of the hole, grab the comb in one or two threads and insert the needle into the same hole, then pull it higher, and so along the entire sewing line.
To prevent the comb from moving during sewing, you can pin its end to the forehead with a pin. Make sure that it passes over the place where the head is tightened. The last stitch is done at the tip of the comb on the forehead and immediately tighten the double knot (just one stitch), hide it in the same hole, cut off the excess thread.
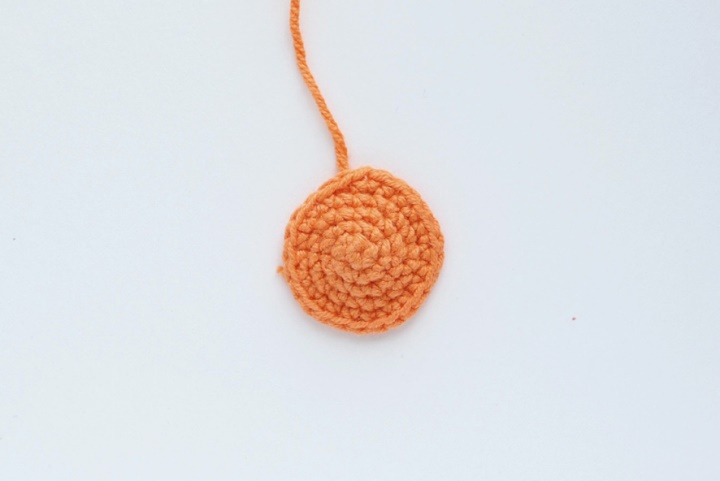
Core:
in a spiral (2 pcs.)
1) 2 in, 5 sb in the first loop (5)
2) aprox5 (10)
3) (1, app) x5 (15)
4) 1 sb, ap, (2, arr.) X4, 1 sbn (20)
5) (3, arr.) X5 (25), ss, cut the thread and fill it with one loop.
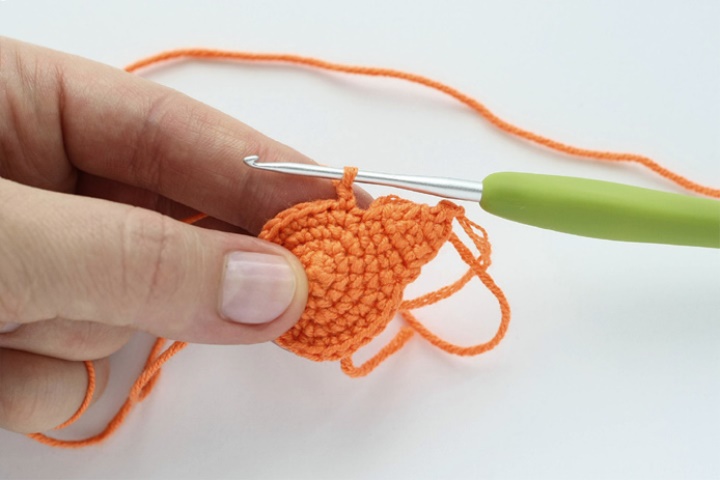
Luchiki:
Attach the thread to the 25th loop of the last row.
1) 2 in, 4 sb, 1 in, turn
2) 4 сбн, 1 вп, rotation
3) уб.х2, 1 вп, turn
4) 2 сбн, 1 вп, rotation
5) ub., Knot, cut the thread.
We attach the thread to the loop next to the left of the first ray. All the rays should begin at the last column of the increase and end in the first column of the next increase. Only 5 rays. The remaining threads are threaded inside the first row of rows during the knitting process.

All single tails cut off at the base, double-tailed cut in half. We do not touch the tails on the tops.
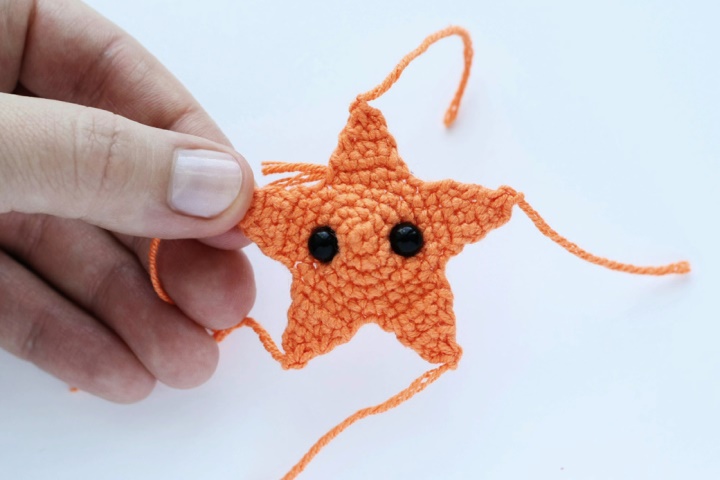
Eyes to insert, being guided on a photo. Since the asterisk is rather flat, the ends of the toy eye should not be felt behind the canvas, so you should cut them after insertion.
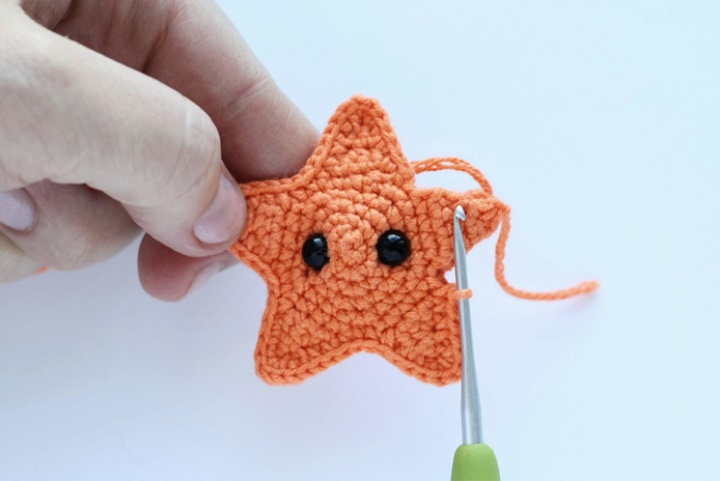
Fold both sprockets with wrong sides to each other, attach the thread to the right of the first ray. Tie all the beams, connecting the halves of an asterisk in one toy, in the tops, knit 4 sb in one loop. Fill in when the last will be left
unbound ray, then tie a ray, add packing and tie to the end. Remove the thread without tightening the knot, trim and restore the edge, then tighten it with a double knot and hide it in the fabric.