Pokemon have become Children's favorites thanks to the cartoon film. Today we knit the hero of the cartoon Pikachu, funny and cheerful character. Our task-to move the character of the character to the toy hook, make it alive and attractive. Little knitted toys are supposed to start knitting with the ring of Amaguumi, which allows to make rounded details (legs, head, torso) toy neat, but our description begins traditionally. So, as accustomed to knit all those who crochet things: cloths parts of products and about the ring Amaguumi not even heard.
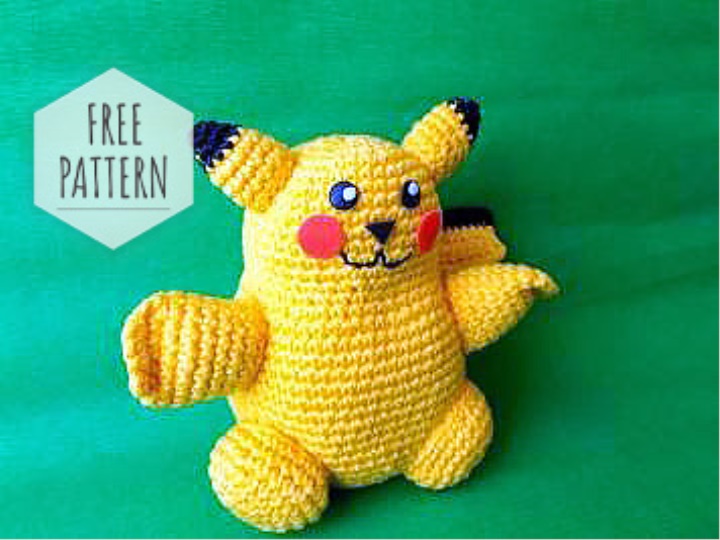
Knitting a crochet toy-step photo to link such a Pokemon,
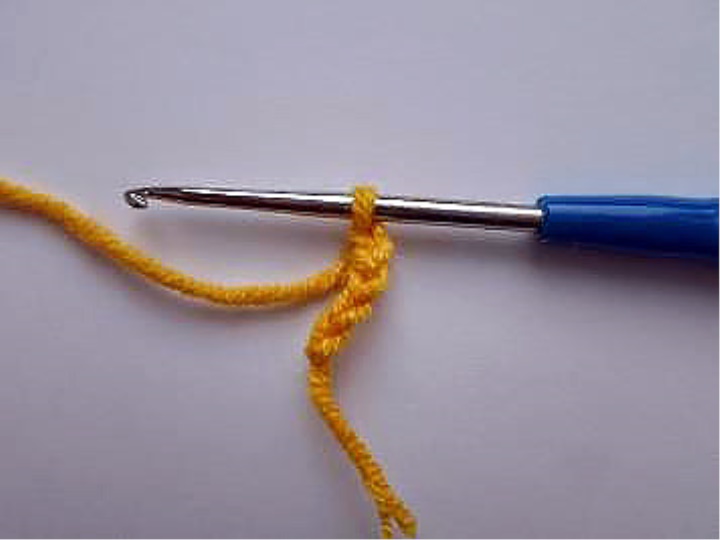
We will need: "Jeans" yarn of yellow color; Hook № 2; A needle with a yellow thread; A piece of red and black felt; A piece of self-hardening plastics of black and white flowers; A drop of glue "moment"; Black floss. Body Pokemon First we collect 5 air loops from the yarn "jeans".
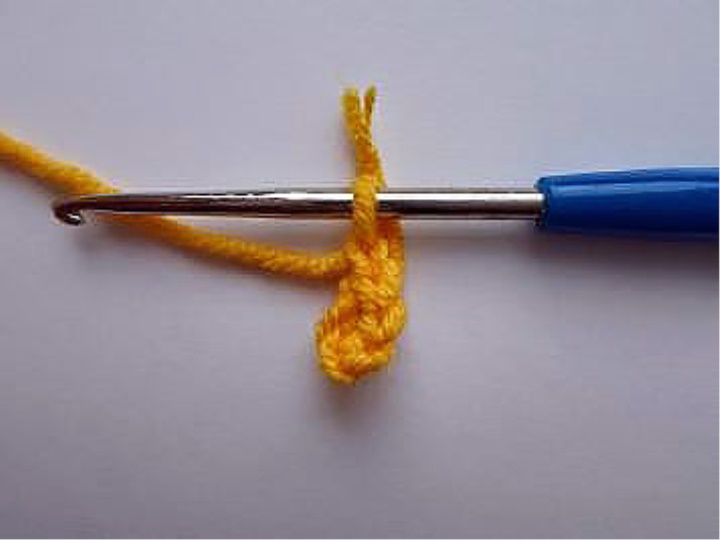
Then we lock the received chain in a ring by means of a connecting column
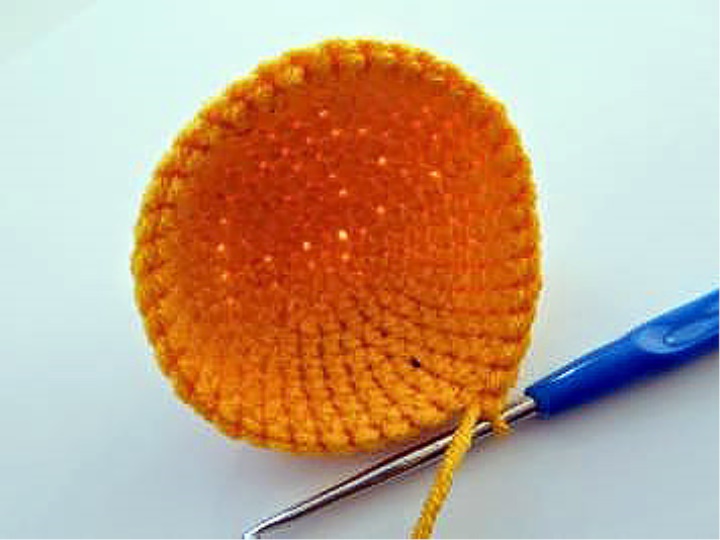
Next, we will knit the columns without a spiral, so that seams are not formed at the junction of one row. At the same time, do not forget to add loops through every 2 loops to ensure that the knitting is not curled earlier than we need.
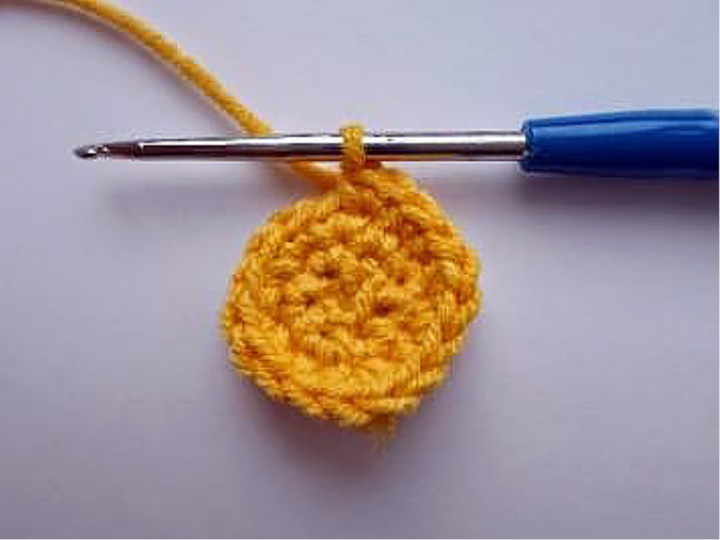
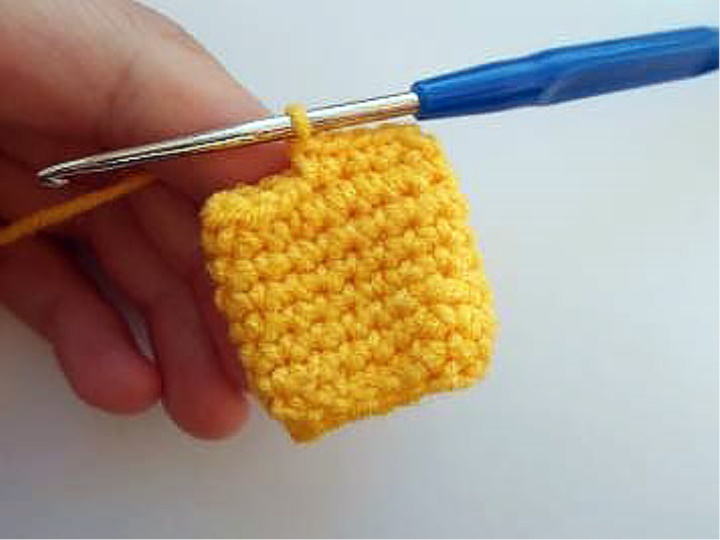
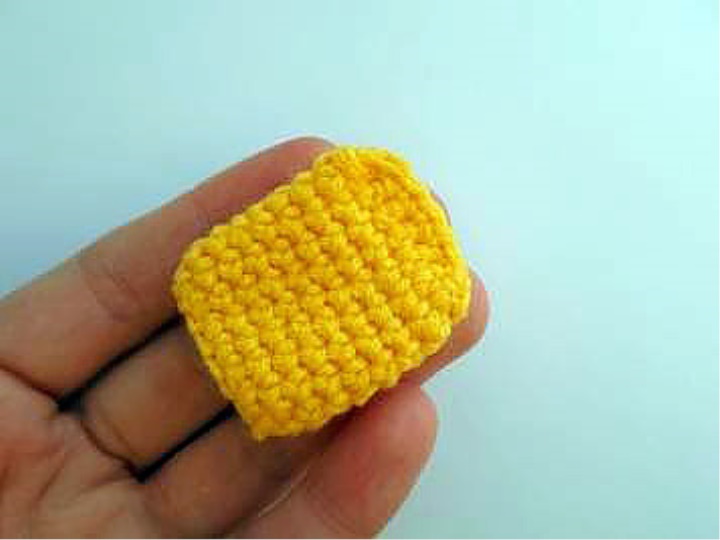
Knit in this way three more rows, and then add loops already through every 4 loops, so that knitting began to slowly turn into a "cup." After that we will continue to add loops, but already through every 4-5 loops. And so knit 5-6 rows. As a result, you will get this form.
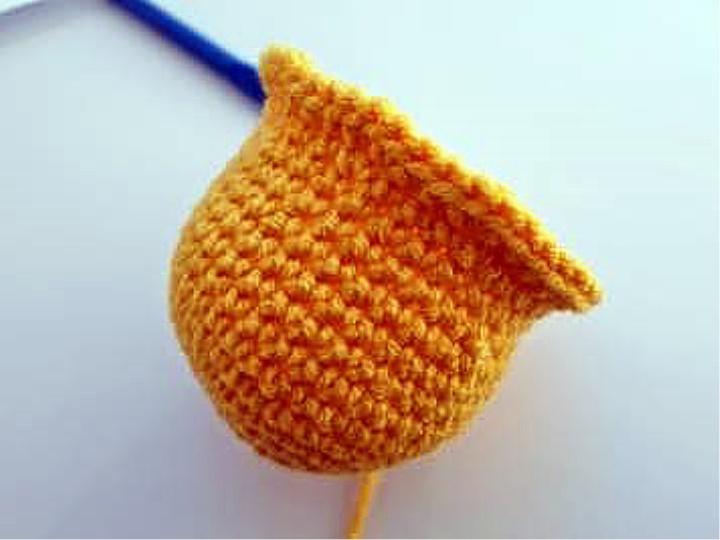
After that start, on the contrary, reduce loops-on 5 loops on a row. Knit so 3 rows. Knitting should you curl sharply enough to have clearly seen the contour of the neck of the toy.

Next, we start to add loops again. And again we do it sharply, through every 2 loops. It is also necessary for the line between the neck and torso of the Pokemon to be clearly delineated.
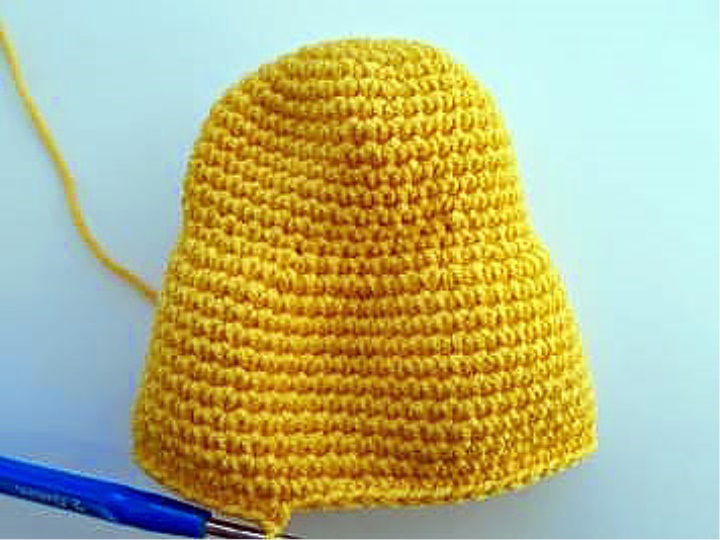
Now we knit on a spiral columns with a scale, adding on 1 loop in each row. This will allow the body to "expand" smoothly, without sharp lines.
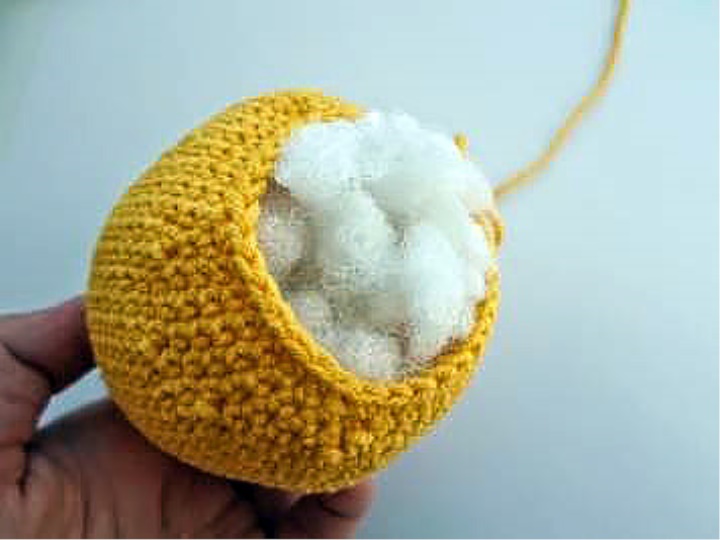
Once the torso is of the necessary length, again start to reduce the loops to close the toy. We do it quite often-on 5 loops on a row. Once there is a small hole, stuffing the toy with a synth or cotton wool. How and what can be stuffed toys Amaguuumi read here.
Then close the hole.
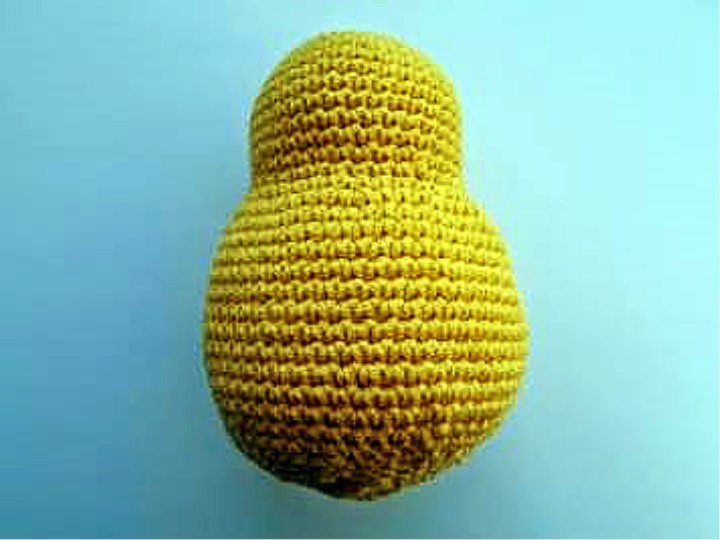
Finished, filled with filler torso of a pokemon.
Tail Pokemon Next, start knitting the tail.
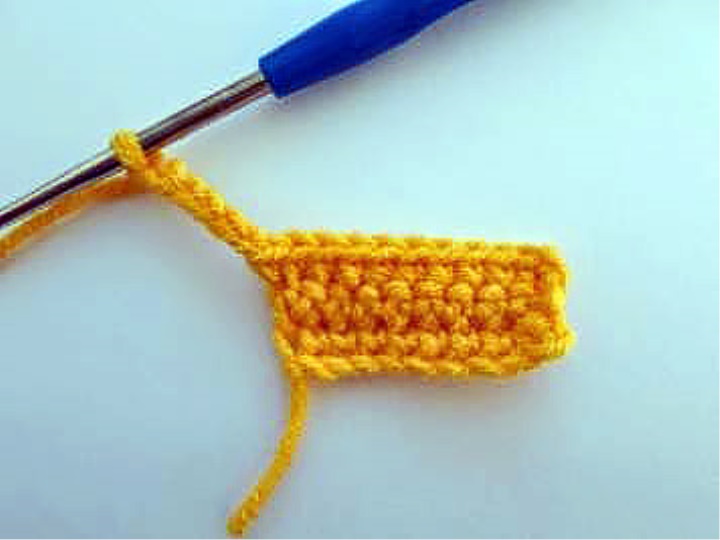
For this purpose we recruit 10 air loops and knit 3 rows of non-lime bars. At the end of the third row we dial 5 air loops.
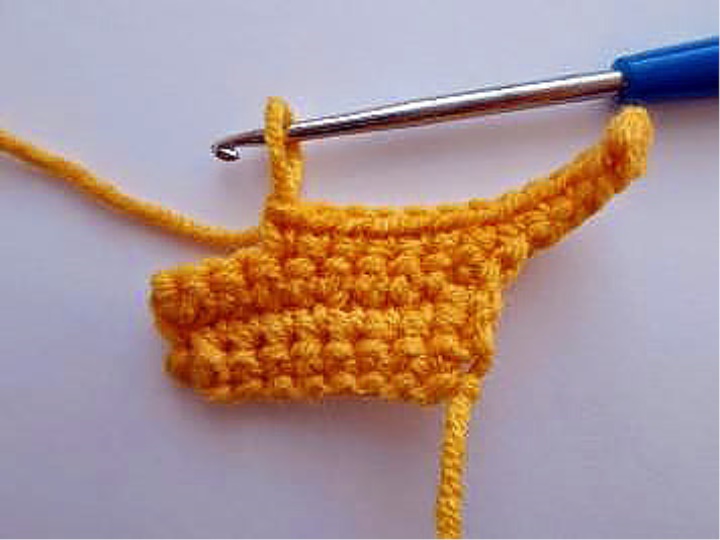
Turn knitting and knit columns without a scale, not reaching the end of a series of 3 loops.
Knit 1 row of bars without a scale, and then again at the end of the chain of 5 air loops.
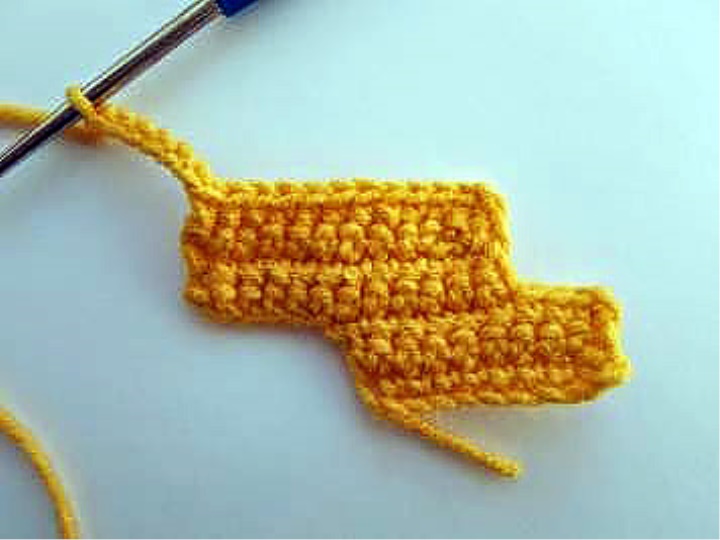
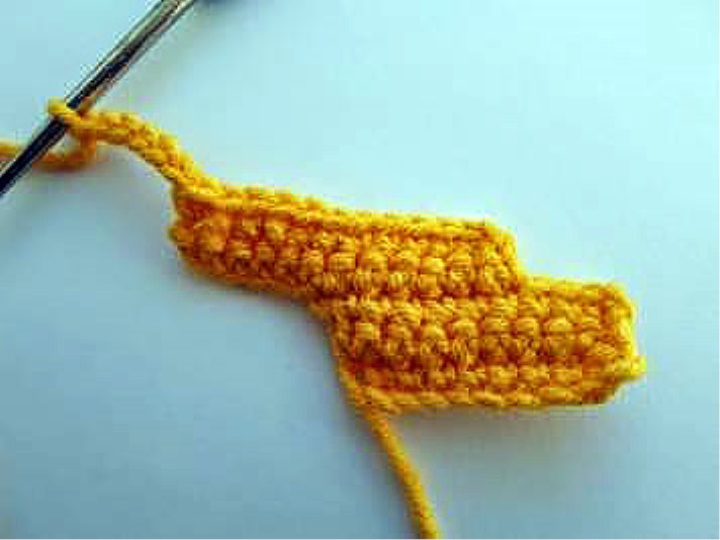
Knit another 2 rows of non-lime bars and again we have 5 air loops.
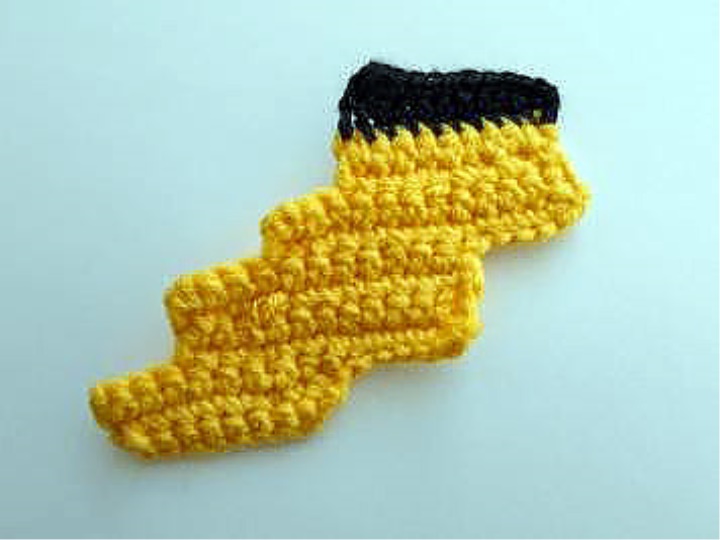
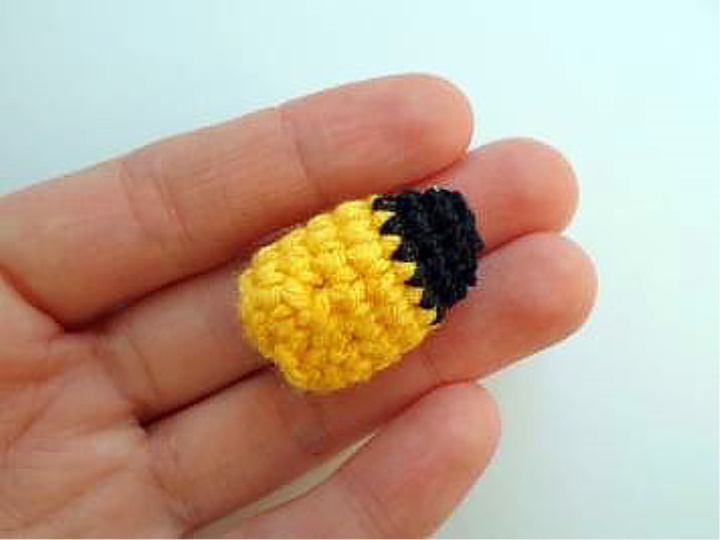
And so as long as the tail of the toy will not be the desired length. The last two rows are knitted with black thread. ears Pokemon ears pokemon knit as follows: Dial 4 air loops, lock them in a ring, and then start to knit on a spiral columns without a scale, adding in the first two rows on 3 loops.

The next 5 rows are knit without additions. After that attach a thread of black color and continue knitting, but already start to reduce in each row on 3 loops. And so until the hole closes. Do not forget to fill the part with filler before closing.
Handle-Legs Pokemon to tie the handles, dial 12 air loops, lock them in the ring, and then knit the columns without a spiral until the handle is not the right length. Then we put knitting to each other internal parties and press with fingers of an edge. We put a hole in the holes without the scum.
To "mow" corners on the foot of the toy, knit 3 rows of bars without a scale, without having to touch 1 loop from each edge.
Legs Pokemon knit Just like the head of the toy (see photos 2, 3, 4, 5). Then cut off the tip and gently hide it inside.

After all the details are ready, sewing them to the torso of the toy threads. In the end of work paste to a muzzle of eyes from self-hardening plastic, a spout, cheeks from a felt and embroider a mouth a tamburnym seam.