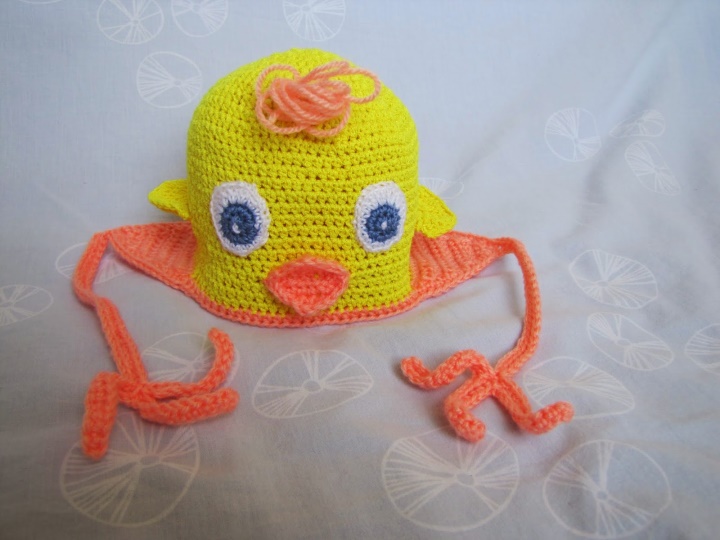
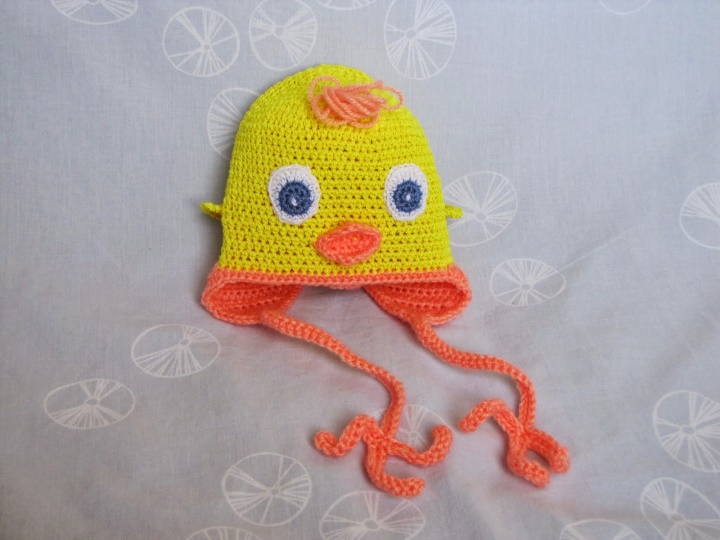
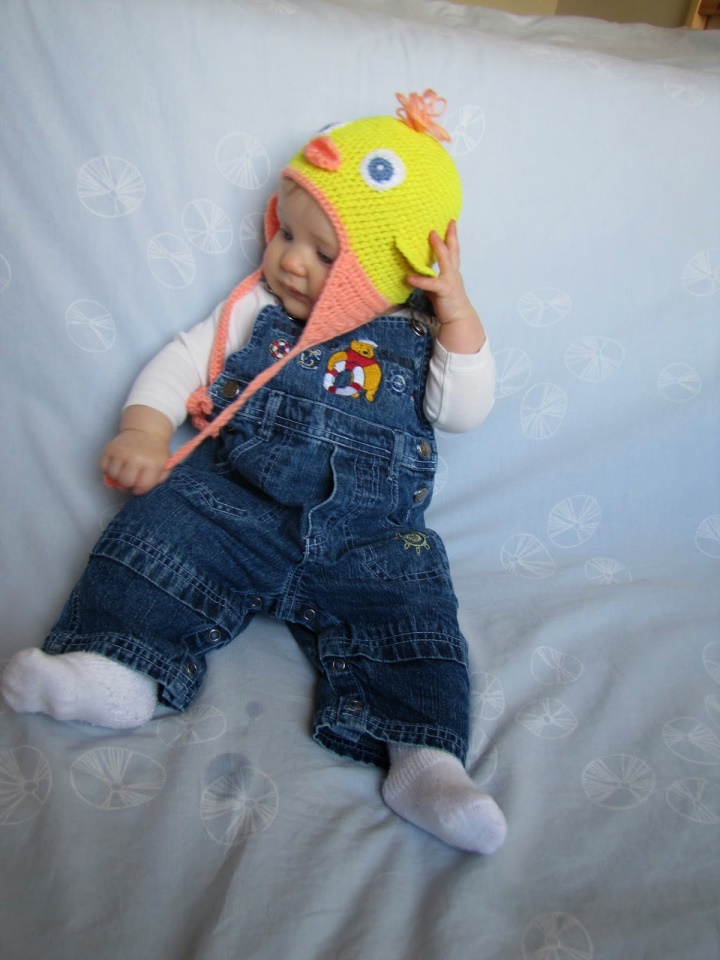
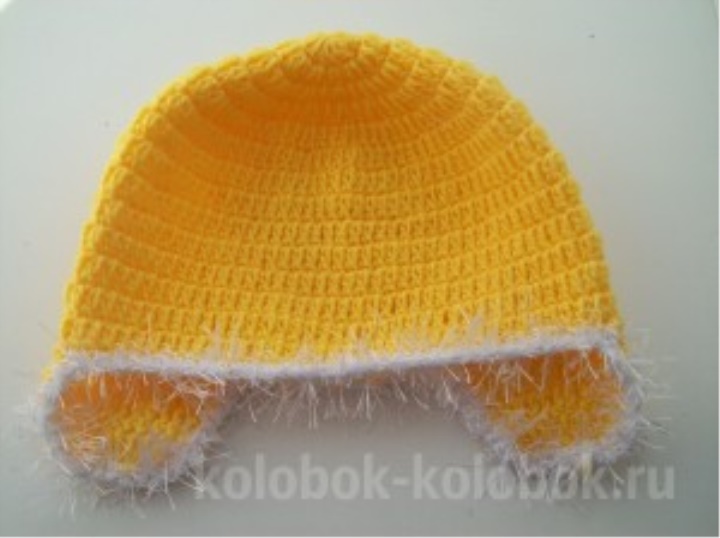
The finish went peach acrylic Lion Brand Jamie and wool with acrylic Vita Brilliant, hook number 3.5. The cap itself is connected by a semi-column.
Anton poses:
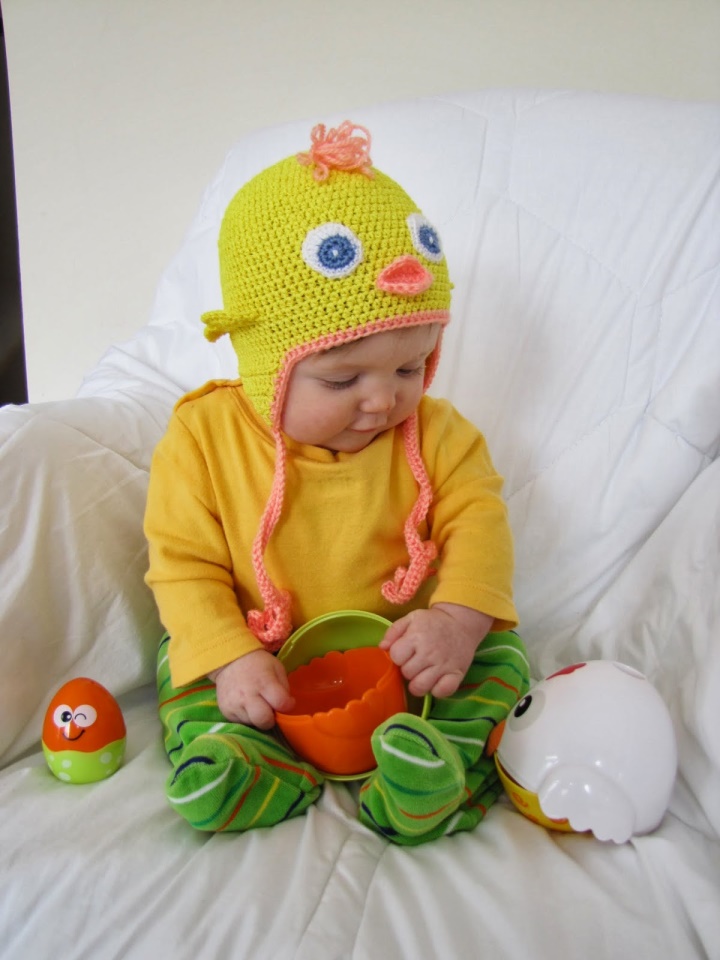
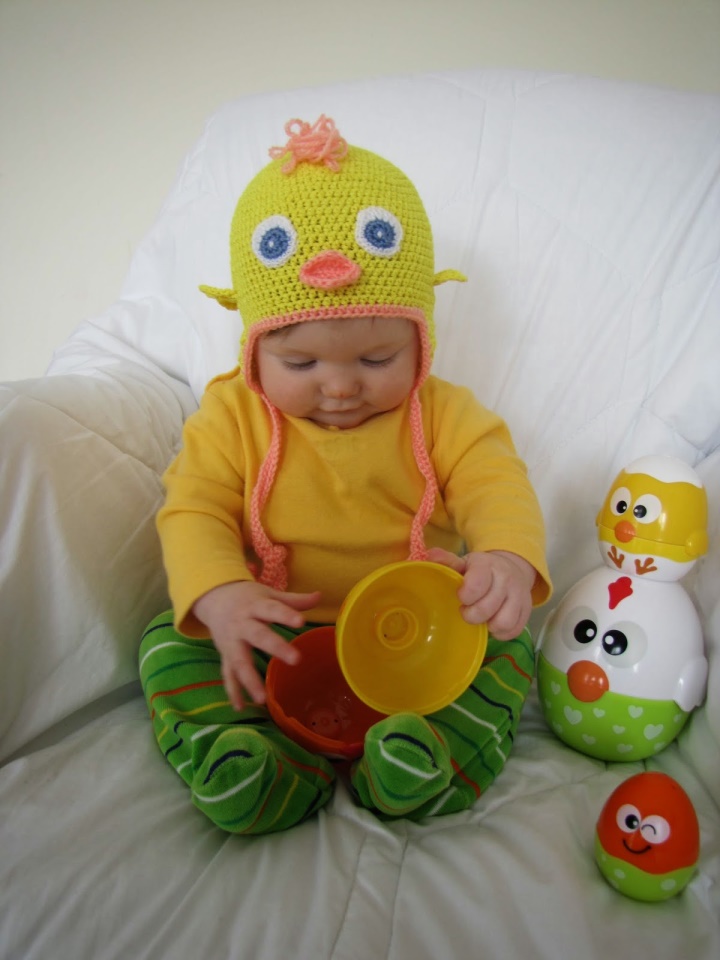
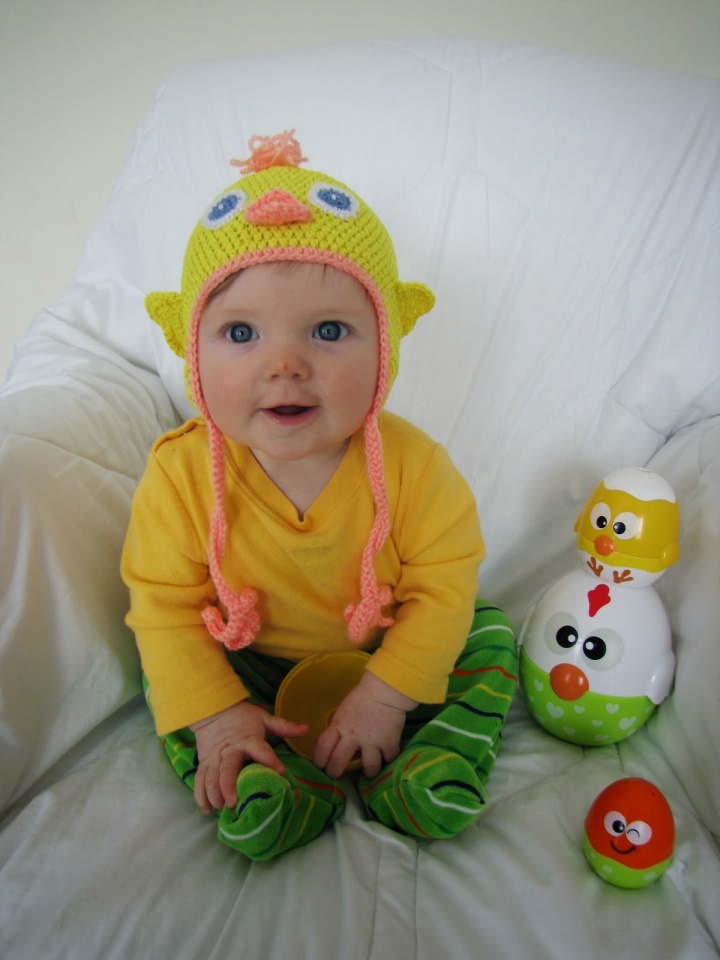
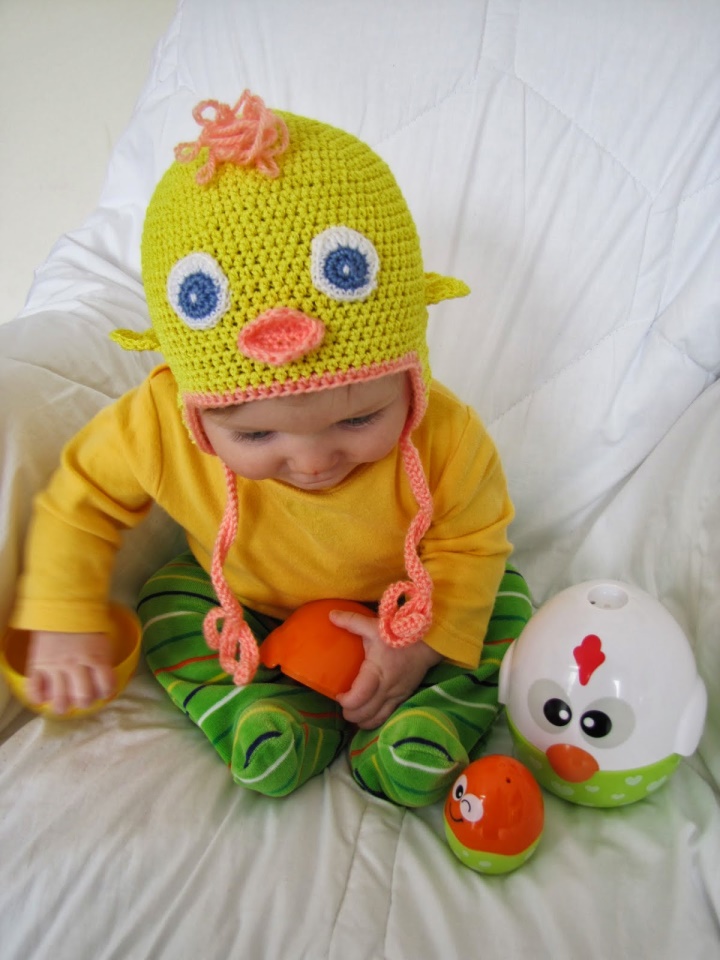
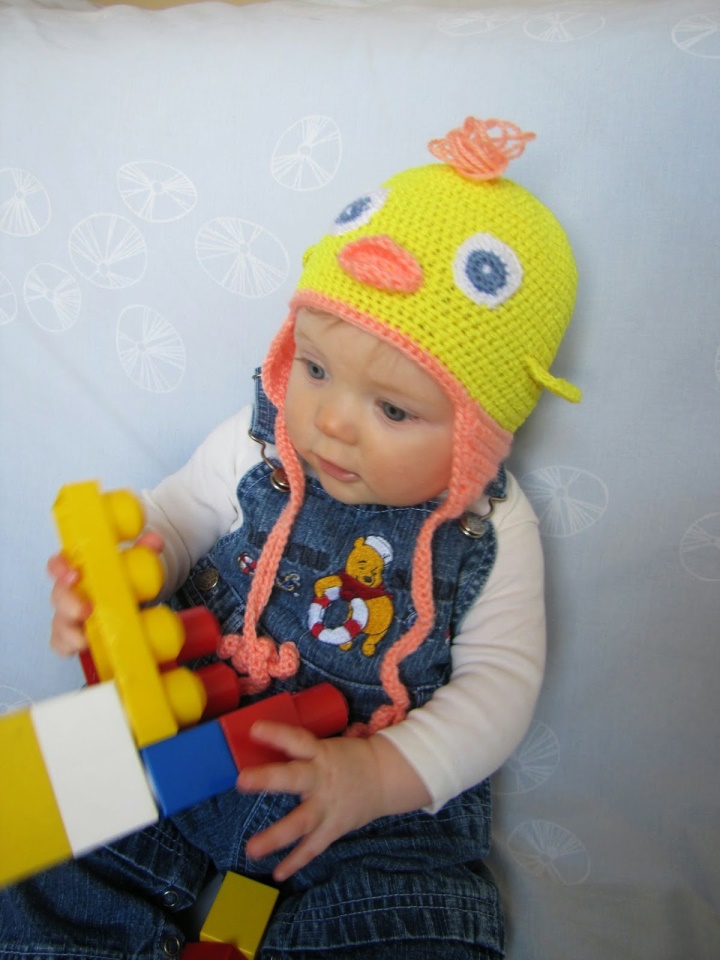
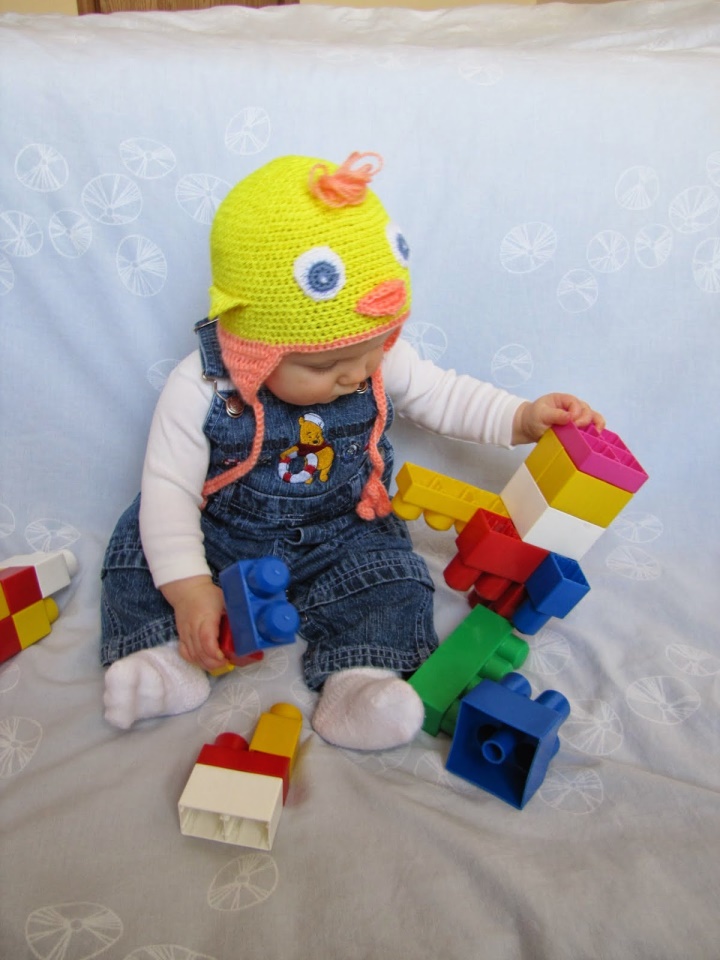
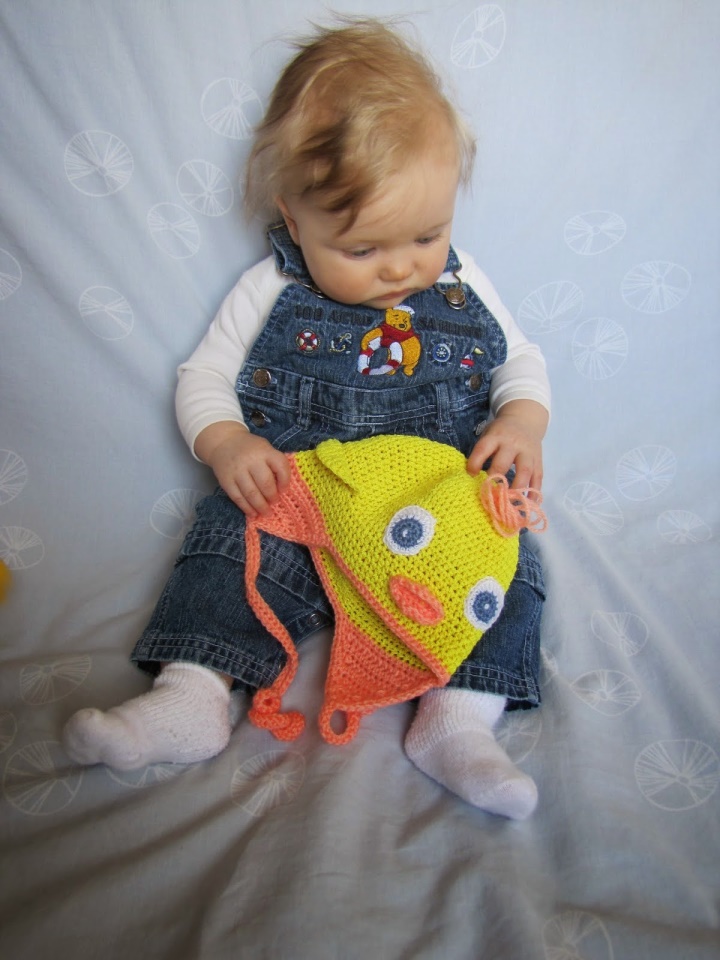
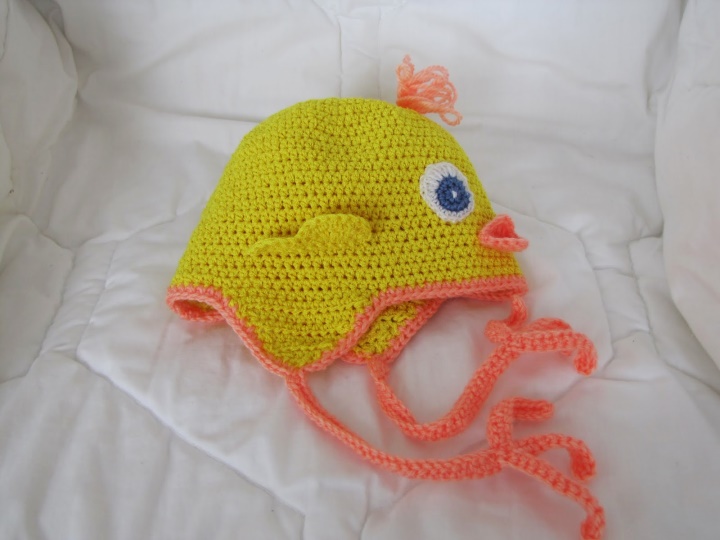
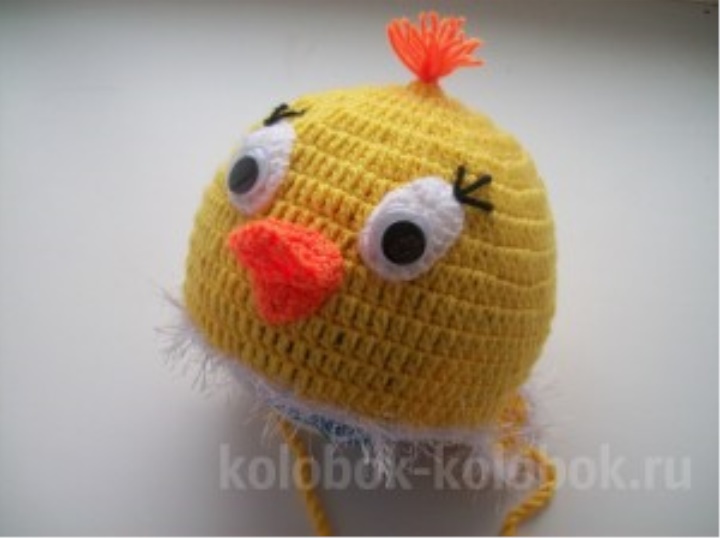
In the continuation of the "beast" theme, a hat - chicken was tied up.
Material:
1. Yarn of yellow color (I have NAKO bambino, 25% wool and 75% acrylic, 130 m in 50 g), a little white weed for strapping, a little white yarn for eyes and quite a bit orange for a beak
2. Hook
3. A pair of plastic eye.
Working process:
My hat turned out to be about 47 - 49 cm in circumference. heads.
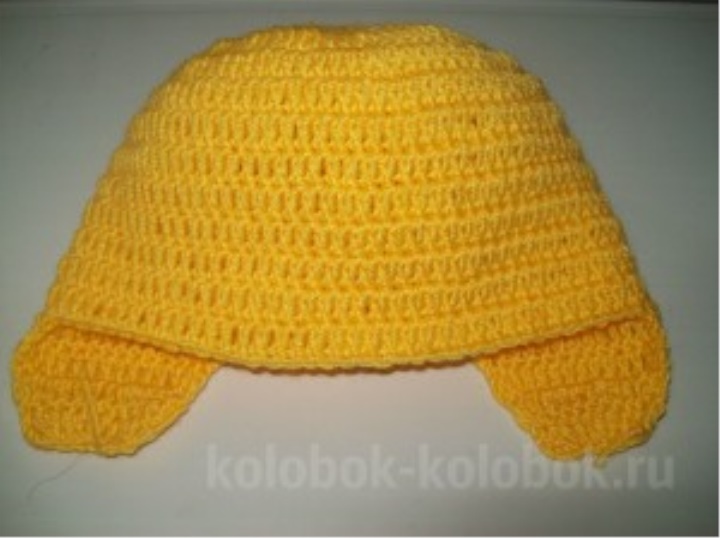
1. I made a sliding loop and tied 12 SSNs into it, tightened the resulting ring by the free tip.
2. Then knit the bottom of the cap, adding in each row of 12 CCH, until the diameter of the circle reaches the desired size. The diameter can be calculated using the formula - Exhaust: 3.14 (Pi number) - 1.5 - 2 cm for the stitching (these figures depend on the stretching of the yarn and the pattern chosen. The stronger the knitted fabric will stretch, the more you need to minus the stitch). So that the loops are added evenly, we divide the circle mentally into 12 sectors and in each sector we add 1 CCH. Thus, in the 1st row we had 12 CCH, in the 2nd - 24 CCH, in the 3rd - 36 CCH, in 4 m - 48 SSN, in the 5th - 60 SSN, in the 6th - 72 SSN. And in the 7th row, I added only 6 loops, it turned out 78 SSN.
3. Further, from the 8th to the 14th rows, it is necessary to knit without increases. That's all, the base of the cap is ready.

4. Calculate the place of tying the ears of the cap: 78 n: 2 = 39 - 4 = 35 n (this is for the forehead): 39 + 4 = 43 n (this is for the neck and ears): 43: 3 = 14 and 1 in the remainder.
14 - 2 n (1 for ears) = 12 n + 1 (which was the remainder) = 13 n (this is for the neck); 14 + 1 = 15 p. (For each ear) Check: 35 + 13 + 15 +15 = 78 p.
5. We tie the eyelet: 1st row - 15 SSN, 2nd p - 13 CSN, 3rd p - 11 CCH, i.e. We knit in the 2nd and 3rd rows at the beginning of the row and at the end of 2 CCHs together, and in the 4th row it is necessary to reduce 4 CCHs, for this we knit the series like this: 1CCH, 2 CCH together, 1CCH, 3 CCH together, 1 CCH, 2 CCH together, 1 CCH (as a result, 7 CCH remains). We count the necessary quantity of loops and we tie out the second ear.
6. Tie the entire hat in a circle with yarn "grass"
7. We knit 2 white oval eyes and 2 orange triangles for the beak, but one of them should be slightly larger than the other.
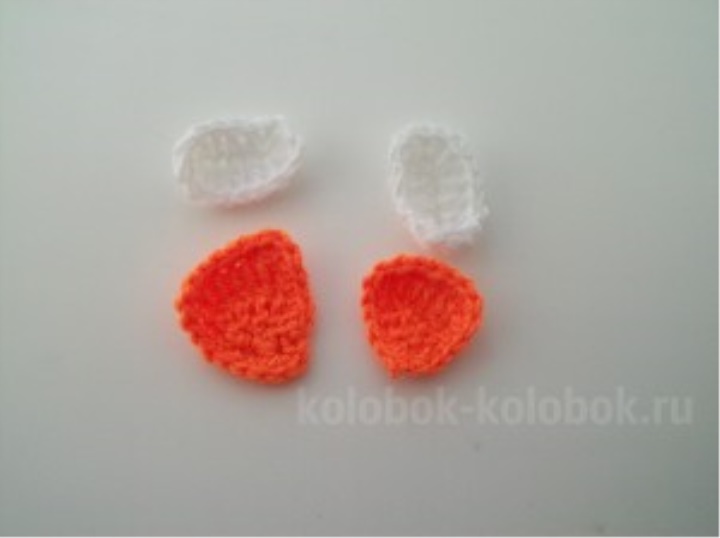
8. Sew white ovals on that place. where the eyes will be, and the orange triangles where the beak is, but the small one is sewn all the way down, and which is bigger, sew on top and not completely, but only in the upper part. It seemed to me that this adds to the realism of the image, imitating the open beak, as he himself, without any definite effort, funny opened. Embroider with black thread cilia.
9. Glue plastic eyes on white ovalchiki and draw strings.
or inspiration, I suggest tying more booties to the cap. They knit like any other shoes. The description can be seen among the previously published works, and formalized in accordance with the created image.