A nice bright symbol of the year 2017 - the cockerel amigurumi can be tied up with your own hands, if there is a desire, the necessary materials and time. Such a toy can decorate the interior of any room, give pleasure to the kid, and some adults are unlikely to refuse such a gift. The singing rooster announces the beginning of the day, he sings a song to the sun, and, hence, of joy. So I propose to make such a "joy" with my own hands. At first glance this is difficult, but if you have a small crochet skill, then it will be easier to cope with such work.
The symbol of the year 2017. Knitted cock amigurumi: turn-based master class
Paws.
To begin with, the cockerel needs paws on which it can stand. Stability in birds is achieved
four-fingeredness, i. four fingers. So we'll tie four fingers together. Two fingers look to the sides,
one - back, one - forward.
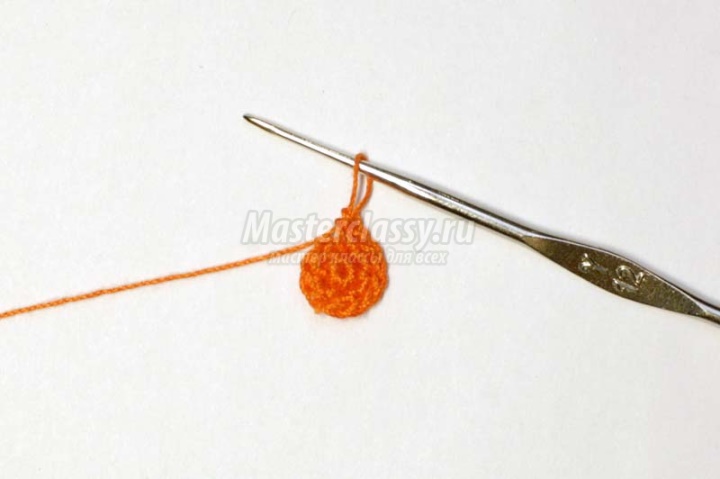
The finger is average. We make amykolechko and we collect 6 columns without a crochet. (in the future)
1 row. 6 sc.
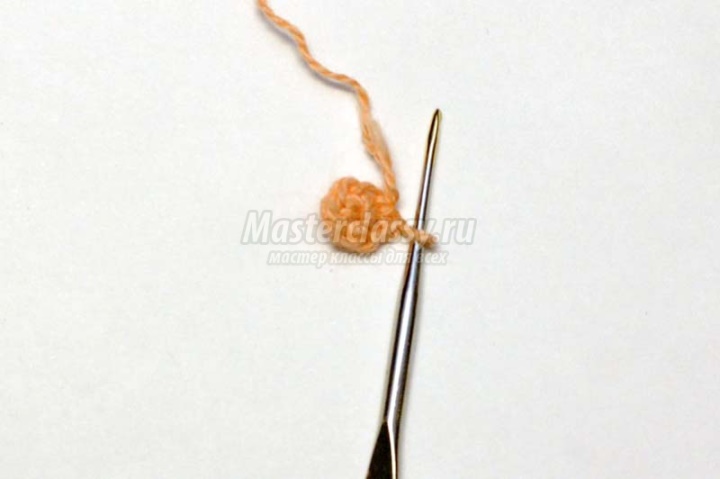
2 row. 6 + 3 = 9 sbn. Double each second column.
3 - 8 rows. 9 sc.
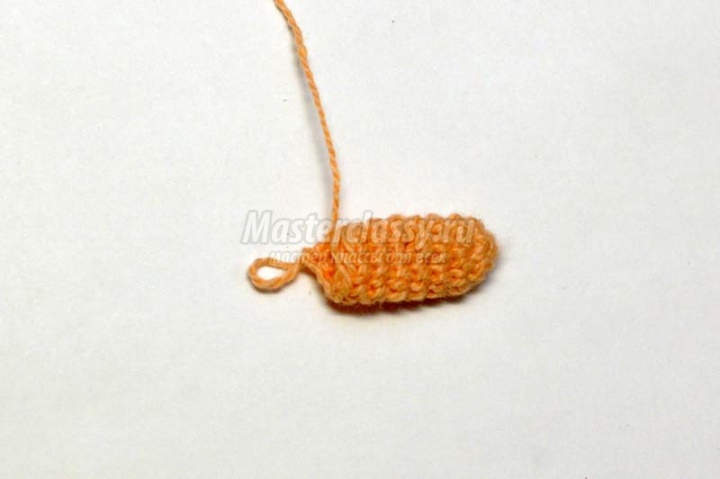
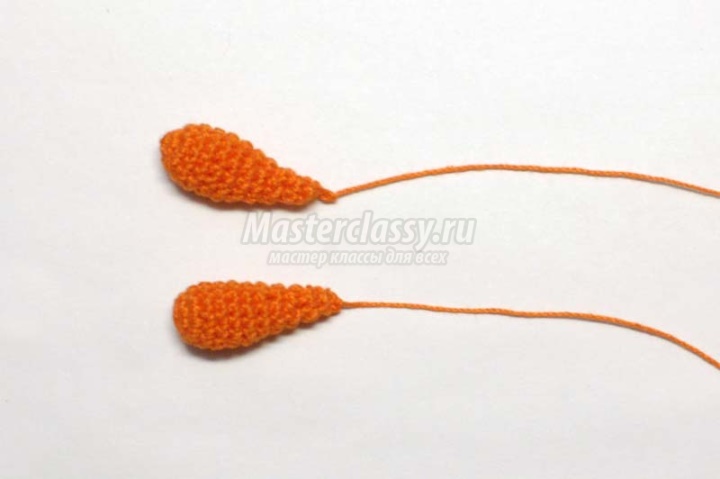
Finger lateral
1 row. 6 sc.
2 row. 6 + 3 = 9 sbn.
3 - 6 rows. 9 sc.
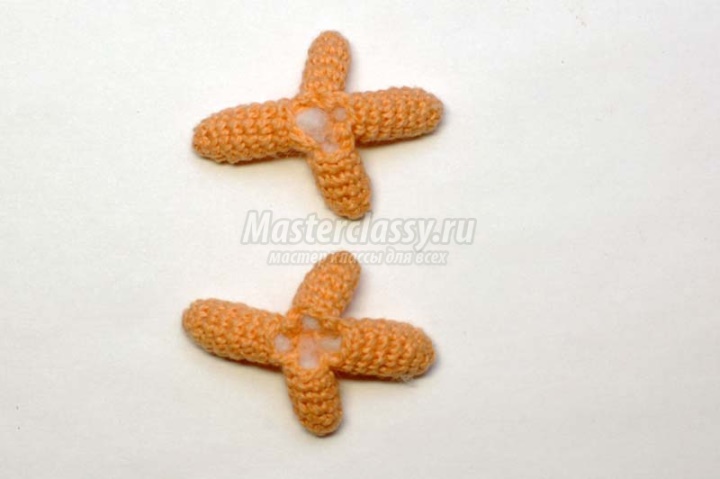
It is necessary to make four fingers of one and the other kind, put a sufficiently tight filler in them,
on this depends how stable the figure will be. Let's fold our fingers as they will in the paw.
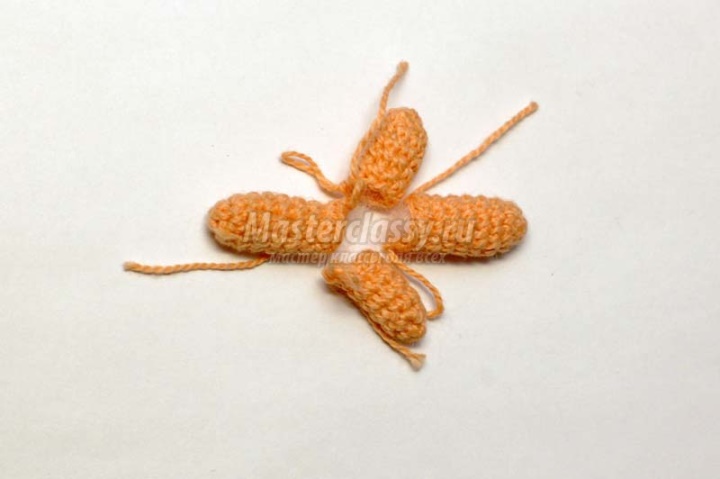
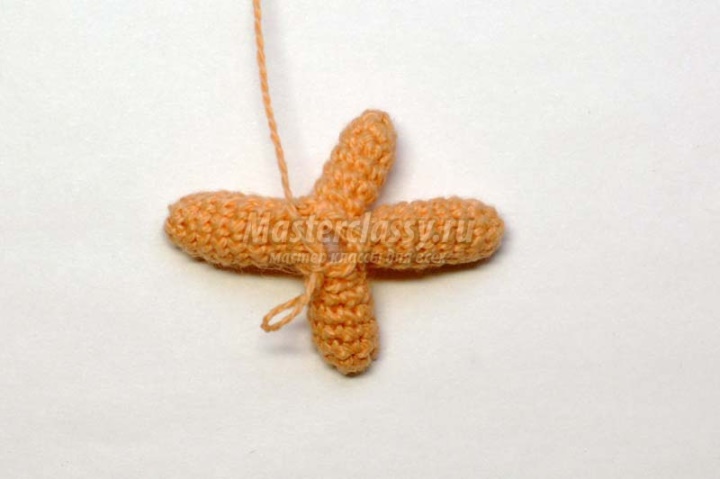
And we'll tie them together for the sides
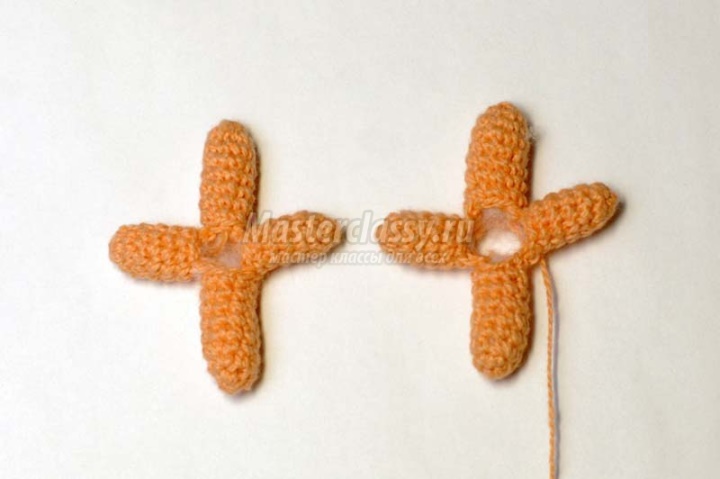
After that, you need to take a needle and sew the bottom
surface, so that no holes remain, while giving the shape of a paw.
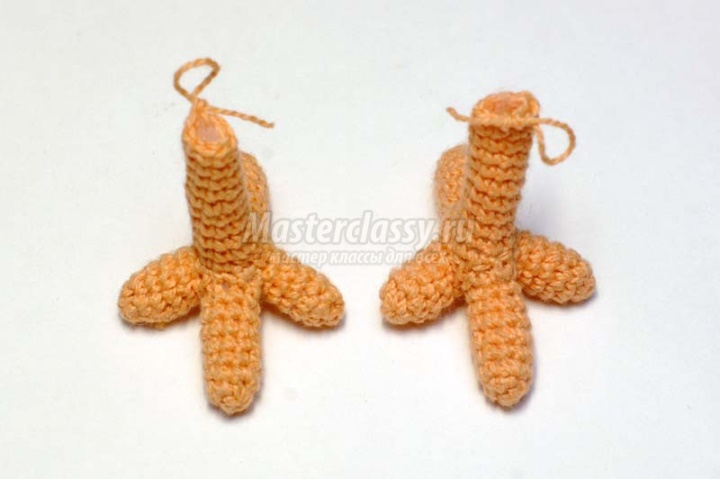
Hook the hook for the upper loops, (2 - 3 on each finger) and draw 9 sb.
While it is connected a little, it is necessary to add a sintepon, where there is not enough.
We make 10 rows.
We take the thread of green color, the shin starts here.
How to bind a body to a cockerel
1 row. 9 + 4 = 13 sbn.Pravavki do in every second column.
2 row. 13 sc.
3 row.13 + 3 = 16 sb.Two every fourth.
4 - 5 rows. 16 sc.
6 row. 16 + 4 = 20 sbn. Each fourth will be doubled.
7 row. 20 sc.
8 row. 20 + 4 = 24 sbn. Each fifth will be doubled.
9 row. 24 sc. Turn and make 6 sb, 1 lifting loop (pn, or simple air loop) and so
repeat 2 more times. We do on both legs.
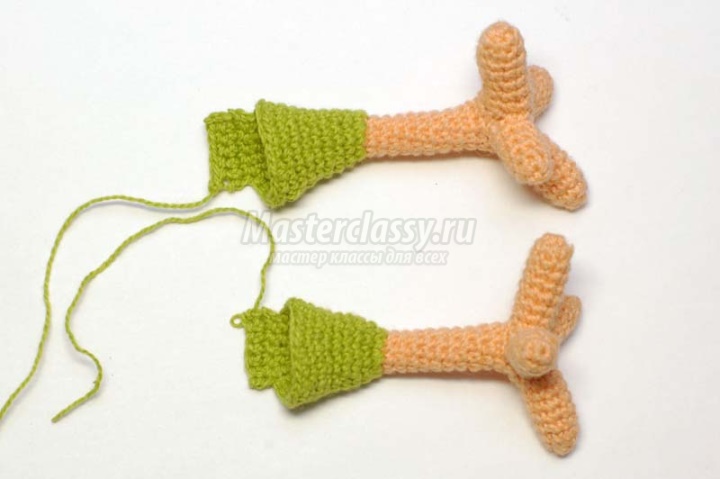
We fold our legs and tie them together.
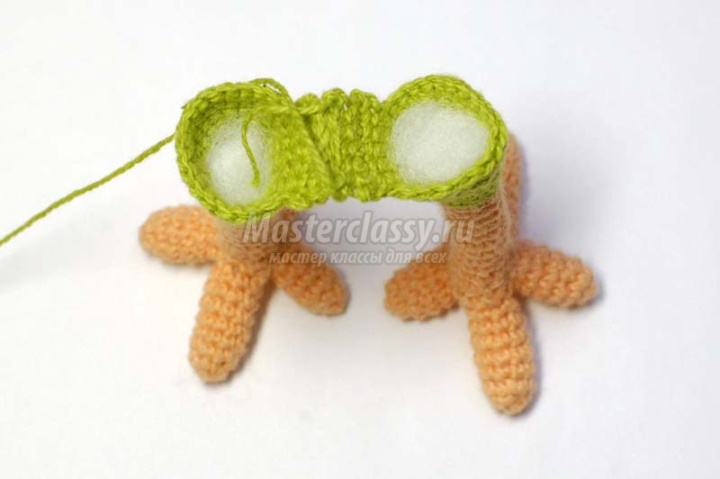
10 - 15 rows. We tie together the whole resulting circle. 45 sc.
16 row. From the back between the legs we'll make 3 increments for the tail through 2 posts. 45 + 3 = 48.
17 row. 48 sc.
18 row. 48 + 2 = 50 sb. Additions tamzhe.
19 row. 50 sc.
20 row. 50 - 2 = 48 sb. We subtract where we added. Gradually report the filler.
21 row. 48 sc.
22 row. 48 - 3 = 45 sb.
23 row. 45 sc.
24 row. 45 - 3 = 42 sb. We subtract in the same zone.
25 row. 42 sb. We begin to knit a zigzag, with the help of which we turn to the yellow color. (scheme)
1 yellow, 5 green bars.

26 row. 42 sb. 3 yellow, 3 green
27 row. 42 sb. 5 yellow, 1 green.
28 row. 42 sb. The row is completely yellow.
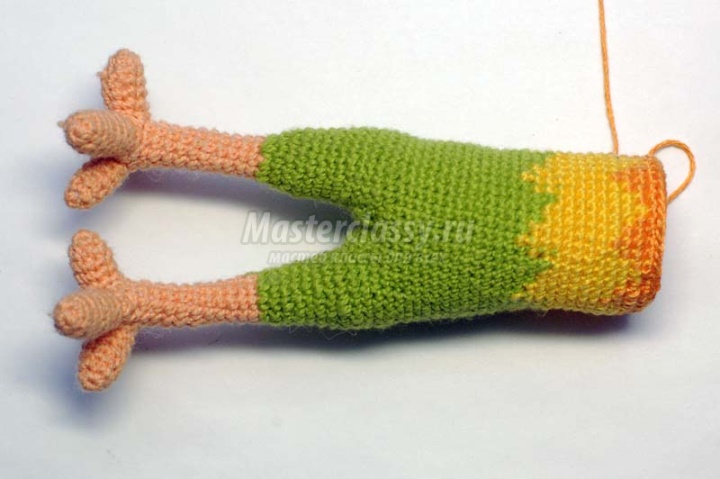
29 - 33 rows. 42 sb.
34 row. 42 sb. Again by the scheme we add orange color. 1 orange, 5 yellow, 1 orange, 5 yellow
etc.
35 row. 42 sb. 3 orange, 3 yellow.
36 row. 42 sb. 5 orange, 1 yellow.
37 row. 42 sb. Completely orange.
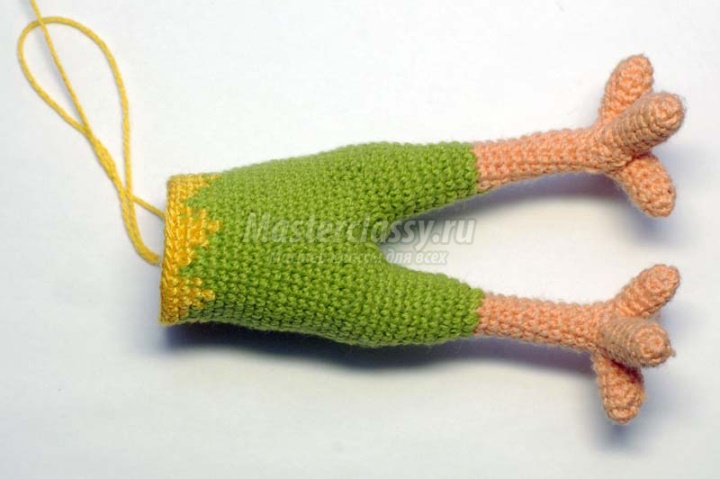
38 row. 42 - 3 = 39 sb. The distributions will be distributed evenly.
39 row. 39 sc. Do not forget the filler.
40 row. 39 - 3 = 36 sb. Decreases from the chest.
41 row. 36 sc.
42 row. 36 sc. We start the transition to white. 1 white, 5 yellow.
43 row. 36 sc. 3 white, 3 yellow.
44 row. 36 sc. 5 white, 1 yellow.
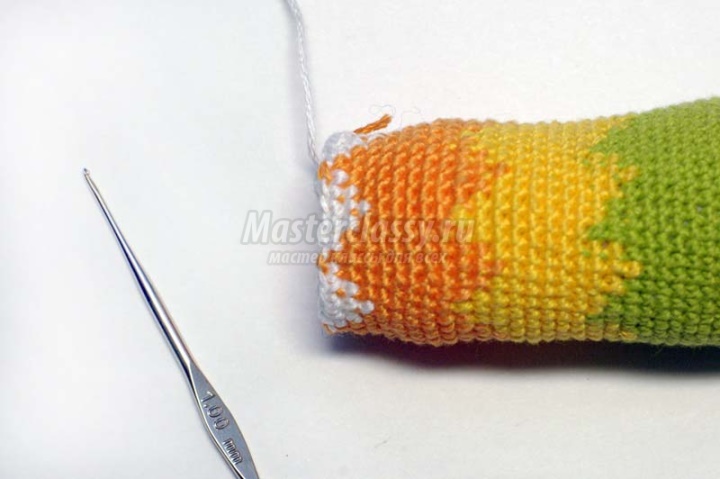
45 row. 36 - 3 = 33 sb. All white. Decreases from the chest.
46 row. 33 sc.
47 row. 33 - 3 = 30 sb.
48 row. 30 - 3 = 27 sb.
49 row. 27 sc.
50 row. 27 - 3 = 24 сбн.
51 row. 24 sc.
52 row. 24 - 3 = 21 sb.
53 row. 21 sc.
54 row. 21 - 3 = 18 row.
55 row. 18 sc.
56 row. 18 - 3 = 15 sb.
57 row. 15 sc.
58 row. 15 - 3 = 12 sb.
59 - 61 rows. 12 sc.
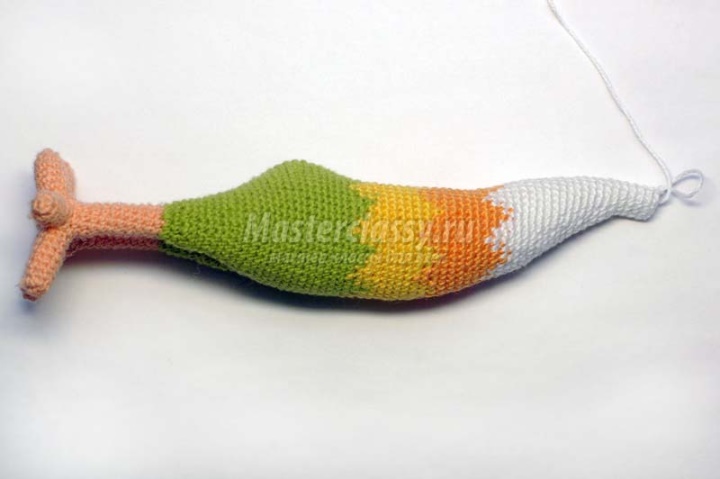
Here we have a neck. Just fill the filler tightly.
62 row. 12 + 6 = 18 сбн. Double each second column. Begin to do the head
63 row. 18 + 6 = 24 сбн. Double each third.
64 - 66 rows. 24 sc.
67 row. 24 - 6 = 18 сбн.
68 row. 18 - 6 = 12 сб.Наполнитель we put it.
69 row. 12 - 6 = 6 sbn.
70 row. We close knitting, tying through a column, we tighten a thread and we hide the end of a thread inside the knitting.
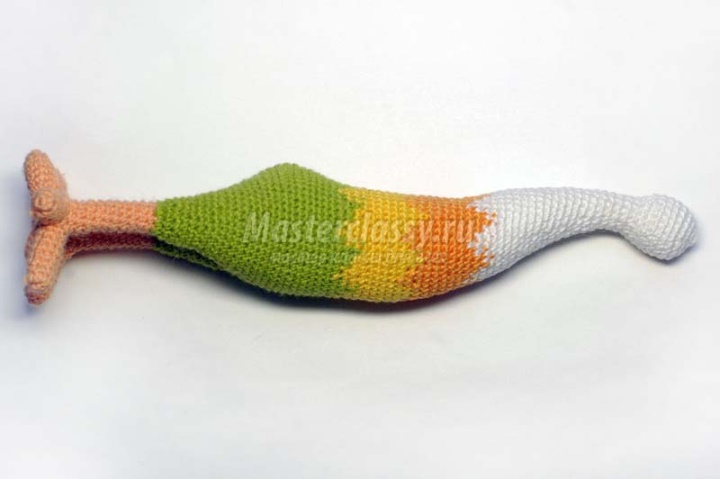
Tail of the tail
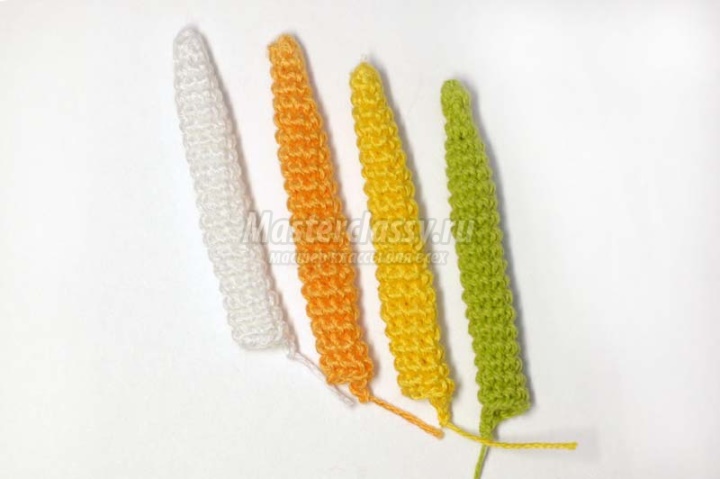
The tail will be made by separate feathers of the colors that were used to make the carcass.
1 row. 5 sc.
2 row. 5 sc.
3 row. 5 + 3 = 8 sbn.
4 - 20 rows. 8 sc.
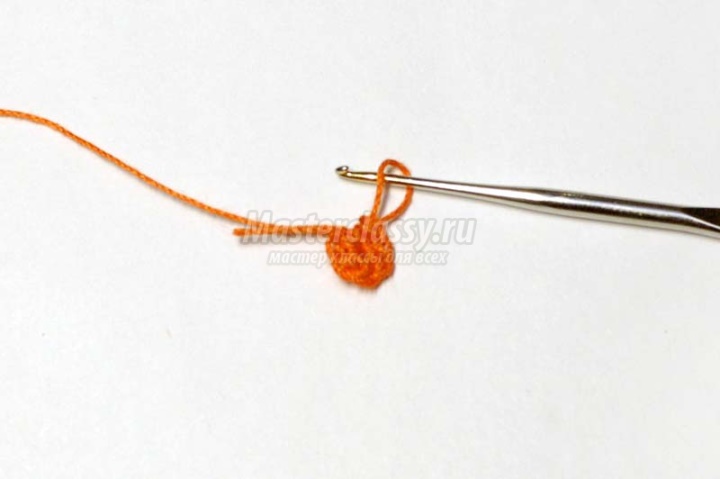
2 row. 6 + 6 = 12 сбн.
Beard
1 row. 6 sc.
3 - 6 rows. 12 sc.
7 row. 12 - 3 = 9 sbn.
8 row. 9 sc.
9 row. 9 - 3 = 6 sbn.
10 row. 6 sc.
11 row. Let's close knitting. Let's make another half.
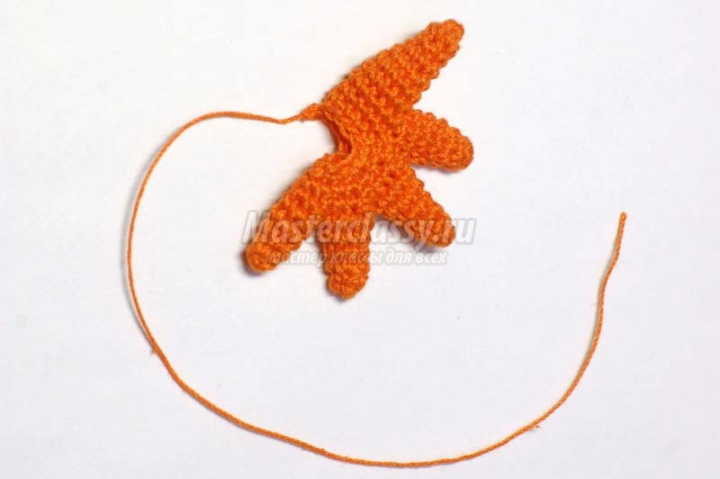
Scallop
1 row. 5 sc.
2 row. 5 sc.
3 row. 5 + 2 = 7 sbn.
4 row. 7 sc.
5 row. 7 + 2 = 9 sbn.
6 row. 9 sc. We will make 3 of these teeth, they will be in the middle, we will tie them by the sides.
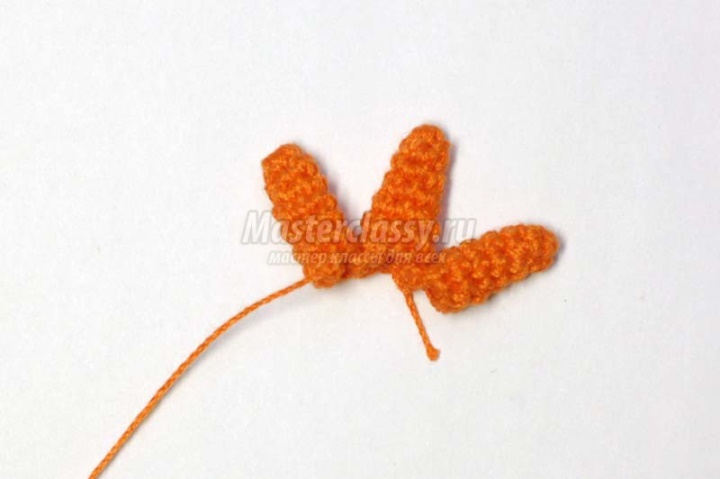
A smaller tooth.
1 - 2 rows. 5 sc.
3 row. 5 + 2 = 7 sbn.
4 - 5 rows. 7 sc.
The tooth is bigger.
1 - 2 rows. 5 sc.
3 row. 5 + 2 = 7 sbn.
4 row. 7 sc.
5 row. 7 + 2 = 9 sbn.
6 - 7 rows. 9 + 2 = 11 sbn.
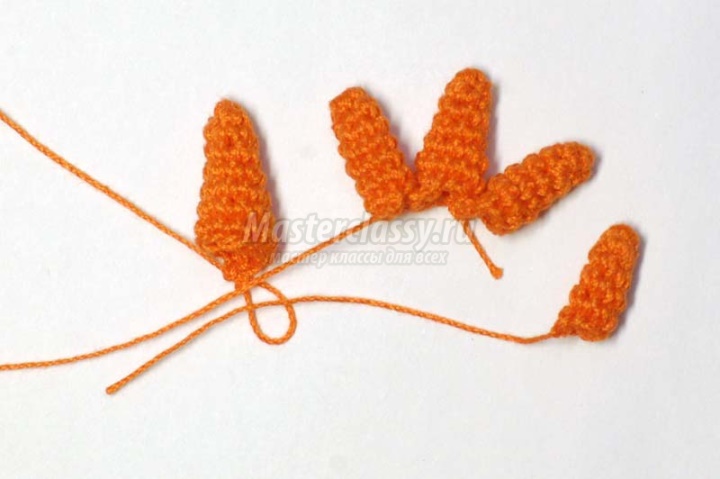
1 row. All the denticles are folded and tied behind the sides and tied along the perimeter with bars
without a crochet. 30 sc. A small tooth is the last one in the scallop.
2 row. In the second row, the strapping will be reduced. 30 - 6 = 24 sb.
3 row. 24 - 6 = 18 сбн.
Beak
1 row. 4 sb.
2 row. 4 + 2 = 6 сбн.
3 row. 6 + 2 = 8 сбн.
4 - 5 rows. 8 sc. This is the upper part of the beak.
1 row. 4 sb.
2 row. 4 + 1 = 5 sbn.
3 row. 5 sc. Lower part of the beak. Sewing.
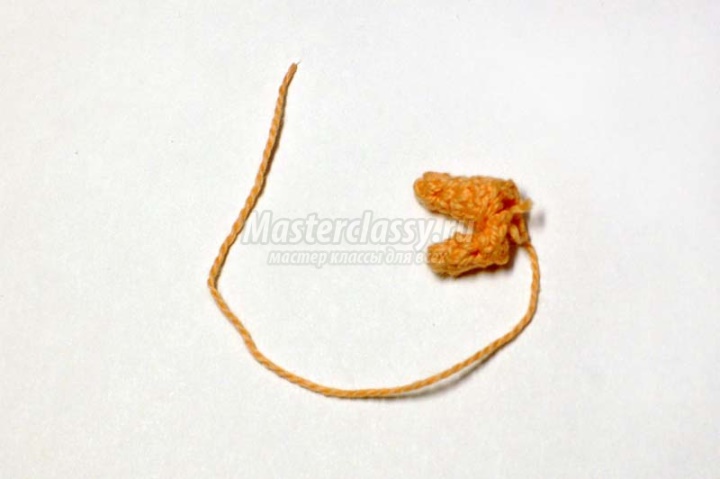
Sew a beak, a comb, a beard, a tail.
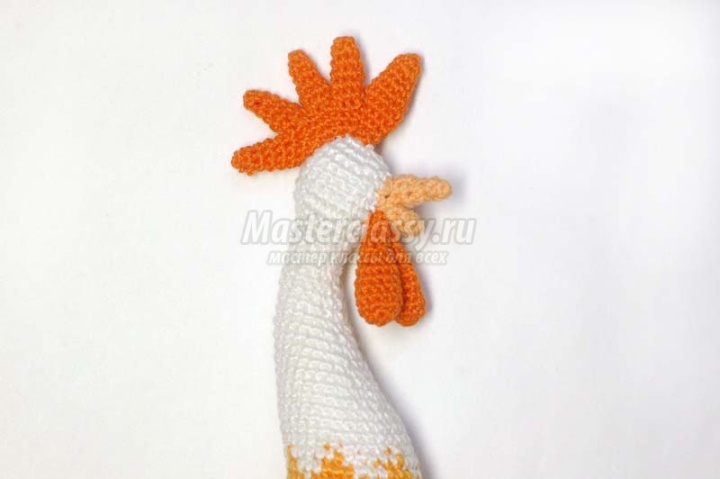
Our cockerel obviously does not have enough wings.
Wings.
1 row.6.
2 row. 6 + 6 = 12 сбн.
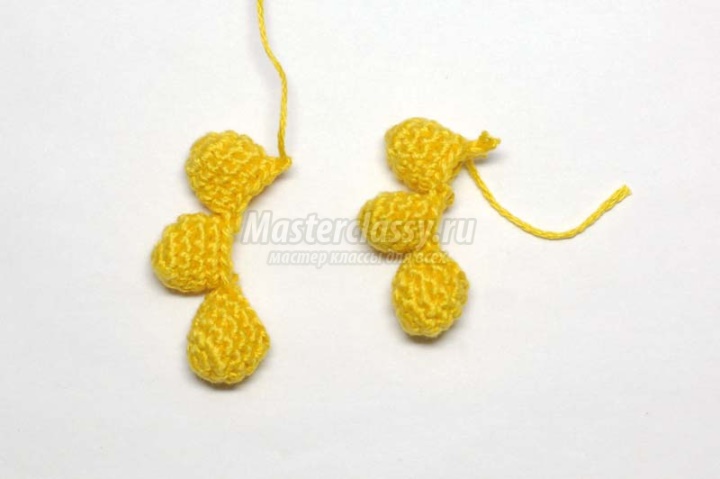
6 row. We will tie round 28 perimeter around the perimeter.
7 row. 28 - 4 = 24 sb.
8 row. 24 - 4 = 20 sb.
9 row. 20 - 6 = 14 sb.
10 row. 14 - 4 = 10 sb.
11 row. 10 - 4 = 6 sbn. So did both wings.
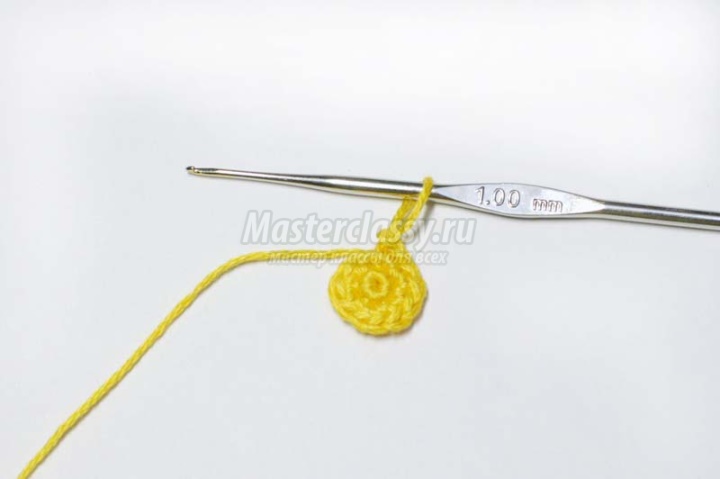
3 - 5 rows. 12 sc. We knit two more such things for one wing, and only for two wings - 6 parts.
We tie them to each other.
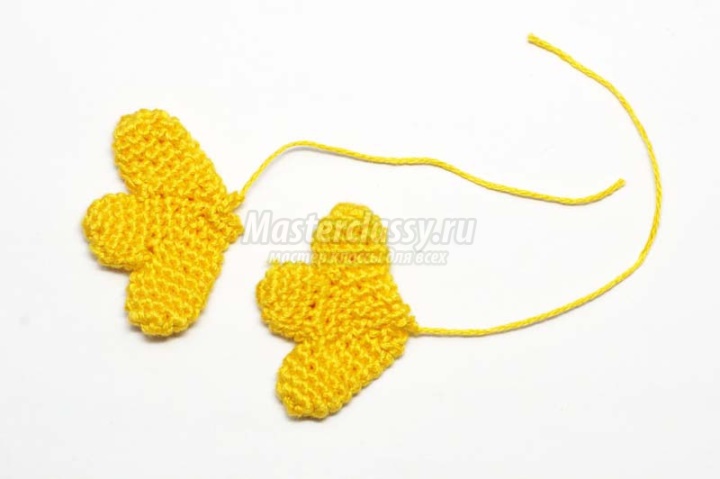
It remains to sew and our cock amigurumi will sing its ode to the sun!