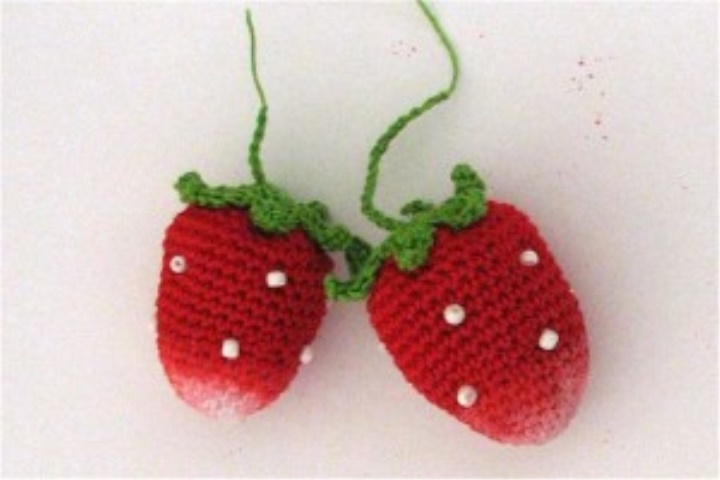
These appetizing strawberries are crocheted.
Next, a detailed description of knitting with a photo.
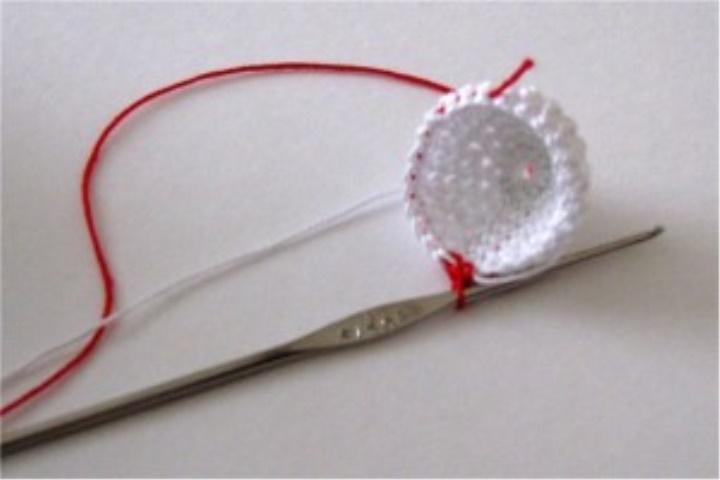
For work we need 2 threads of thread white and red (after all berries often come from below immature).
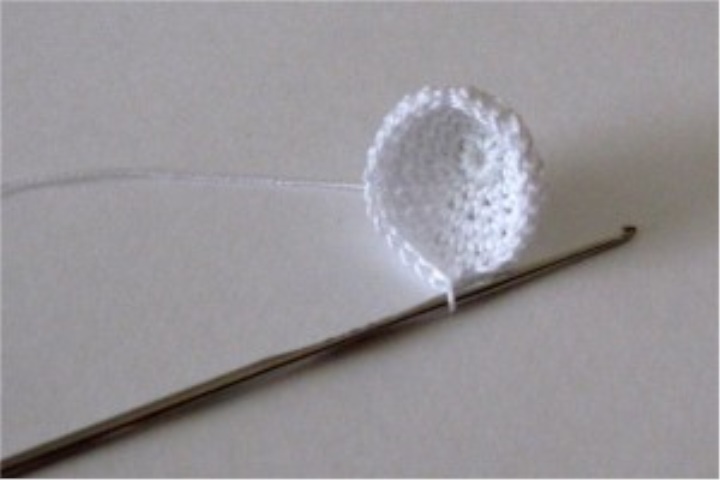
Berry. We begin knitting from below.
1 p. Max number st in the ring
2p increase the number of columns to 10-12 pcs.
After rowing 6-7, we change the thread. I do not tie it up, but I lay it under a white, still basic thread, then I just turn to red, laying a white thread under the bars.
After 1.5-2 cm I cut off the white thread. I continue to knit a red thread.
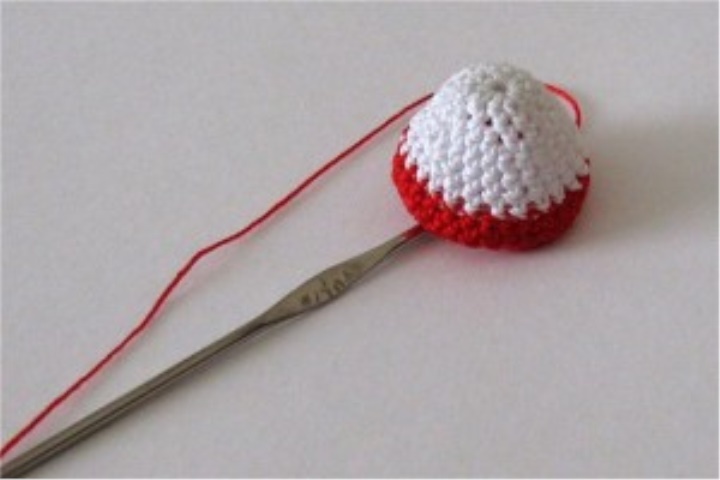
The shape and size of the berries can be different and it is not necessary to consider every column - it is more important to enjoy the process! At my berries a number a column in a row turned out to be 25.
Do not forget that the front side of the berry inside! And before cutting the number of columns, turn it out.
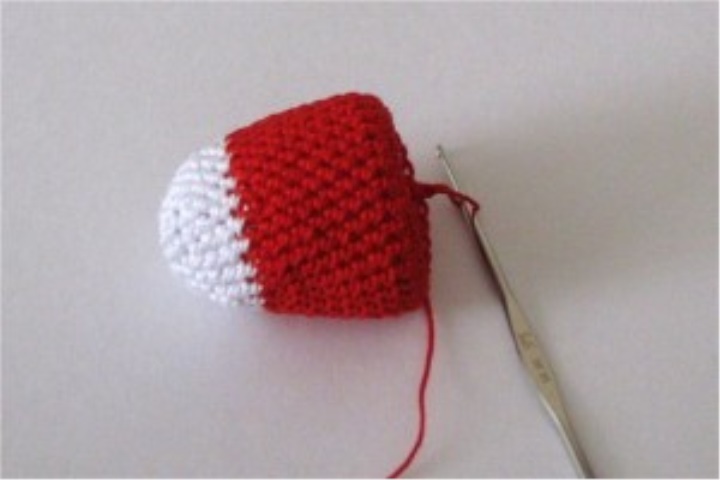
In order not to get holes with a decrease in the number of columns, I do this:
I pick up the loop for the post b / n, but do not tie it! Pick up the next loop for the next stb / n: on hook 3 loops - now I sew all 3 loops in one fell swoop!
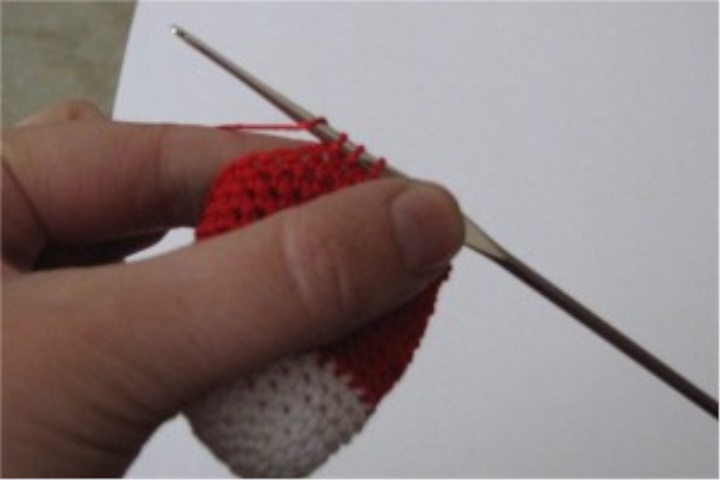
In the first row I close this way, every 3rd loop (* it's time to fill the berries with a sintepon), in the next row every second, then through one and all the remaining ones.
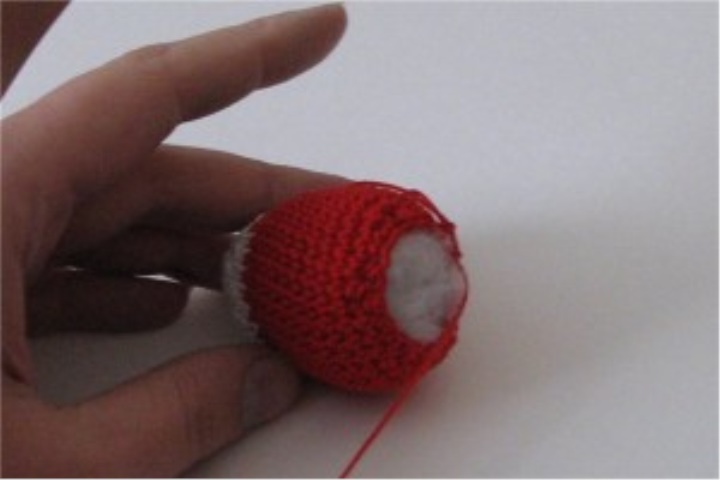
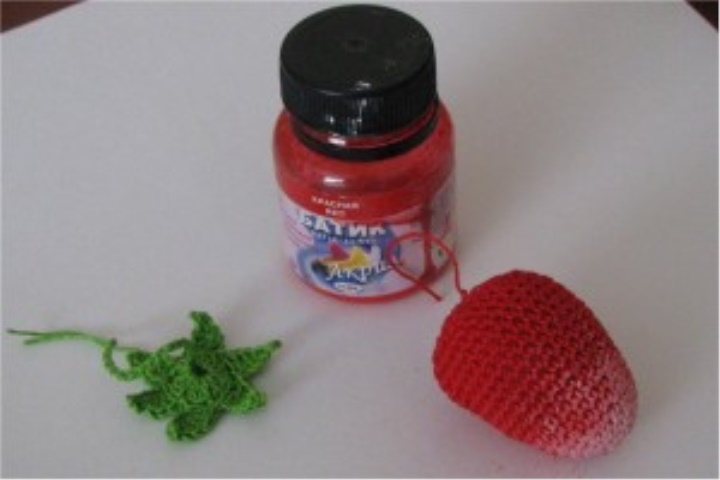
The berry itself is ready.
Now it's left to be toned.
You can decorate the berry with beads.
You can do this in the process of knitting, having previously threaded several beads on the red string. And you can after. I like the second way more, because sewing beads to a berry, I pierce it with a thread in different directions, thereby giving the berry the necessary shape.
Sepal.
We type the chain from the air. loops (the excess can always be cut off later)
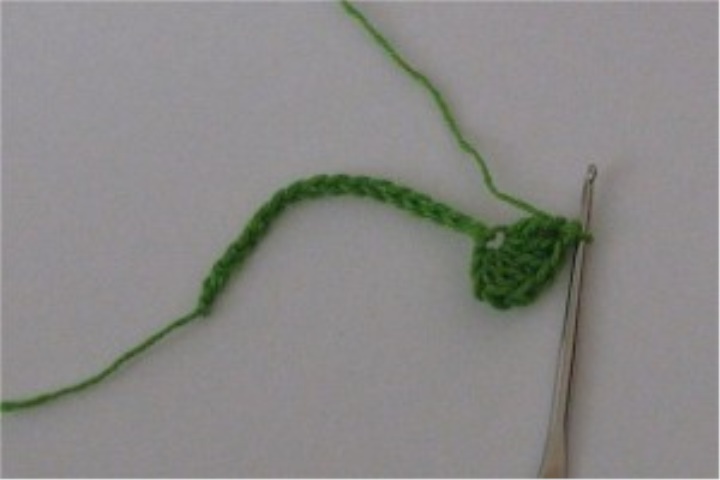
1 p. 3 up loops, 11 st c / n in the last loop of the chain = 12
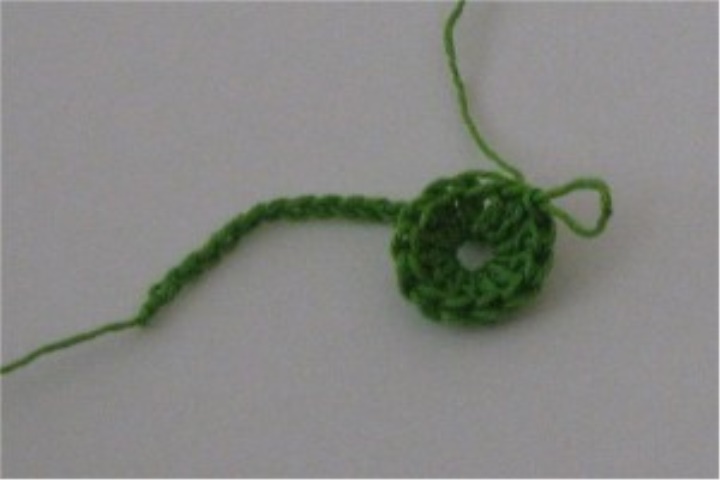
2 r. See the diagram.
To get a beautiful top on top, pull the "tail" in the resulting hole in the center of the sepals.
It remains to sew sepals to the berry
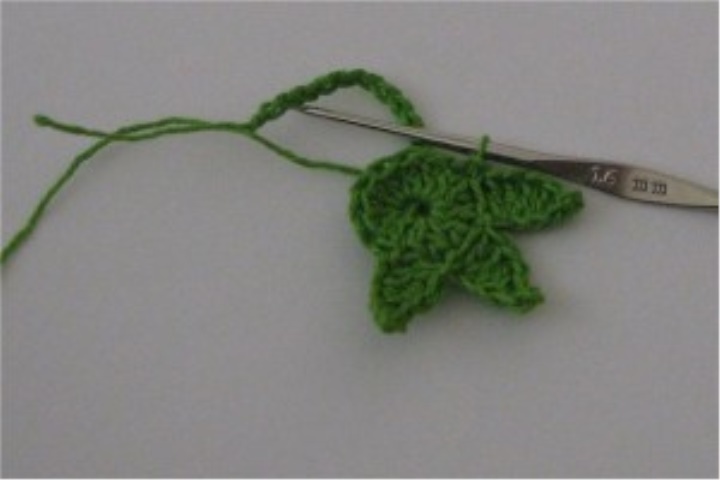
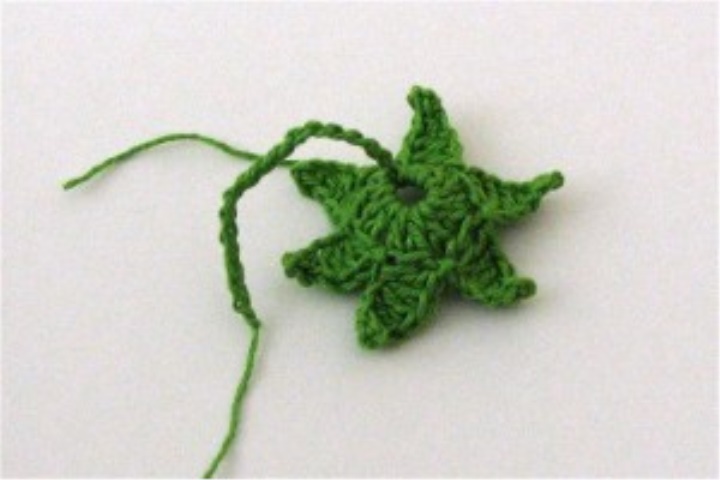
Leaflet. It is matched according to the scheme.

These berries are connected by Polina F on ASCIN. Thank her for the description and sketches!
They decorate a charming hat.