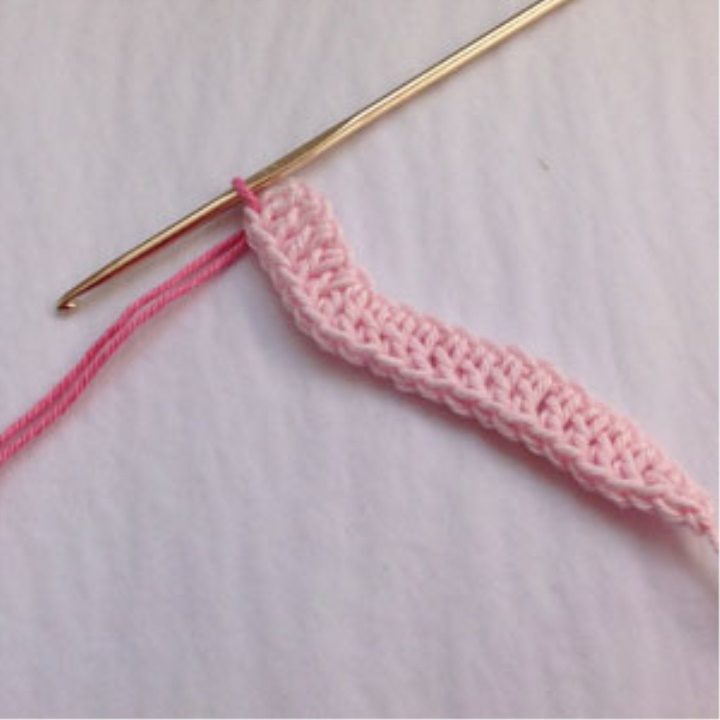
1. 20 ce (18 + 2 for lifting).

2. Skip 2 vp (counted as 1 CH), 4 CH, 3 CH from one loop, 11 CH (up to the last 2 ce), PS, RLS, complete the work with this color. Do not turn the job.
3. Attach a new color thread to the top of the 2nd CE. the rise of the previous row, 2 ce, 4 CH, 3 CH in the next. loop, 11 CH (up to the last 4 loops), 2 C2H in the same loop where the last CH has just been knitted, leave the last 4 loops untied. Finish this color. Do not turn the job.
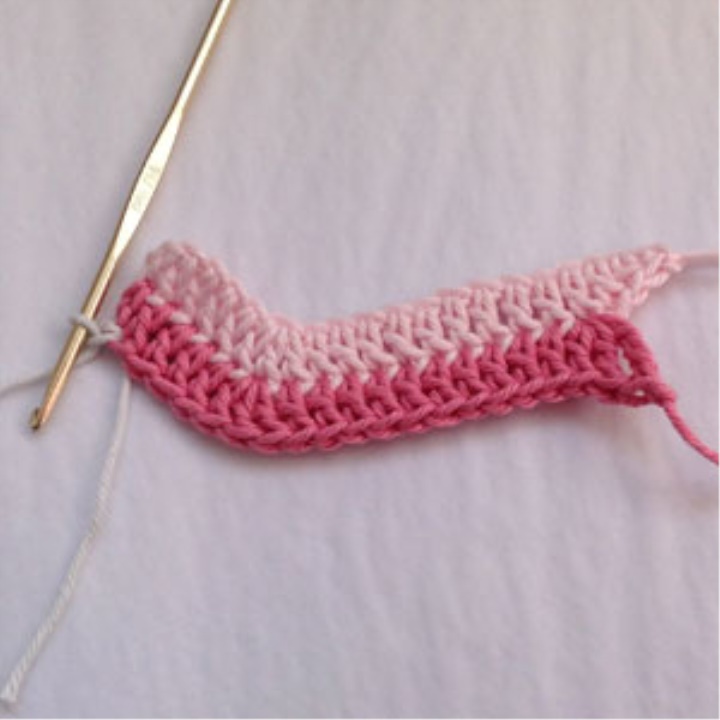
4. Attach a new color thread to the top of the 2nd CE. lifting the previous row. 1 ce, 4 CH, 3 CH in the next. loop, 10 CH, 2 C2H in the same loop where the last CH has just been knitted. Finish this color. Do not turn the job.
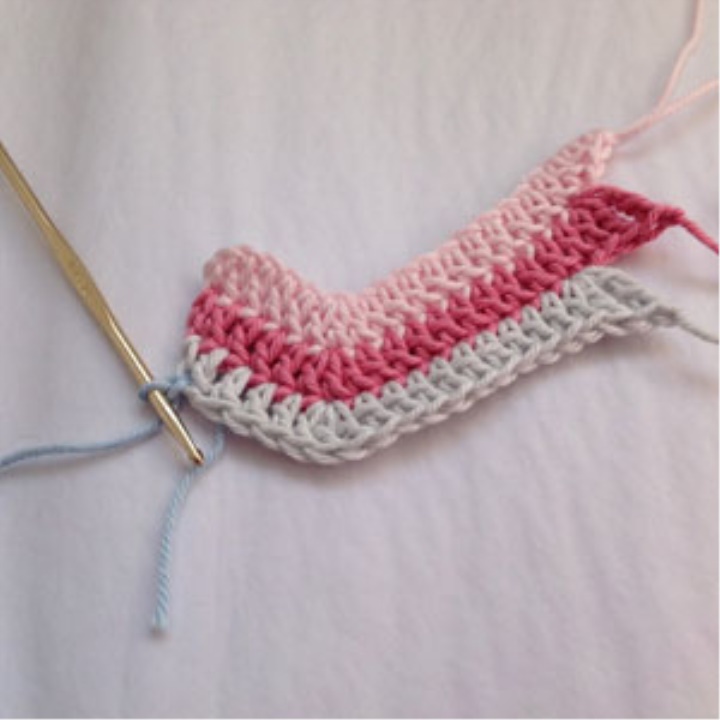
5. Attach a new color thread to the top of the 2nd CE. lifting the previous row. 1 VP, PS, 2 CH in the next. loop, 2 C2H per foot. loop 4 times, 1 C2H, 2 CH in the next. loop, 1 СН, 1 ПС, 1 СНН, 1 СС. To finish work.
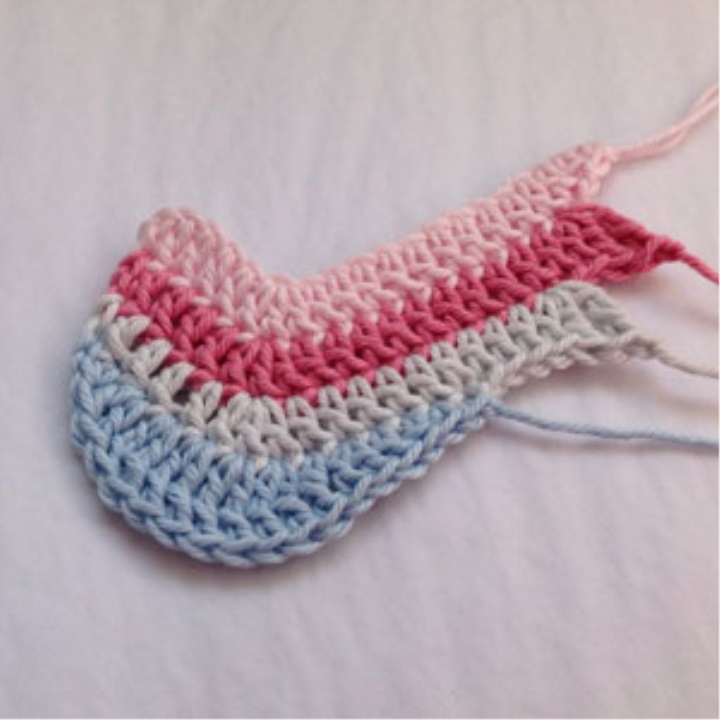
To connect 2 details of a little bird's little body.

Head birds (2 parts)
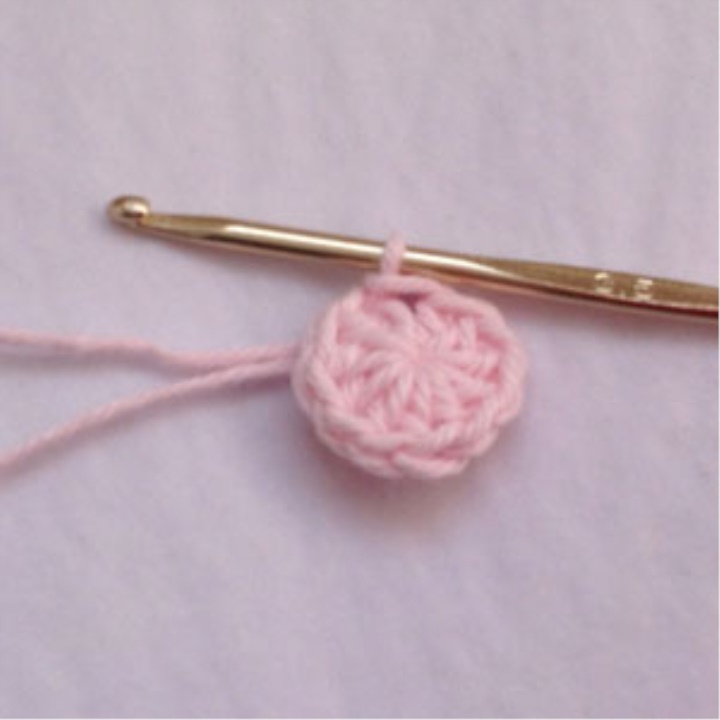
1. 10 PS in the initial magic ring, connect in a circle using the SS.
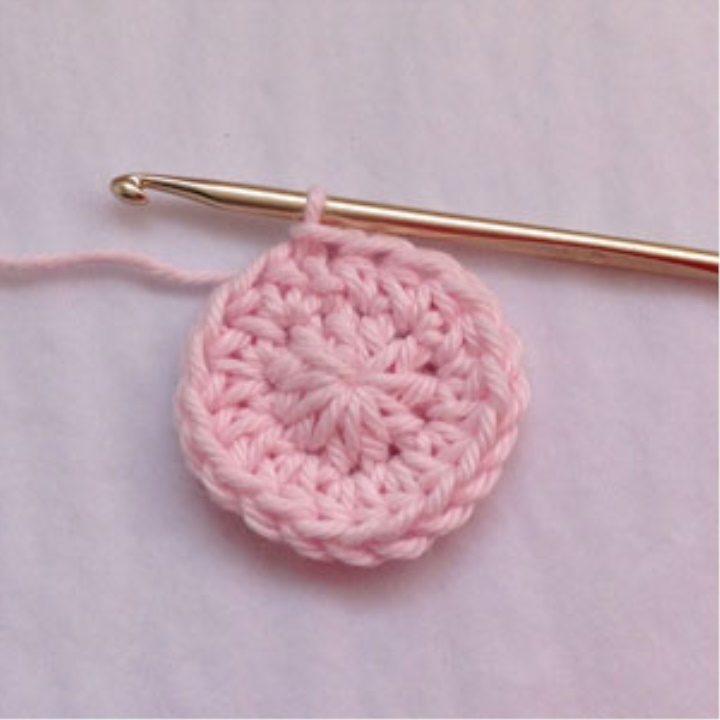
2. 2 inc. and 1 PS in the first loop. Next, knit 2 PS in each loop, SS in the top loop of rise. To finish work. (20 pet.)
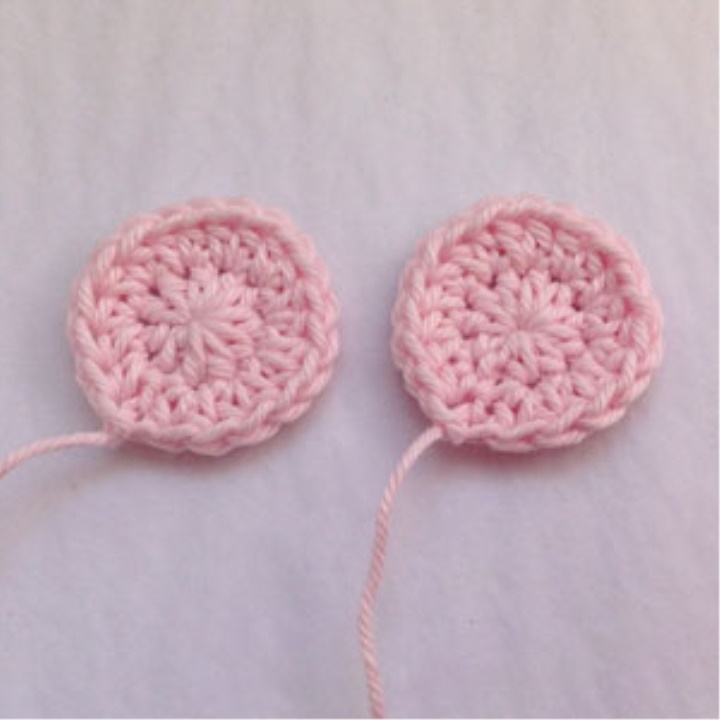
Run 2 parts.
Wings of the bird (2 parts)
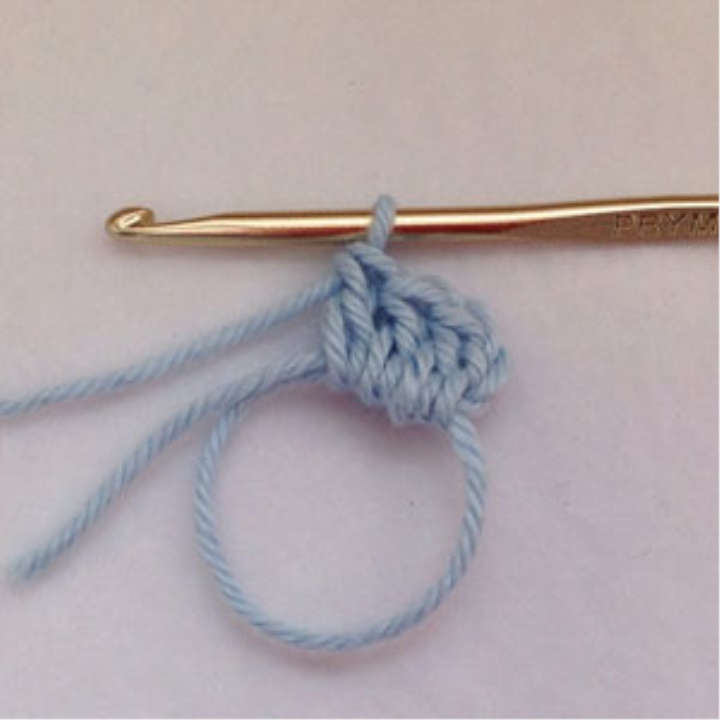
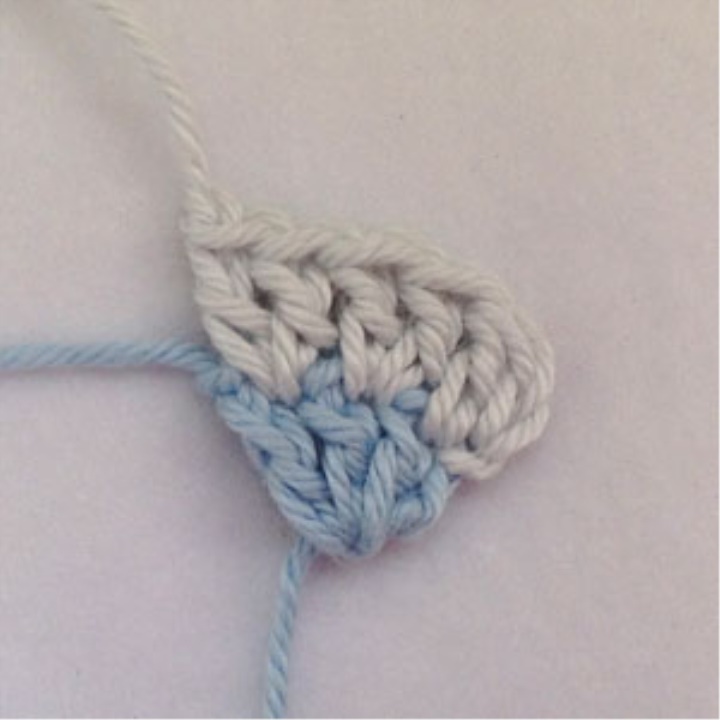
1. To form the initial magic ring, 2 VP, 3 CH in the ring. To finish work. Do not turn the job.
2. Another color 2 vp in the upper ce from 2 points lifting the first row, 1 CH in the same loop, 2 CH in the next. pet., 2CH in the last. pet To finish work. Do not turn the job. (5 pet.)
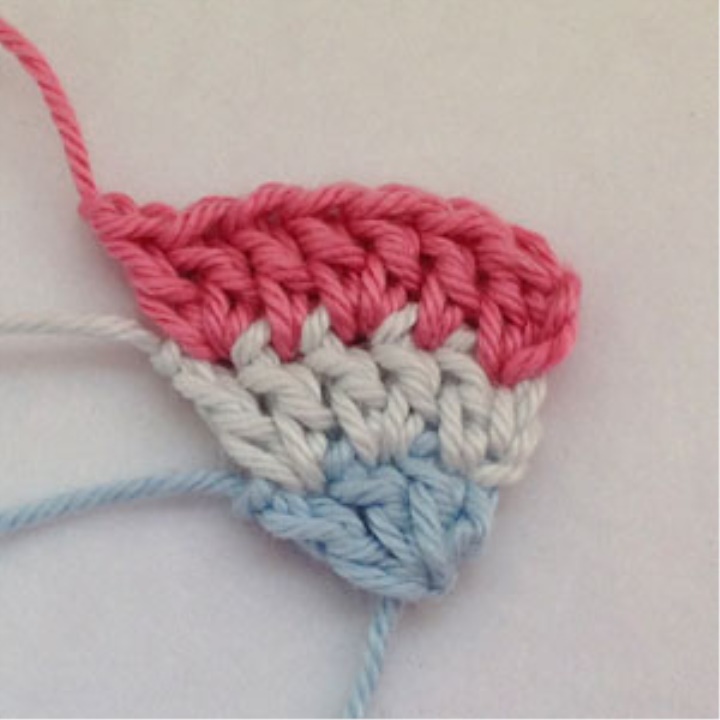
3. 2 inc. in the upper ce from 2 points lifting the 2nd row, 1 CH in the trail. pet., 2 CH in a trace. pet., 1 CH in a trace. pet., 2 CH in the last. pet Do not turn the job. (7 pet.)
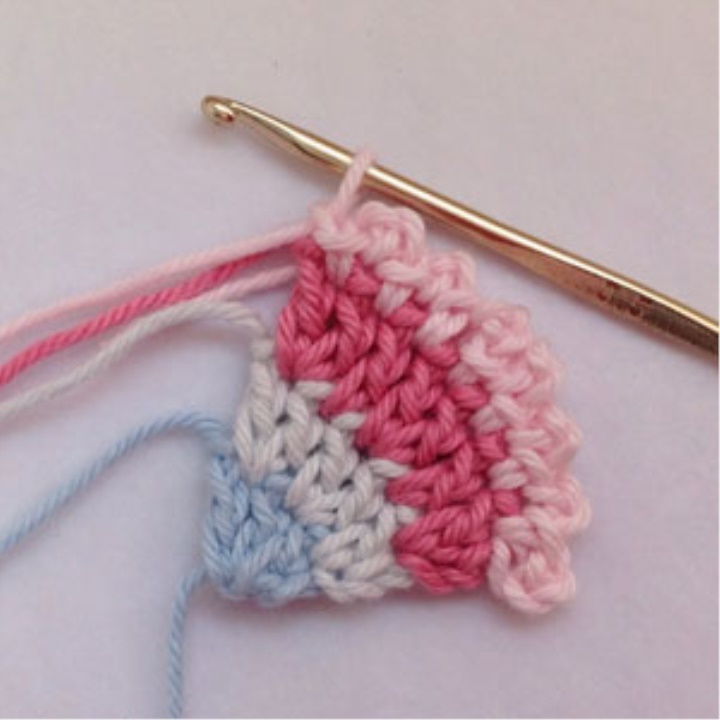
4. Pico. Attach the thread to the top ce from 2 points the rise of the previous row, 3 vp, SS in the same loop.

3 VP, SS in the next. loop, repeat to end of row.
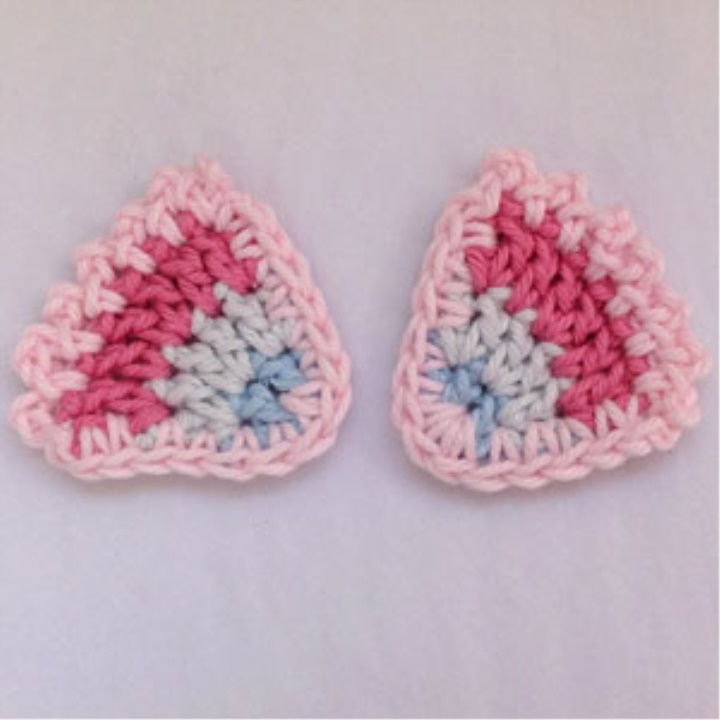
5. Tie a wing to the sc. 1 ce for turning around a corner, sc on the edge, 3 sc in the top of the corner, sc on the second edge, SS in the first picot loop. To finish work. Link 2 details.
Assembly
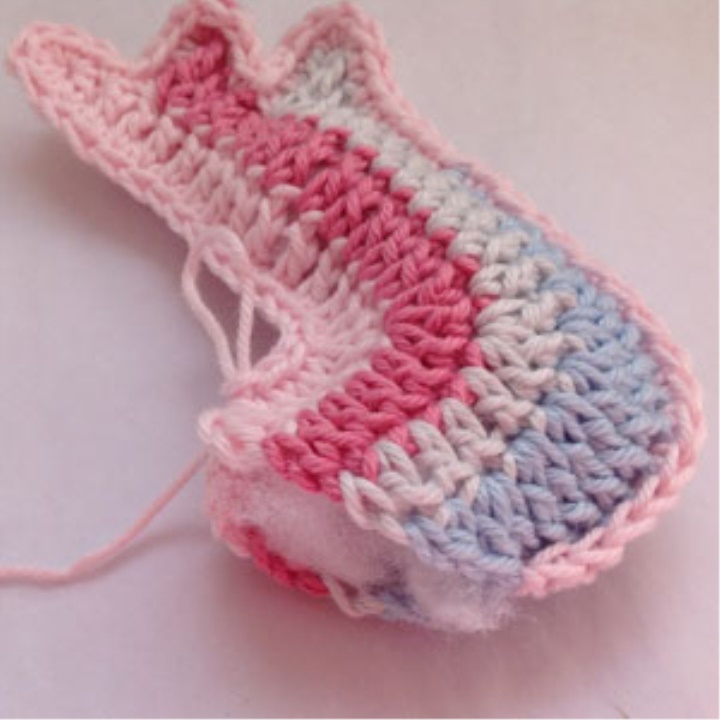
1. Put together 2 parts of the body Birds of faces. side up (the front of the bird should be the face. the side is mating, and the back is the wrong side). Connect the parts together using a hook. Leave the side edge open in 4 rows to attach the head. The picture shows the beginning of the connection parts at the bottom edge.
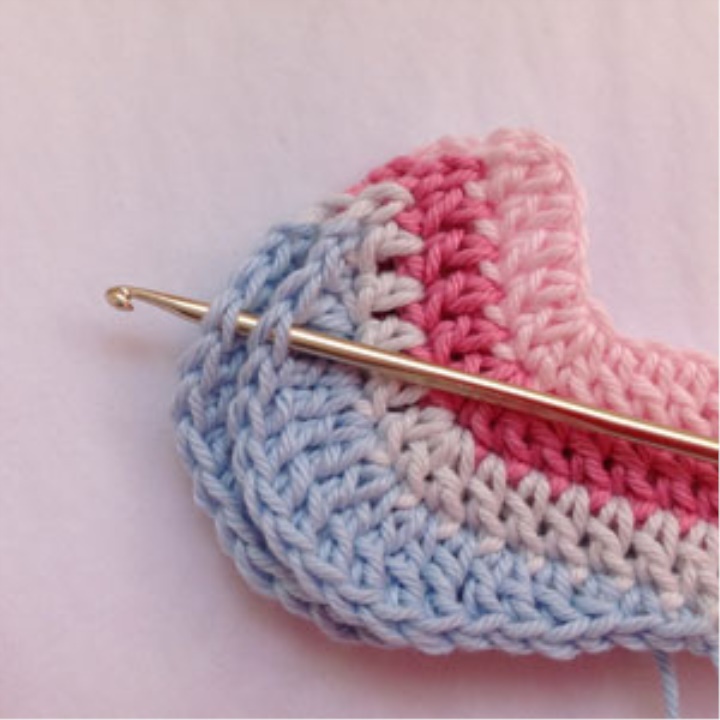
Knit SBN, introducing the hook under all 4 loop handles along the bottom edge of 2 parts.
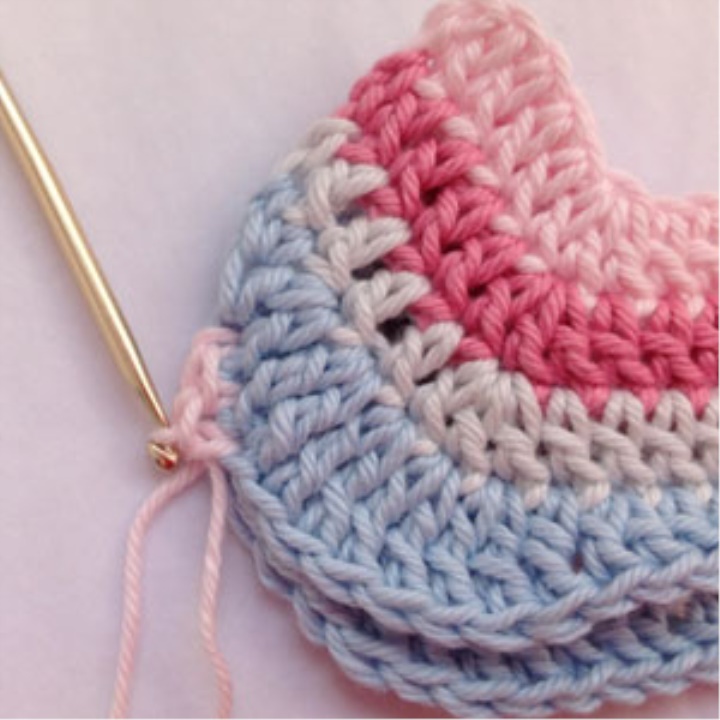
Continue tying the sc until the end of the first “feather” of the tail. To trim the corner, make 3 sc in it.
Continue tying the “feathers” of the RLS, performing 3 RLS in the corners.
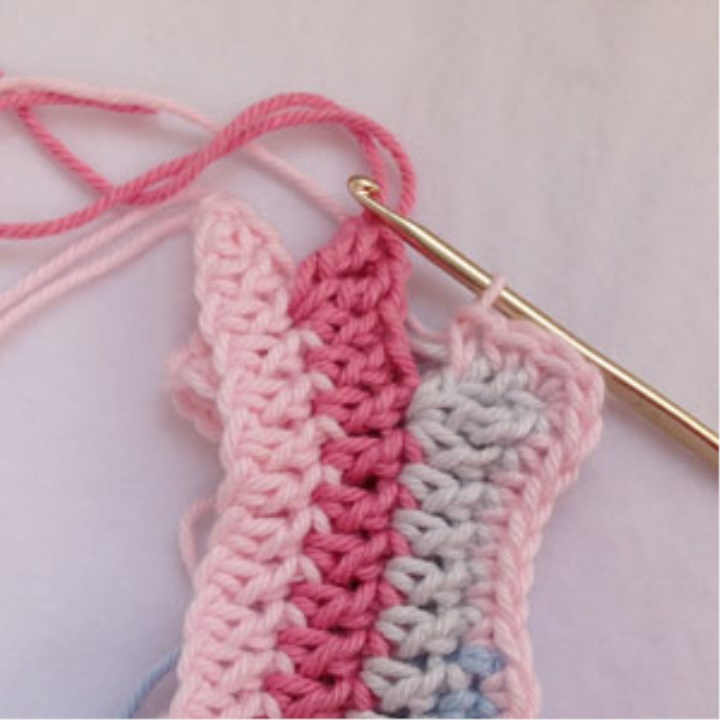
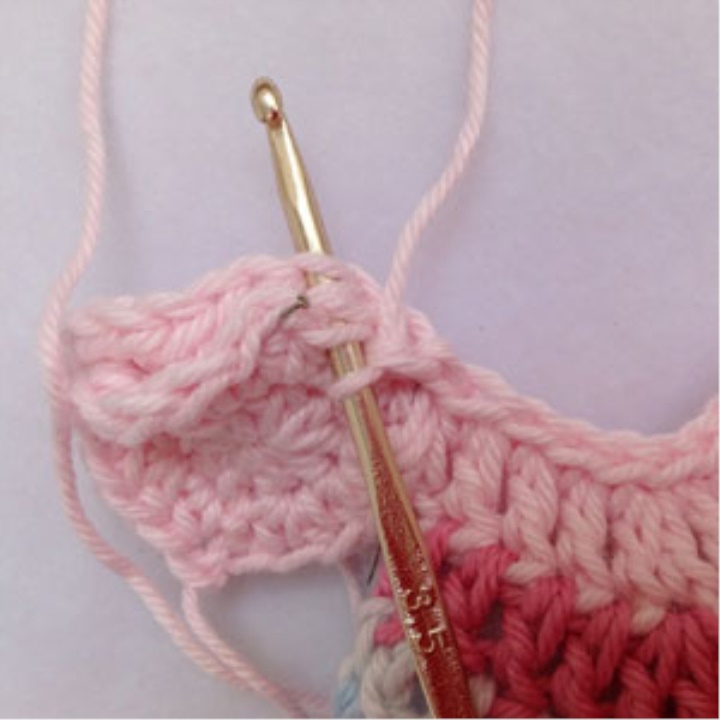
Sc along the upper edge of the Birds, leaving a hole of 2.5 cm. Slightly fill the bird with filler.
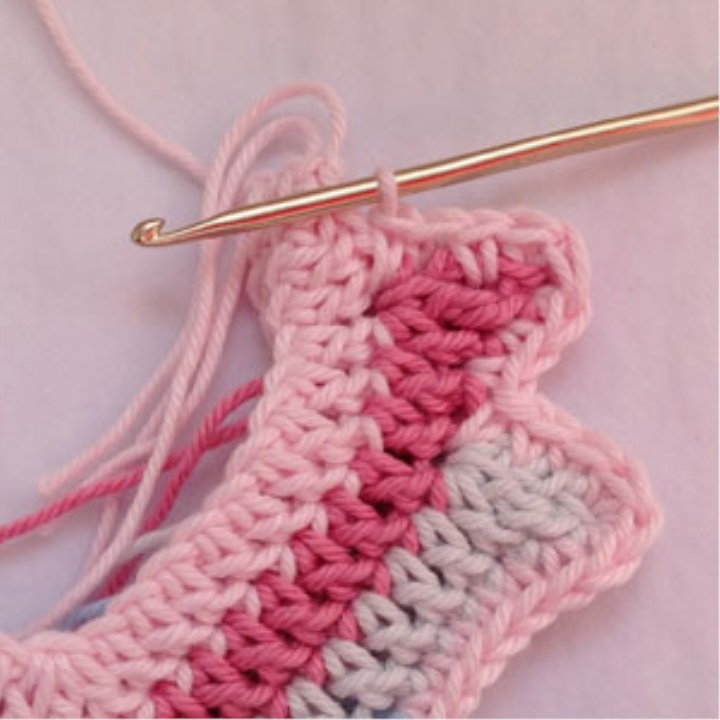
Put together 2 parts of the head, attach the birds to the neck and continue to fasten the sc, connecting the body with the head and 2 parts of the head among themselves.
When there is a small seam, fill the head with filler.
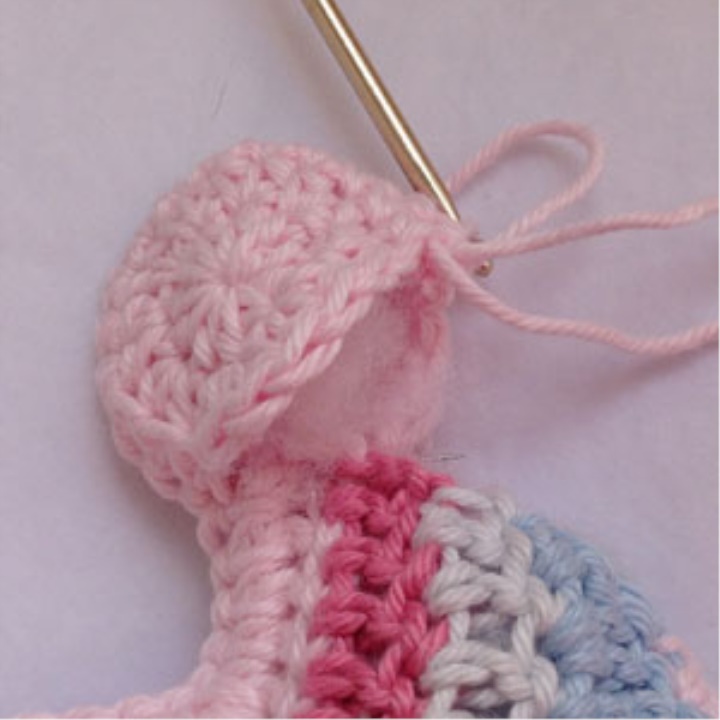
Continue strapping of the head of the RLS and proceed again to strapping the body to the place where the strapping began. Shut down, leaving a long thread tip. Sew head to body in place of neck on both sides.
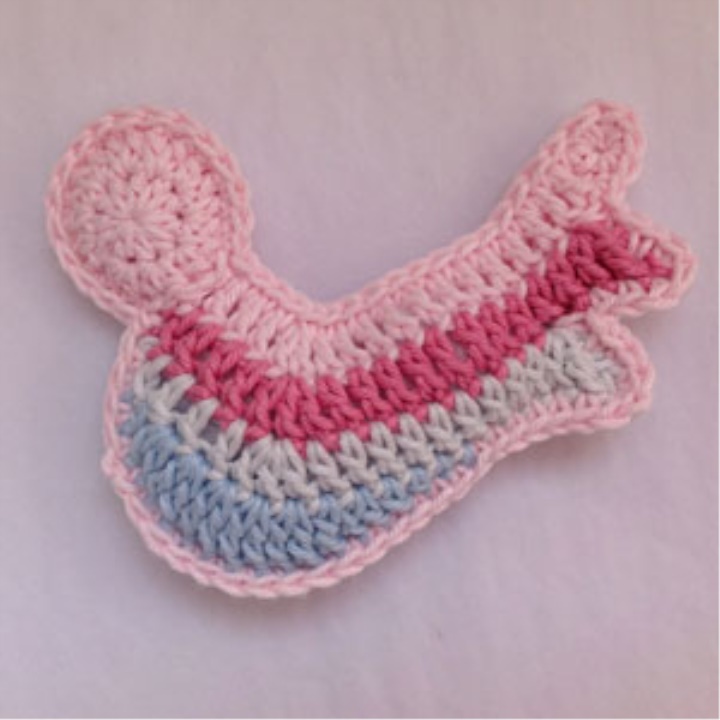
Sew the wings using yarn of the same color as their strapping. Cut 2 small squares of felt 1.5 x 1.5 cm., Fold them in half, cut a triangle in the center and cut along the sides to form a beak. Wrap the details of the beak together and sew to the bird.
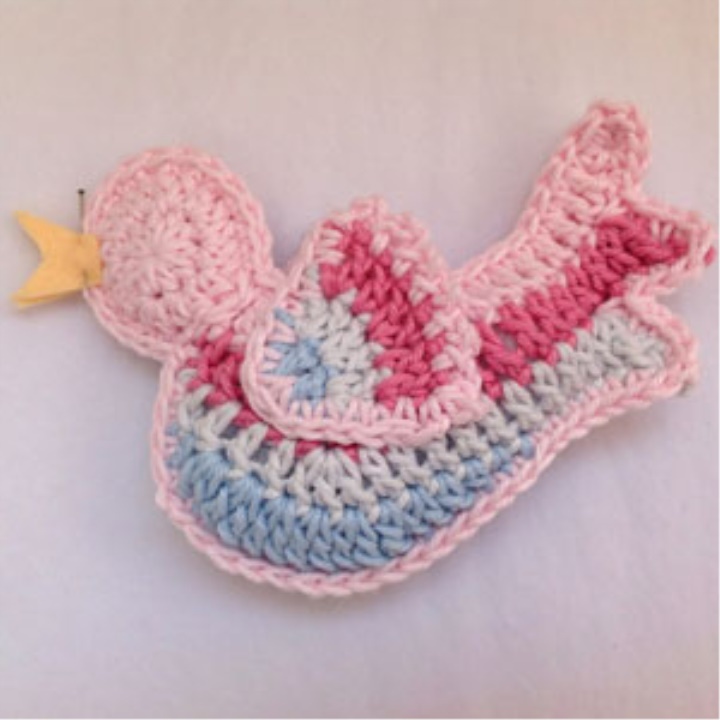
Sew on a small button on each side for the eyes.
Snap a ribbon so that the bird can be hung somewhere.