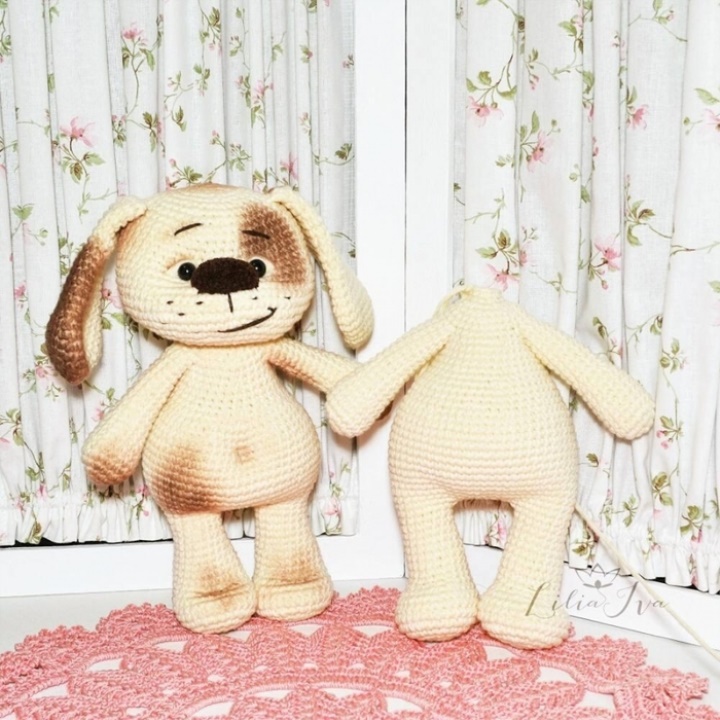
Funny puppy from Lilia Yves. Master Class.
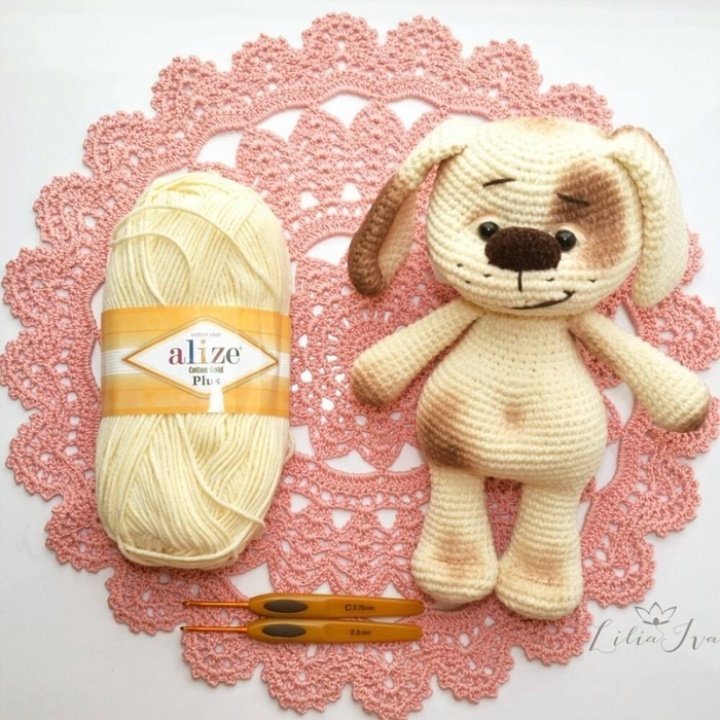
Experienced knitters know how to make increments invisible, and if you do not know, then here's my clue.
Compare the samples:
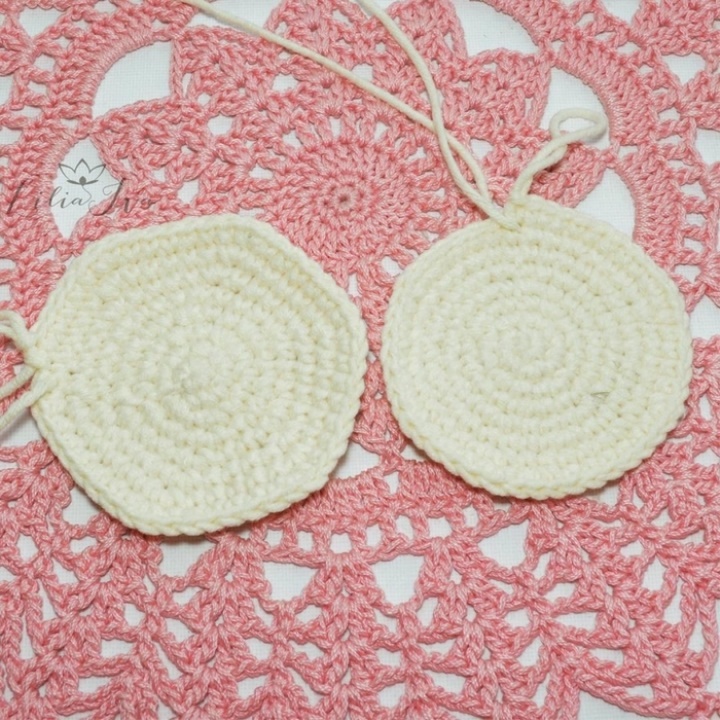
The photo shows that the first sample is rather a hexagon with quite noticeable paths from the increments, and the second circle, where these tracks do not exist.
So, to get the second option (for toys, it is preferable), the place of increase should be shifted.
There are several ways. I find the following convenient:
Based on the fact that in each row you need to evenly add 6 loops, then I make an increase alternating.
For example, we have 12 bars, in the next row should be 18, make an increase in every first loop of the two.
In order not to get off, from the beginning of the series I think so - an increase, times (to the marker, which means the end of the series).
The next row should be 24 loops, and I move the place of the increase, counting at the same time - one, two, an increase.
Next, in the series of 30 loops, the score looks like this - once, an increase, two, three; again, again, two, three (to the end of the row).
Then, again I move the place of the account to the beginning of the account - an increase, one, two, three, four .....
Thus, the place of the increase is random, without distorting the circle and creating appreciable segments.
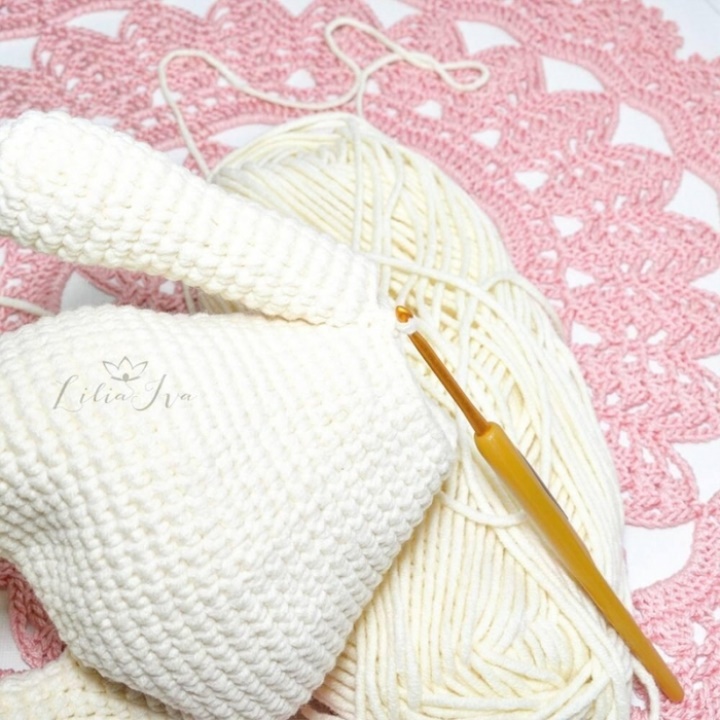
As a marker, I use the tail of the main thread, which remains after tightening the amigurumi ring. It is better to immediately bear this in mind and the tail to make a length of about 15 cm.
In order not to lose the beginning (end) of the series, just throw the tail of the marker thread over (under) the first loop in the row.
Now you know how to knit an amigurumi ring. Then start knitting the puppy!
Legend:
sbn - column without crochet;
pr - increase (in one loop proayazat two);
уб - reduction, from two loops to tie one;
vn - the air loop;
kakooo amigurumi (sliding loop).
Knitting toys go in a spiral, without lifting loops.
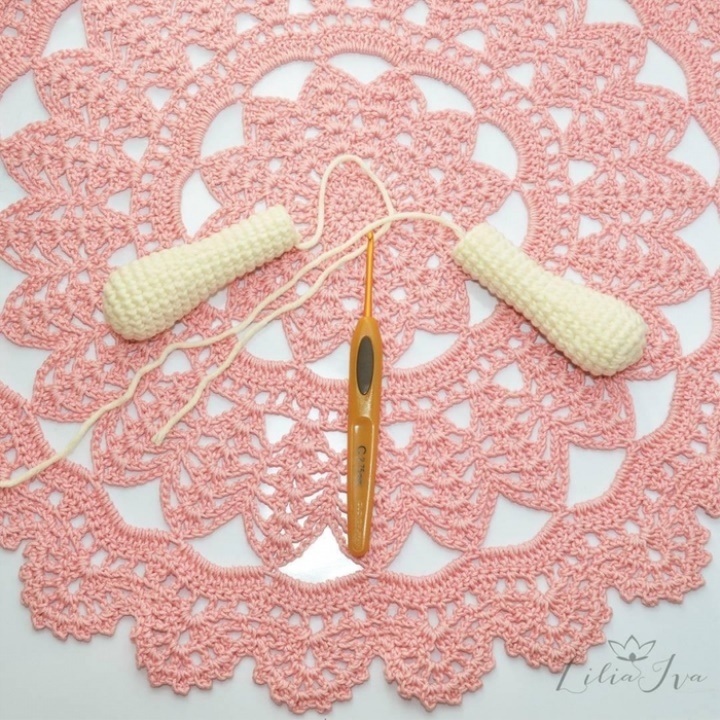
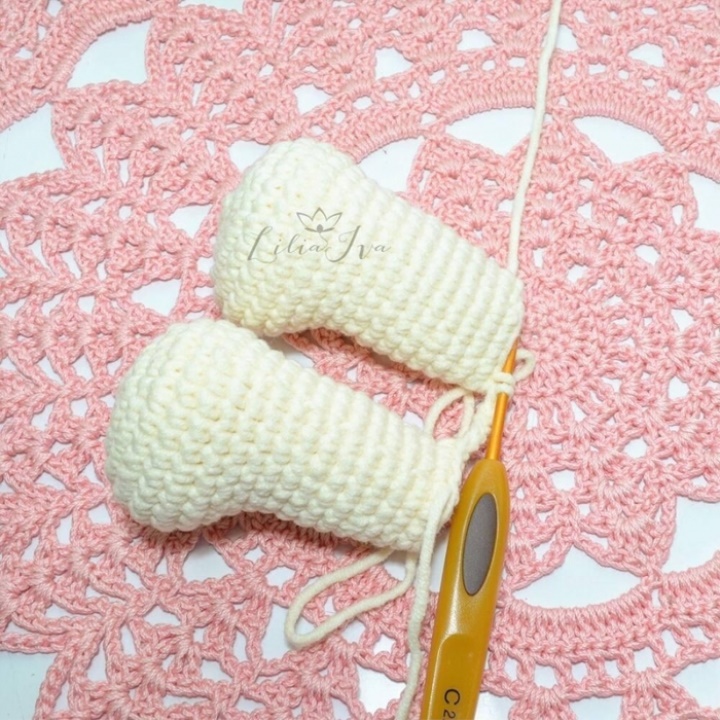
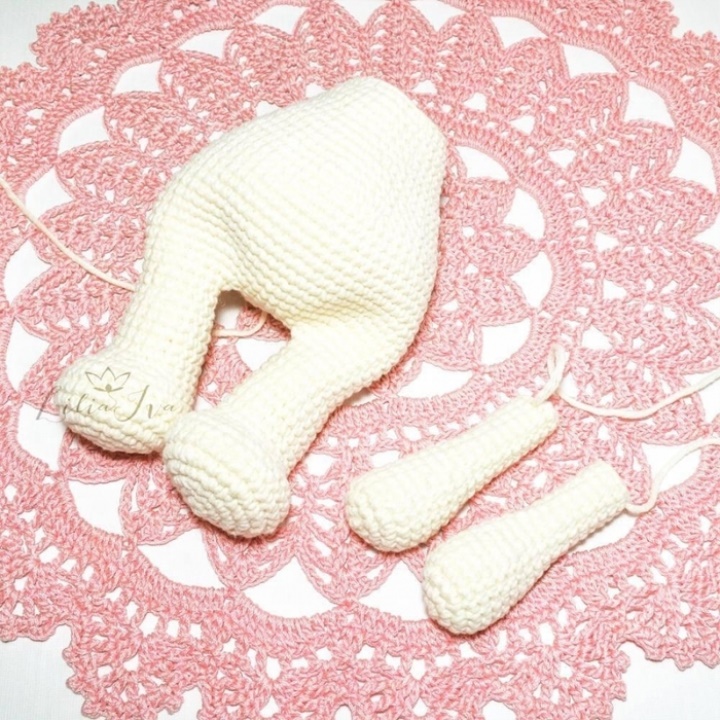
Let's start with the upper paws.
1. 6th generation.
2. 12 сбн (пр. In each loop).
3. 18 cbn (pr. In every second).
4-7. 18bn.
8. 16sbn (2ub distribute evenly).
9. 16 сбн.
10. Distribute uniformly.
11. 14bn.
12. 12sbn (2ub distribute evenly).
13-20. 12сбн.
We finish knitting by a connecting column, leaving the tail of the thread about 15 cm.
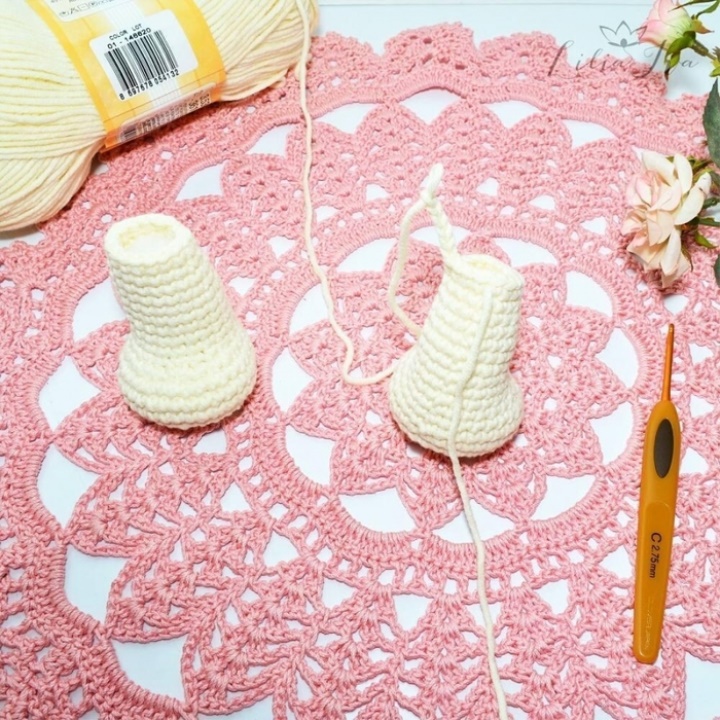
Let's start knitting the lower paws.
1. 6th generation.
2. 12 сбн (пр. In each loop).
3. 18 сбн (пр. In every second loop).
4. 24 сбн (пр in every third loop).
5. 30 сбн (пр in every fourth loop).
6-8. 30 сбн.
9. 6bn; (уб, 1сбн) * 6 times; 6сбн = 24 сбн.
10. 6bn; (уб, 1сбн) * 4 times; 6сбн = 20сбн.
11-15. 20сбн.
16. 3bn; ub; 10 сбн; ub; 3сбн = 18 сбн.
17. 18 сбн.
18. 3bn; ub; 8bn; ub; 3сбн = 16сбн.
19. 16 сбн.
One paw should end with a connecting post.
On the second paw, when the knitting of the last row is finished, tie another 4bn and tie a chain of 6 air loops.
Important: do not cut the thread!
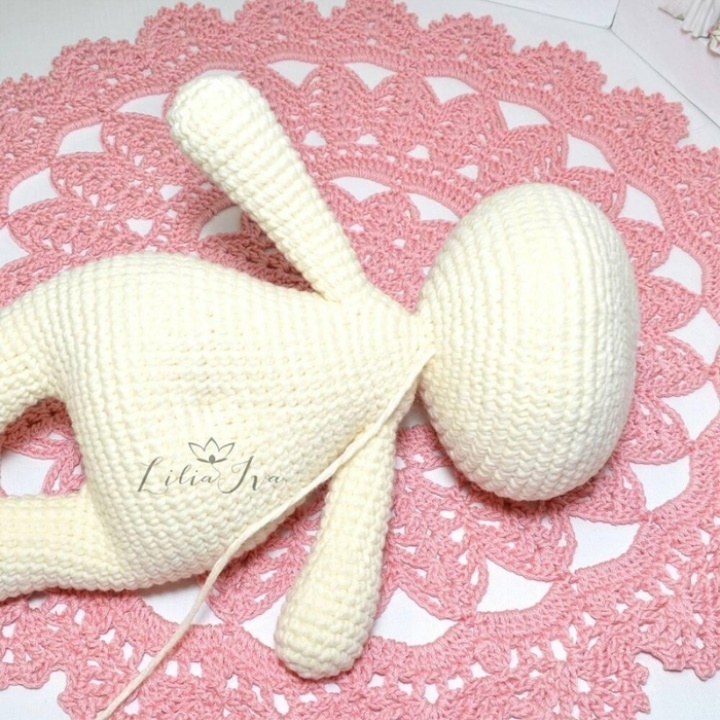
We connect the lower paws and start knitting the carcass.
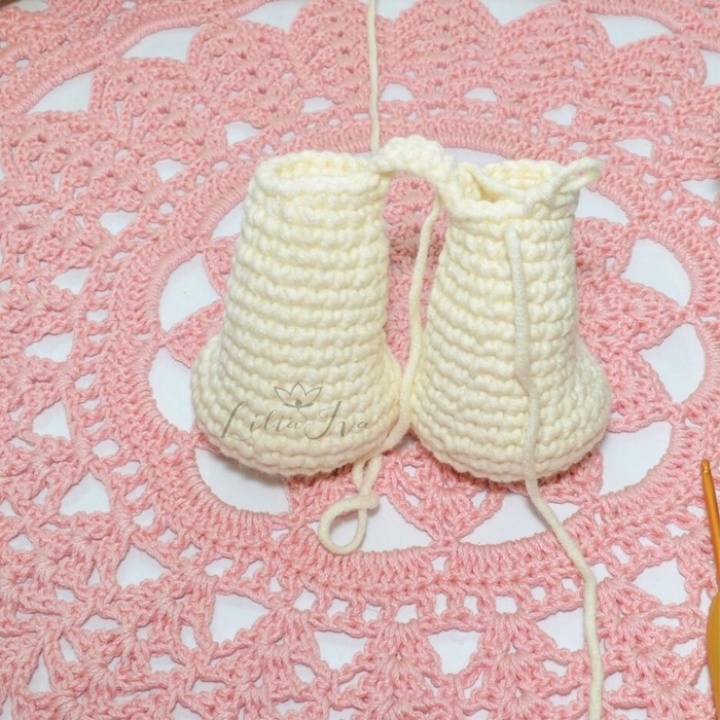
To attach the second leg to the chain of six air loops. It is necessary to make sure that the paws are looking in the same direction!
On the second leg, tie 16sbn and the last 17mm in the loop of joining the chain.
On the chain to bind 6bn.
Make an increase in the loop, from which they began to knit a chain, and tie a 12bn on the paw. The circle is closed.
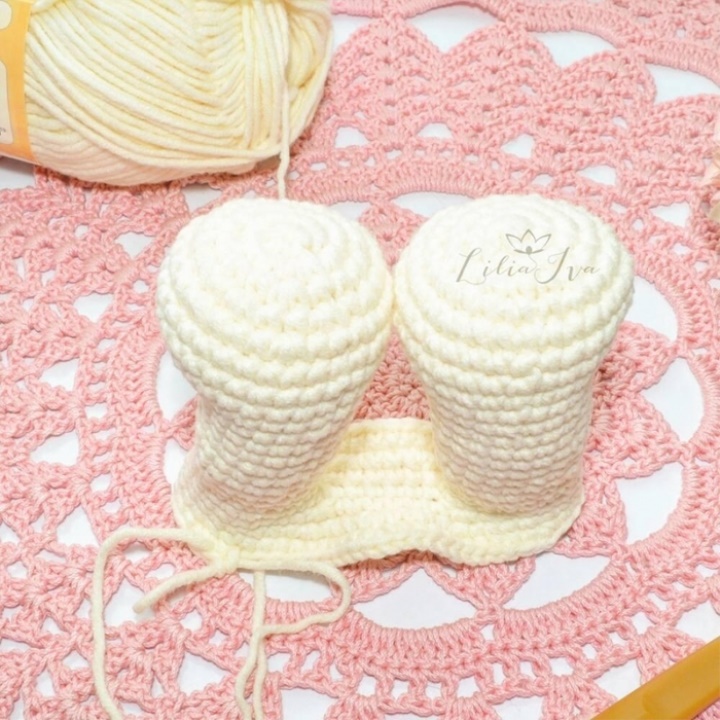
Then we knit a carcass:
1. 4сбн; etc; 6сбн; etc; 14sbn; etc; 5bn; etc; 12 сбн = (49 сбн).
2. 3bn; etc; (1 сбн; пр) * 4 times; 18bn; etc; 3сбн; etc; 14 сбн = (56 сбн).
3. 1 сбн; (8 сбн; пр) * 3 times; 1сбн; (8; pr) * 3 times = (62 cbn).
4-13. No change 62сбн.
14. 10 сбн; ub; 6сбн; ub; 42 сбн = (60 сбн).
15. (8cb, yb) * 6 times = (54cbn).
16. (3сбн; уб; 4сбн) * 6раз = (48 сбн).
17-18. Unchanged 48 сбн.
19. (уб; 6сбн) * 6 times = (42 сбн).
20. No change 42cd.
21. (5bb; yb) * 6 times = (36sbn).
22-24. No change 36bn.
25. (4сбн; уб) * 6раз = (30 сбн).
The carcass is connected to the places of attachment of the upper legs.
At this point, I stuff the lower legs. It is more convenient for me to knit when the details are empty.
Packing is best done not too tight, the toy should be elastic, but soft.
So, tying in the last row all the loops in a circle, go in addition a few more bars to stop knitting on the back of the carcass (about 8 cbn).
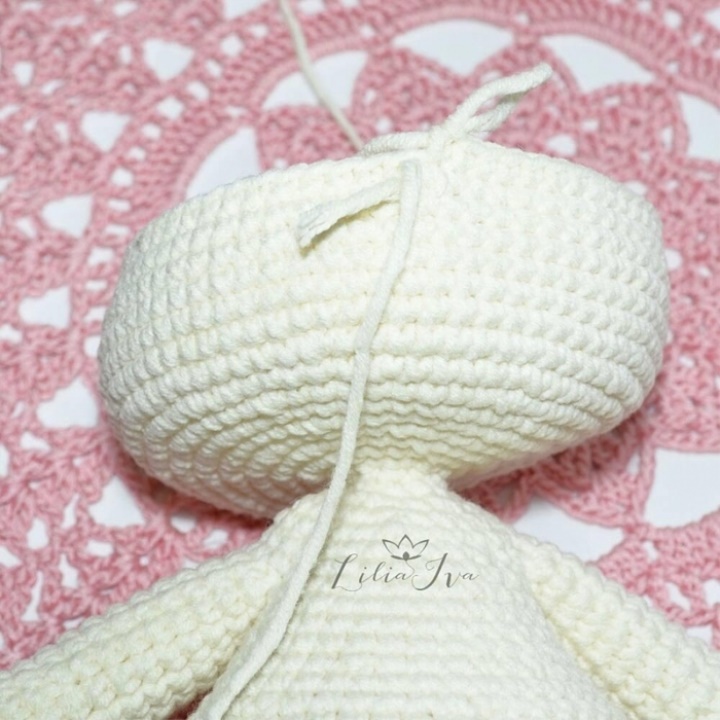
On each side, sew the upper paws for 4 loops, where the armpits (see photo).
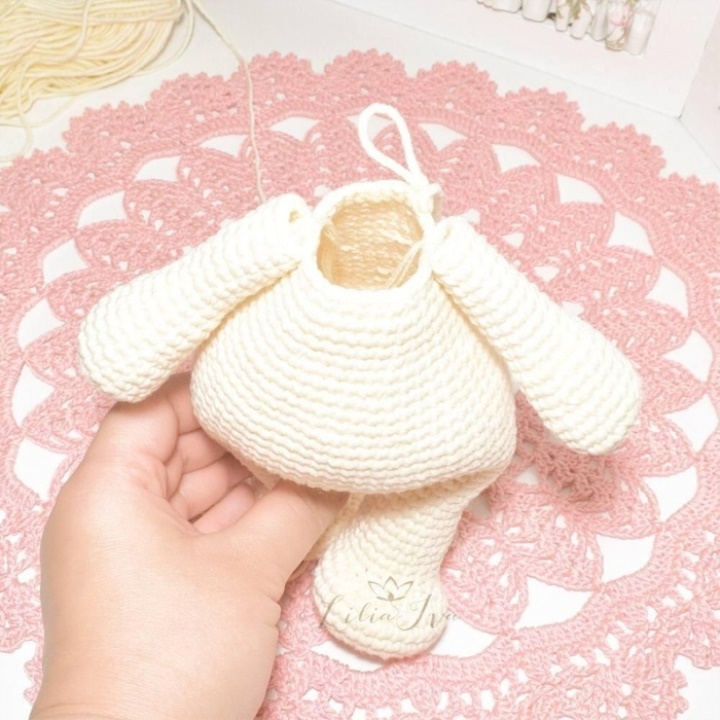
The marker for the origin of the loops is moved to the junction of the right paw with the carcase from the side of the back.
26. At the points of connection of the legs with the carcass (there are 4 of them on the back and two in front) to make the decrease. It should turn out 34сбн.
27. 34Sbn without emotions.
28. Again make 4 deductions in the same place as in row 26 = (30 cbn).
29. (3сбн; уб) * 6 times = 24 сбн.
30. (уб; 2сбн) * 6 times = 18 сбн.
31. (1сбн; уб) * 6 times = 12 сбн.
32. 12 сбн. Do not cut the thread!
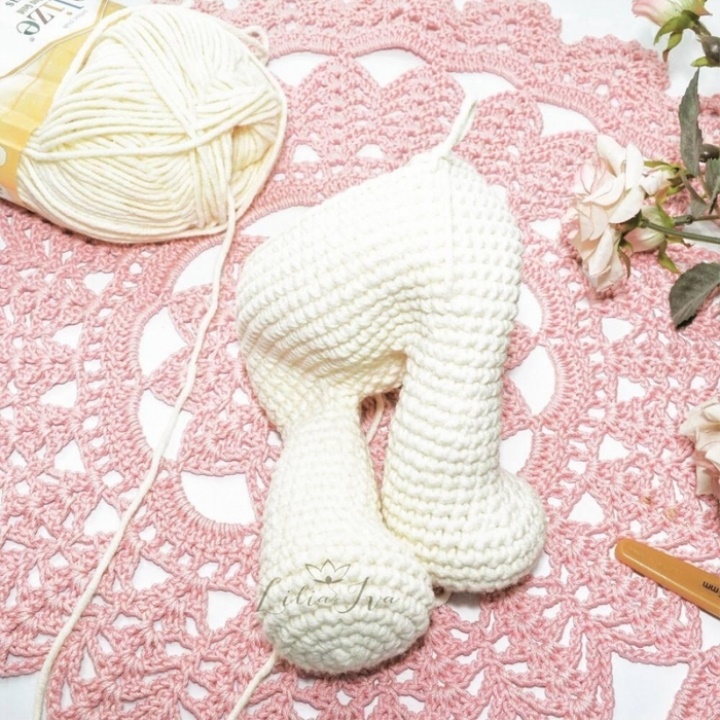
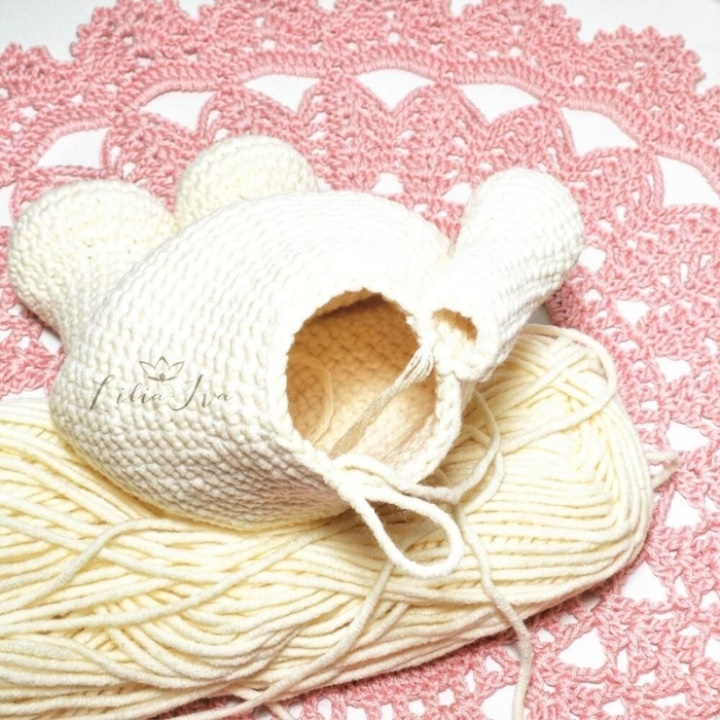
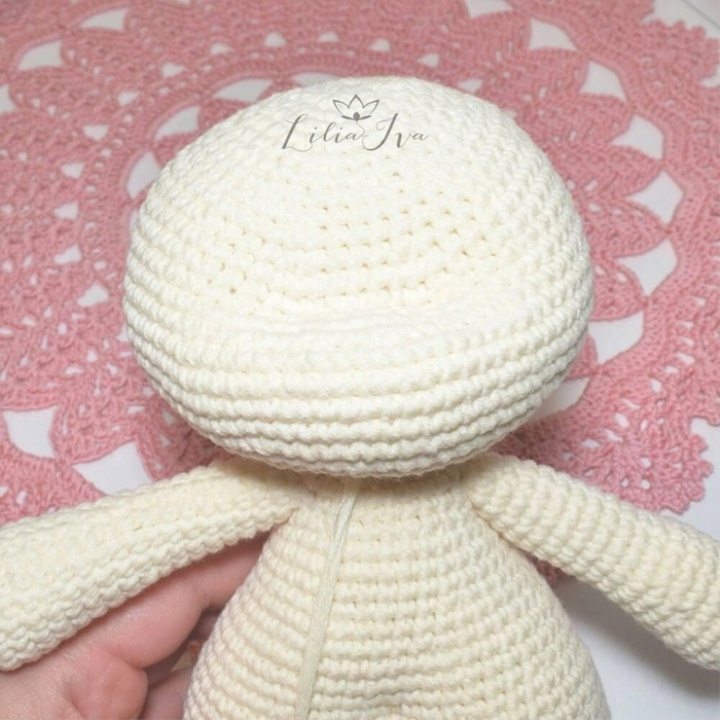
Let's start knitting.
We continue knitting from the neck, but we count the rows as initial.
1. In each loop of the previous series = 24cb.
2. (3ббн; пр) * 6 times = 30 сбн.
3. (Пр; 4сбн) * 6 times = 36сбн.
4. (3bn; pr; 2sbn) * 6 times = 42cb.
5. (6sbn; pr) * 6 times = 48sbn.
6. (Пр; 7сбн) * 6 times = 54 сбн.
7. (4bn; pr; 4sbn) * 6 times = 60sbn.
8. (9bn; pr) * 6 times = 66sbn.
9. (Ex, 10) * 6 times = 72cb.
10-13. 72sbn without emotions.
14. Move the loop start marker to the middle of the back of the head, and just hang the loop. And continue: 25sbn; (уб; 2сбн) * 5 times; ub; 25 сбн = 66сбн.
15. 66bn.
16. 22cb; (уб; 2сбн) * 5 times; ub; 22 сбн = 60сбн.
17-19. 60сбн.
20. 16 сбн; ub; 3сбн; ub; 3сбн; ub; 4bn; ub; 3сбн; ub; 3сбн; ub; 16сбн = 54сбн.
21. To knit 40sbn, put the marker of the beginning of the row.
22. (7сбн; уб) * 6раз = 48 сбн.
23. (Уб; 6сбн) * 6 times = 42 сбн.
24. (2сбн; уб; 3сбн) * 6 times = 36сбн.
25. (4bb; yb) * 6 times = 30cb.
26. (уб; 3сбн) * 6 times = 24 сбн.
27. (2сбн; уб) * 6 times = 18 сбн.
28. (уб; 1сбн) * 6 times = 12 сбн.
29. 6 in a row.
Make a connection. To cut the thread, leaving the end about 15 cm. The remaining loops are pulled together by this thread, passing it through the front half loops. Make a basting, and put the end of the thread in the body of the toy.
It is convenient to fill the head with the filler when the rows with discounts have gone, it is better to stuff the neck more tightly. The whole head is packed well, but without excessive fanaticism. We'll do the tightening and stuffing should let it do it.
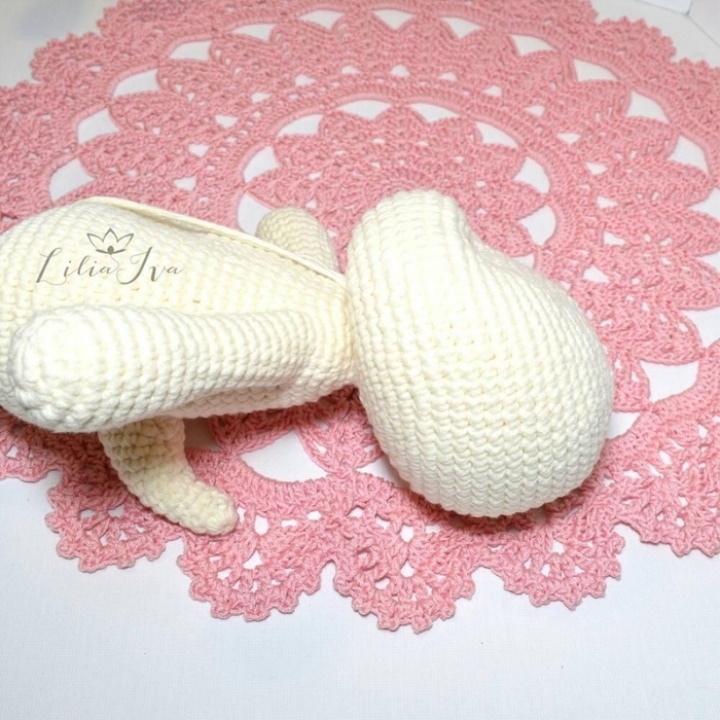
We knit the tail.
At the beginning of knitting, leave the tail about 20cm. You will not need a marker, but you will need this thread.
1. 8сбн in spacecraft.
2-3. 8c.
Next, we knit in a circle, in each row making an increase in the last loop.
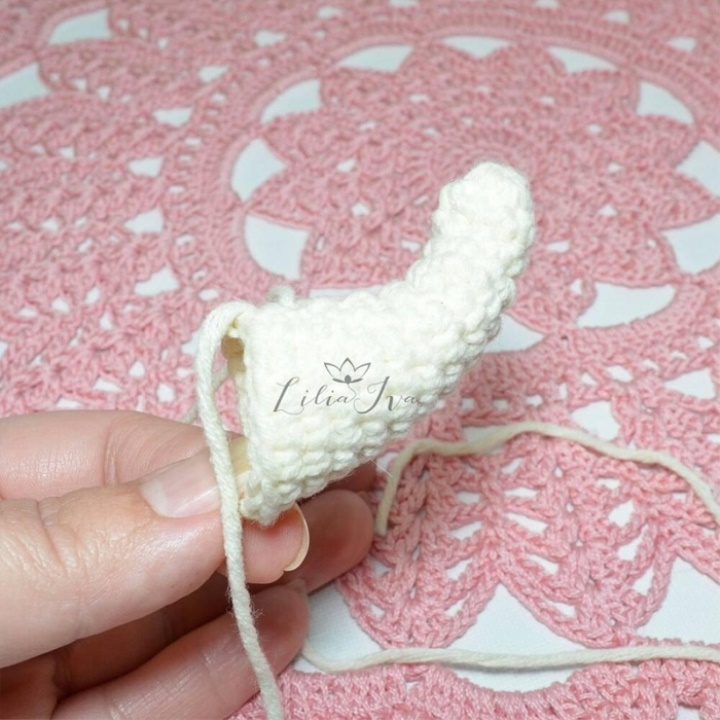
Additions to do until there are 18 loops in the row. As a result, you will get a cone that looks a bit like a kulek. After the last row, another 9bn should be tied up and the connection completed. column. Leave the thread for sewing.
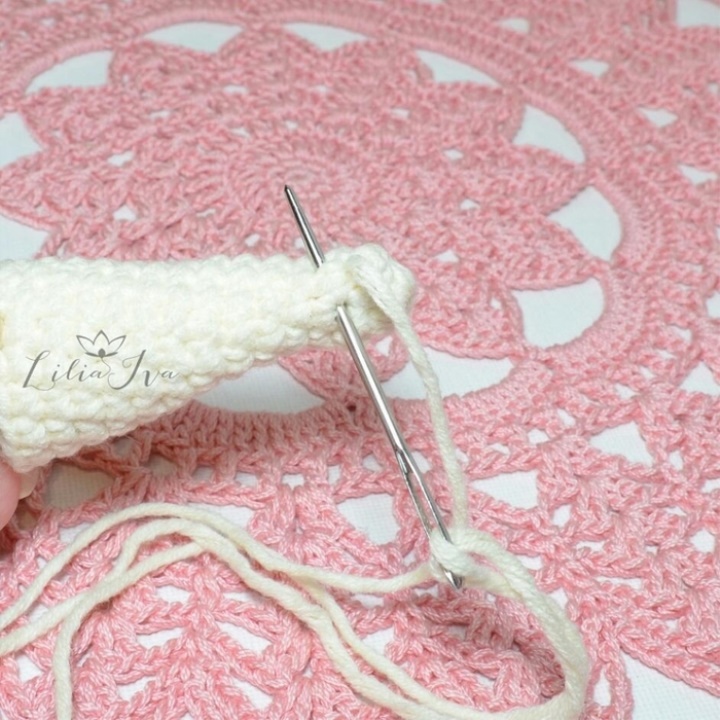
In order for the tail not to stick out with a carrot, it needs to be formalized.
Here it will take the very end of the thread that was left at the beginning of the knitting. By means of a needle with a blunt end, it is necessary, as it were, to sew the tail along the entire length with the seam "forward needle". From the tip to the base on the side of the "kulechka" opposite to the one where there were increases.
Strip the thread carefully (take care not to break!), While giving the tail a shape. Make the bracing and the end, without cutting, tuck into the tail.
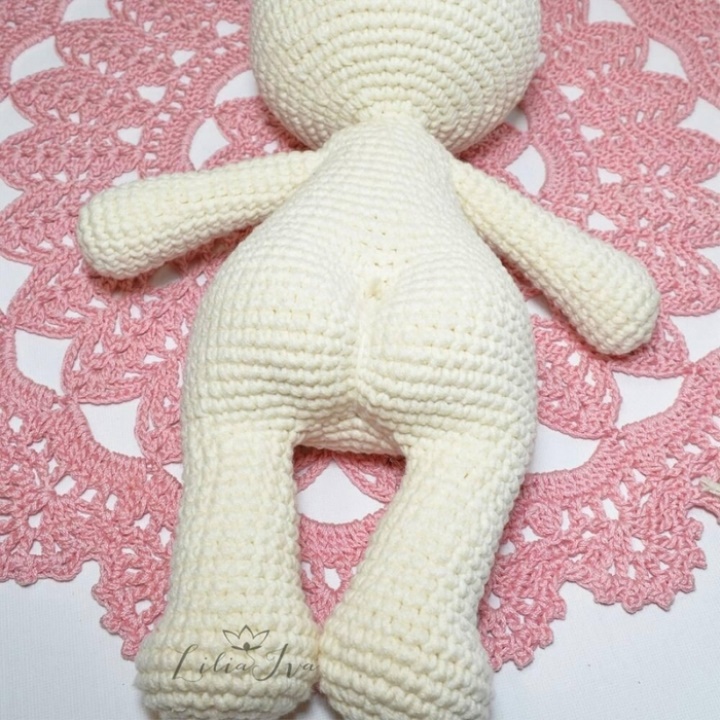
Before you sew a tail, you need to make a tightening of the half-backs and the navel:
Approximately in the 13-14 row from the back, attach the thread (just tied). One end is more authentic, he is a worker, the second is in no hurry to cut off! Using the long needle, thread the long end of the thread through the carcass, and return it through 2 loops, and tighten by tying both ends of the thread.
Then put the long end into the carcass between the lower legs and bring it back. Connect the ends of the threads again. Make several strong knots. Extra threads can be cut, then they hide under the tail.
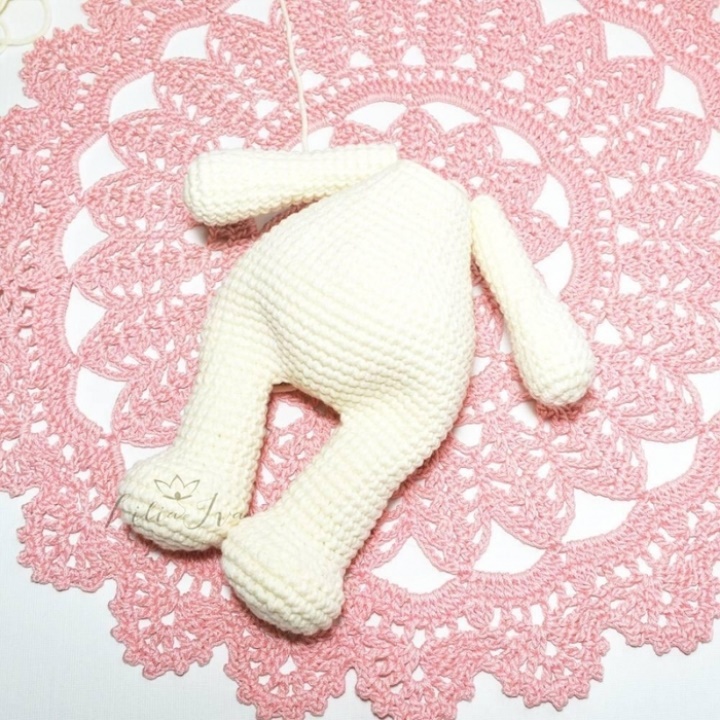
Tail the nail fill and sew to the carcase.
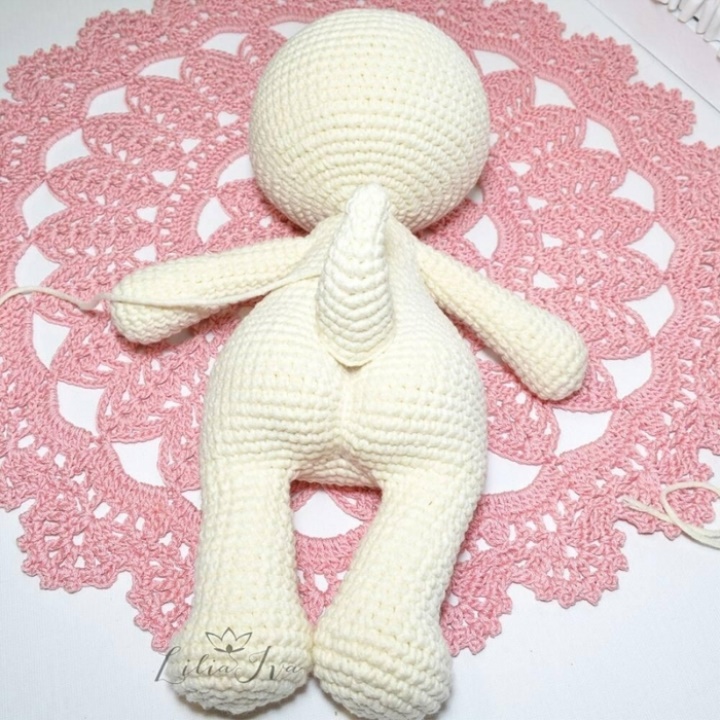
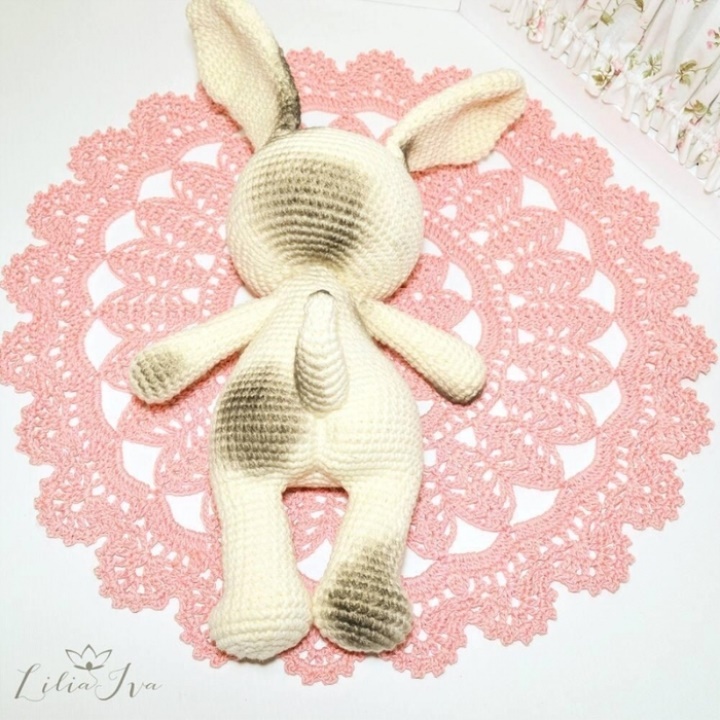
Our tolstupik now looks like a Martian :). In my opinion it's very nice.
It's time to make the suits on the face.
Again arm yourself with a long needle and a strong thread in the tone of your toy.
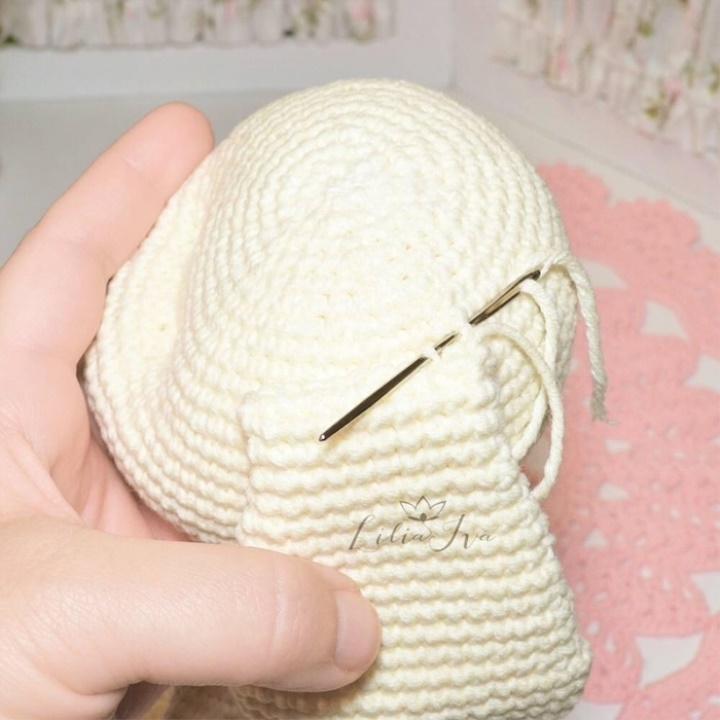
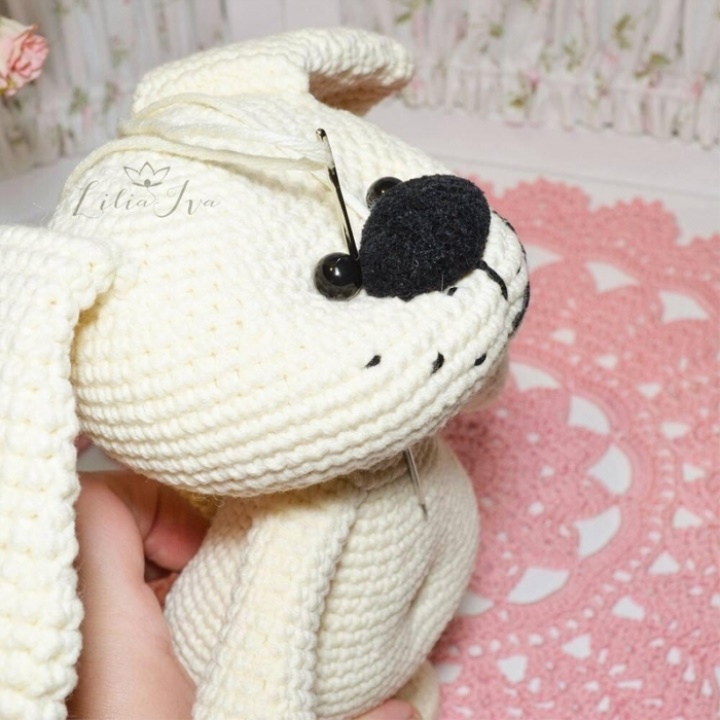
Attach the thread at the base of the head. Then make a puncture from the base skaoz muzzle up to the 16th row.
Visually determine the vertical axis of symmetry of the muzzle, count 4 loops on the right side and output the thread.
Then, make a puncture through 2 loops (move to the left side) down to the base of the head.
Pull and tie a strong knot.
Again, make a piercing from the bottom up, and return through two loops, again pull off and tie.
So you need to do two more times.
In total, there should be four weights. Well tie the ends of the threads and use a needle to hide them in the toy.
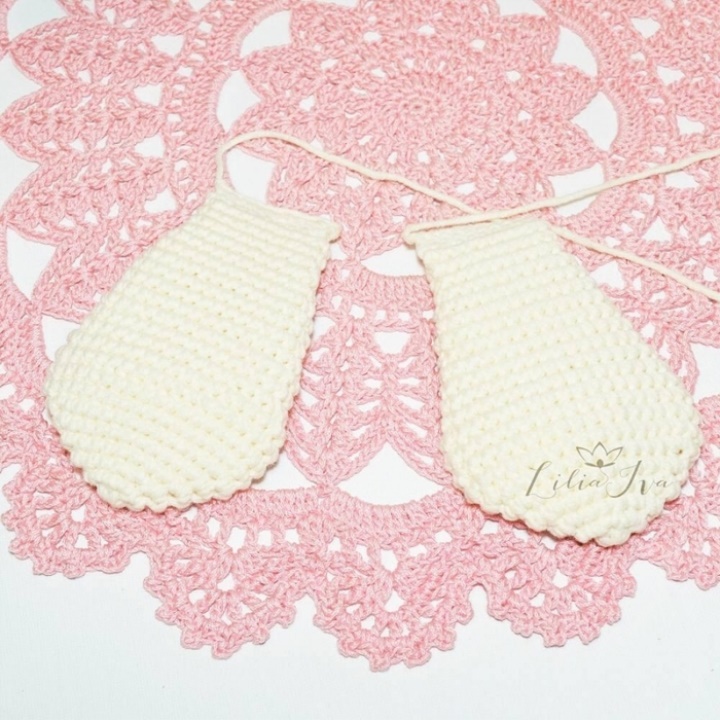
It's time to take hold of the ears.
Starting with the second row, all the loops make sense to knit by the front half loops. So the canvas is more plastic.
1. 6sb in the spacecraft.
2. Ex. in each loop = (12 сбн).
3. 2 сбн; (pr) * 3 times; 3сбн; (pr) * 3 times; 1сбн = (18 сбн).
4. 3bn; (pr) * 3 times; 6сбн; (pr) * 3 times; 3сбн = (24 сбн).
5. 4сбн; (pr) * 3 times; 9bn; (pr) * 3 times; 5c = (30cb).
6. 5bn; (pr) * 3 times; 12 сбн; (pr) * 3 times; 7cbn = (36cbn).
7-10. 36сбн without changes.
11. 6bn; (yb) * 2 times; 16sbn; (yb) * 2 times; 6сбн = (32 сбн).
12. 32 сбн.
13. 6bn; ub; 15bn; ub; 7сбн = (30 сбн).
14. 30 сбн.
15. 5bn; ub; 14sbn; ub; 7cb = (28cb).
16. 28bn.
17. 5bn; ub; 14sbn; ub; 5 сбн = (26 сбн).
18. 4cb; ub; 12 сбн; ub; 6 сбн = (24 сбн).
19. 3bn; ub; 11bn; ub; 6 сбн = (22 сбн).
20. 3bn; ub; 10 сбн; ub; 5сбн = (20сбн).
21. 14bn.
Then we flatten the part and connect the two sides with columns without a crochet over the half loop. The part that is in front of the eyes behind the front, opposite to the back.
In this way a 10sbn will be sewn, make a loop of lifting, a turn and again a row of 10sb. Close the last bar and cut the thread, leaving the tail for sewing.
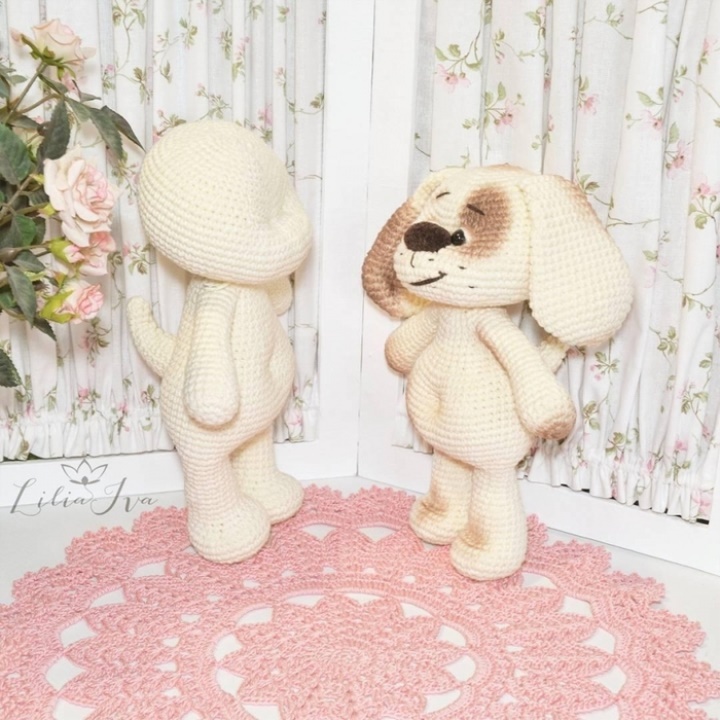
Ears sew on the sides of the head closer to the crown (I have 10 rows from the top of the head). First we sew, lifting the ear to the top, then, bend the ear down and again make a seam, but on the other side (it will be in the 9th row from the poppy).

If the ears are ready and sewn, you can proceed to the nozzle.
For my nose I used velvet yarn "Andre klassik" from "Alpina" 530m / 100gr. Hook 1.25.
If you knit from the yarn of your choice, then you need to adjust the description for your toy. But the principle of knitting will be clear. Just as you knit, apply the workpiece to your face and see whether you like it or it's worth it to increase / decrease.
So, when knitting a nose, we do not count the rows, but simply knit a row:
Start with a chain of 5in; then along this chain, from the second loop from the hook, tie 3bn; in the last loop to tie 4sbn; again along the chain, but on the other side of the 3sb; and in the last loop 4cb.
3сбн; (pr) * 4 times; 3сбн; (pr) * 4 times; 4bn; etc; 1сбн; etc; 1сбн; etc; 5bn; etc; 1сбн; etc; 1сбн; etc; 6сбн; etc; 2cb; etc; 2cb; etc; 6сбн; etc; 2cb; etc; 2cb; etc; 8bn; etc; 2cb; etc; 2cb; etc; 10 сбн; etc; 3сбн; etc; 3сбн; etc; 88ббн.
Finish with connecting loop. Leave the tail, thread this loop around the perimeter of the detail "over the edge" and pull it together a bit (the main thing is to know the measure!).
If your thread, from which you knit a nose, allows it to be sewn, then bravely do it.
Velury thread to sew is problematic, so I took the usual strong sewing thread in two pieces and a needle with a blunt nose.
Try to sew the nose symmetrically, and here you will be helped by the preliminary tightening.
You can not stuff it right away, but as you sew, it's easier for me.
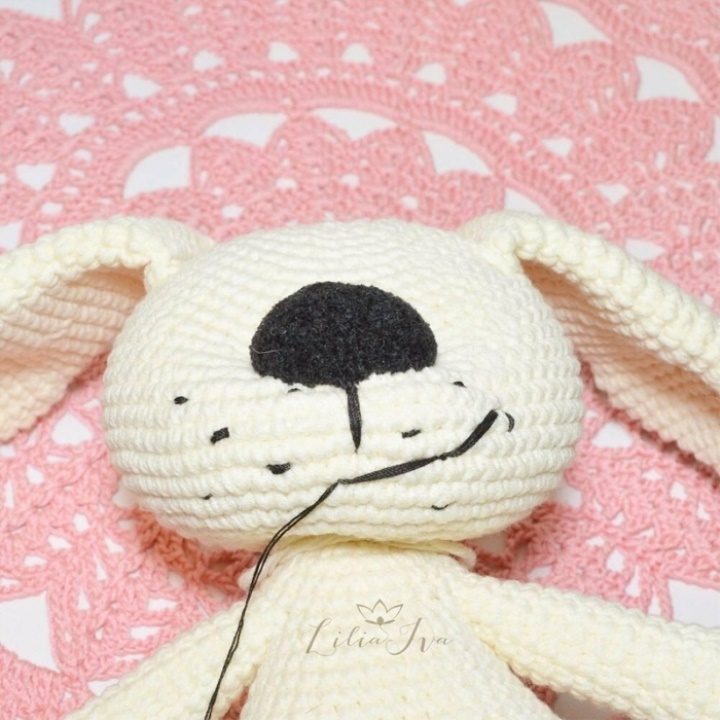
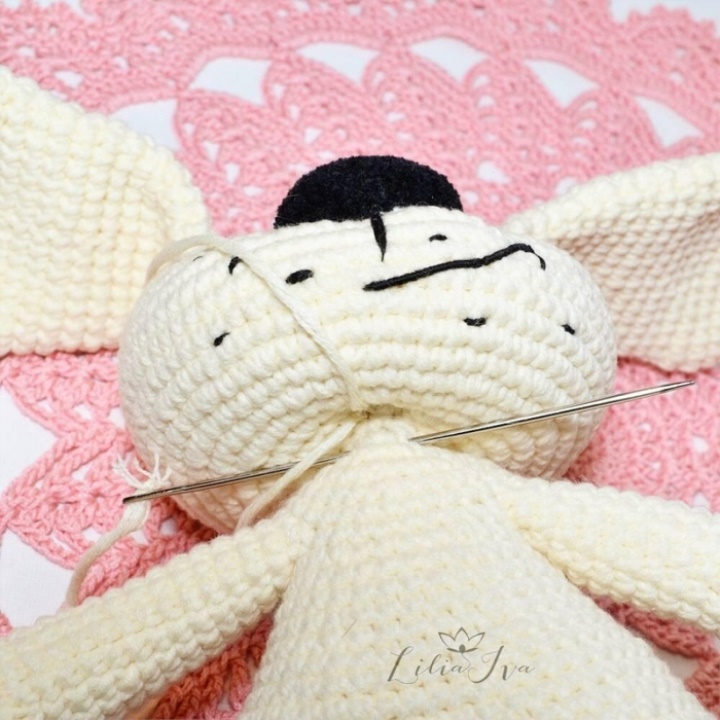
When the nose is sewn, you can embroider dots on the cheeks, a dash under the nose, and a smile.
For embroidery I use a mulina.
For a smile, first sew a long stitch from the beginning to the end (do not separate the mulina), and repeat this stitch 2 times, then in the middle, make a bite, put the needle to the beginning of the stitch, and densely translate along the entire length. Should be a round flagellum.

Now let's take a look.
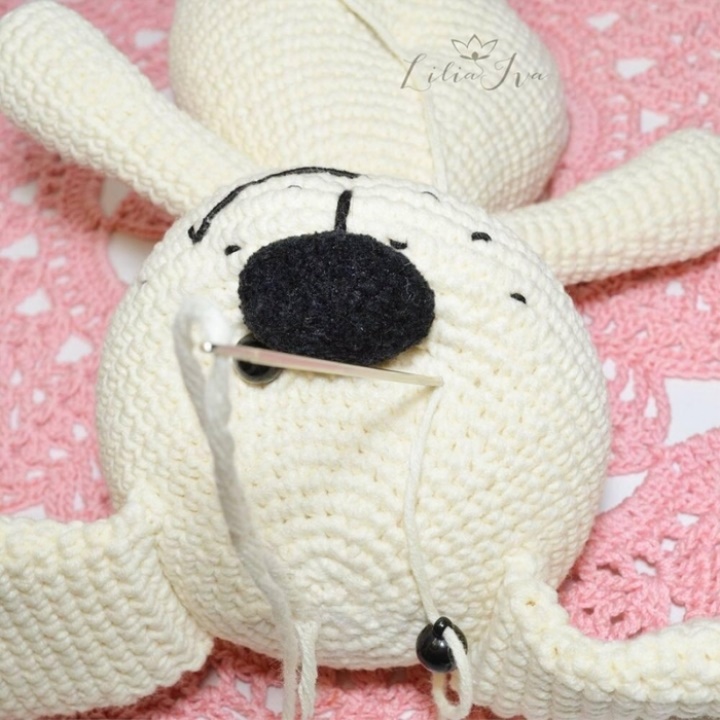
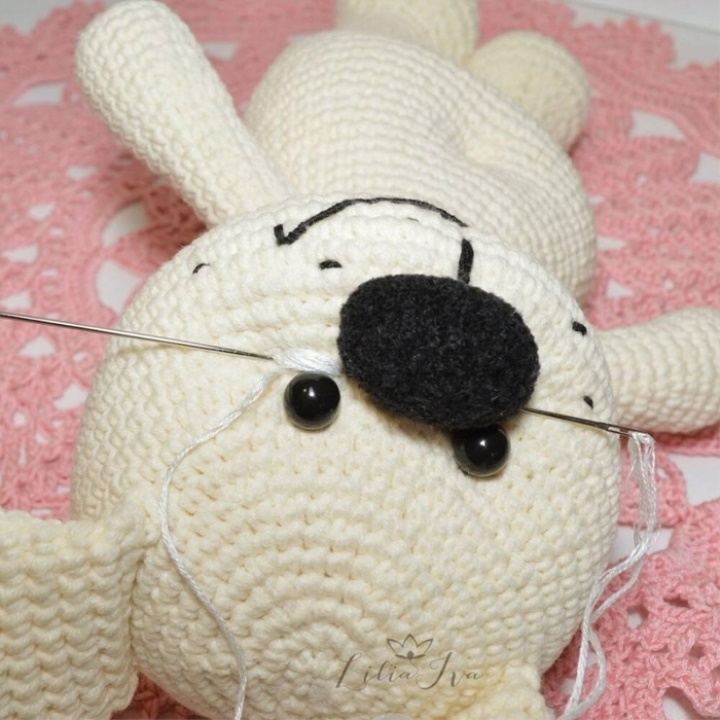
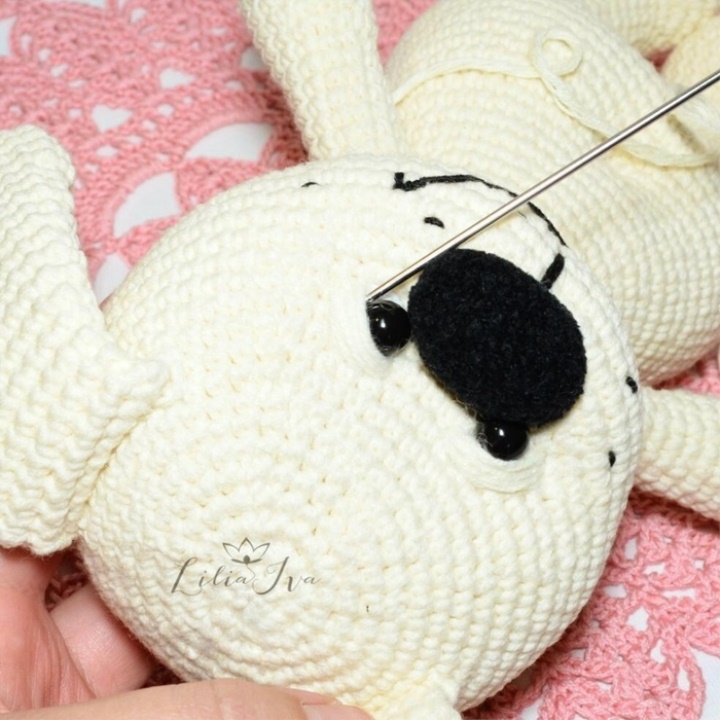
Prepare eye pieces. Before you start fixing them, determine the location of the pupil and make a hole so that the button leg can easily fall into it.
Further, with a long needle with a strong thread, make a puncture from the base of the head, from the nape, to the location of the eye, thread the thread into the button leg and return to the same loop. Bring the needle back to the back of the head and tighten it with a knot, drowning the button. With the same thread, do the same with the second eye. Connect the ends of the thread.
If at this point, the dog's head is thrown back, make an additional tightening by grasping the loops in front, just below the neck, then moving up to the bridge of the nose, make a stitch through 3-4 loops, and down to the base of the head, tighten the thread well and hide it in carcass.
Take the mulina white and embroider under the button eye whites (just uniform stitches).
With thread from which a dog was knitted, embroider eyelids. With the needle, help the threads to lie flat.
It's time for the final design of the toy - toning.
Important: it's better to skip this step if your toy is intended for a very small child (less than a year and a half).
To apply toning you will need an oil pastel. If there is no such at hand, do not rush to fly to buy, for sure at home there will be colored pencils, at the very least, a simple pencil will do.
Also you will need a medium-grained sandpaper and an elastic brush.
Chalk pastels or pencil rub on the sandpaper, then carefully "povyukayte" on this place with a brush. With the resulting powder, start decorating your puppy as fantasy dictates.
Repeat this sequence until the result satisfies you.
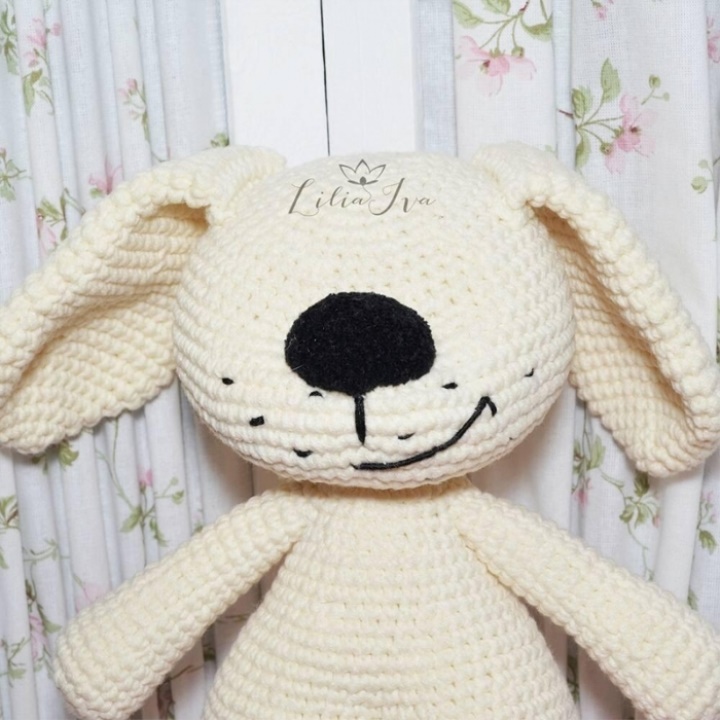
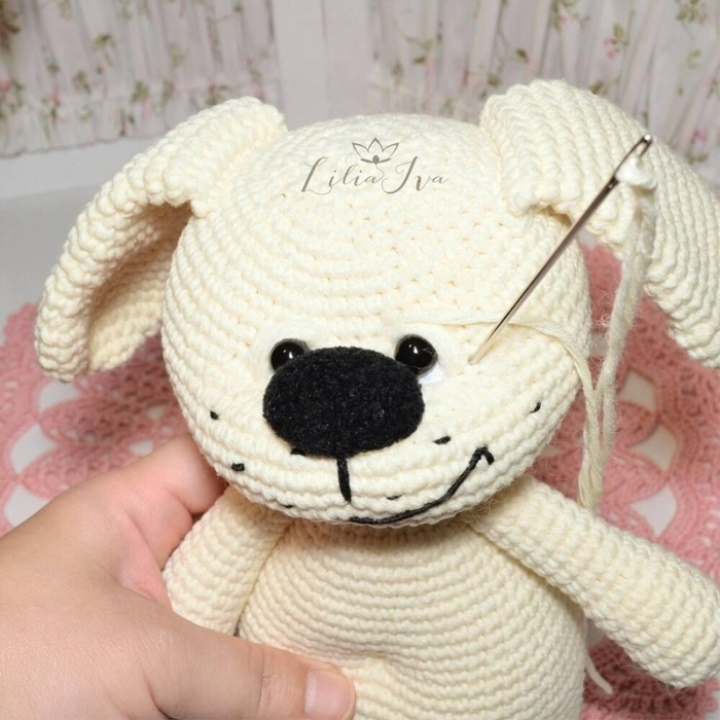
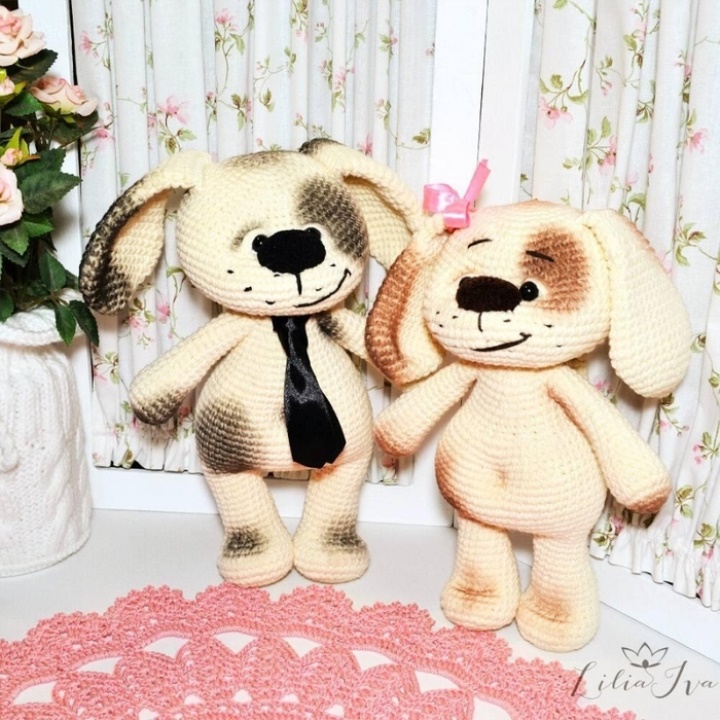
And, voila, the puppy is ready!
Is it possible to erase such a toy? Can!
Here is a short instruction. Wash only with hands, helping with a soft foam rubber sponge and in warm water. Rinse well under running water, wring out with a towel, without twisting.
Dry the toy on the heaters can not be!
Refresh the toning, if necessary.