Hooray! Everything is connected to the new year, one could have a little rest, but ideas do not give rest. In our family there is a pleasant tradition to gather all relatives for Christmas, chat and give cute little gifts. I do not like to give souvenirs such as candles, disposable mugs and figurines of the symbol of the new year, and this time I will make gifts myself. In general, an interesting recipe for cookies was found, special sachets were purchased, and it remains to make clips for them in the form of little animals.


The idea is taken from a Japanese magazine about amigurumi, but of course it cannot be used in the original. Apparently, in Japan and Russia, the clothespins are different, so the idea is mainly taken from the original scheme)))
Here is the original:
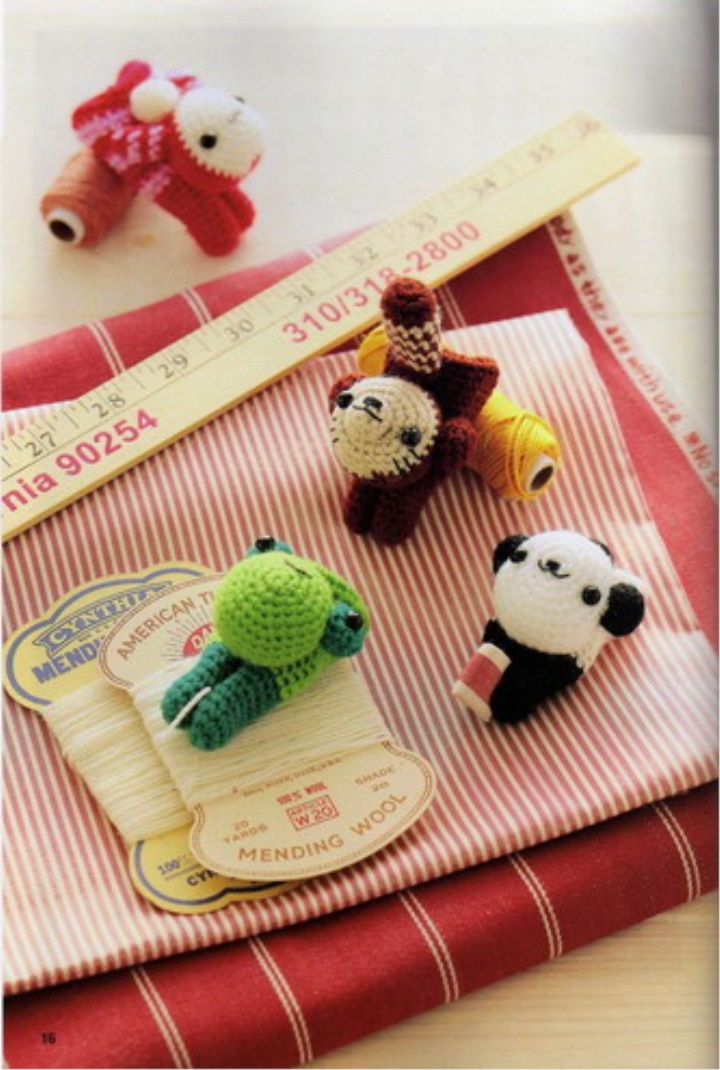
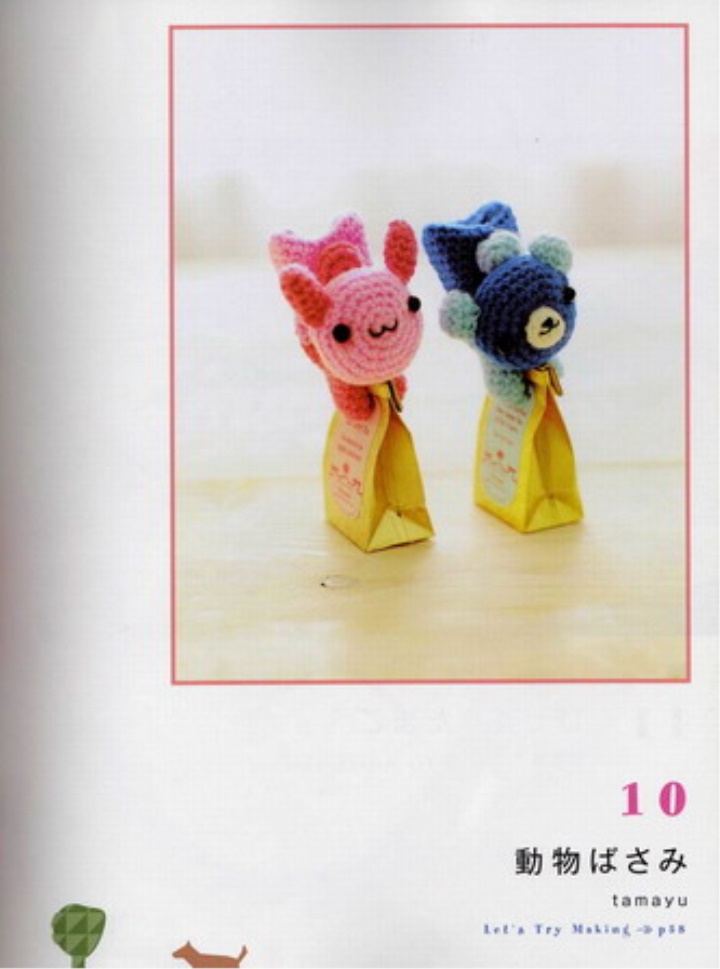
When I first started crocheting, this magazine about amigurumi was one of the first ones downloaded and studied with close attention. Part of the schemes caused only bewilderment - how can I tie such a thing?))) I had the impression that Japanese needlewomen go around the house with a crochet at the ready and are looking for - what else to tie around? The clothespins in the magazine looked very nice, but I had no idea which side to take on. Having gained some experience, I began to understand the principle of knitting, but did not want to try, because there were no ideas where to put these clothespins. Well, now there is a great opportunity to please loved ones)
In general, I will describe in detail the knitting of the main parts, and you will have to cope with the binding of the clothespins themselves, they are all different, you will have to carry out frequent fittings)
The principle is this: knit separately the front legs, head, ears and tail. Then we connect the legs and begin to knit the torso. And at the end we collect the head and fasten it and the tail to the body.
Materials and tools:
threads of different colors
hook, suitable to the thread (I have from 1.5 to 1.7)
clothespins
filler
eyes (I have self-adhesive with a movable pupil)
floss threads for embroidery muzzles
needle, scissors, glue
decorations for toys (optional)
Knit legs:
1st row: make amigurumi ring, recruit 6 loops (6)
2nd row: increase in each loop (12)
3rd row - 6th row: 12 sc (12)
My clothespins are small, with rather short legs, 6 rows were enough for me to finish the jumper. If you have other dimensions of clothespins, do a fitting and tie up rows as needed.
Knit head:
The head is standard everywhere, none of the animals had to change its size. The color of the yarn changed and the lion cub knit a couple of rows outside the box so that it had a projection around the head circumference that was tied with a mane.
1st row: make amigurumi ring, recruit 6 loops (6)
2nd row: increase in each loop (12)
3rd row: (1 sc, 1P) * 6 times (18)
4th row: (2 sc, 1P) * 6 times (24)
5th to 10th rows: (24 sc) (24)
11th row: (2 sc, 1u) * 6 times (18)
12th row: (1 sc, 1u) * 6 times (12)
You can knit a couple more drops, and you can just tighten the hole, not very tightly stuffed his head with filler.
A lion cub will have a head knitting pattern:
1st row: make amigurumi ring, recruit 6 loops (6)
2nd row: increase in each loop (12)
3rd row: (1 sc, 1P) * 6 times (18)
4th row: (2 sc, 1P) * 6 times (24)
5th row: 24 sc (24)
6th row: 24 sc for the front wall of the loop (24)
7th row: 24 sc for the rear wall of the loop of the 5th row (24)
8th - 10th rows: (24 sc) (24)
11th row: (2 sc, 1u) * 6 times (18)
12th row: (1 sc, 1u) * 6 times (12)
On the head of the cub there is a scar, through which we knit the sequence:
(5 CCH in one loop, 1 sc) * 12 times. It turns out the mane)
Ears round:
1st row: make amigurumi ring, type 5 loops (5)
2nd row: increase in each loop (10)
3rd row: 10 sc (10)
(the head of the frog is connected in the same way as the ears are round, only the 4th row in which 10 sc are added)
Triangular ears:
1st row: make amigurumi ring, type 5 loops (5)
Further I will describe how the sequence of loops, I will not divide by rows:
1 scn, 1p, 1 scn, 1p, 1 scn, 1 n, 1 scn, 1 n, 6 scn.
Ears long:
1st row: make amigurumi ring, type 5 loops (5)
2nd row: increase in each loop (10)
3rd row: (4 sc, 1P) * 2 times (12)
4th to 5th rows: (12 sc) (12)
6th row: (2 sc, 1y) * 3 times (9)
Tail round:
1st row: make amigurumi ring, type 5 loops (5)
2nd row: increase in each loop (10)
3rd row: 10 sc (10)
4th row: (1 sc, 1u) * 3 times (7)
The tail is long:
We pick up the chain from the VP (choose the length yourself) and knit in the opposite direction of the RLS, starting from the second loop from the hook.
From these elements, collect your little animals as a puzzle)))
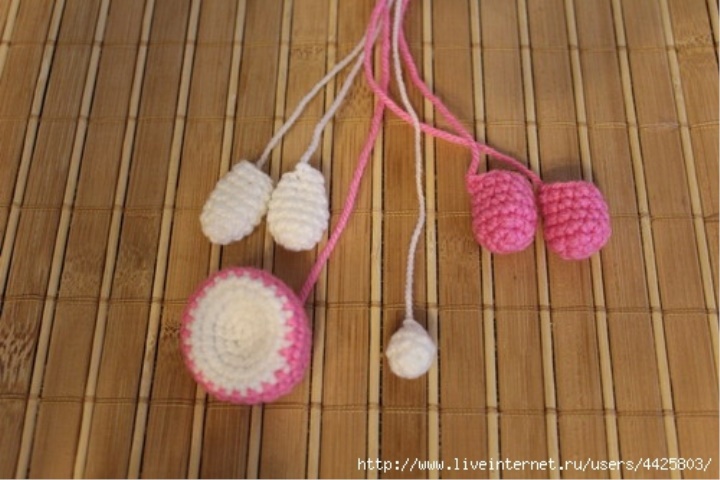
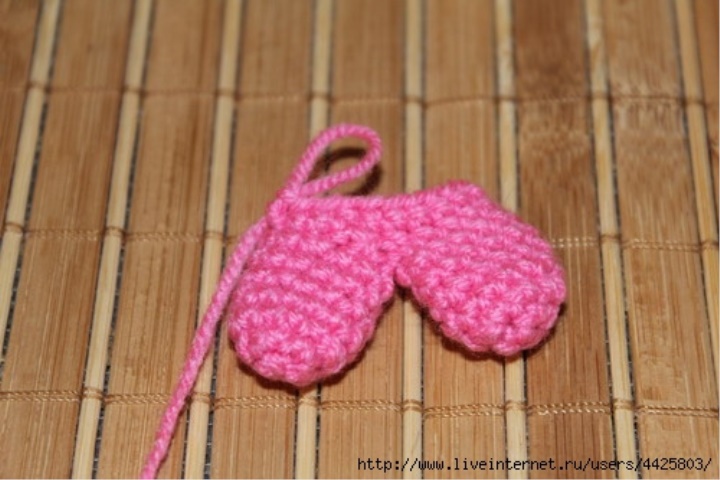
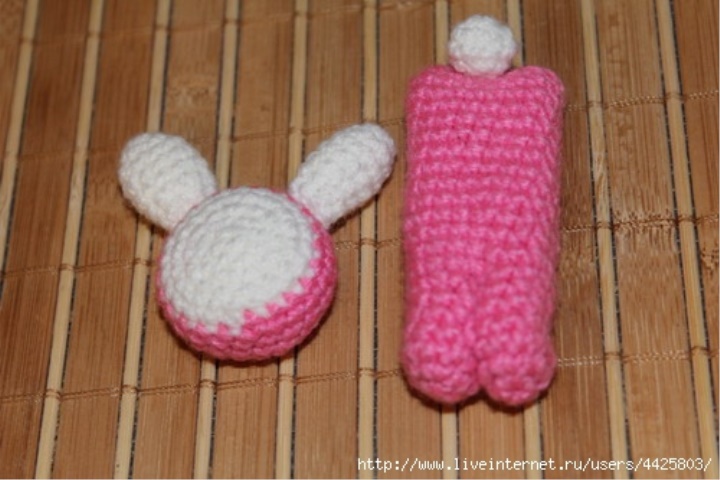
I have as an example a pink hare. Here are the legs, tail and head:
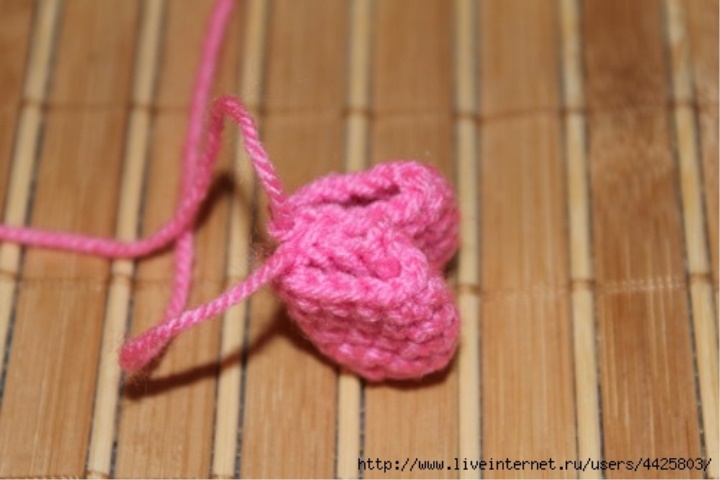
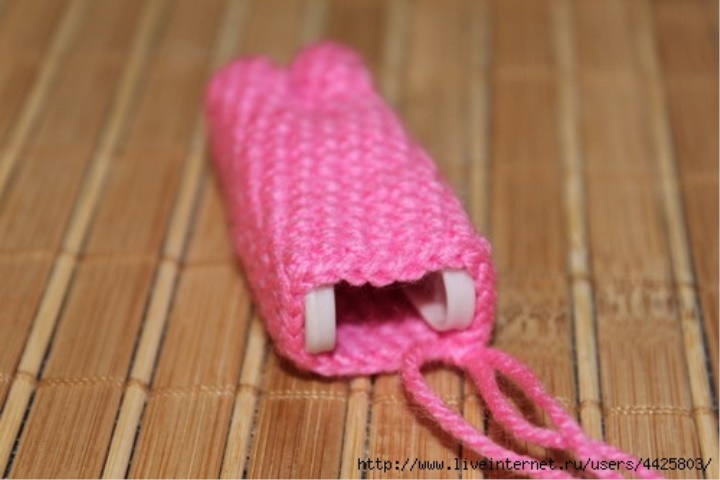
Remains a responsible procedure - stitching the legs and vyvyvyvanie torso. Attach paws to one another and sew through the needle through 4 loops. I pulled the thread through the outer walls of the loops, using the tail of the thread after knitting. I am posting a sketchy drawing from a magazine, so that it is approximately clear how to fasten and what happened to the photo:
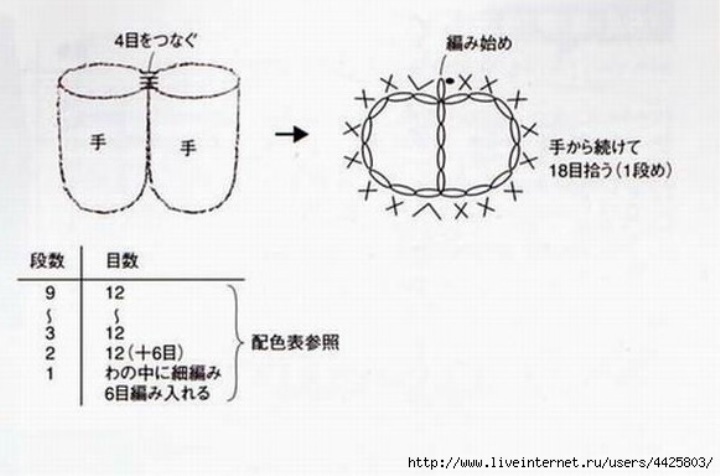
When the legs are securely fastened, we begin to tie them, as shown in the diagram. Honestly, I did not count how many loops I had as a result of the total circumference, and did not rush to the gains, because it is better to knit a couple of rows and try on a new thing on a clothespin. In total, I did 3-4 gains at the junction of the legs.
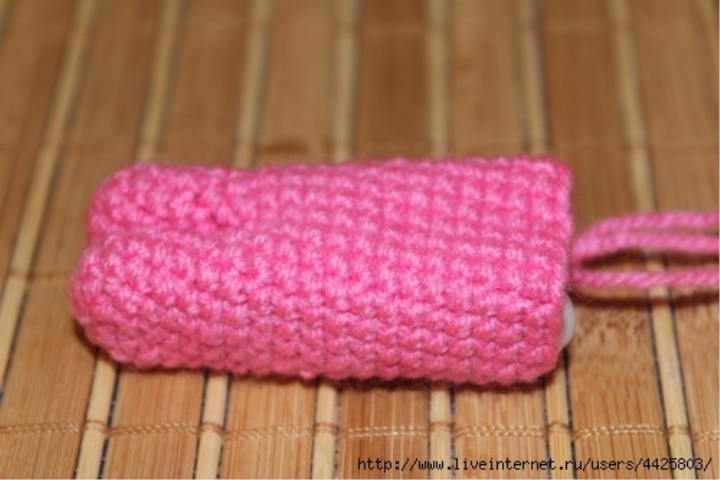
At first I was too lazy to try on the clothespin bound, and as a result the first test had to be dismissed almost to the feet. The bound one should not fit very tightly around the base (otherwise the clothespin will show up), but it should not be too loose. It is better to measure more often than to dissolve and then knit again.
When the part is finished almost to the end of the clothespin, we put it on and begin to knit down. Here, too, how you will succeed - I, for example, with thin threads, knit down in each loop, and with thicker ones through 1 sc. When the hole is maximally compressed, we tear off the thread and sew up the rest with a needle, and then we hide the thread in the middle of the product.
Here is the head and body before the final assembly:
And the assembly remains - we sew our ears to the head, tail to the body and glue the head.
All is ready!
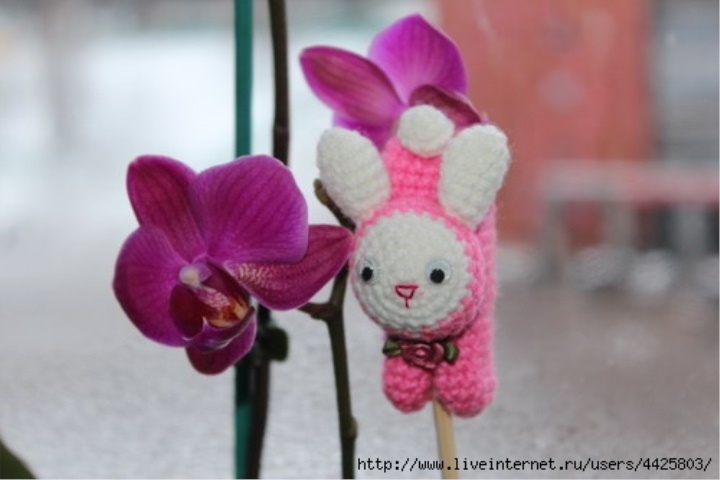
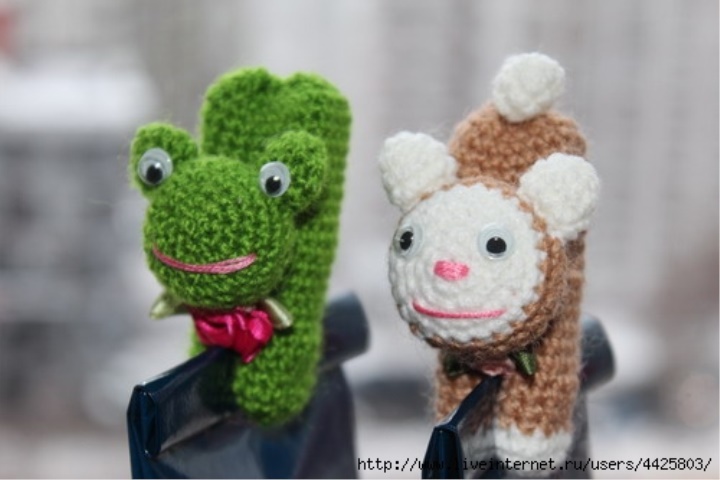
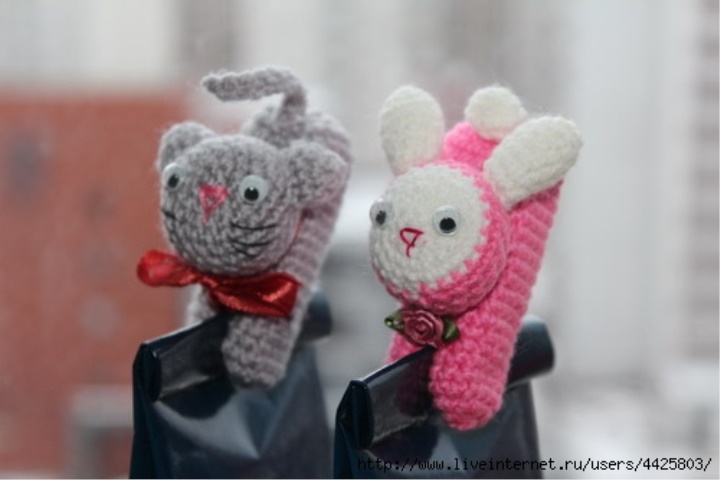
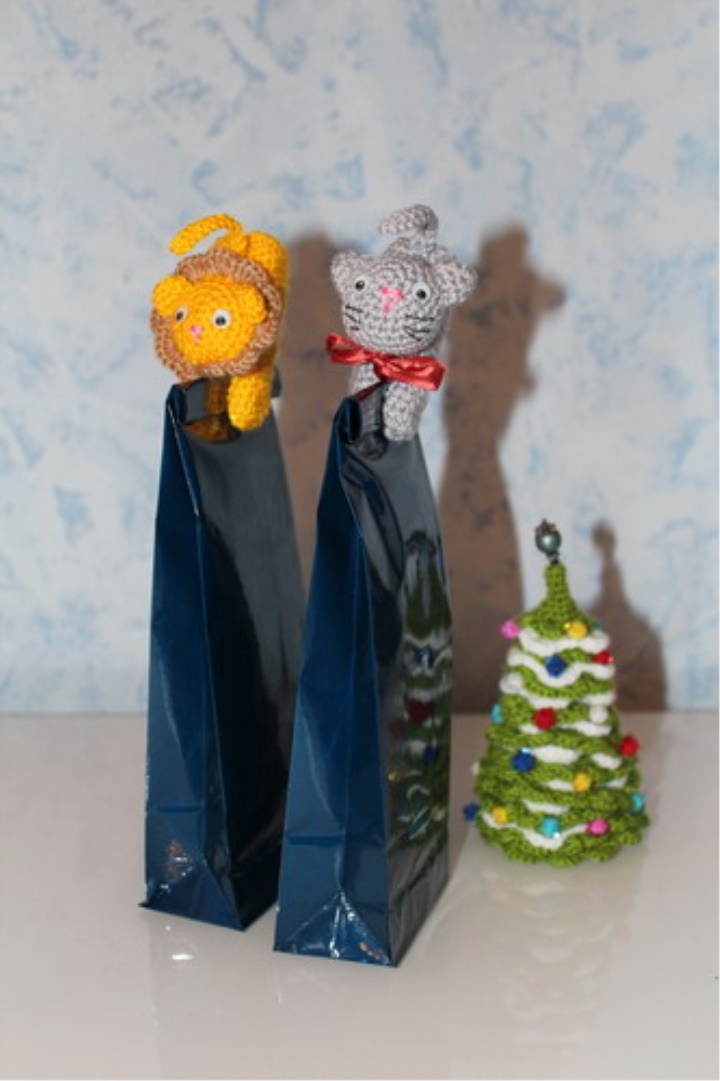
And so look ready bags with clothespins (though so far without cookies inside)


Source : https://www.liveinternet.ru/users/5066733/post429448392/