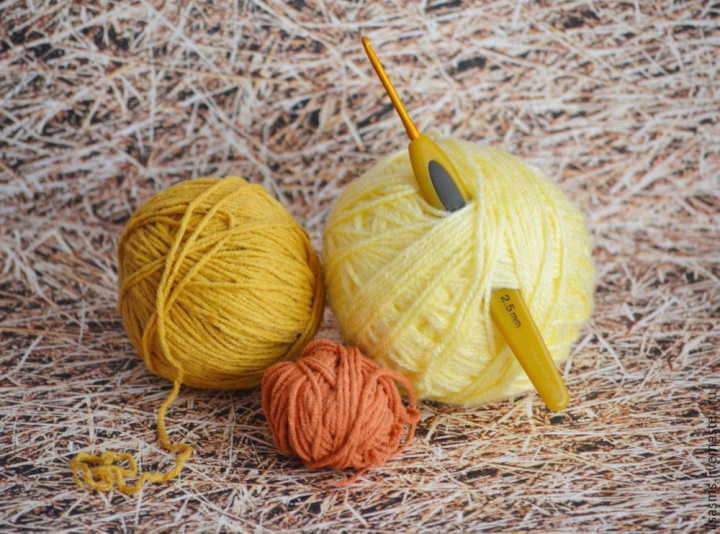
1. Yarn of three colors: yellow, white or black for the body of the bird; red or orange for crest and beak; any for your taste, you can sectional, for the tail.
2. Filler for toys.
3. Plastic eyes or polymer clay for their own production.
4. Fluffy decorative wire.
Tools: hook, scissors, needle with a wide eye, pins, glue. The most convenient way is to use Super Moment Gel.
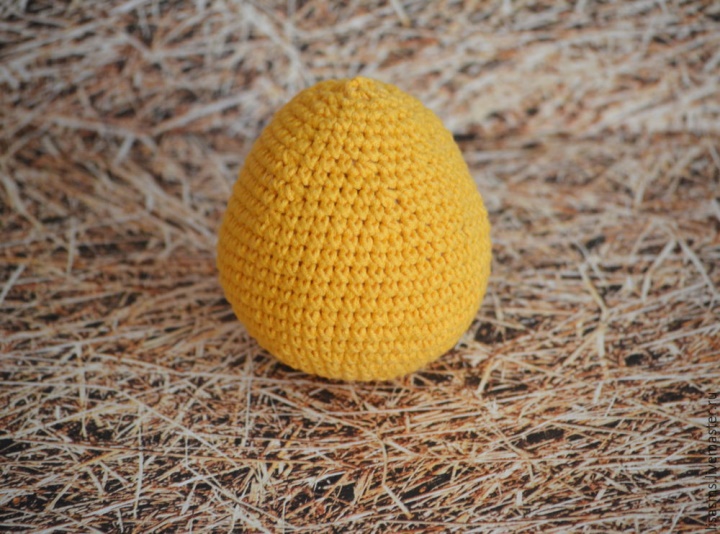
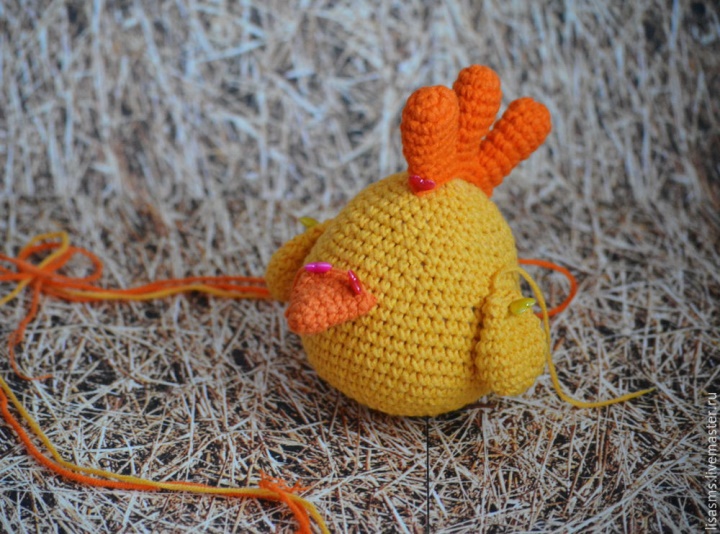
The body and head of the toy are one detail. Initially, I wanted to make a rooster in the shape of a ball and even came up with the appropriate name for it. But then my associative thinking told me that it should not be a ball, but an egg.
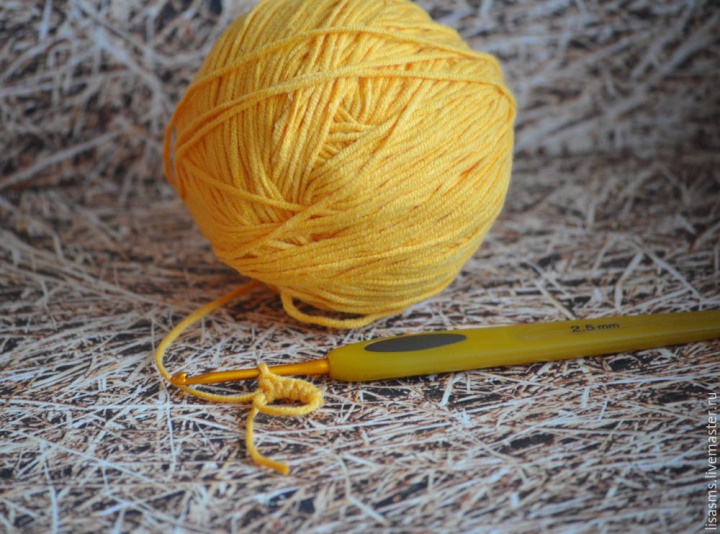
We will start knitting from the amigurumi magic ring: we wind the thread in two turns on the finger, tie up 6 crochets without crochet into the ring (I’m going to write just “column”), tighten the loop and use the connecting bar to close it into the ring.
In the next row knit in each column increase. We get 12 columns.
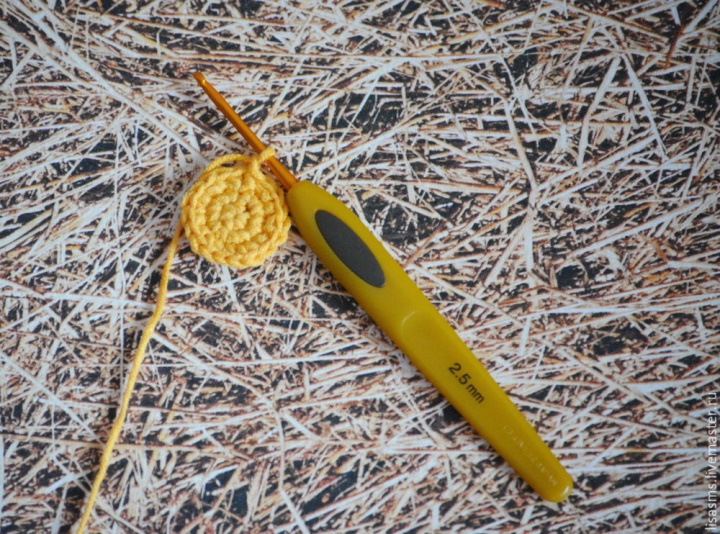
In each row we do 6 increments evenly until our circle reaches the size of 48 loops.
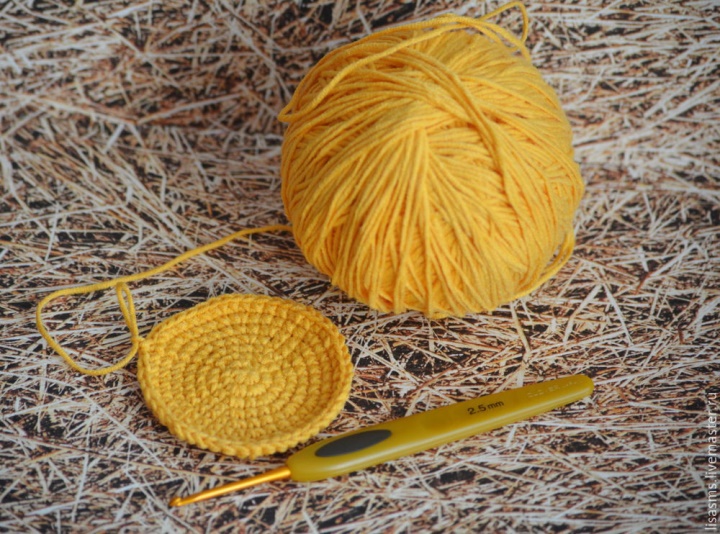
Next, knit without gains 8 rows, forming the walls of the egg.
After that, we begin to decrease by 6 seconds. b / n through the row. That is, we reduce 6 loops, it turns out 42 loops. We knit the next row without slowdowns (42 loops), then again 6 slowdowns (36) and again without slowdowns (36), and so on, until 12 loops remain.
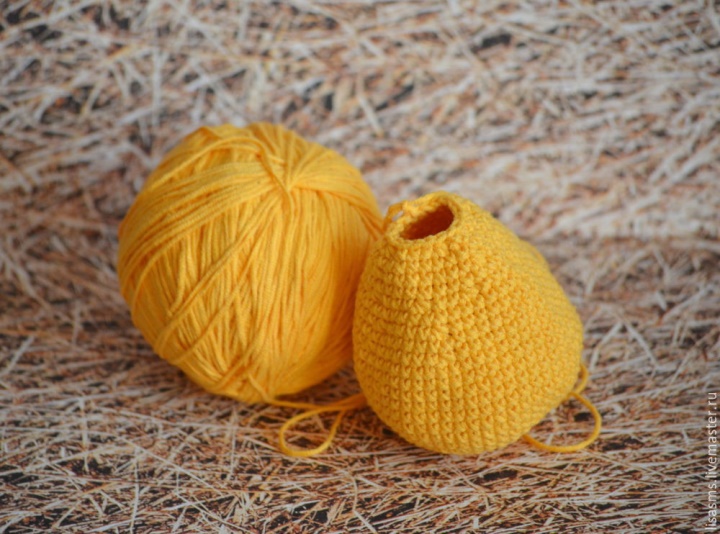
At this stage we fill the toy with filler, then knit two loops together and close the hole. The main part is ready.
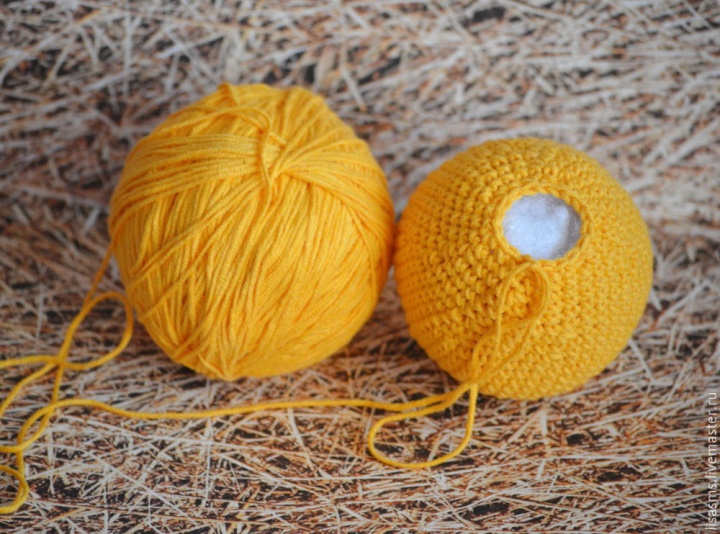
Important! We do the reductions, we knit two columns together. If you just skip a single column, you will get a sheet in the hole, from which the filler will subsequently look out of shape.
You can resize a part, knowing several principles:
- the number of rows that are knitted without increments is equal to the number of rows in which there were gains. In our example, there are 8 rows with increments and 8 without them.
- the egg-shaped form is achieved by the fact that we alternate a series with cuts with a number without cuts. If in each row we evenly reduce 6 loops, we get a ball.
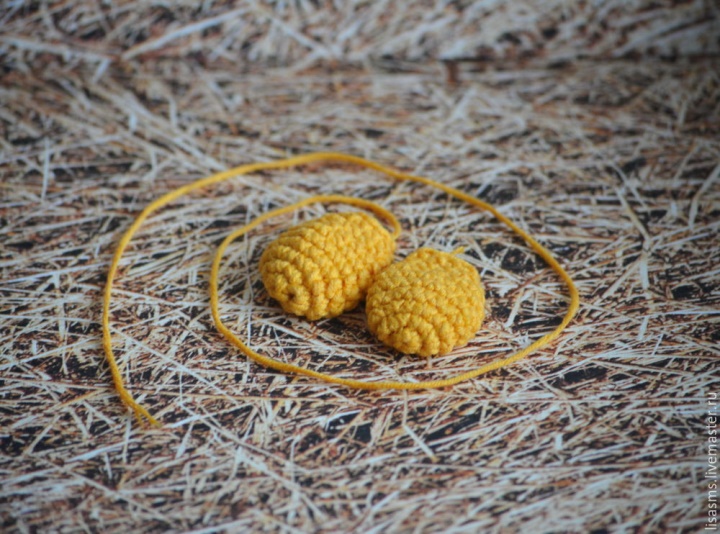
From the same yarn we knit the wings:
1 row: 6 columns in the ring amigurumi
2 row: 6 increments (12 columns)
3 row: evenly make 6 increases in the row (18 columns)
4-5 row: 18 columns
6 row: 4 columns decrease, 4 columns, decrease, 4 columns, decrease (15 columns)
7 row: 3 columns, decrease, 3 columns, decrease, 3 columns, decrease (12 columns)
8 row: 2 columns, decrease, 2 columns, decrease, 2 columns, decrease (9 columns)
9-10 row: 9 columns.
On one of the wings, we cut the thread and hide it inside the wing; on the other, we leave a long thread for sewing.
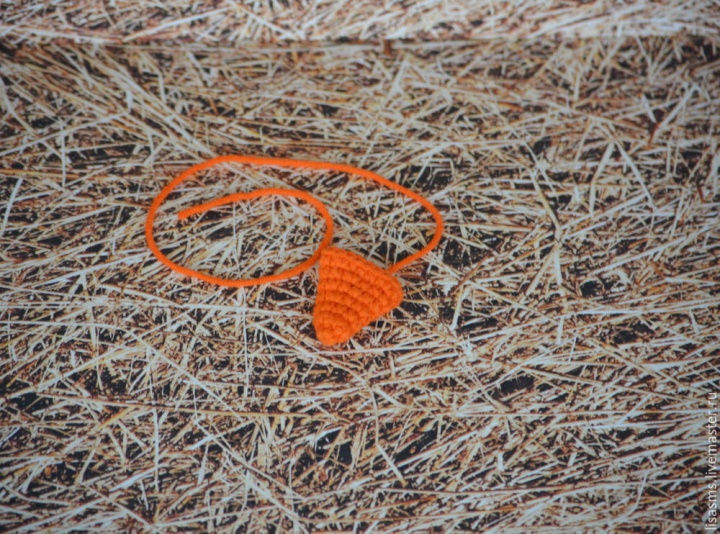
Beak knit from red or orange yarn:
1 row: in the ring amigurumi 5 columns without nakida
2 row: we make evenly 3 gains (8 columns)
3 row: 8 columns.
4 row: three increments in a row (11 columns)
5 row: 11 columns
6 row: three increments in a row (14 columns)
7 row: three increments in a row (17 columns)
Crest.
1 row: 6
2 row: 12
3-6 rows: 12
7 row: three increments evenly (9)
8-9 rows: 9
10 row: we knit 9 posts, attach the second ridge part with the connecting post in the first, third to the second .
To tie a number of posts without nakida.
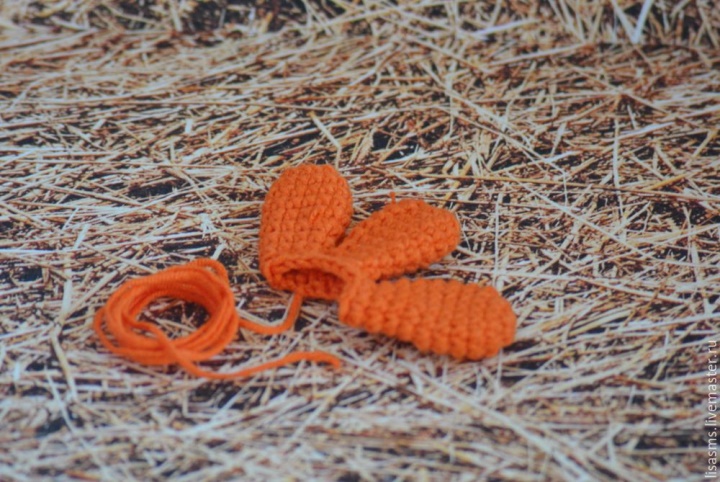
Tail. We knit three parts:
First row: in the ring of amigurumi 6 columns, then we knit in a spiral, without connecting columns, not counting the rows, up to a length of 4 cm. We do not connect.
So, all the details are ready:
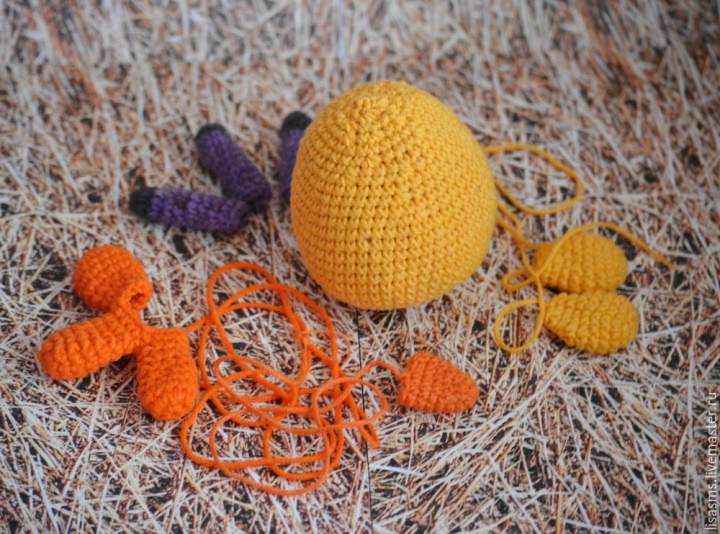
Getting to the assembly. To do this, first with the help of pins we pin the wings, making sure that they are symmetrical, sew them. Then we sew the beak, the comb, and lastly the tail details. You can sew them one above the other, you can collect in a bunch and sew so.
Both look good.
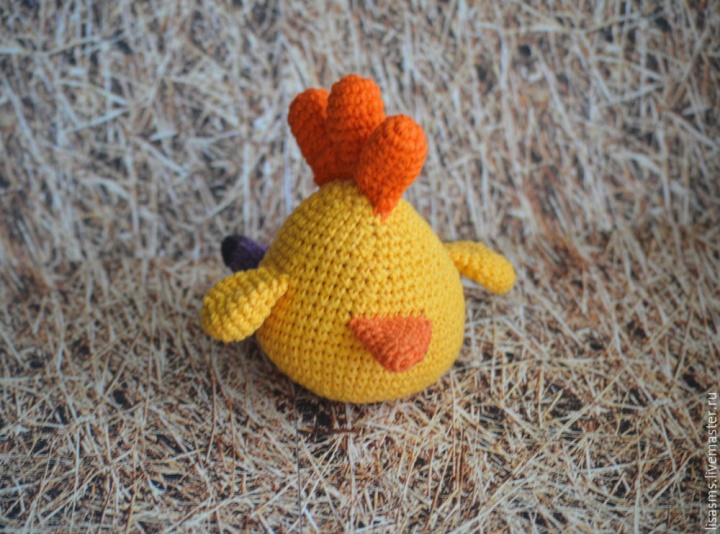
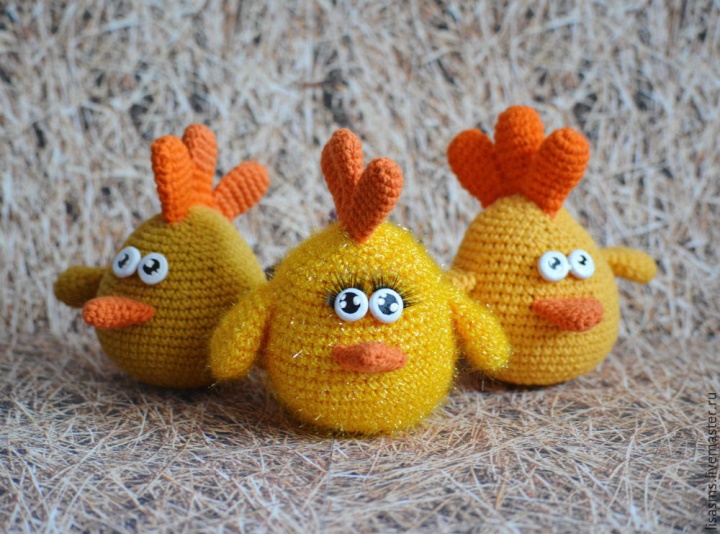
Then put the eyes and glue them in the place that you thought was the most successful. Tip: if you are making a toy for a small child, it’s better to paint the eyes directly on the toy with acrylic paints, as glued eyes risk falling into the child’s mouth, which is not safe.
Here's what we got:
This can complete the work. But you can go further: take the decorative wire, cut off two parts of it by 2 cm. The rest of it is bent in half and we attach our 2 cm part to each half. It turned out chicken legs. We glue or stitch them to the bottom of the toy.
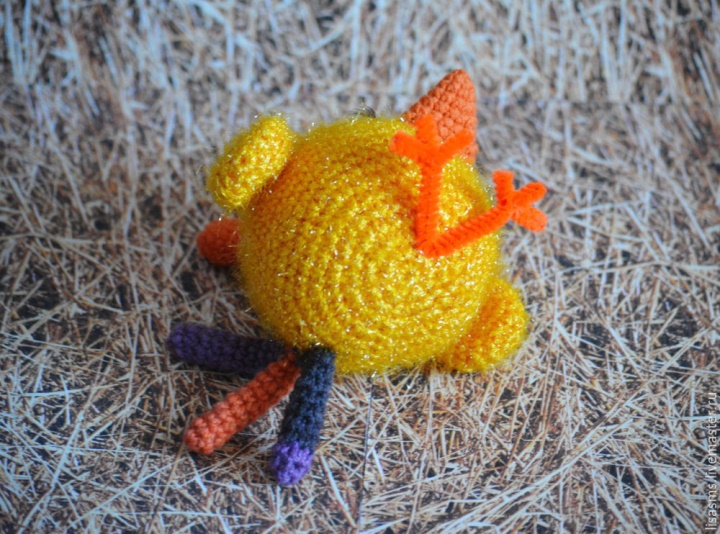
Our Petusharik is ready!