I want to tell you how you can tie a doll-sling on Slingobusa. At the heart of knitting such a doll lies the principle of tying beads. I was tying wooden beads 3.5 cm (head), 1.8 cm (torso) and 0.8 cm (legs). I have a doll with a height of 7.5 cm. The size of the doll depends on the size of the beads you are tying. In order to tie a doll, you need minimal knitting skills: to be able to knit columns without a scale (SBN), columns with a scale (PRSs), connecting bars (ss), to make additions (Prib) and Ubavki (UB).
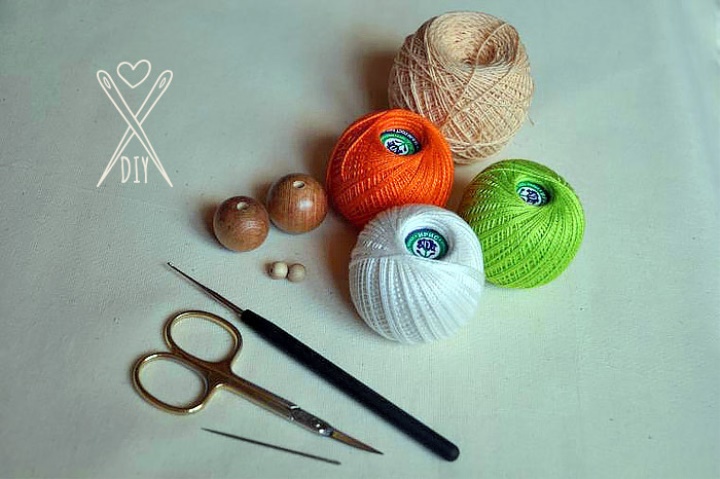
Since the doll is small, it is important when knitting to keep counting loops (changing the number of loops, even one, will be very noticeable, especially when knitting pens and legs: they can be different lengths and thicknesses).
Start knitting with legs (Tufelek).
Knit for both wall loops of the previous row.
Shoes knit in a circle, without loops lifting.
1 row: Thread for the Tufelek dial two air loops (or make a loop Amaguumi),
Then in the first loop (or in the loop of Amaguumi) we have 6 bars without a scale.
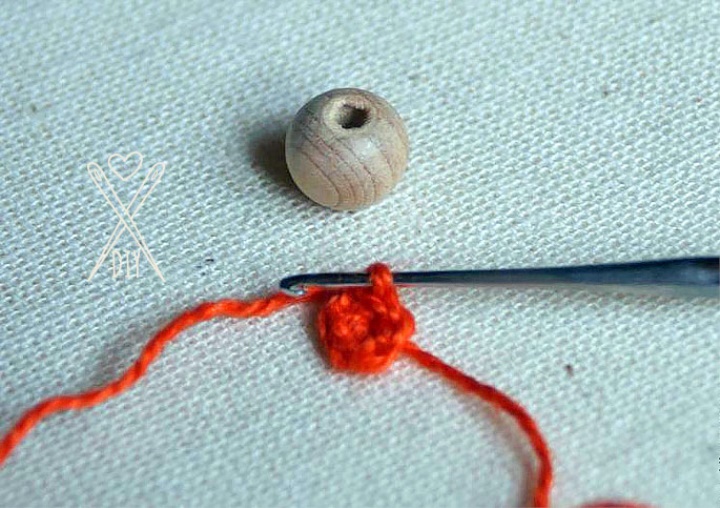
2 row: In each loop we make a raise (prib)-6 times (12).
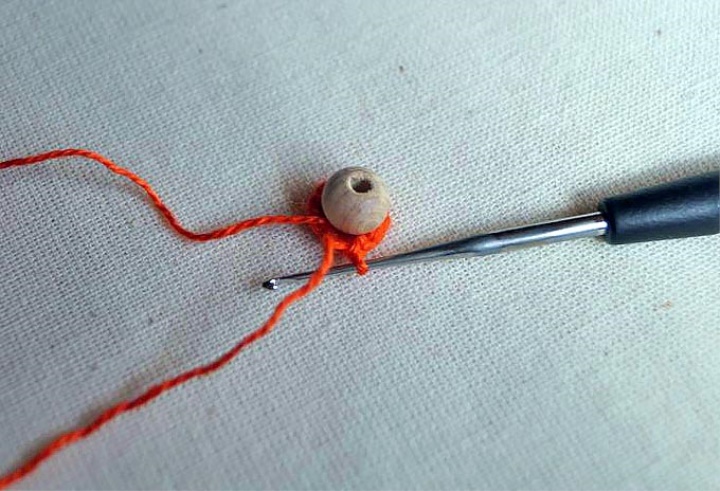
3-4 Series: 12 SBN.
Try the bead. The bead should be half-peeping out of the shoe.
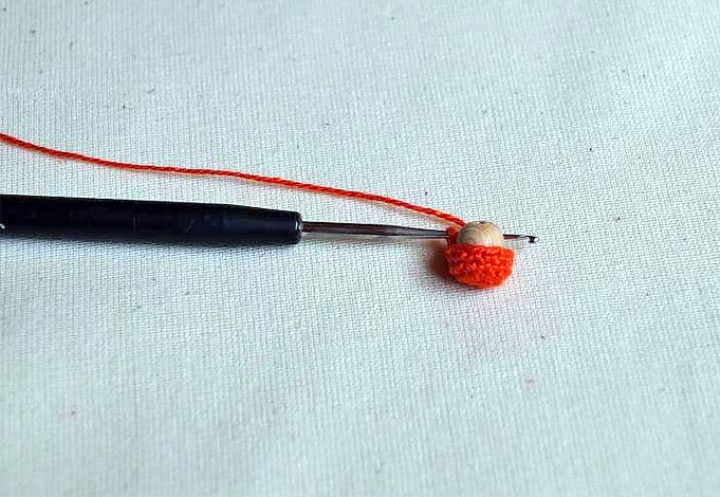
Change the thread to a flesh-colored thread
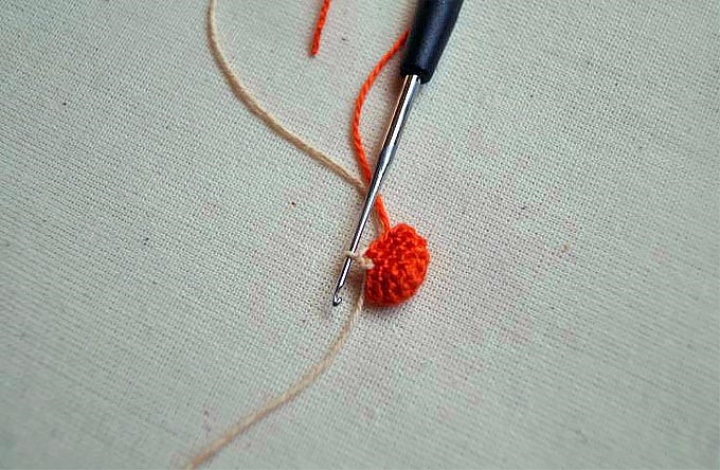
5 row: 12 SBN.
hiding ponytails in beads
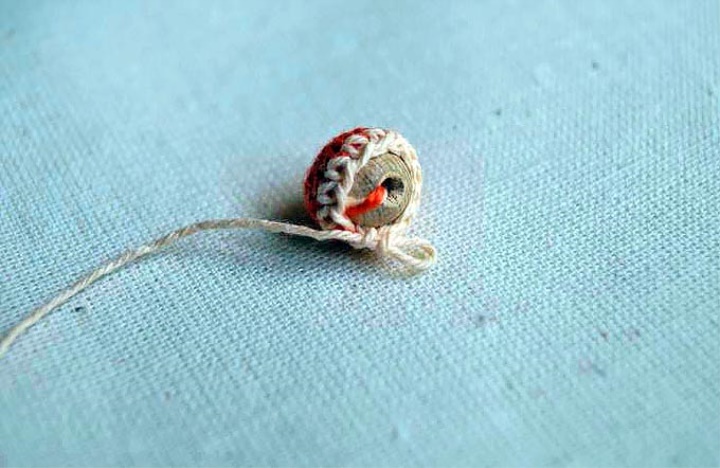
6 row: Do 6 decreases (6 SBN)
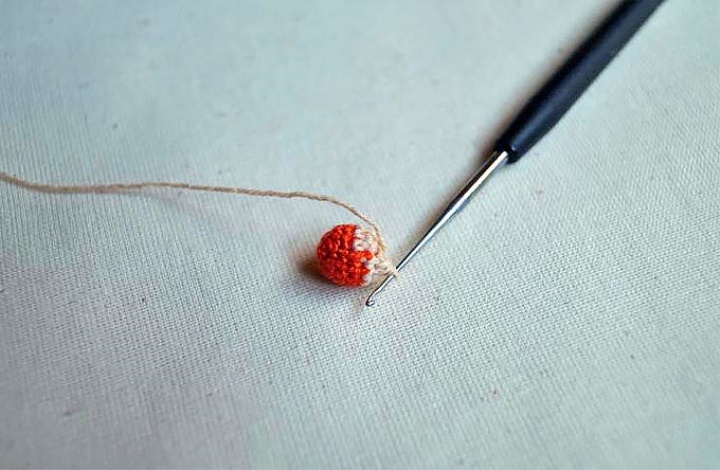
7-13 Series: 6 SBN. Cut the thread, leave the last buttonhole
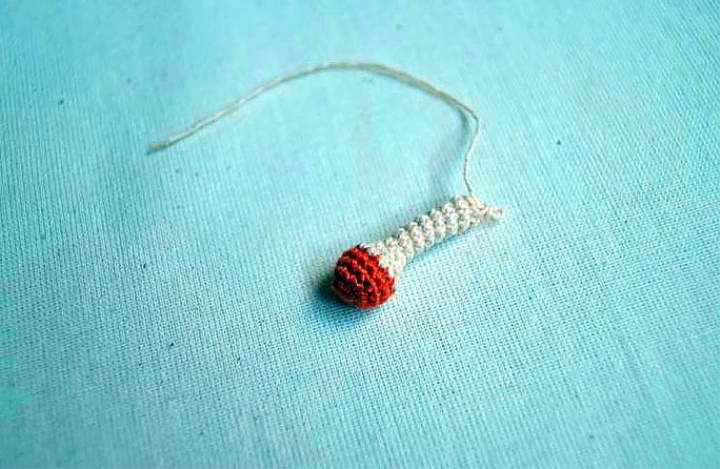
On the same scheme knit the second leg.
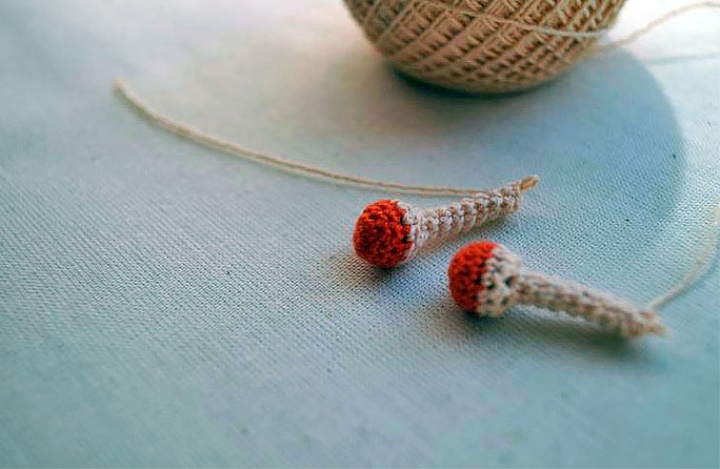
The 14th row. We connect both legs with each other: we fold one leg in half and connect opposite Stenochkami legs with columns without a scale (we carry loops opposite). At knitting we seize only one wall of a loop of the Pryndudyh a row (3 SBN). Connect the legs together with a connecting column (ss), then connect the two walls of the second leg (3 SBN). The loops at knitting of legs get very small and dense, therefore at connection of a wall of legs it is difficult to knit out of 6 loops 3, but it is necessary to try, probably, somewhere having provyazat an additional foam (at connection should turn out 7 loops-6 Сн + 1 ss).
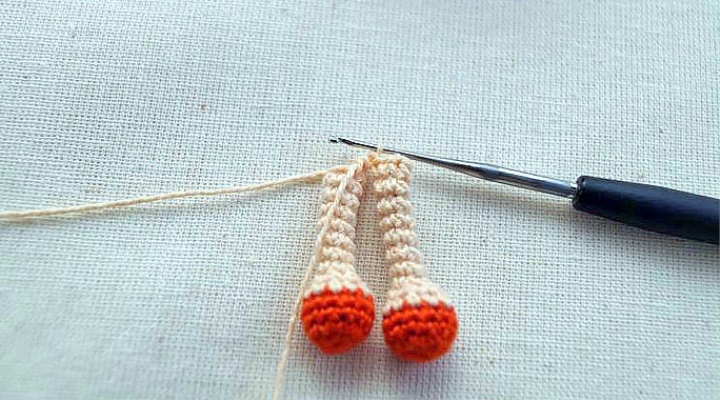
Here's what's going to happen
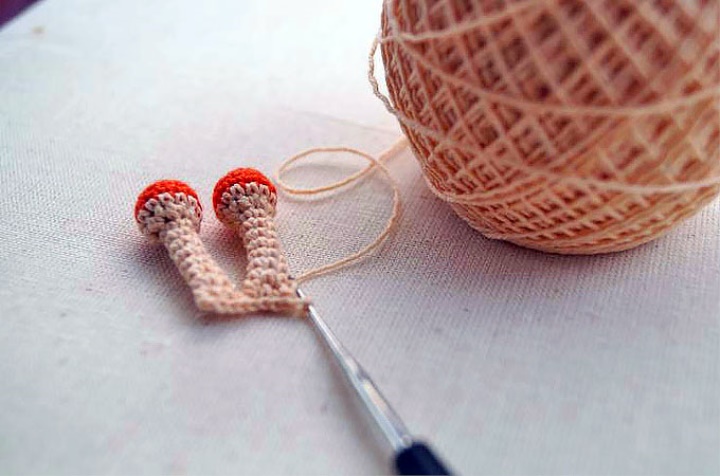
Attach the green thread.
Starting to knit a calf
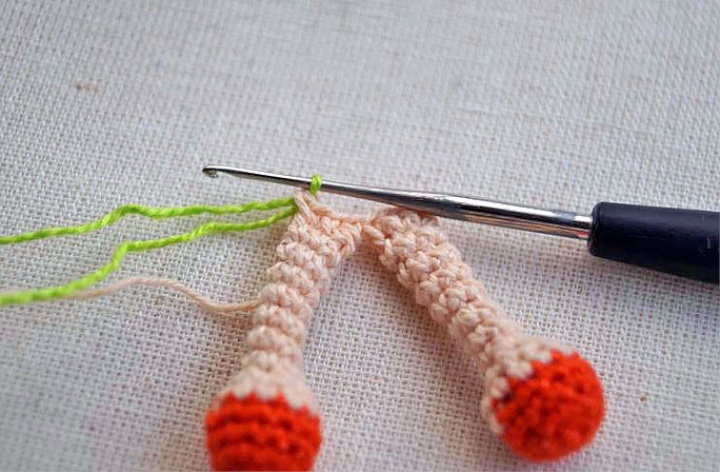
15 row: Knit for one wall of the loop of the previous row in a circle. We get 14 SBN.
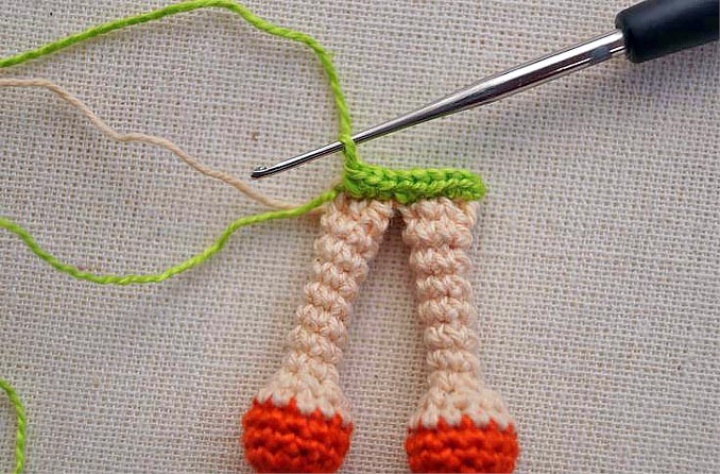
16 row: Begin to tie the bead for the calf. Knit is for both wall loops of the previous row, evenly make 4 increments (18 SBN).
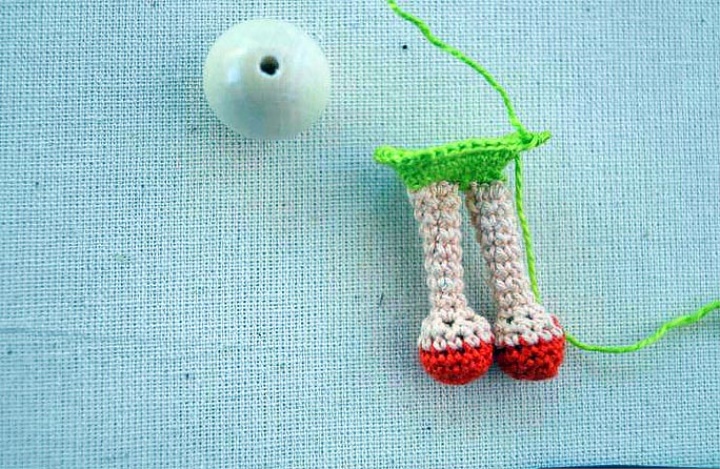
17 Row: (2 SBN, Prib) — 6 times (24). Thread marked the beginning of the series.
18-22 Series: 24 Hours
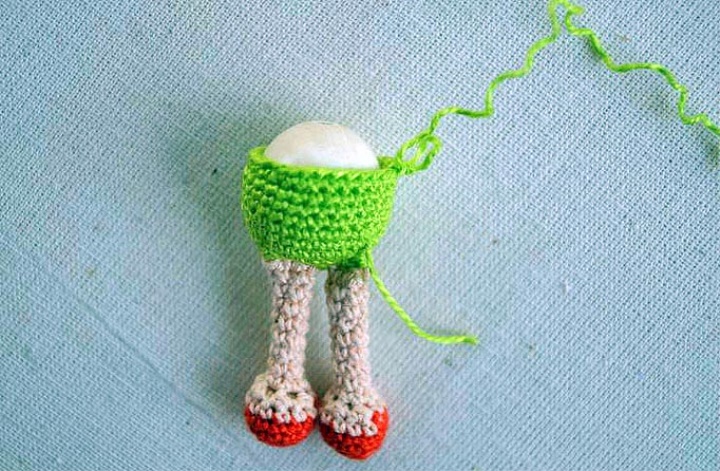
3 row: (2 SBN, UB) — 6 times (18).
Change the thread to a flesh-colored thread.
24 row: (1 SBN, UB) — 6 times (12).
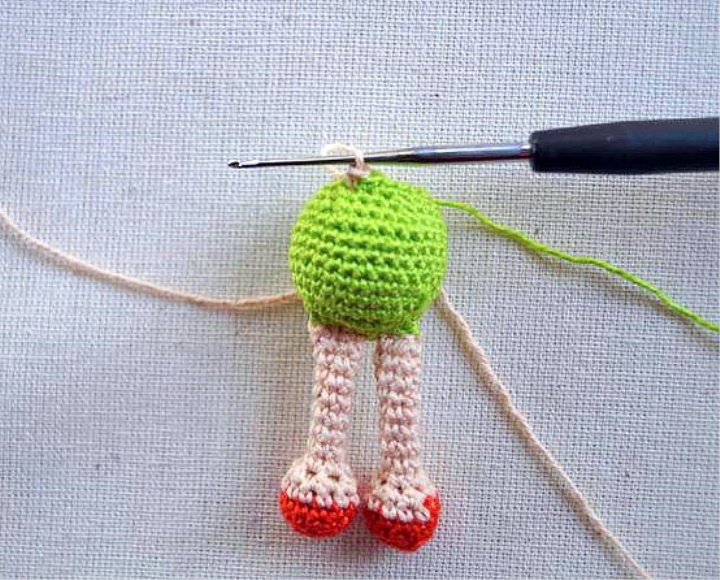
25 Row: UB-6 times (6)
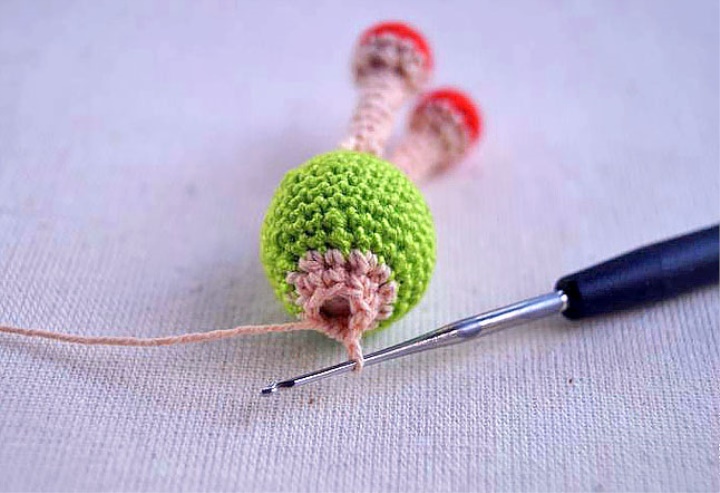
Start knitting the head.
26 Row: 6 times (12).
26 Row: (1 SBN, Prib) — 6 times (18).
27 Series: (2 SBN, Prib) — 6 times (24).
28 Row: (3 SBN, at) — 6 times (30).
29 Series: (4 SBN, Prib)-6 times (36).
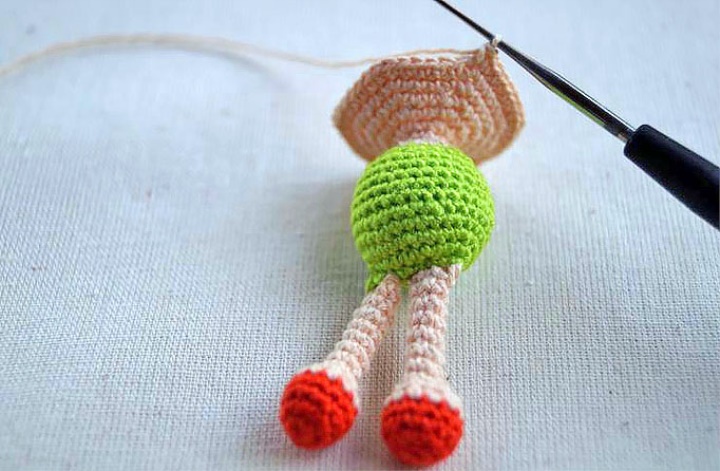
30-36 Series: 36
Insert beads. At the same time, take into account the position of the rejection depending on how the doll will be fastened on the Slingobusah. If the doll will be attached to the side (sold through the cord), the holes should be placed vertically, if the doll will hang as a pendant-the response should be placed horizontally (in this case, it is better to immediately pull the cord into the hole and tie it Together with the bead, then bring it into the crown).
37 Series: (4 SBN, UB) — 6 times (30).
38 Series: (3 SBN, UB) — 6 times (24).
39 Series: (2 SBN, UB) — 6 times (18).
40 Series: (1 SBN, UB) — 6 times (12).
41 Series: Ubava-6 times (6).
Close the hole, trim the thread, remove the "ponytails"
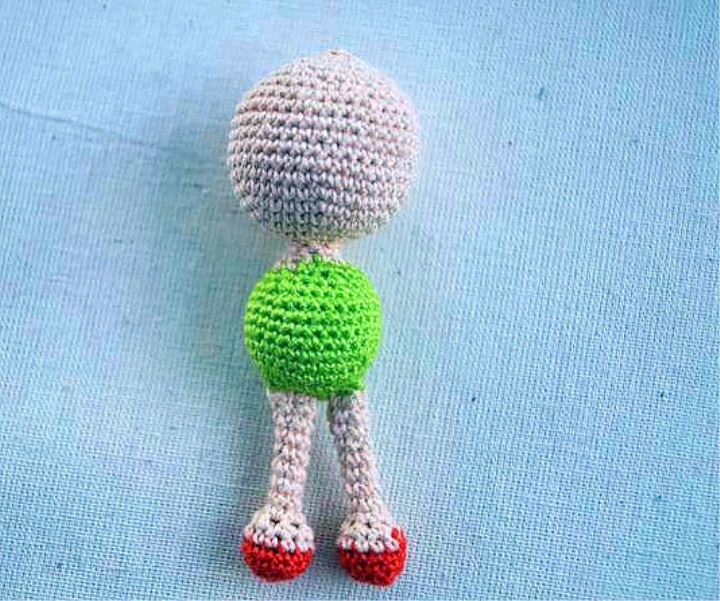
Starting to knit pens.
We determine where the face will be, and where the back is. Mark the places where the handles will be fastened. Push pins through 3 loops (front-back).
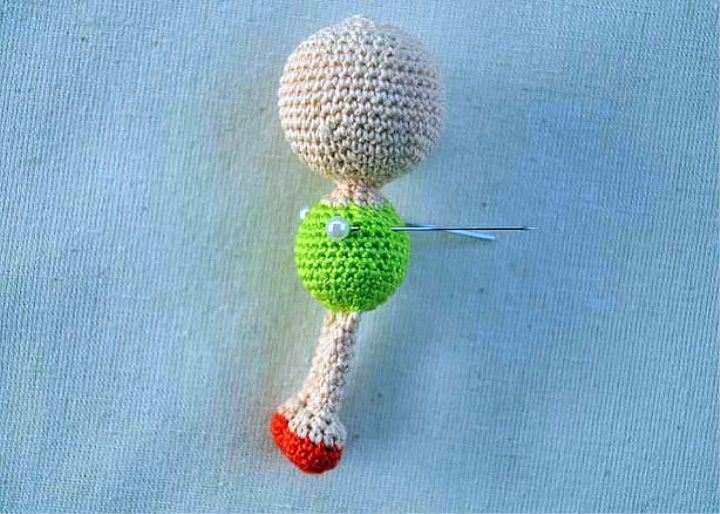
Let's put a flesh-colored thread in a needle.
With the help of a needle from a back side we stretch a thread between a wooden bead and a cloth and deduce from an Antipolnoy party. Pull on the opposite side of the thread length of about 100 cm. This will be the thread for tying the first handle. For convenience it is possible to pass it in Klubochek. The second we will tie out of the main ball
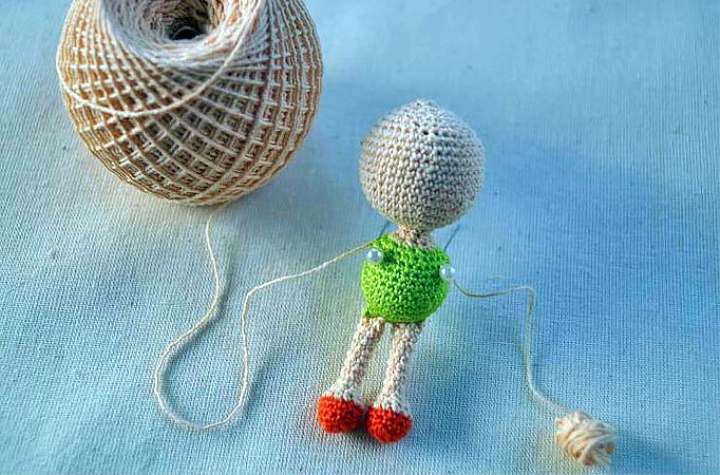
1 row: We put 3 on the canvas.
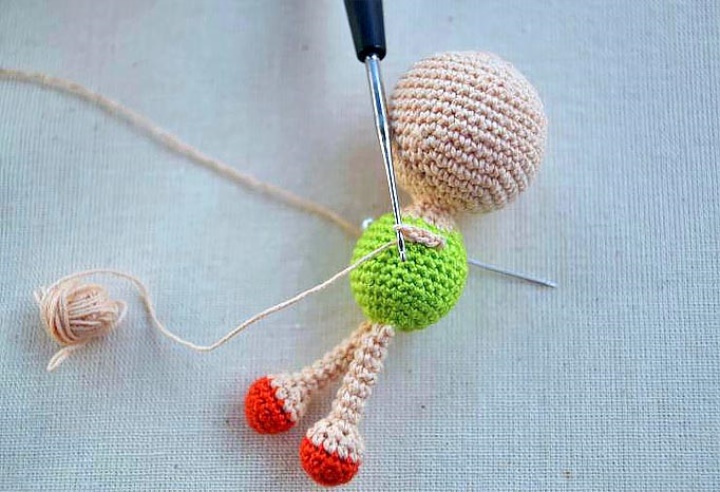
2 row: Further knit for one wall of loops of the previous row in a circle. It turns out 6 SBN
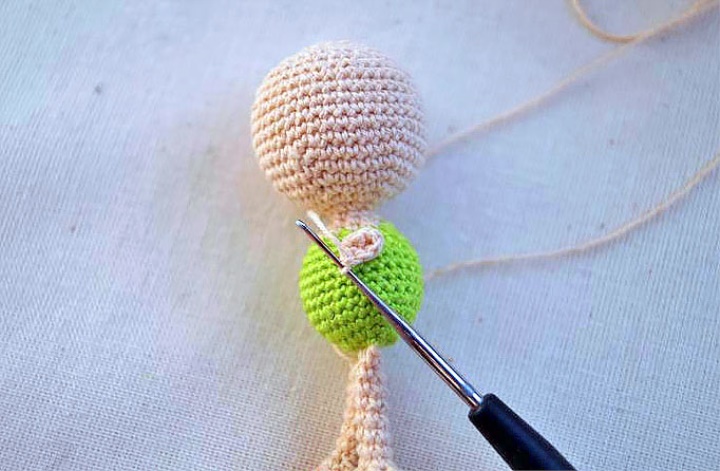
3-8 Series: 6 SBN.
9 row: 2 Uabaki.
Cut the thread, "tail" in the handle.
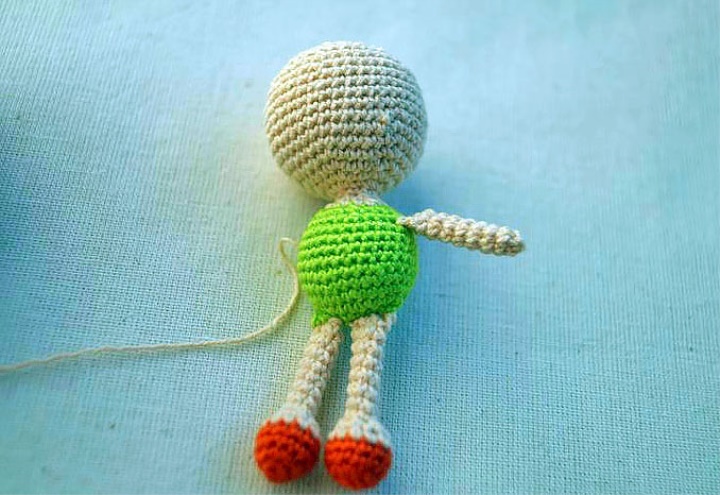
Tie the second handle
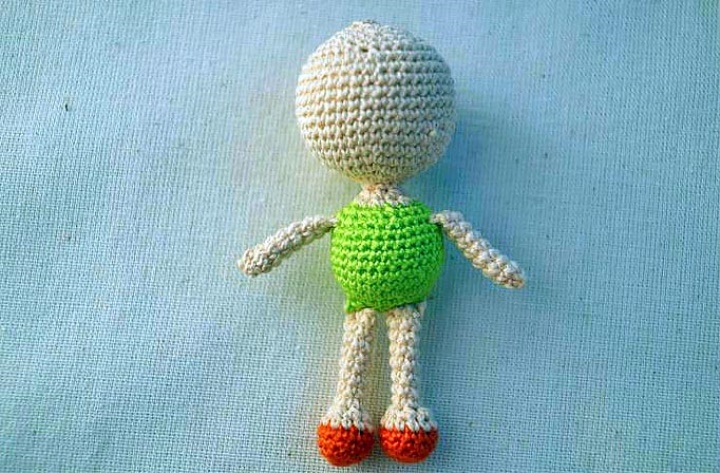
Start knitting the skirt.
We determine the height on which the belt of the skirt will be located.
1 row: Tie out the columns without a scale on a knitted cloth. The beginning and the end will be from the back of the backrest. 3 Lifting loops.
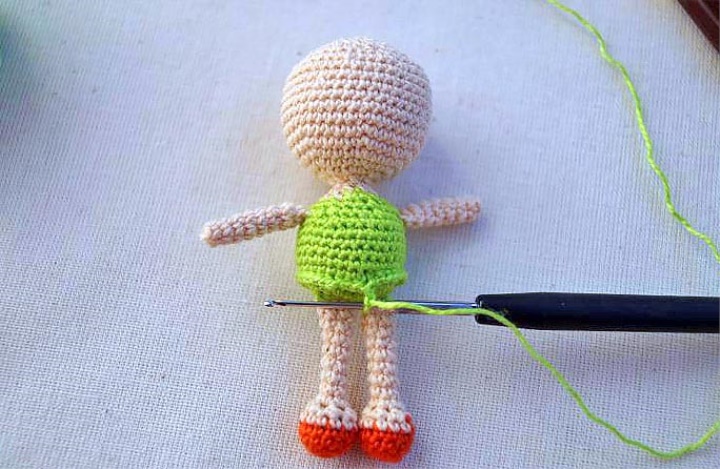
2 row: Alternate 2 PRSs in one loop and PRSs.
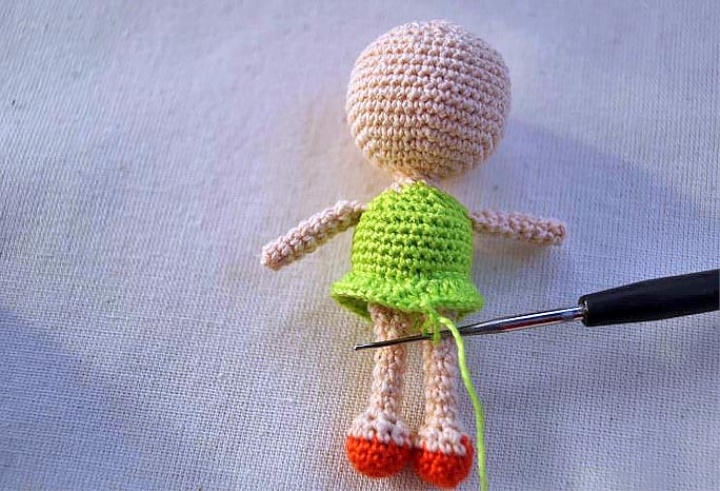
It turns out this skirt. Further it is possible to continue to knit skirts with a scale, and it is possible to invent the drawing. I have brought a skirt with an arch (3 air loops, then a column without a scale in the next loop) — 2 rows.
Getting to the hairstyle.
Hairstyle can be done in any convenient way for you. I will embroider hair and knit braids.
Mark the place where we will embroider the hair.
Knitting Braids:
1 row: Dial 24 vp.
2 row: 2 PRSs in 4 from the hook loop, then 3 PRSs in one loop-18 times, PRSs, SBN. Finish knitting
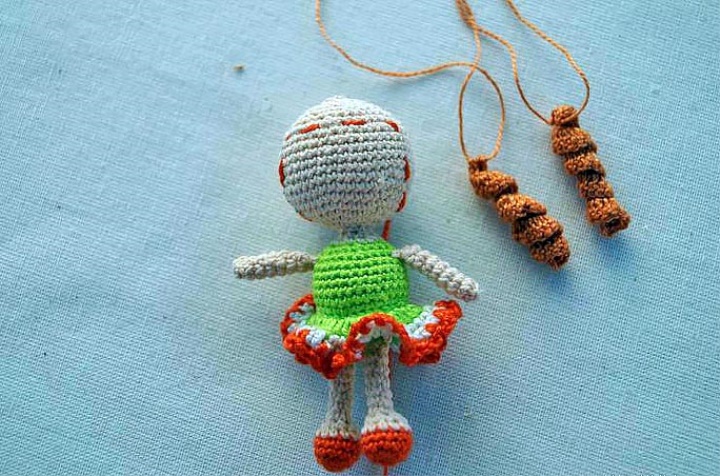
The braids are nailed to the head. Embroider hair.
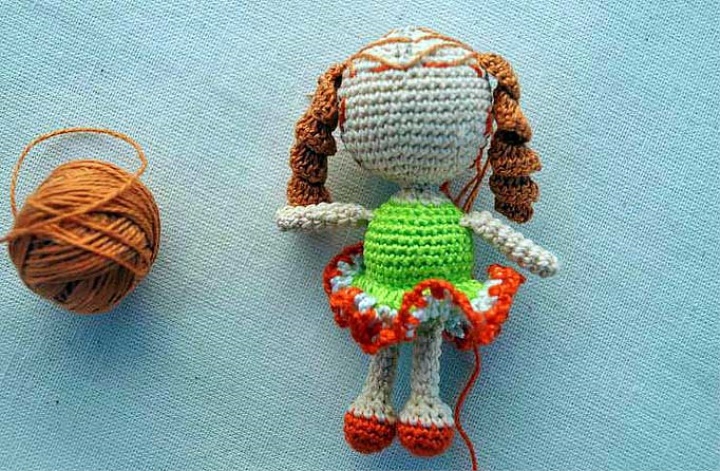
That's the doll I got. It can be attached to Slingobuam, make a keychain, or just give the girl