Well, here's the long-awaited and long-awaited watermelon.
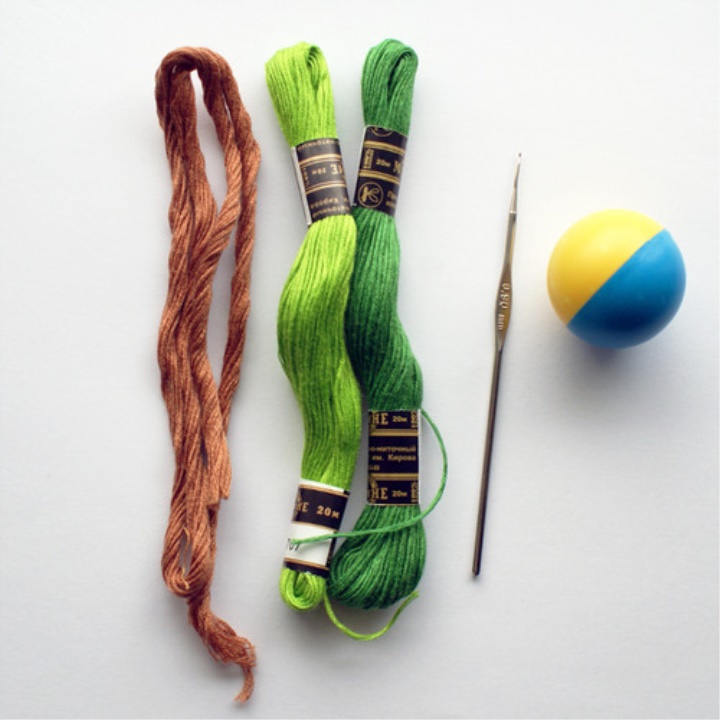
We will need: 3 Mulina motives (dark green, light green and brown), a bead from a rattle with a diameter of 4 cm (a ping-pong ball can be stronger), hook No. 09 and a needle for sewing.
For convenience, you need to roll the yarn into the glomeruli.
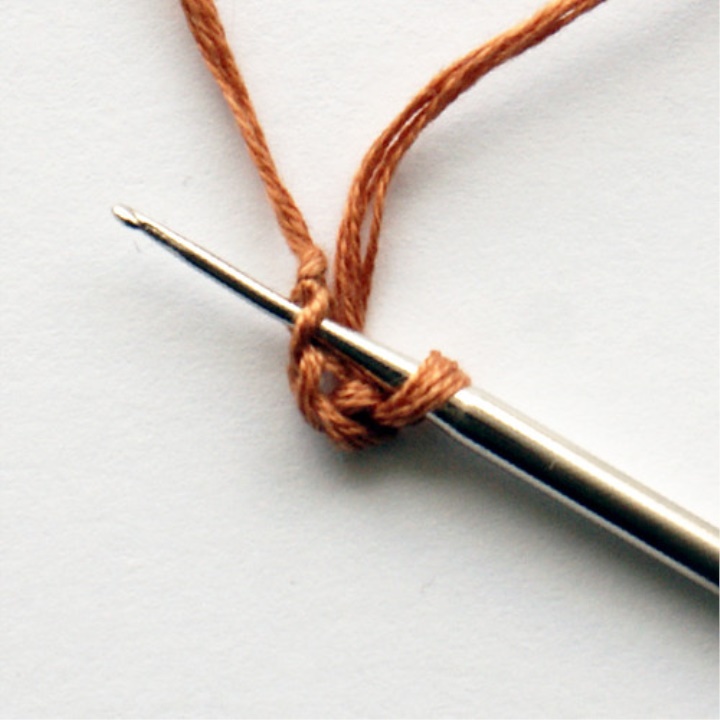
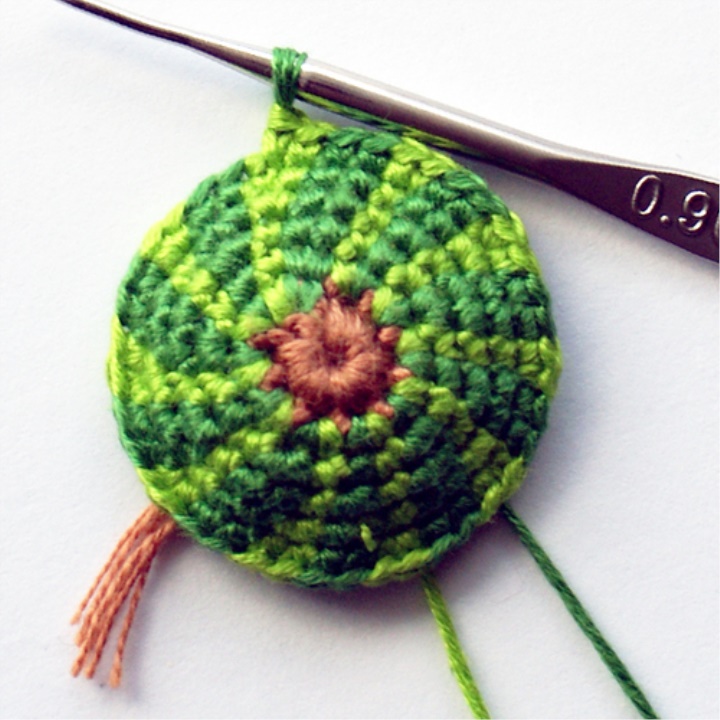
Let's start with a brown color. We need to connect 3 air loops.
Then in the first loop you need to tie 10 posts without a crochet.
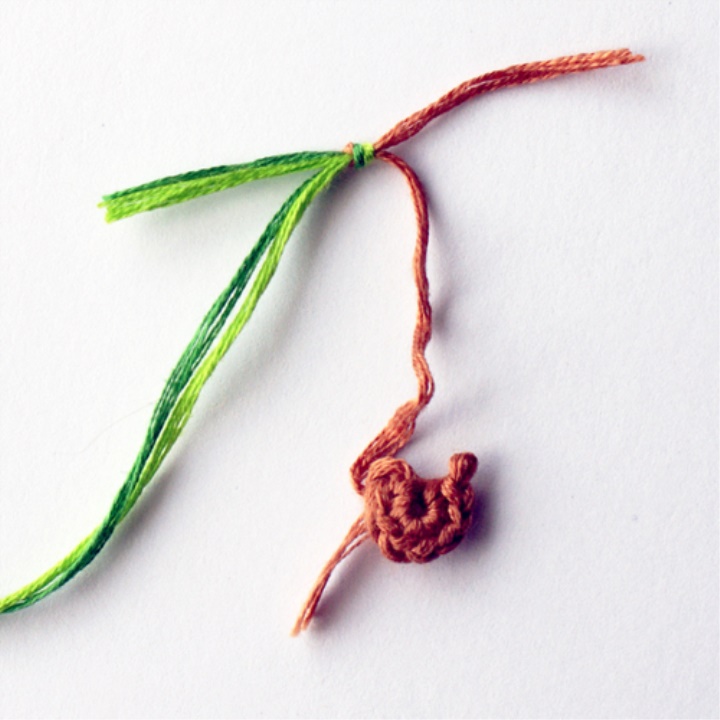
Next we will knit in a spiral, without any lifting loops.
We need to change the thread color to green. To do this, you need to tie two of our green strands to the brown thread at once.
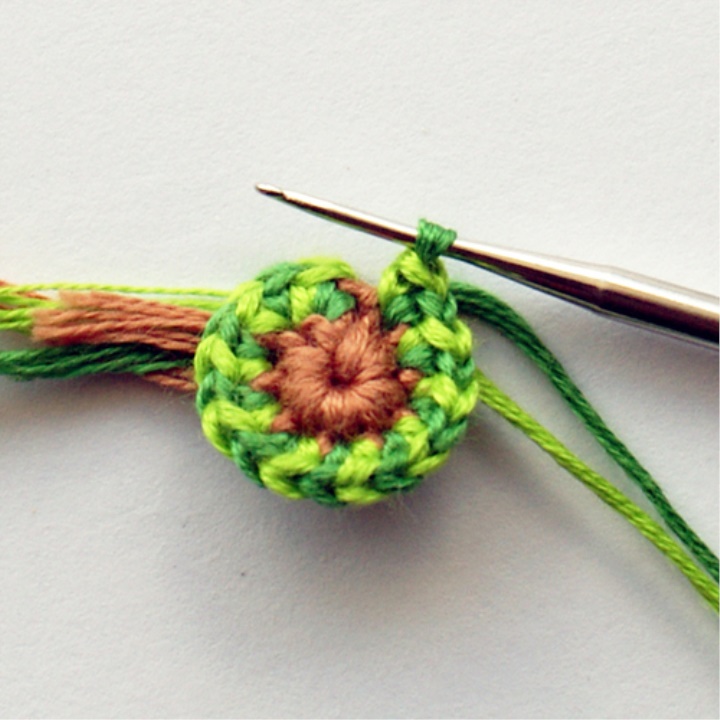
In the next row we in each column of the previous row we tie two columns without a crochet: 1 dark green and 1 light green (20 in all). In order for the stripes on the watermelon to be smooth, each last loop (not the entire column, but only the last one) of the dark green column should be light green, and each last loop (not the entire column, but only the last one) is light The green stalk should be tinted in a dark green color. Make sure that the thread on the wrong side is not confused, there should also be beautiful.
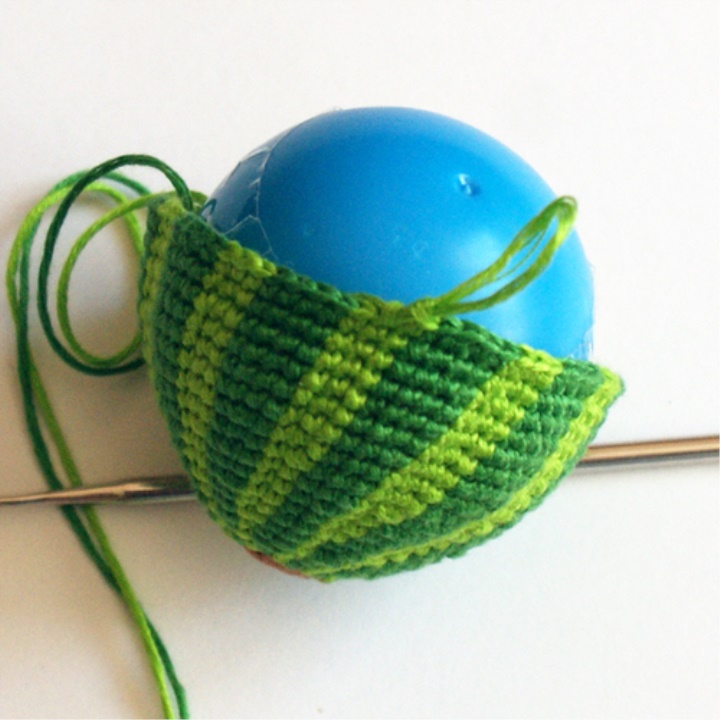
Then you need to knit by the scheme until the diameter of our knitted fabric is equal to the diameter of the ball (for me it happened after the 11th row, you can have it different, depending on the density of knitting).
From 11th to 17th rows inclusive, we knit without adding or subtracting (these figures may move slightly, again depending on the density of your knitting).
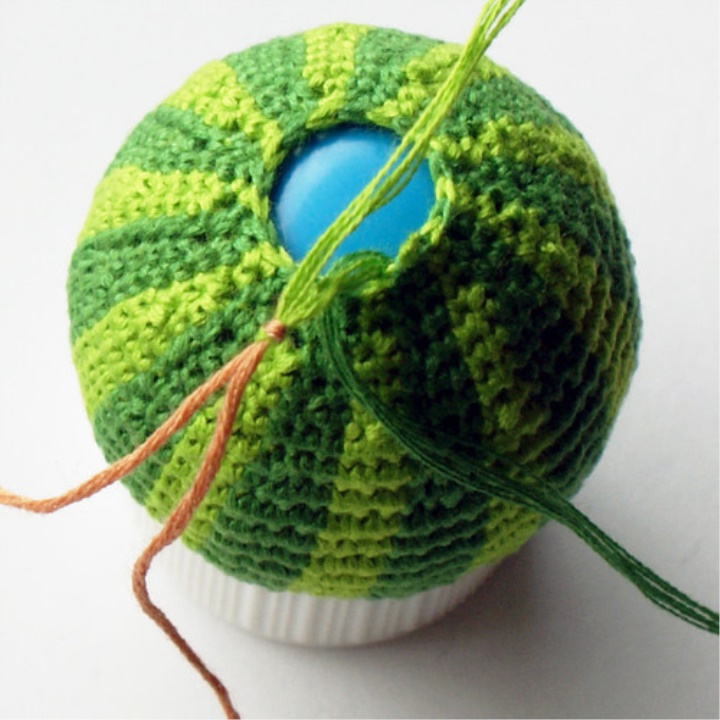
From the 18th row, we begin the reduction of the columns, pre-inserting our ball into the knitted fabric. I reduce the bars by skipping one bar (I just skip that column that needs to be cut), but it is also possible to tie two bars together - to whom it is more convenient.
We reduce the light and dark bars as evenly as they added.
When we have 20 bars (alternately 1 light -1 dark), you need to change the color of the thread to brown again. To one of the green strings you need to tie a brown thread.
All the tails for convenience need to be hidden under the canvas, extending them down under the canvas. We tie our watermelon with a brown thread, cutting each second column.
Unnecessary sticking out strings need to be cut off "under the root".
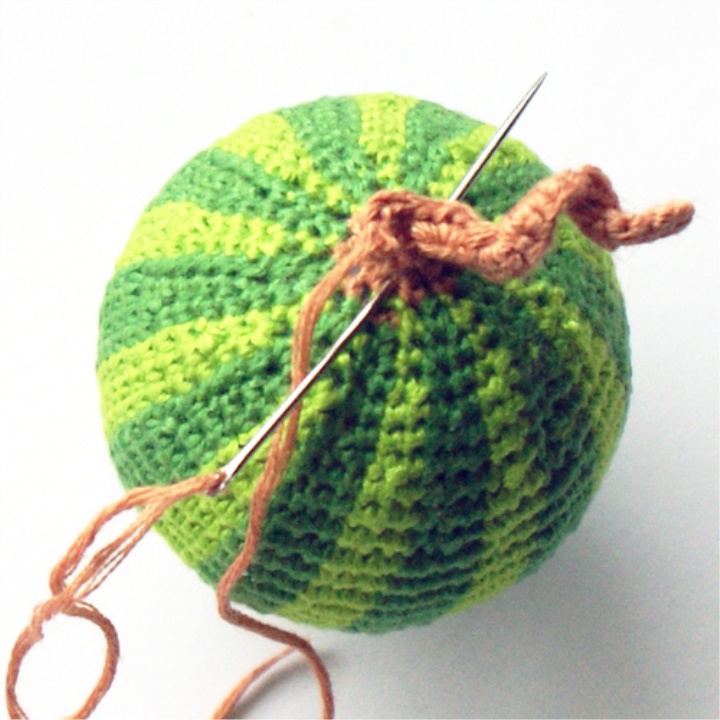
It remains to connect the tail according to the scheme
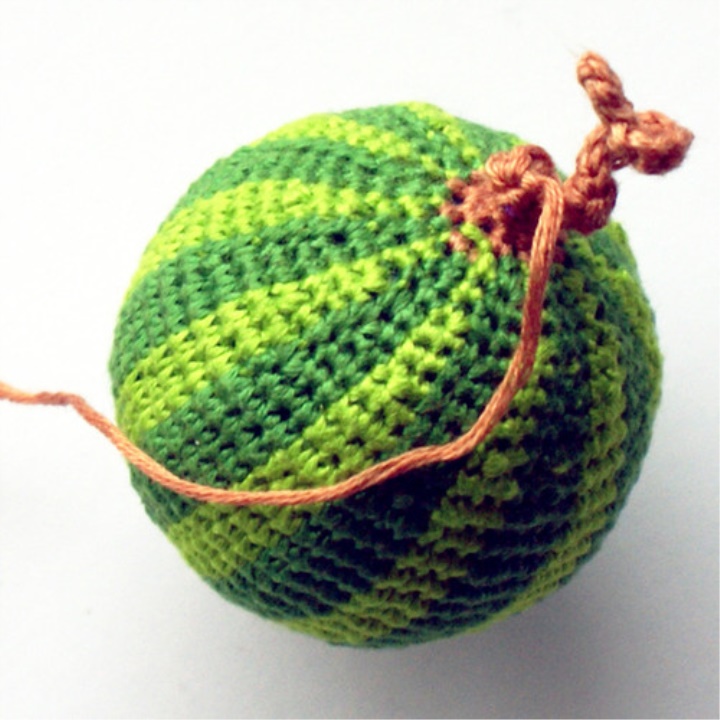
Having connected the tail, you need to cut off our thread, leaving the tip about 20 cm. Then, with the remaining tip of the thread, sew the tail of the watermelon to the body and, if necessary, sew holes at the bottom of the tail.
By the same principle, you can associate a watermelon of any size.
Good luck to everyone who tries to repeat this toy!