I propose to begin a smooth preparation for the New Year. You'll think about July in the yard! Prepare a sleigh in the summer, and a cart in the winter! ...
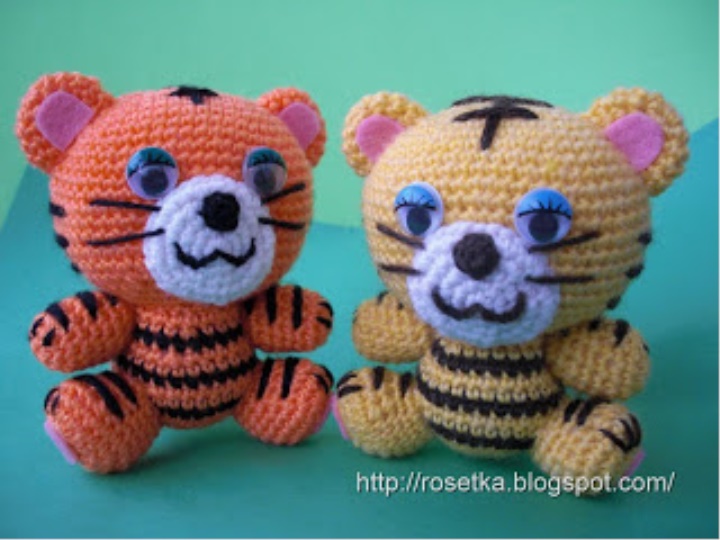
Scheme of these tiger cubs amigurumi with a bunch of hieroglyphs was sifted to me by Natasha-Slanatik with vse-sama.ru, for which she thanked the Tigers so great! ... yes you see how they Grow in them only 8cm. Red-haired is bound from 100% acrylic Semenovskoy yarn of my favorite "Carolina", and yellows from the same Semenovskaya, but only "Olga" (she is also "Experienced"), crochet number 3. As I asked and Slanatik, lay out everything on the shelves. So, the scheme. They tie all the details of a tiger cub.
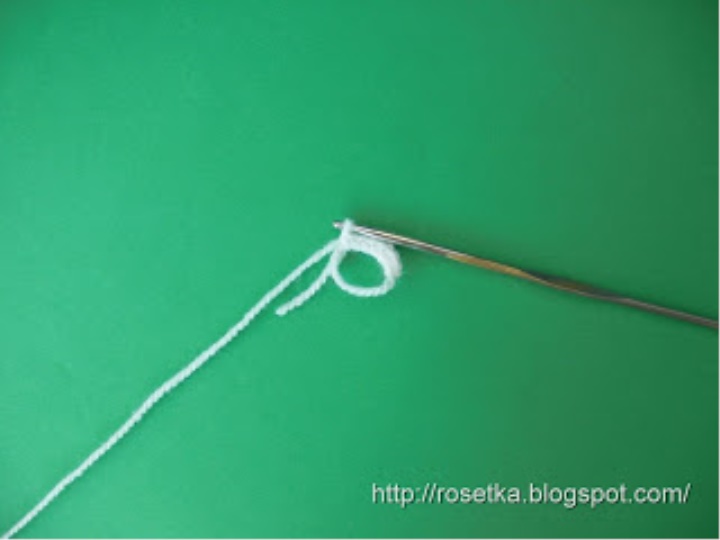
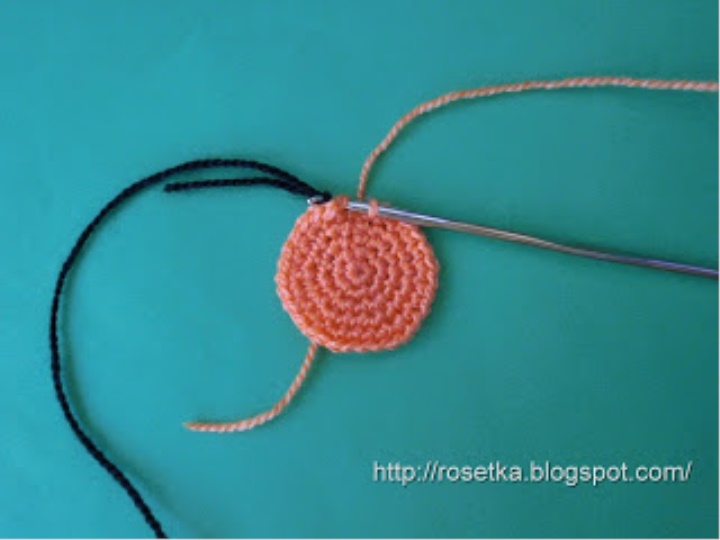
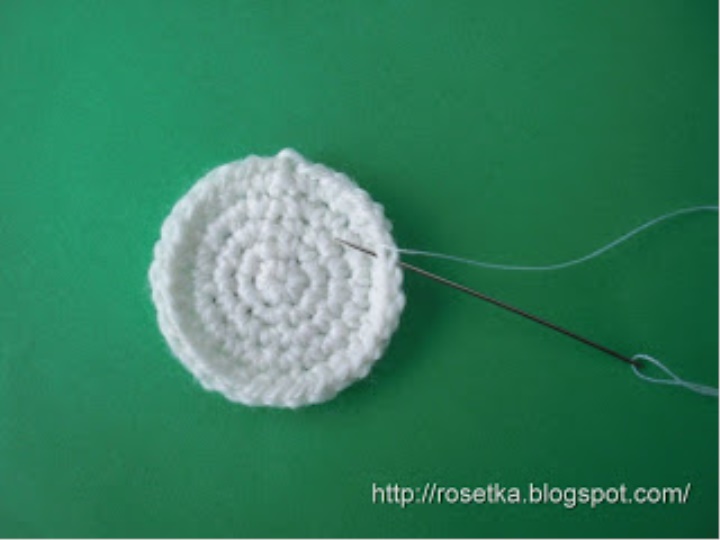
We begin knitting from the head, or rather from her top. To do this, you need to dial 8 VP (air loops) + 1VP lift. Then we continue knitting in a circle, starting each row with the VP of lifting and ending with the SS (connecting post). Strictly speaking, all the details of this toy are knitted similarly. The finished part of the head looks like this . Proceed to knitting the muzzle. For this we need a thread of white color. Knitting begins with an amigurumi ring. We wind the thread around the index finger twice, remove the resulting ring from the finger and knit in it 6 SBN (columns without a crochet). Then pull the short end of the thread so that to pull the RLS into a tight ring without a hole inside. We finish the 1st row of SS. We continue knitting according to the scheme.
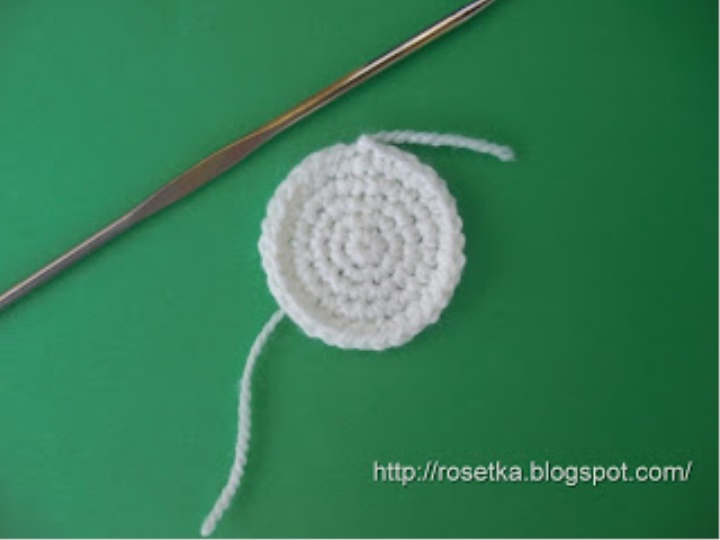
The finished detail of the muzzle looks like an absolutely flat circle, it should not bend, or falsify.
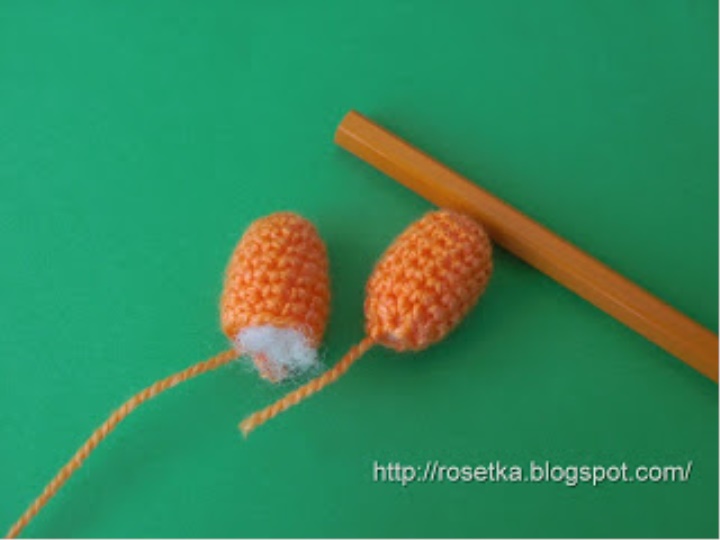
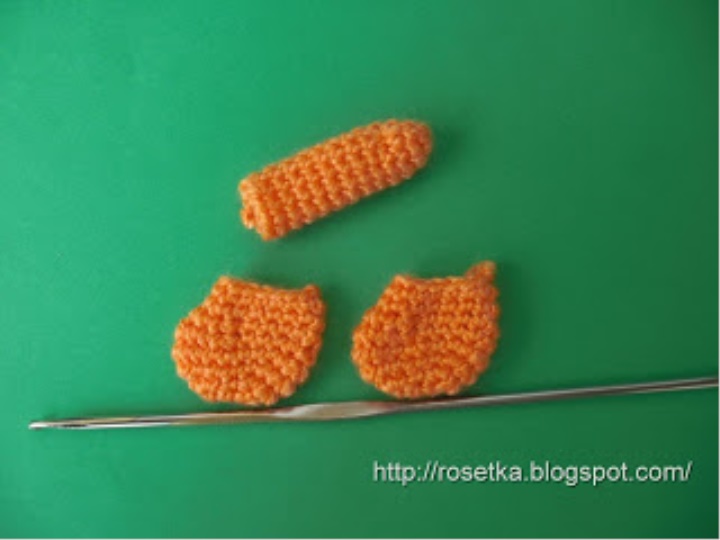
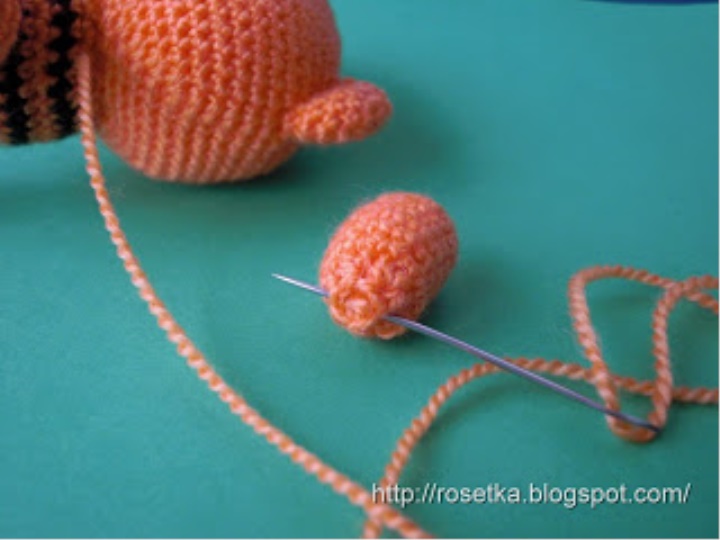
Handles knit by the scheme. Before you tie the last 9th row, fill the handle with a sintepon. It is more convenient to fill such narrow details with a pencil. The legs and tail are knitted according to the scheme. The tails begin to knit with an amigurumi ring, just like we started to knit a muzzle. The legs begin with 3 VP + 1VP lift. Having connected both legs, be sure to compare them, putting them side by side - whether they are the same in width, whether any mistake is made somewhere (as a rule, skipping just one loop leads to a noticeable difference in the width of the same parts). Finished parts look like this.

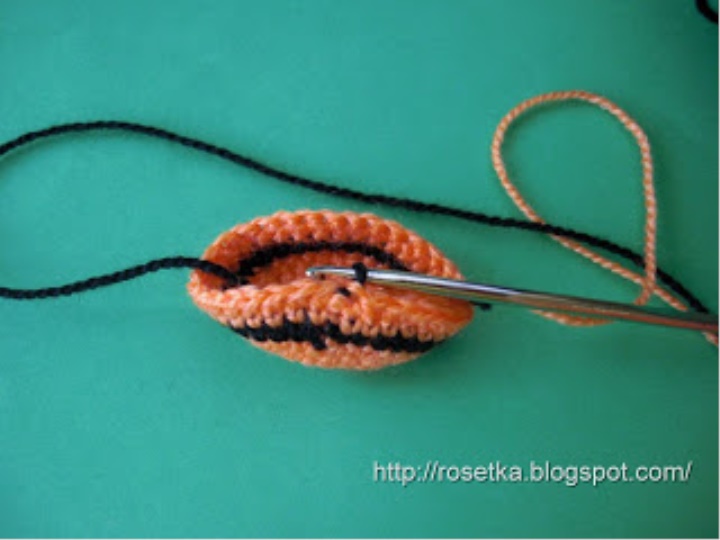
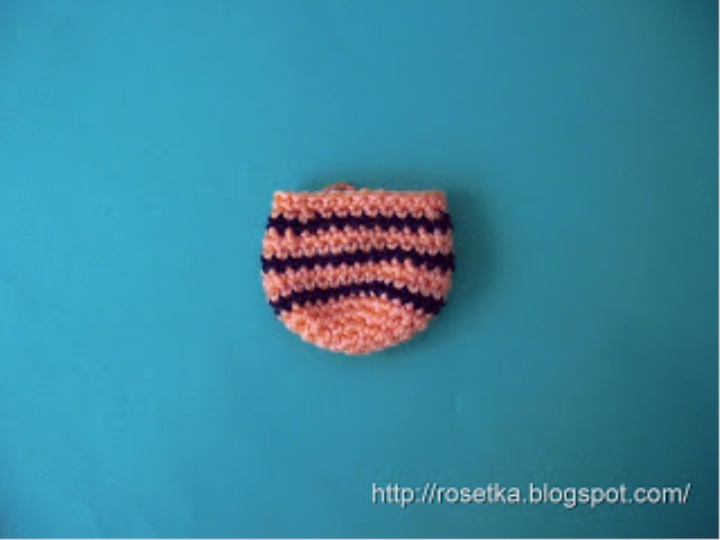
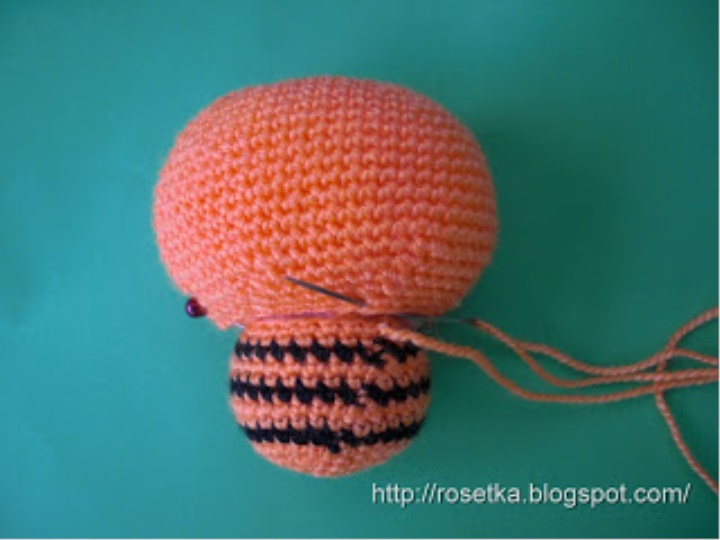
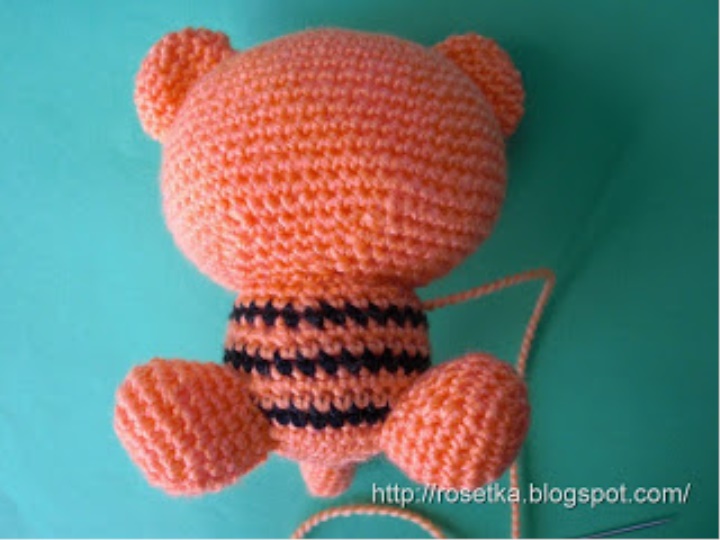
Let's start knitting the torso. We begin also with the amigurumi ring. We knit an orange thread with 5 rows. The 6th row is knitted with a thread of black color. Enter a new color, tying the SS - pull the thread is not orange, but black. Preformed on a black thread VP. We also knit with black thread in the 9th and 12th rows, i.e. through two orange rows. This time, just leaving the thread of orange and lifting the thread of black color, just in the SS, at the end of the row. Ready torso tiger looks like this. We knit the ears according to the scheme, starting with the amigurumi ring. When all the details are ready ...
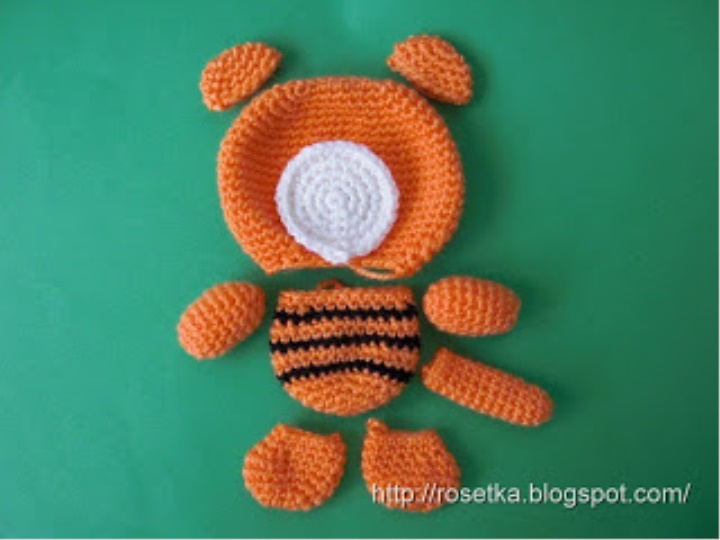
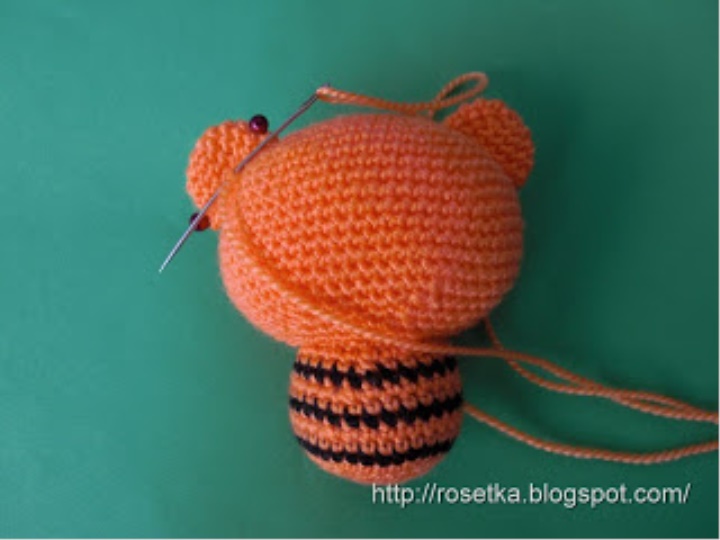
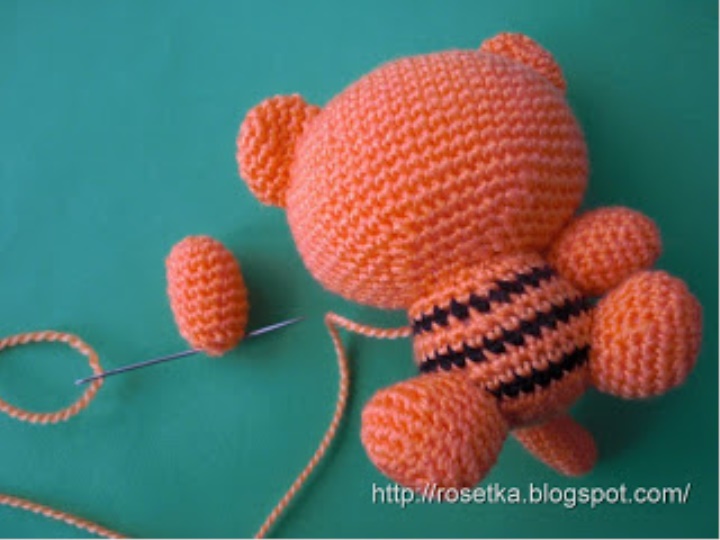
We fill the head and torso with a sintepon. The head has a somewhat flattened shape, the trunk is rather round. Do not be afraid in the right places to flatten a few heads with your hands or give it shape by pressing your fingers, for example, on the crown. When the details are full, we begin to sew the head to the trunk. For convenience, you can pin your head to the trunk with pins ... Sew our ears, placing them on both sides of the third row of the head (crown). Prikolov ears with pins, you greatly facilitate yourself their centering. Make sure that the ears "sit" exactly on the head. To do this, turn the toy, look at it from all sides.
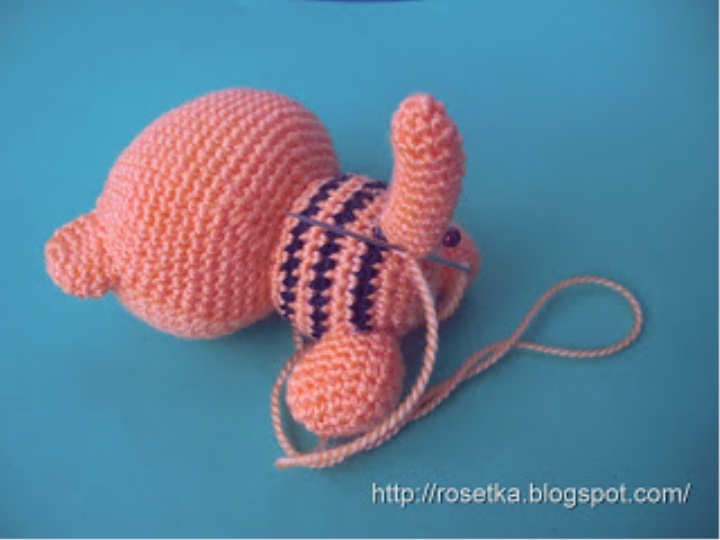
Fill the legs with a sintepon, pin them with pins to the body. We do this by placing the tiger cub on a flat surface, as if planting it. This is necessary for the toy to sit quietly afterwards without forced pressing and all kinds of jams. Sew the legs to the trunk. Tail. The tail must be filled lightly so that it does not jam. Filled ponytail pins pin, centering it just on a flat surface - it plays an important role for a tiger cub in the process of sitting on some beautiful shelf or simply flat surface
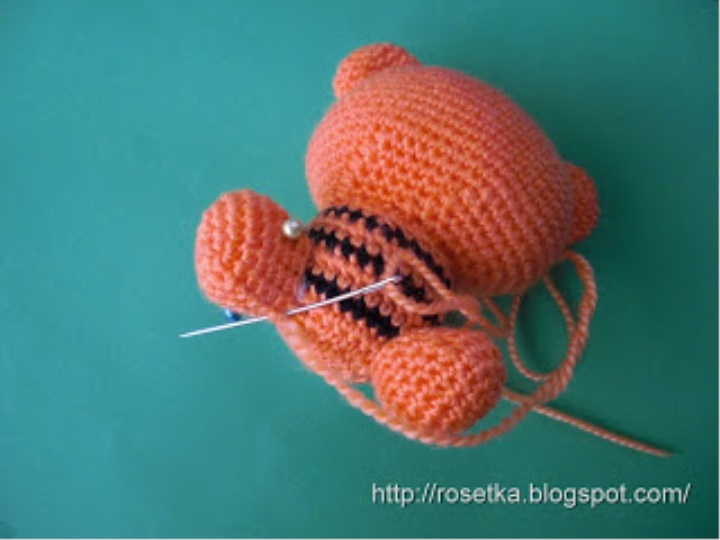
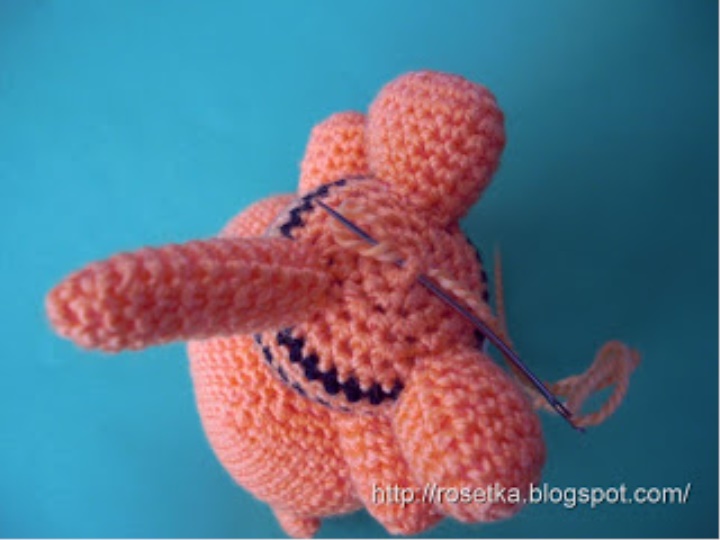
We proceed to sewing pens. To do this, we take the orange thread, we tie a knot at its end and conduct the needle in any hole between the RLS on the back of the tiger cub, draw the needle in the place of attachment of the handle from the side. The nodule is pulled into the trunk, it will successfully catch on the fillers or the inner wall of the trunk part (if you pull it without fanaticism, of course ) Now pass the needle into the handle part here so we Inject the needle next to that place in the trunk where we pulled it the first time, pierce it through the trunk and withdraw the needle from the other side, in the place of attachment of the second handle. Thread the thread through the second part. We pull the handles slightly towards the body and repeat the maneuver in the opposite direction ... for strength, you can do the same thing, do it one more time.

When the stitches are sewn, it is convenient to fix the thread, moving it to the center of the trunk from below, then into the nearest hole between the RLS and again return to the center, into the formed loop. We tighten and cut the thread.
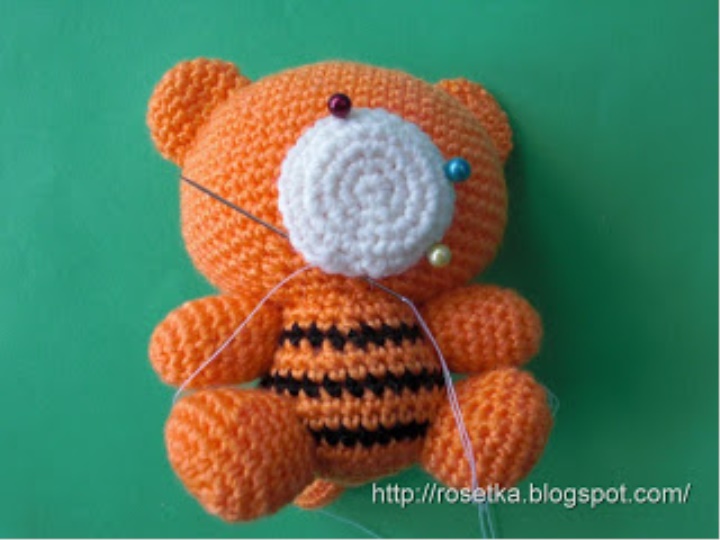
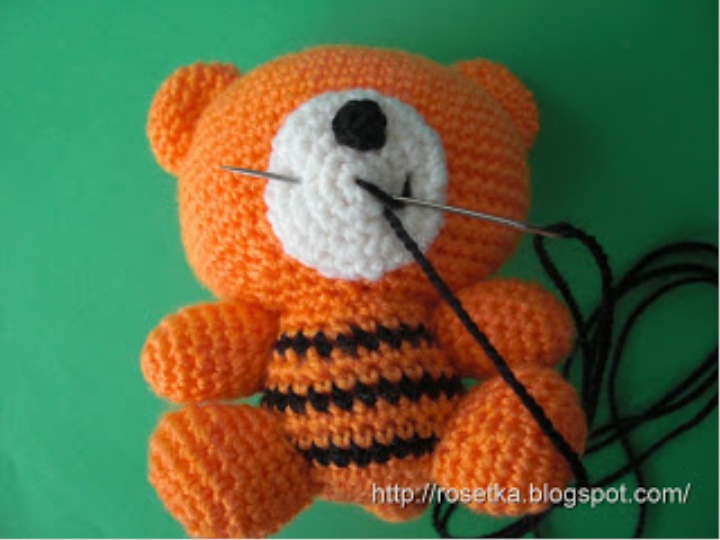
We proceed to decorate the face of a tiger cub. To do this, the previously bound flat white circle, we slip along the edge with a thin thread slightly prisapozhivaya, gradually, as far as sweeping. We need to achieve that the circle has ceased to be flat quite a bit, only to bend slightly its edge. The item should NOT decrease noticeably. We prick the muzzle to the head with pins, placing it in the lower part of the head in the center.
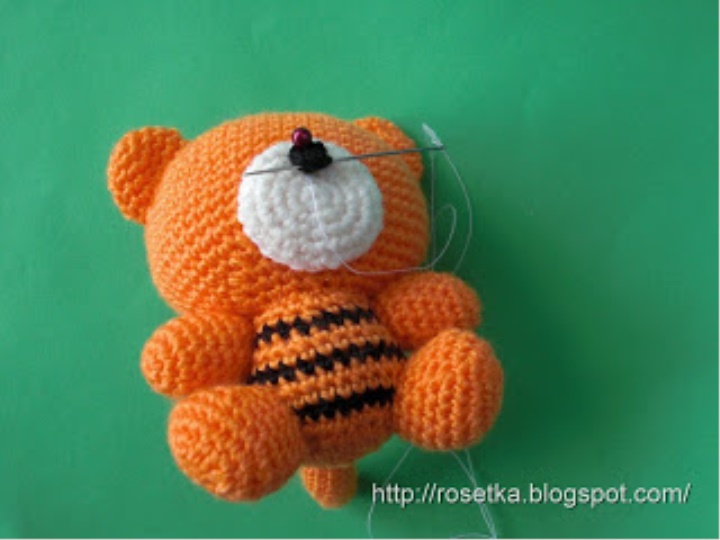
When the muzzle is sewn, we knit a tiger's nose. The nose matches their same thread, from which the strips were made. Those. take a black thread and in the ring amigurumi we knit 6 RLS, we finish the SS series, we terminate the thread. The nose is ready. Sew it to the muzzle, just pre-pin with a pin. We embroider the mouth with the same black thread in one addition, which was connected with strips and nose. To do this, we make a bundle on the end of the thread, insert a needle between the stitches with which the muzzle was sewn. We pull the knot inward, just like in the case of handles and embroider the mouth, taking long stitches of the "smile" in the center with short stitches. We embroider a mustache. In the last stitch, the thread is removed to the center of the forehead, in order to begin embroidering strips.
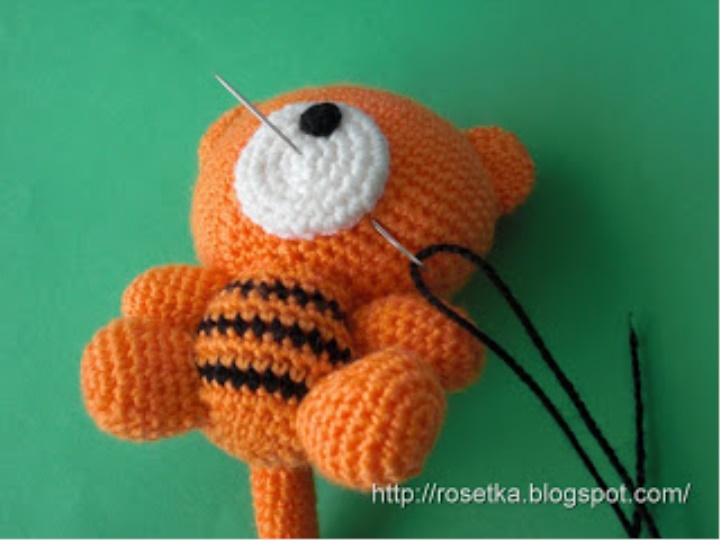
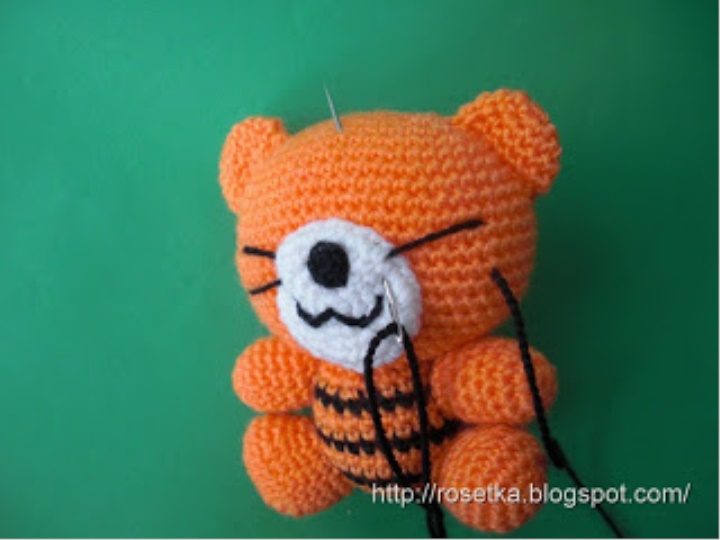
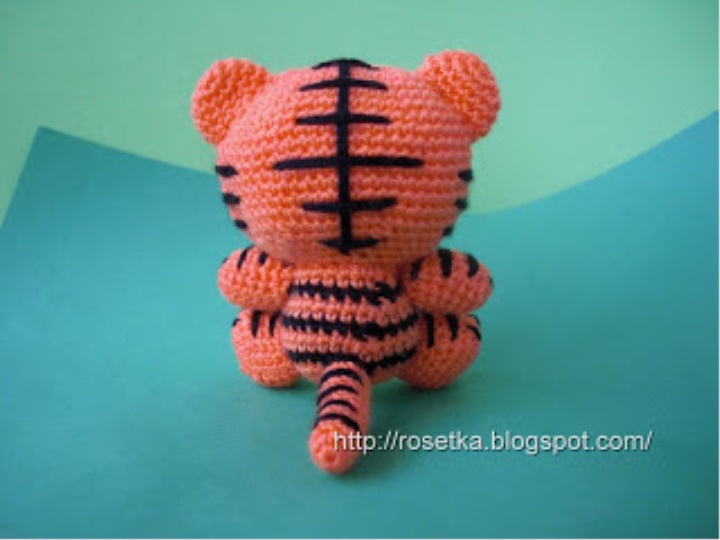
Strips can be embroidered in two strands, in which case each strip is one stitch. It is possible and a single thread, then it will be necessary to sew stitches two in one place (for each strip - two stitches). We embroider strips on cheeks this way. We embroider strips on the tail ... and also on pens and legs, plus claws. Cut out the pink felt inner part of the ears and heels for the legs. Eyes can be taken ready (as did the crafty I ) or cut out of felt, as in the photo in the description ... We paste everything in its place ... Tiger cub amigurumi ready! Here is his schooly look from behind ... I particularly like the tail
And these are my twins! Yellow with brown is also very cute! So zapolosatit and obtygryatit you can any color Fantasy! Happy New Year!
A source:
Many thanks to the author)
I could not help myself not to put it here)
These little toys just fascinated me. And I want to learn this.