Other parents with a misunderstanding look at self-made educational toys. Shop "kindergarten" , for example, offers such a rich choice! Well, why spend precious time on the fuss with the thread? Is not it better to spend it on communication with the child? And what do you think about this?
Personally, I like developingki, which my mothers have tied, sewed, made of paper. And it makes me very happy when you ask me something new.
True, recently a similar question led me to a dead end: "Dasha, do you have anything original for Easter?"
Yesterday it dawned on me, and I decided to propose on your court such a knitted Easter egg :
"Well, where's the surprise?" It seems like not the first of April, Dasha, what kind of joke? "
To see the surprise, you just need ...turn the knitted Easter egg on the wrong side:
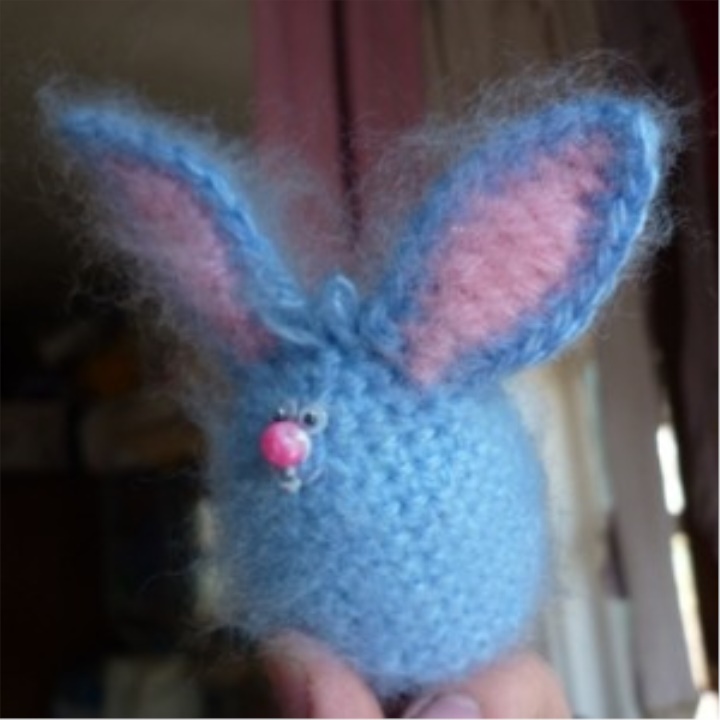
Similarly, you can hide in a knitted egg a chicken , a kitten, a dog or even ... a crocodile! In addition, it's a finger toy!
Here is a chicken born in our company to a rabbit:
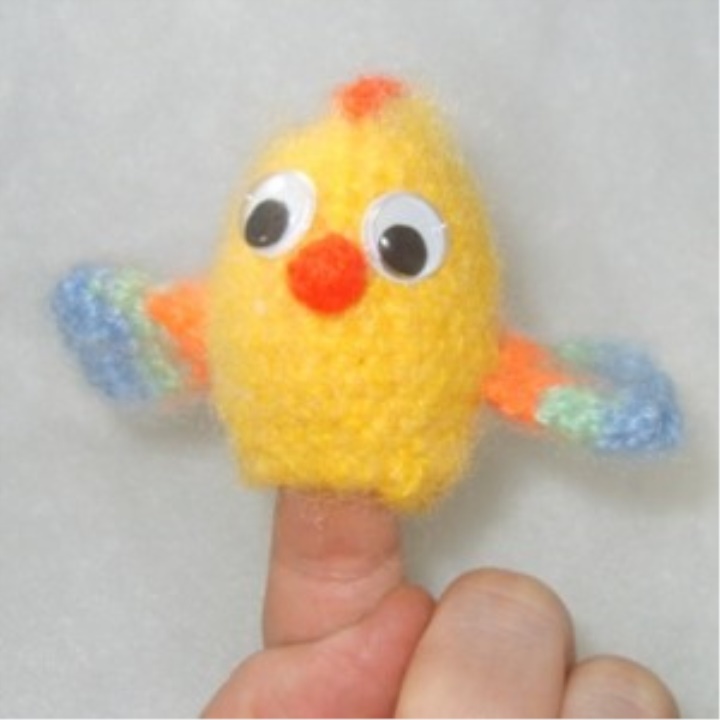
And here is a step-by-step description of the photo of a rabbit knitting:
Materials and tools: hook 1.5mm, wool blend blue, pink, white color (little by little), needle and sewing white thread. For registration I used running eyes and a bead.
1. First we knit the egg itself.
3 air loops (vp) are closed in a ring by a connecting column.
1 row- 6 columns without a crochet (st.p.n.) in the ring.
2rjad-we evenly add 6b.b.n. In this row we knit a rabbit bangs. To do this, 6, 7, 8 we sew the loops with a fringe on the wrong side . (photo 2) 12 loops are obtained.
3.4 times, we evenly add 6b.b.n. in each row. As a result, we get 24 tbsp. (photo 1)
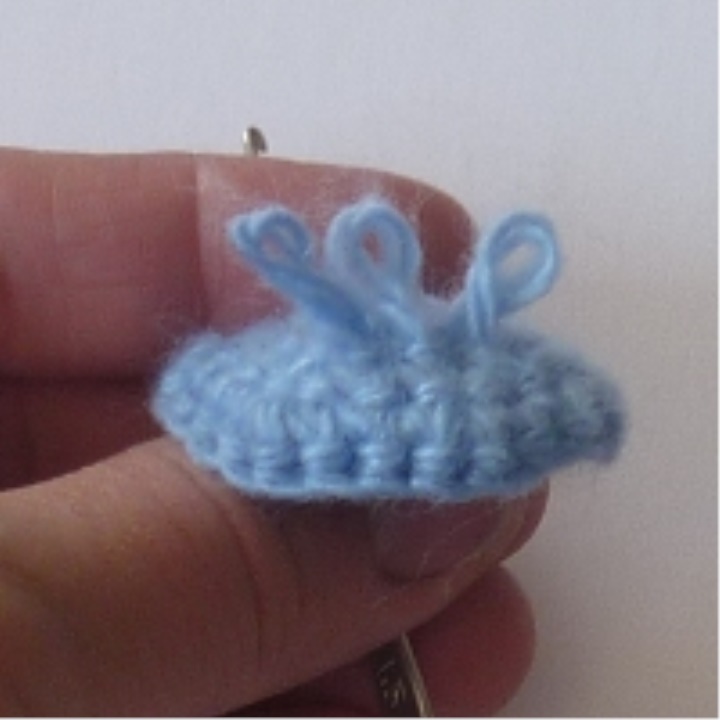
5 row- 24 st.b.n.
6 ryad- uniformly add 6b.b.n. (30 items)
7-13 scales , 30 bp each. in each row. (photo 3)
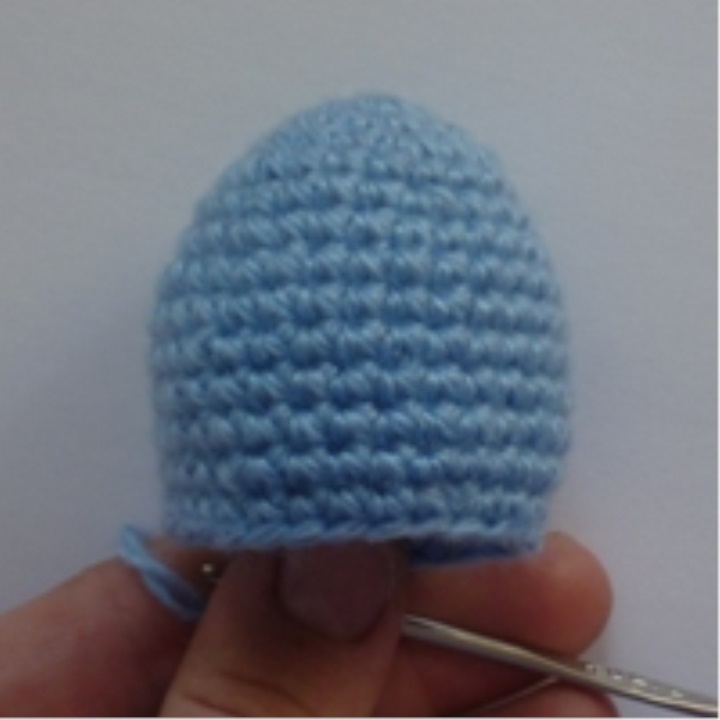
14, 15 rows, we untang every fourth and fifth loops together. (photo 4)
16 row- tying step . (photo 5)
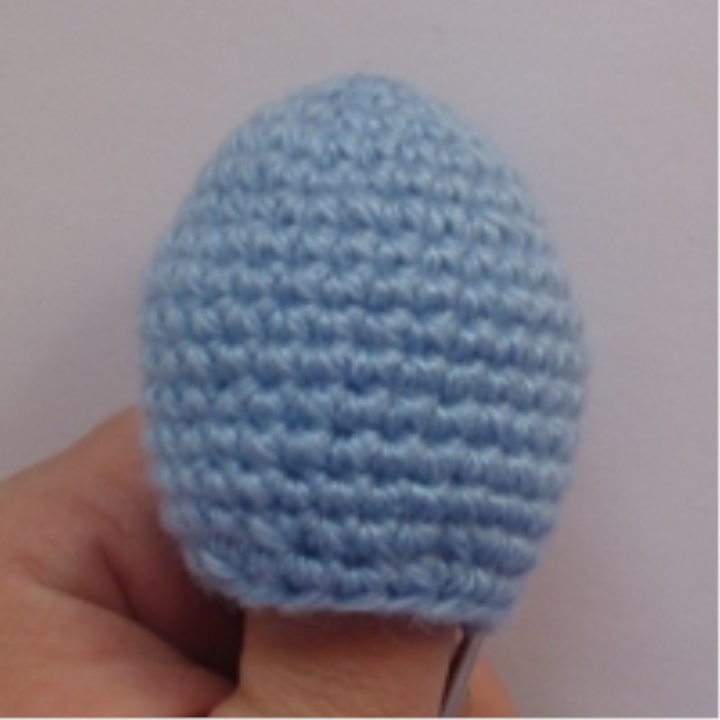
2. We tie the small details: the ears and the tail of the Easter bunny.
For each ear we knit 2 (blue and pink) here are the details:
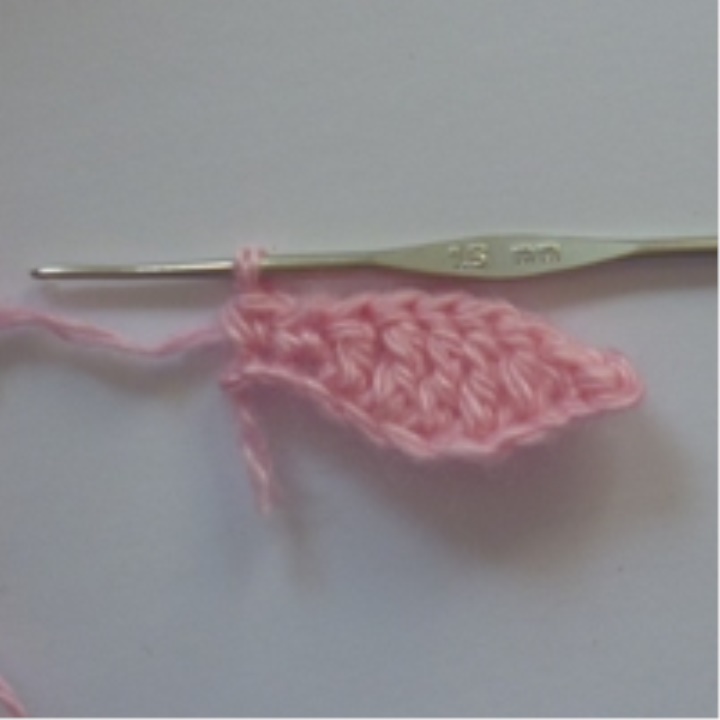
For each part, we collect a chain of 9 bp. + 1 cp rise, then return to the chain, tying: 1 polostolbik, 1 st.b.n., 1 stool with a crochet, 3 sticks with two nakidami, 1 tbsp. with a crochet, 2 st.b. (photo 6)
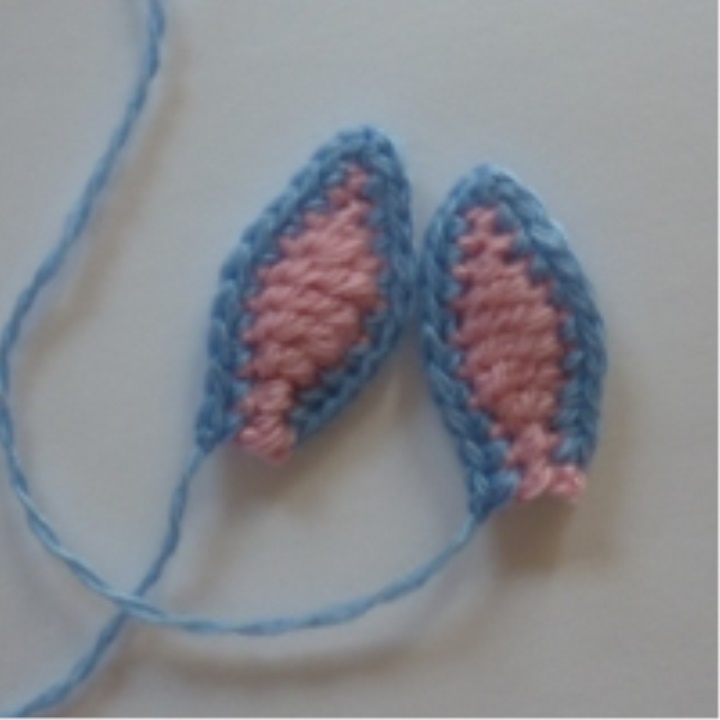
We connect the pink and blue details with columns without a crochet. At the top point, we bind 1 st.b.n., 1 st.p., 1 more b.p., so that the eyelet is sharp. Leave the thread about eight centimeters to sew the ear. (photo 7)
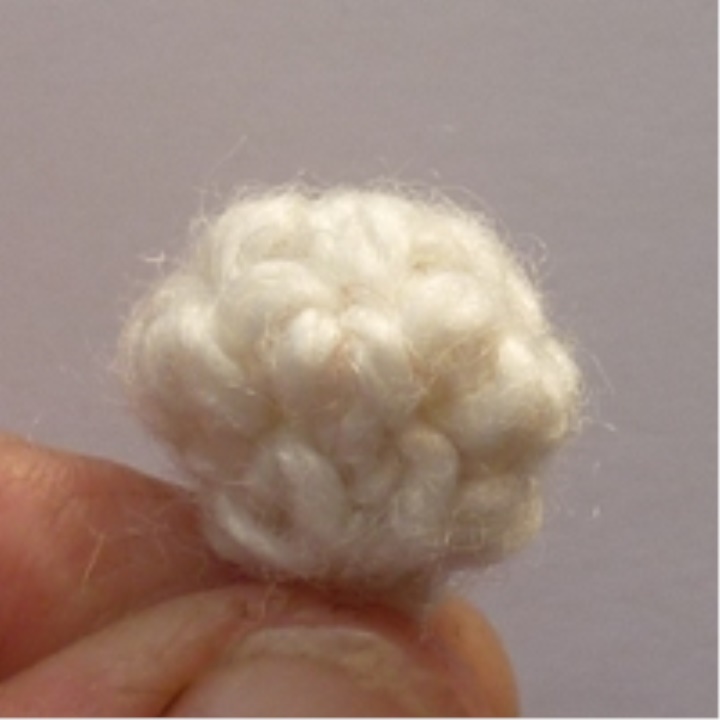
The tail is knit with white yarn:
3в.п. in the ring. 1 row-6b.b.n. in the ring; 2 rows - 6 tbsp; now gently pull out a loop from each loop of the previous row, pass through all 6 loops the working thread, fix it, cut it, hide the end of the thread inside the tail. (photo 8)
3. The most interesting is the assembly!
We turn the knitted Easter egg inside out. We sew ears and a tail. (photo 9)
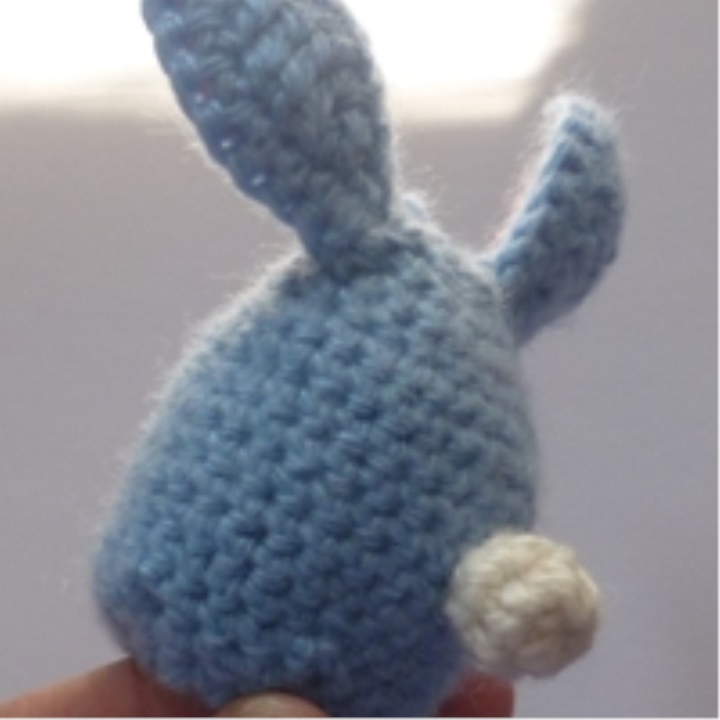
Now you should give a furry to our rabbit. To do this, "scratch" it with a sticky ribbon (wilcro), the part that is hooked. (photo 10)
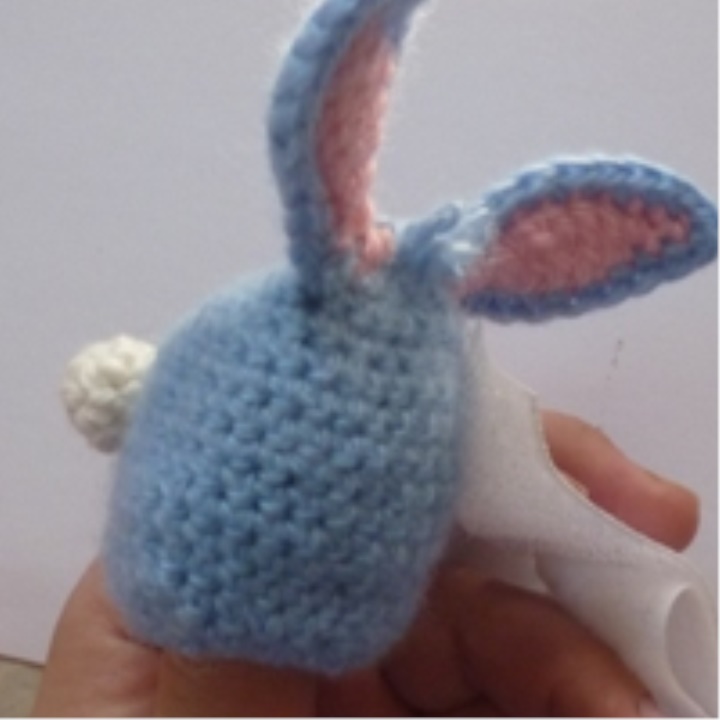
And now - about a miracle! The half-wool turns into a gentle angora!
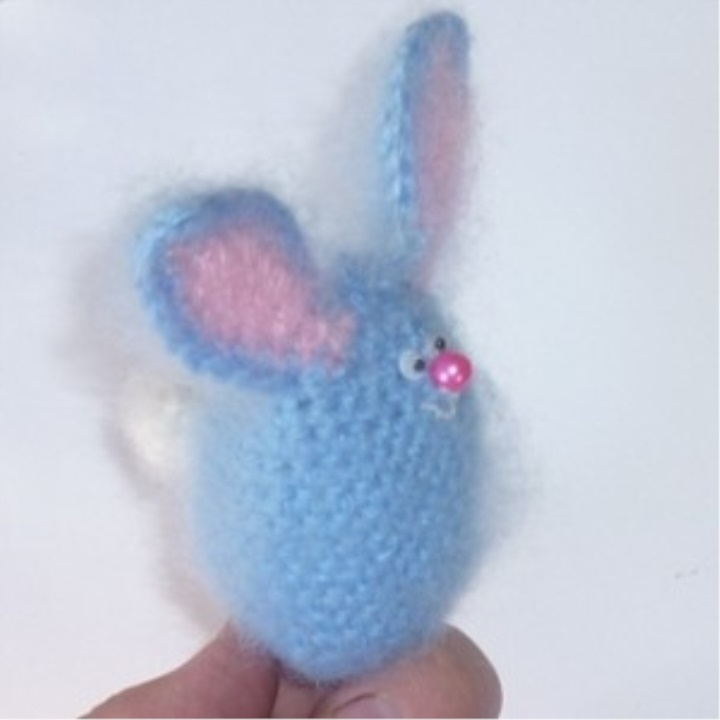
Glue running eyes, the most tiny, so cool. Sew a pink bead - spout and embroider the mouth with white sewing threads. Rabbit is ready!
Just before you give a cute fluffy, turn it out again on the wrong side, so that it turns into an ordinary, ordinary-looking knitted Easter egg. The brighter will be the surprise!