How to tie a crochet hook ? Beginners of needlework very often have this question. It is very easy to tie an elastic band with knitting needles. But when knitting crochet crochet, many people may have difficulty. This step-by-step lesson, in which I will describe the stages of knitting, will help you to sort out a lot and you will learn how to knit an elastic band with a crochet.
There are several schemes and methods of knitting gum. Let's look at some of them on examples and photos.
A relief crochet is an alternation of relief facial (convex) and relief purl (concave) posts, the knitting of which we studied in the last lesson (see here ).
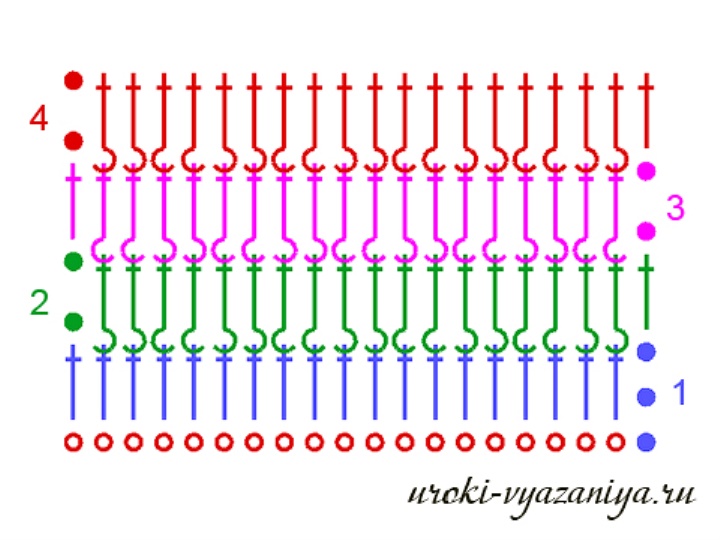
Let's try to connect a 1 × 1 rubber sample according to this scheme:
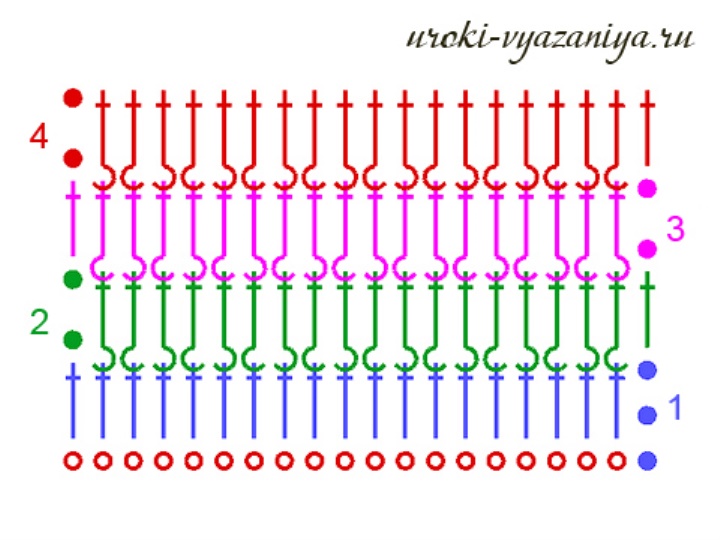
We select an even number of loops, enter the hook in the 4th from the hook loop of the chain and knit the first row of ordinary columns with a crochet.
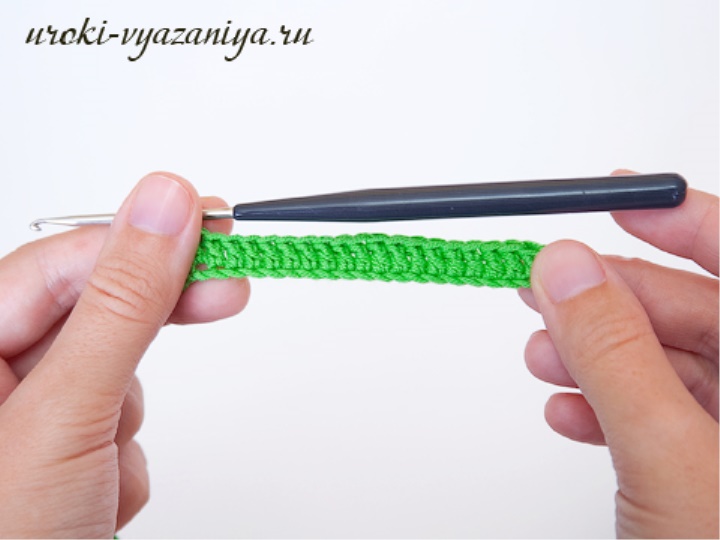
The relief columns with the crochet correspond to 2 air lifting loops. Therefore at the end of the 1st row we knit 2 VPPs, turn the sample over and proceed to knitting of the 2nd row.
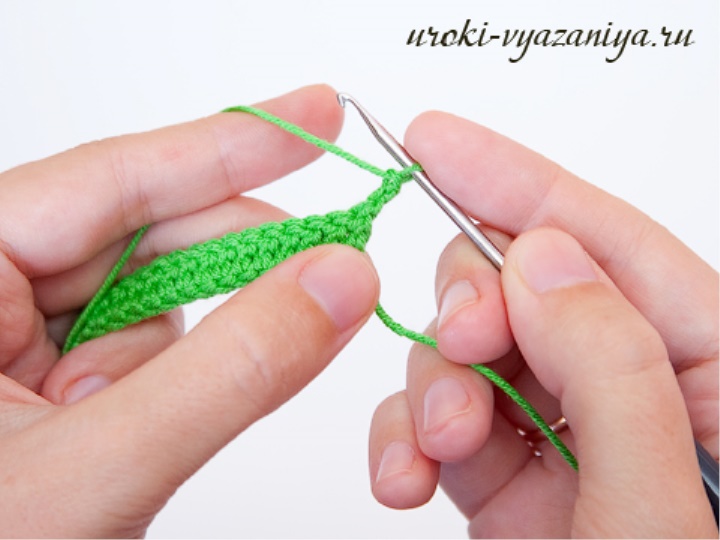
We enter the hook from the front side from right to left, under the column with the crochet of the previous row
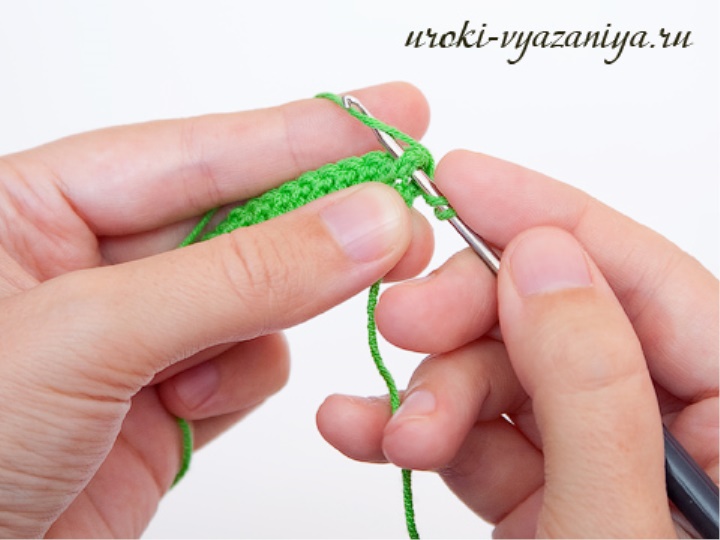
and knit a relief facial (convex) column with a crochet,
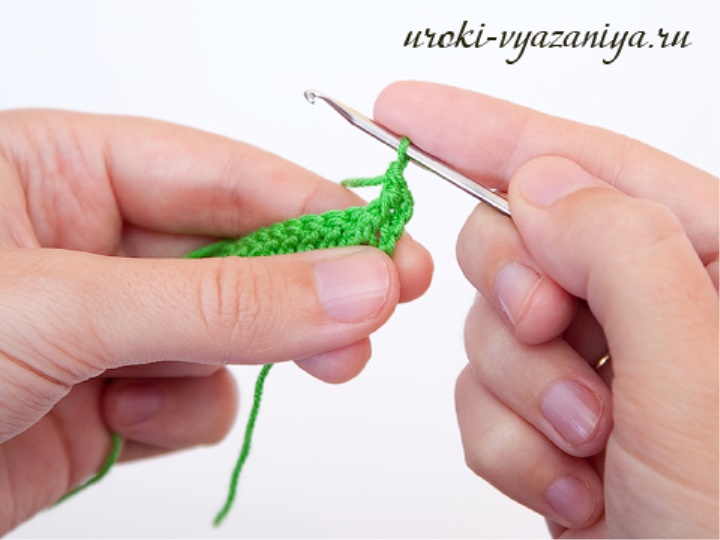
then we enter the hook from the wrong side from the right to the left, wrapping the leg of the column with the crochet of the previous row
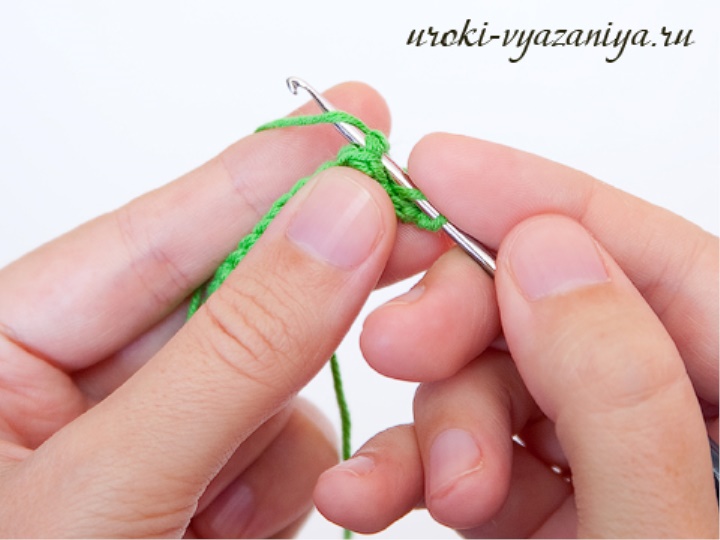
and we knit a relief inlay (concave) column with a crochet.
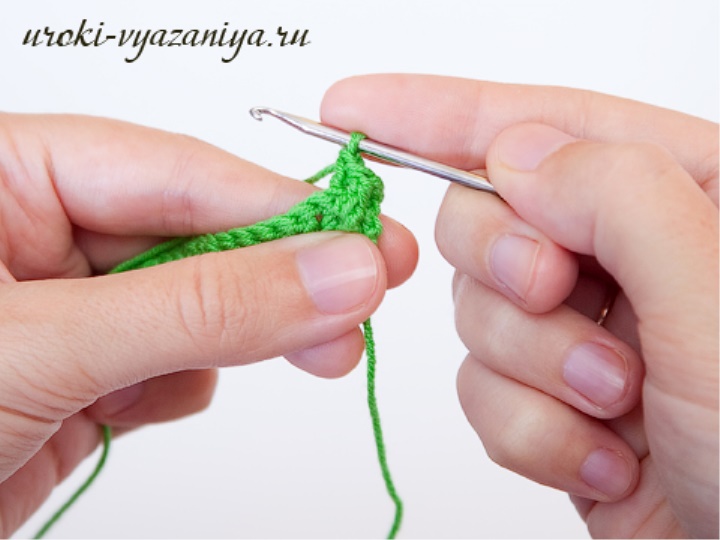
Next, we alternate the knitting of the front and back relief bars to the end of the row.
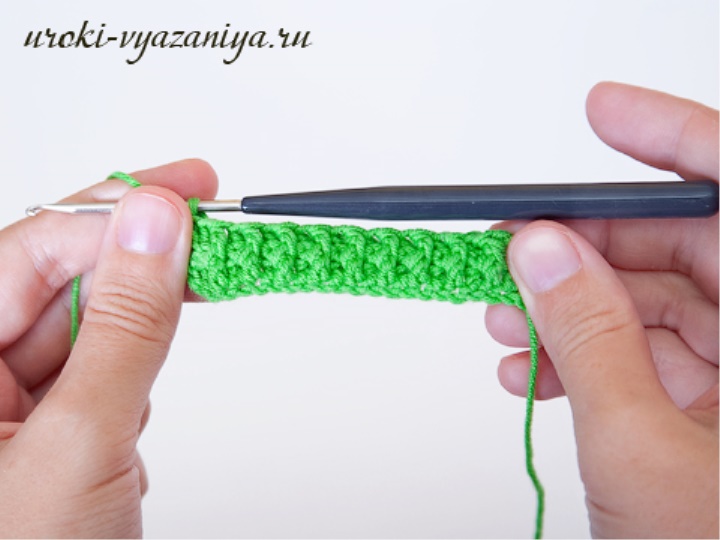
At the end of the second row we knit 2 bp, turn the sample and start knitting of the third row.
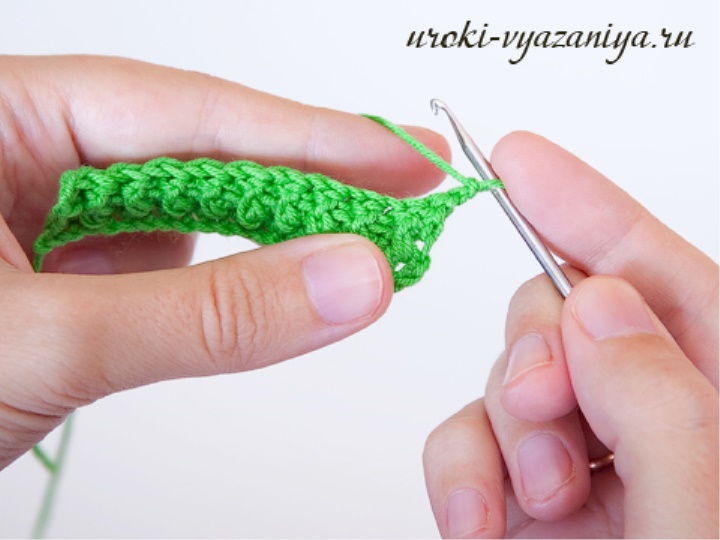
The third row is knitted similarly to the 2nd, alternating the relief facial (convex) column with the crochet
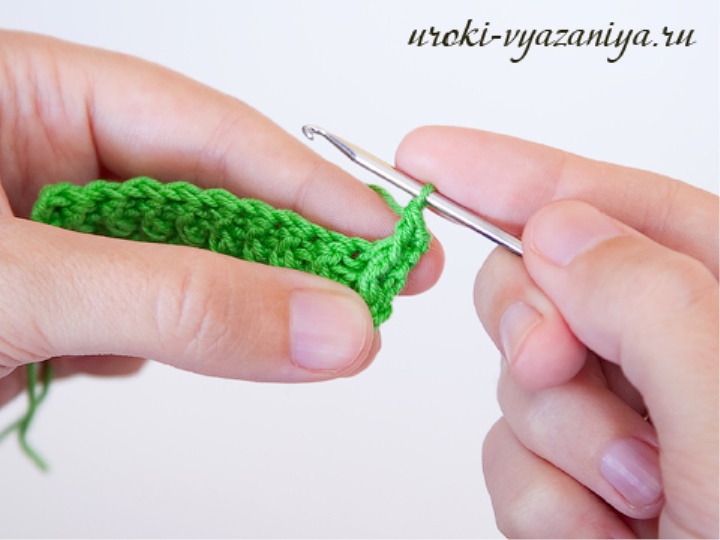
and a relief purl (concave) column with a crochet
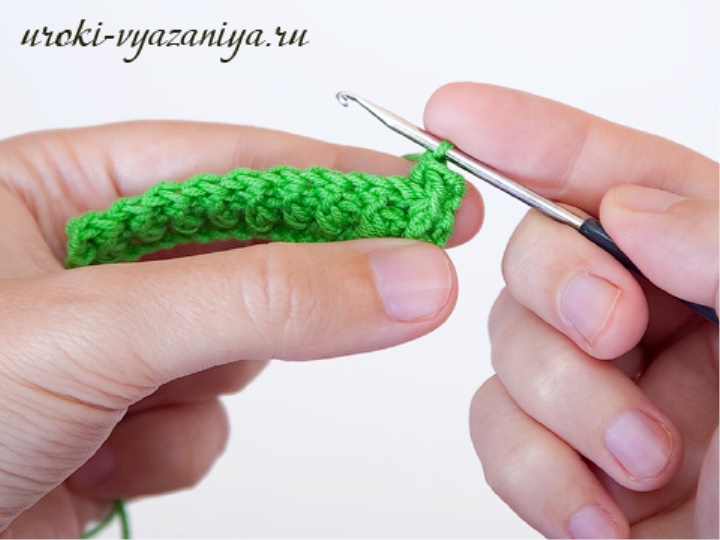
further we knit an elastic band similarly "under drawing".
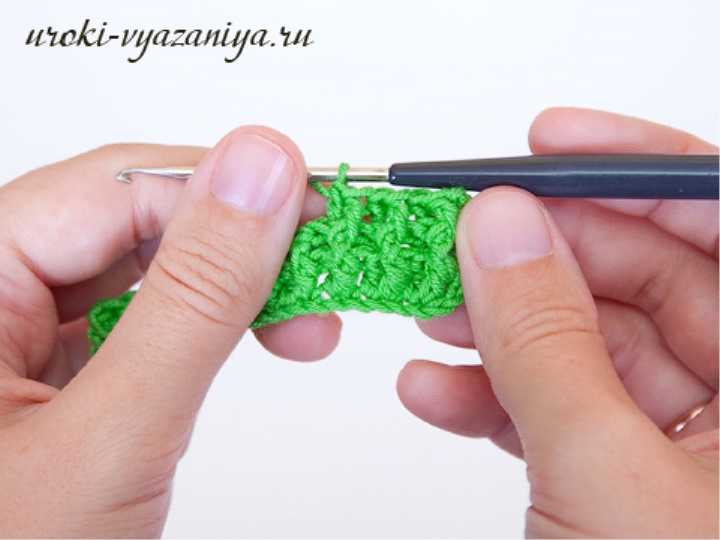
This is how I see a pattern of crocheted rubber bands. This is an elastic band 1 × 1.
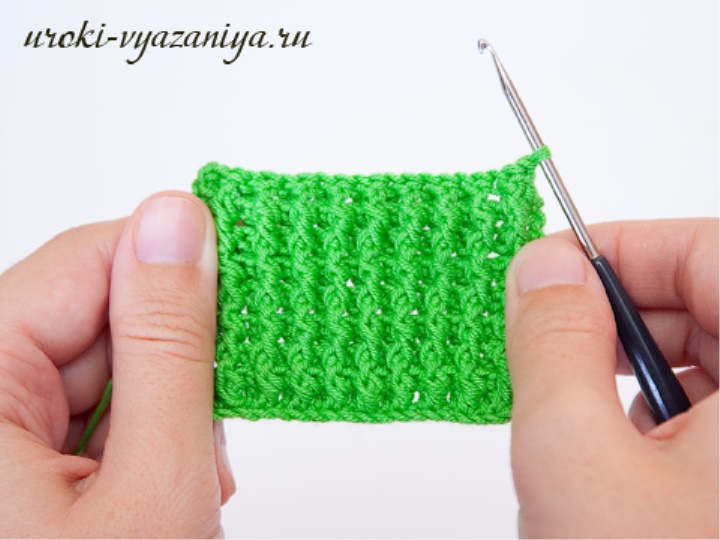
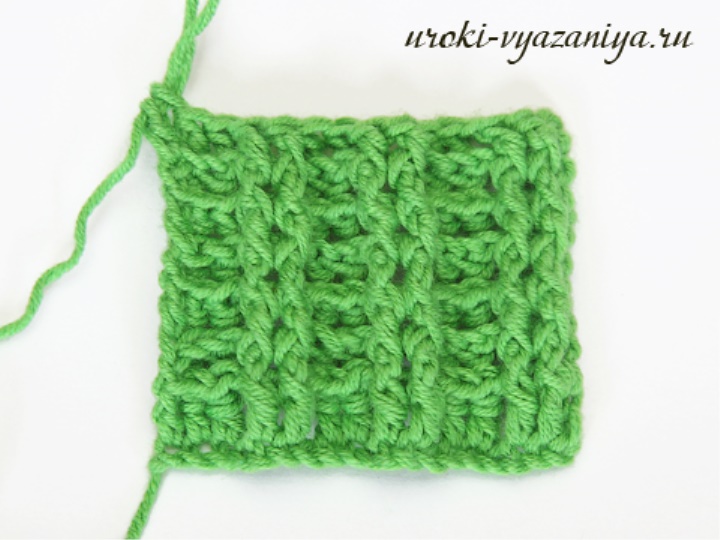
The embossed elastic can be knit with different alternation of facial and reverse relief columns, for example 1 × 2, 2 × 2, 1 × 3, 3 × 3, etc.
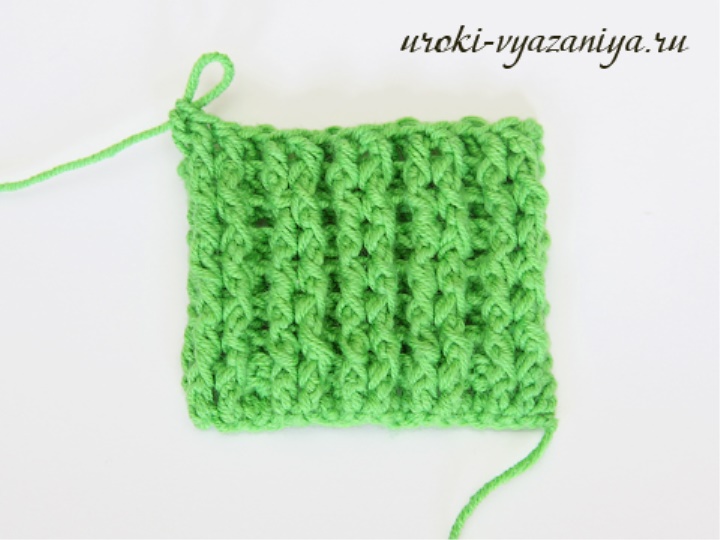
This is how the pattern of the eraser looks with an alternation of two relief facial and two embossed purl strings with a crochet.
The bonded rubber sample is 2 × 2.
It is also possible to knit air loops between the relief bars according to this scheme:
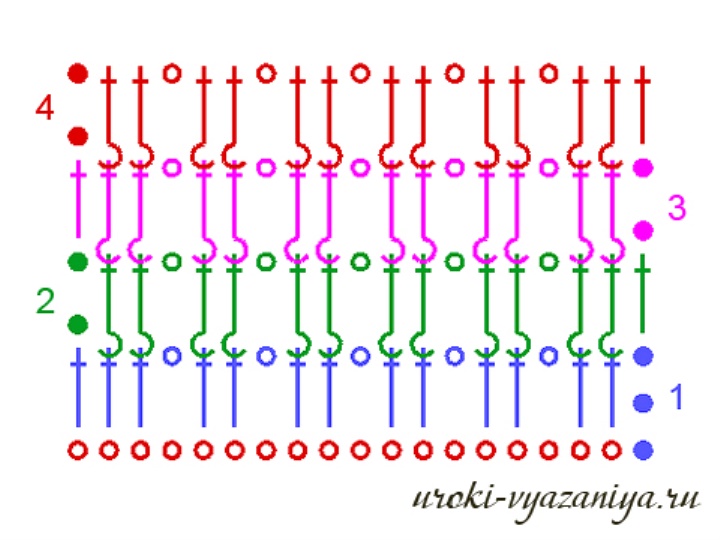
In this case, the elastic band will be softer and more elastic.
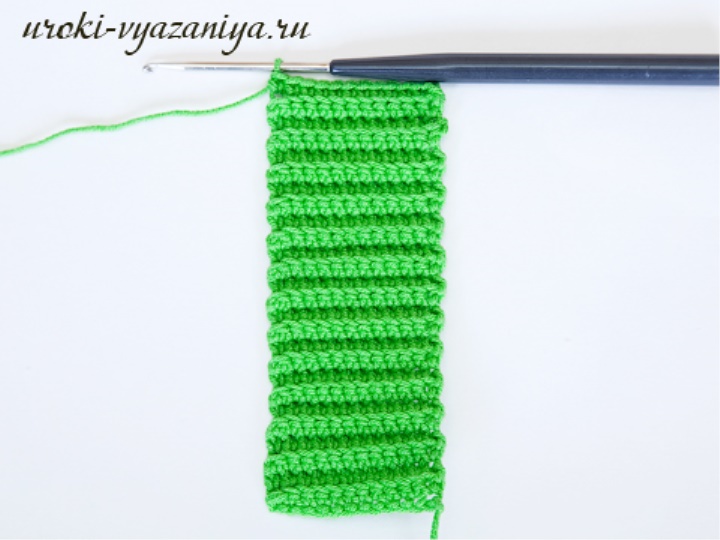
There is another way to knit a crocheted crochet . They are tying a chain from the intersection. and knit the first row of columns b / n, then similarly knit rows rows b / n, only the hook is inserted not for both walls of the loop, but all the time behind the back wall (how to knit behind the back of the loop see here ).
The elastic is more elastic, however, when knitting such a rubber, there is one drawback, this elastic band is knitted along the chain of air loops, forming horizontal relief strips,
so it is knitted separately from the product, then stitching them together.