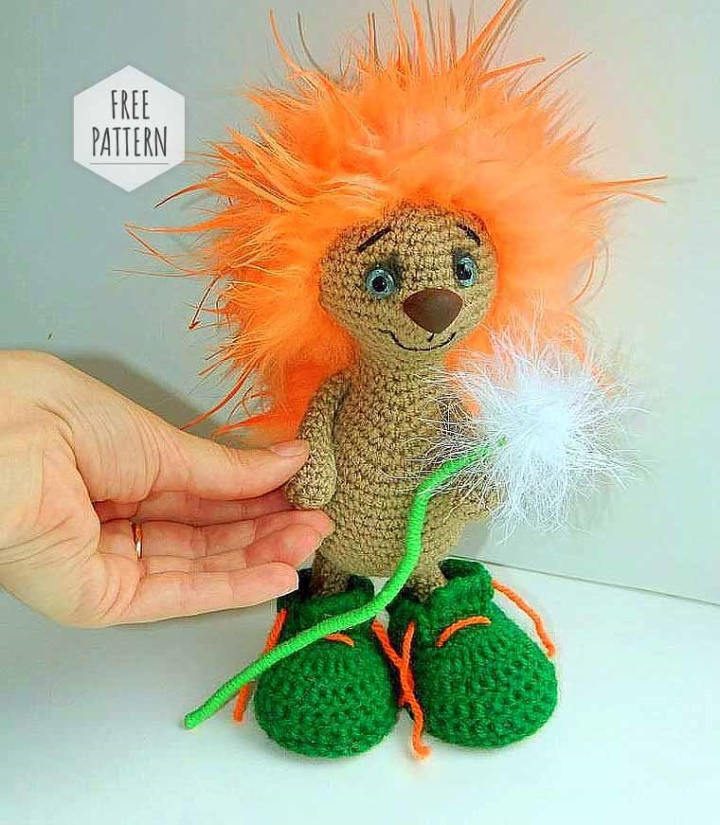
I suggest you to tie such a little tiny-hedgehog (a 21 cm). This crumb still lives at my house and I can not part with it, as with some of my toys:) I hope, and for you he will be one of the favorite toys. Enjoy your creativity:)
Materials for making toys.
Brush.
If there is no special instructions, the toy is knitted for both walls of a loop. In some of the series, special instructions are given: "Knit behind the front wall" or "behind the back wall". In this case, you must follow these instructions. The toy is connected in a spiral.
Twist-this knitting is not in a circle, that is, turn the knitting in the opposite direction
1 row: 6SBB in the Amaguumi ring.
2 row: 6d = 12sbb.
3-4 series: 12SBN.
5 row: UB, 10SBN = 11SBN.
6 row: UB, 9SBN = 10SBB.
7 row: UB, 8SBN = 9SBN.
8 row: UB, 7SBH = 8SBB. Fill the filler, then do not stuffing.
9 row: UB, 6SBN = 7SBB.
10 row: UB, 5SBN = 6SBB.
11-13 rows: 6 SBN.
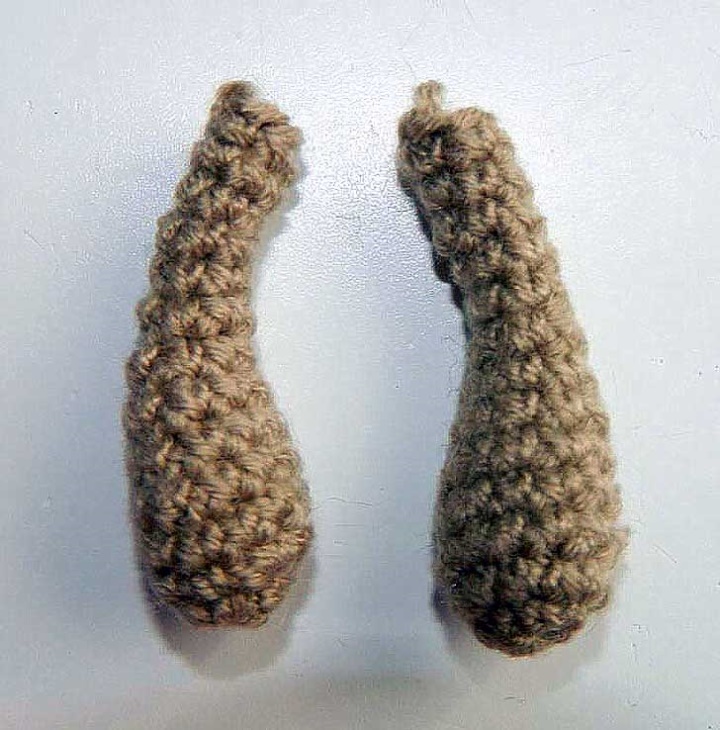
Legs (2 parts).
Take the yarn for the boots.
Dial a chain of 7VP.
1 row: From the 2nd loop 3SBB in one loop, 4SBN, 5SBN in one (last) loop, on the other side 4sbn, 1d = 18sbn.
2 row: 2d, 3SBN, 3SSN, 3d from PRSs, 3SSN, 3SBN, pr from SBN = 24SBN.
3 row: (1SBN, D of the SBN) * 2 P, 3 SBN, 3SSN, (1SSN, D of PRSs) * 3r, 3SSN, 4SBN, d of SBN = 30 loops.
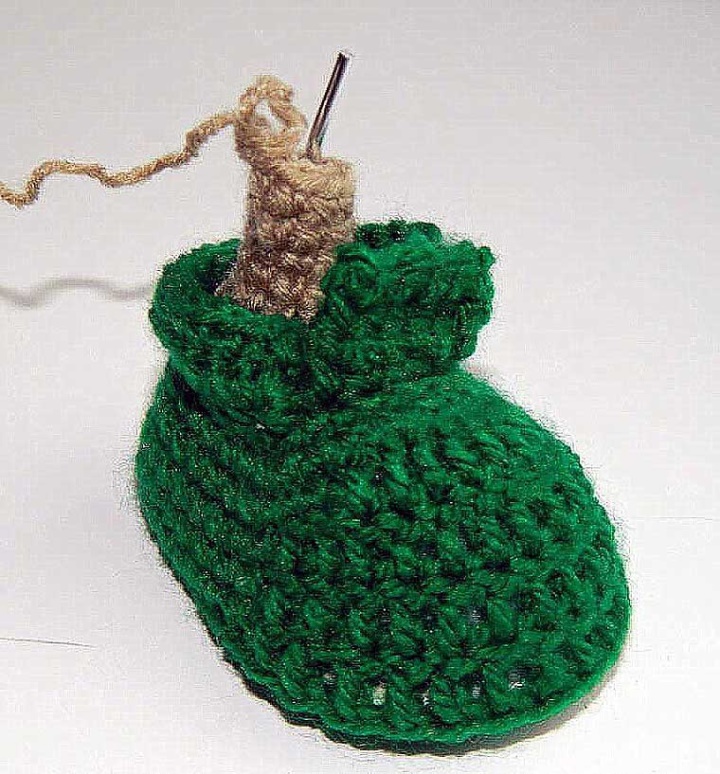
4 row: (2SBN, PR of SBN) * 2r, 3SBN, 3SSN, (2SSN, OL of PRSs) * 3r, 3SSN, 5SBN, pr of SBN = 36 loops (Photo 1).
5 row: Behind the back wall of the loop 15SBN, 12ssn, 9SBN = 36 loops.
6-7 series: 15SBN, 12ssn, 9SBN = 36 loops.
8 row: 17SBN, 8ssn, 11SBH = 36 loops.
9 row: UB, 1SBN, UB, 9SBN, (UB, 1sb)*5r, 7SBN = 29sbn.
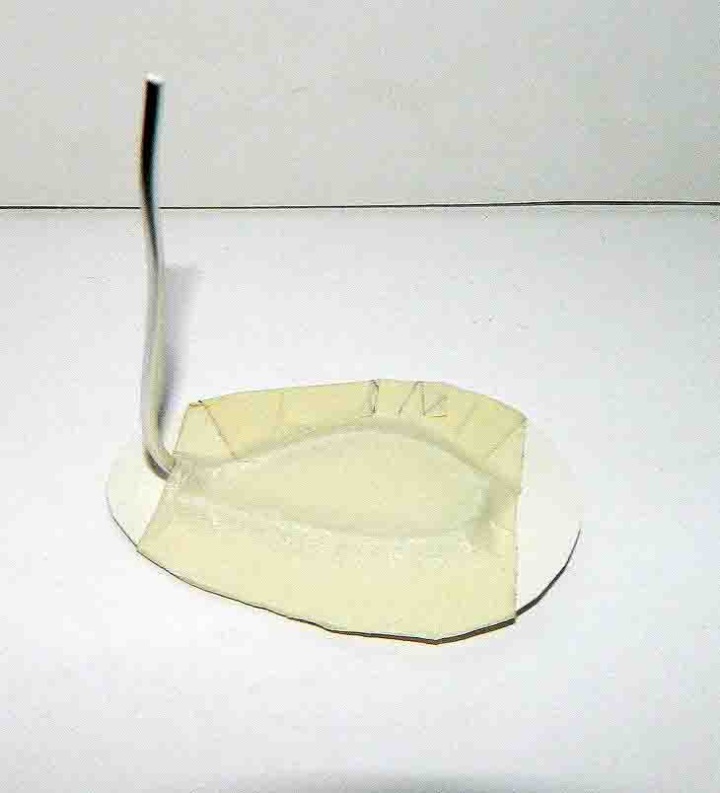
Run the sole and cut out the two insoles of cardboard. Cut off two pieces of wire (about 10 cm), fasten the plaster on the sole. Put the workpiece inside the shoe and continue knitting around the frame.
10 row: 11SBN, 6ub, 6SBN = 23sbn.
11 row: Behind the back wall of the loop 9SBN, 5ub, 4SBN = 18sbn.
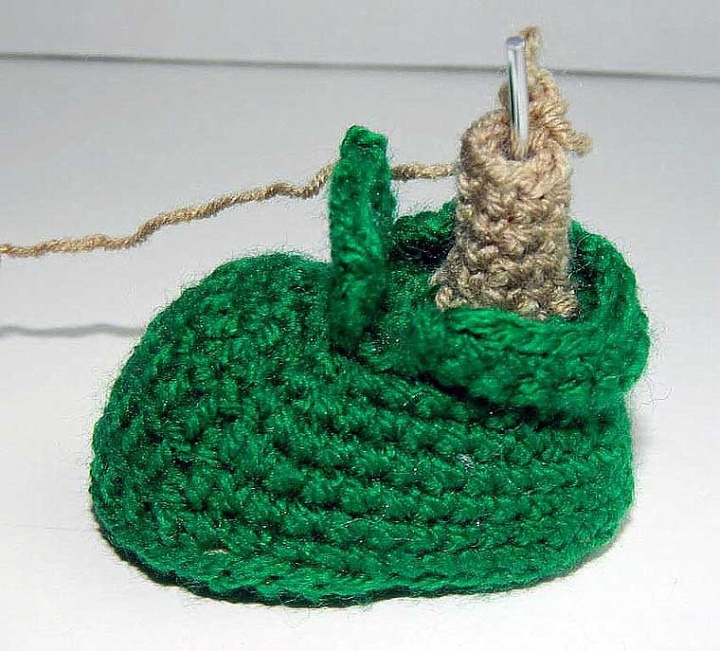
12 row: (1SBN, UB) * 2r, 1SBN, 4ub, 1SBB, UB = 11SBN.
Fill the shoe (Photo 2).
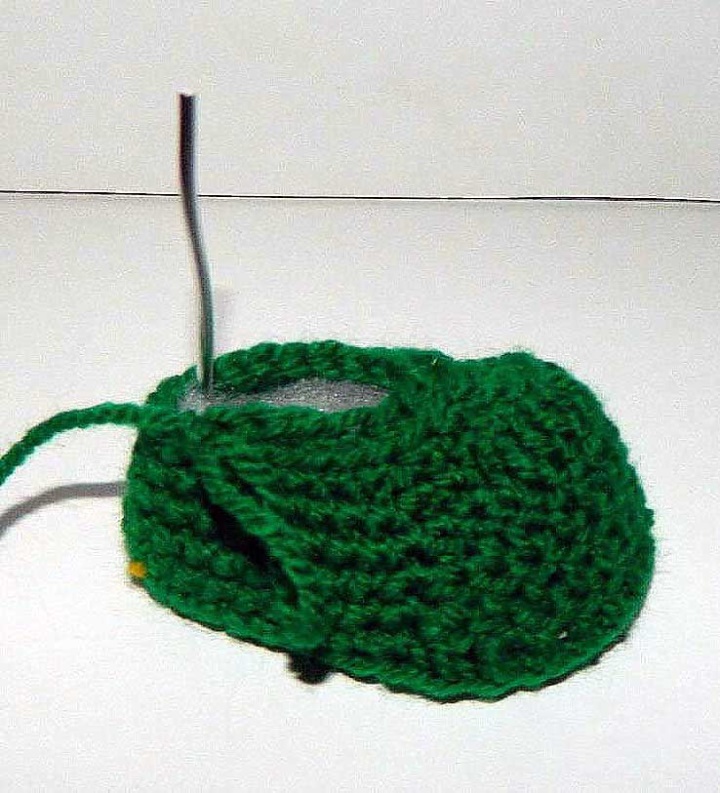
Change the yarn to gray.
13 row: (1SBN, UB) * 2r, 2SBB, ub, 1SBH = 8SBB.
14-18 Series: 8SBN (5 rows). Leave the thread to be nailed.
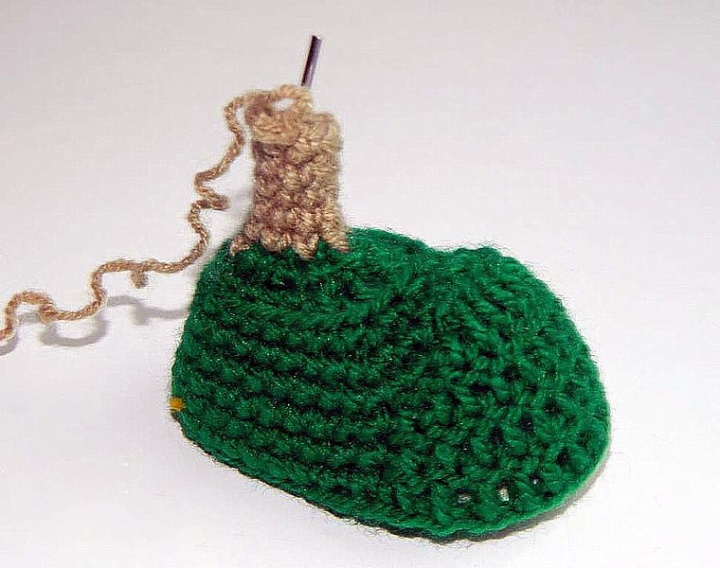
Strapping of the top part of a shoe: tie a thread (a color of a shoe) to a loop from the side (12 loop) behind a front wall of a loop of 11 rows, a hook enter from below, the edge upwards.
1 row: 17sbn, turn = 17SBN.
2 row: VP, 17SBN, turn = 17SBN.
3 row: VP, 17SBN, turn = 17SBN. Cut and hide the thread.
There are 5 loops left in the middle. Insert the hook into the first (or last loop) and push the 4 rotary series to 5SBN. Cut and hide the thread.
The second leg knitting on the same scheme.
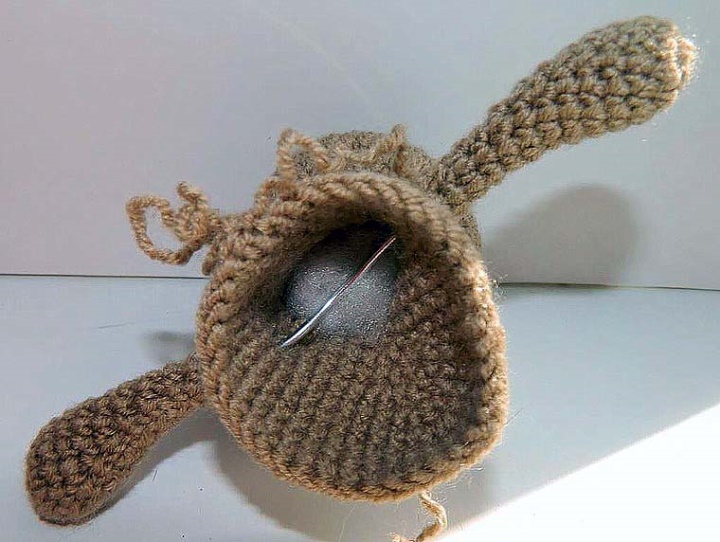
The head is the torso.
1 row: 6SBB in the Amaguumi ring.
2 row: 6d = 12sbb.
3 row: (1SBN, D) * 6r = 18SBN.
4 row: (2SBB, D) * 6r = 24SBN.
5th row: (3SBN, D) * 6r = 30SBN.
6 row: (4SBN, D) * 6r = 36 SBN.
7 row: (5SBN, D) * 6r = 42 SBN.
8-11 rows: 42
12 row: 16SBN, D, 1SBN, 2d, 2d of PRSs, 2d, 1SBN, d, 16SBN = 50 loops.
13 row: 24SBN, 2ssn, 24SBN = 50 loops.
14 row: 19SBN, 2ub, 2ub from PRSs, 2ub, 19SBN = 44 loops.
15 row: (4SBN, UB) * 2r, (3SBN, UB) * 3r, (4SBN, UB) * 3r = 36 SBN.
16 row: (4SBN, UB) * 6r = 30SBN.
17 Row: (3SBB, UB) * 6r = 24SBN.
18 Row: (2SBB, UB) * 6r = 18SBB.
19-20 series: 18SBN.
21 Series: (8SBN, D) * 6р = 20SBN.
22 row: 3SBN, D, 4SBN, 2d, 3SBN, d, 6SBN = 24sbn.
23 Row: 4 SBN, 3SBN (Projazat 3SBB body together with 3SBN upper legs), 4SBN, 2d, 4SBN, 3SBN (Projazat 3SBB body together with 3SBN upper legs), 4SBN = 26sbn.
24 row: 4 SBN, 3sbn on foot, 5SBN, 2d, 5SBN, 3sbn on foot, 4SBN = 28sbn. Fill the head with a filler. Insert the wire into the handles.
25 row: 12SBN, 4d, 12SBN = 32 SBN. Watch the marker, it must pass from behind on the back.
26 Row: 14SBN, 4d, 14SBN = 36 SBN.
27 Row: 17SBN, 2d, 17SBN = 38 SBN.
28-30 rows: 38
31 Row: 36, 2 PR = 40SBN.
32 Series: PR, 36, 3d = 44 SBN.
33 Series: (1SBN, D) * 2r, 36 SBN, (1SBN, d) * 2r = 48 SBN.
34-36 rows: 48
37 Series: (6SBN, UB) * 6r = 42 SBN.
38 Series: (5SBN, UB) * 6r = 36 SBN.
39 Series: (4SBN, UB) * 6r = 30SBN.
40 row: (3SBB, UB) * 6r = 24SBN. Fill the filler.
41 Series: (2SBB, UB) * 6r = 18SBB.
42 Series: (1SBN, UB) * 6r = 12SBN.
43 Series: 6ub. Cut and hide the thread.
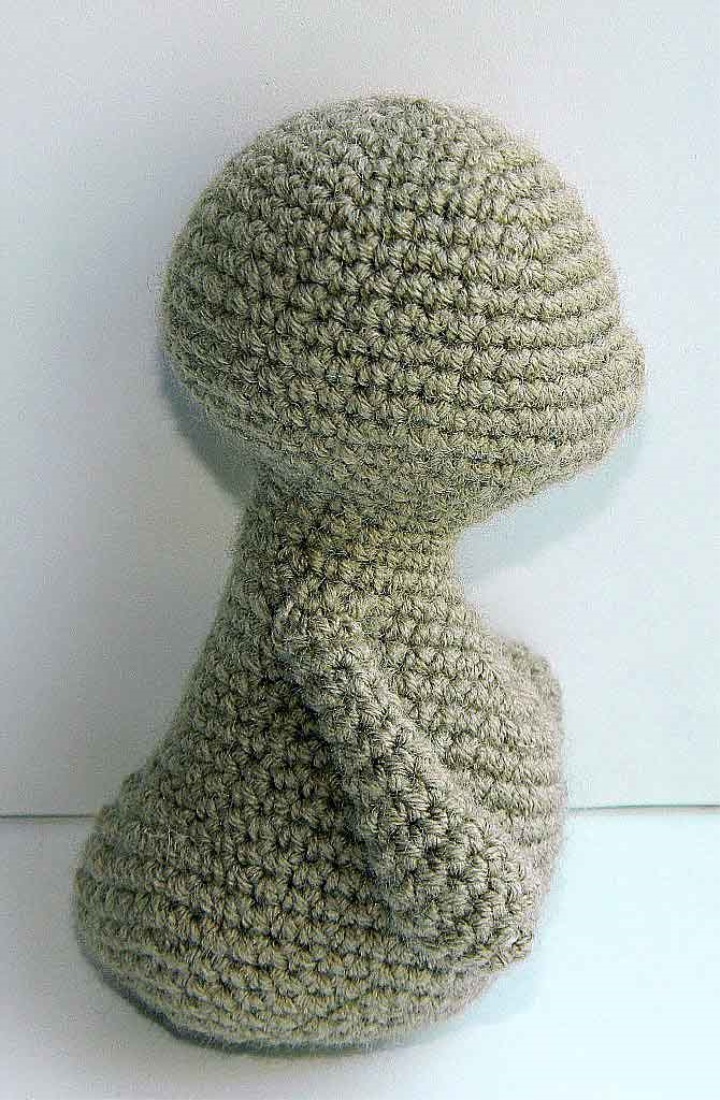
Sew the legs to the body.
Needles.
Take the faux fur. I took the pompones of fur (2 pieces). The two squares were cleared and the needles for hedgehog were cut and sewed.
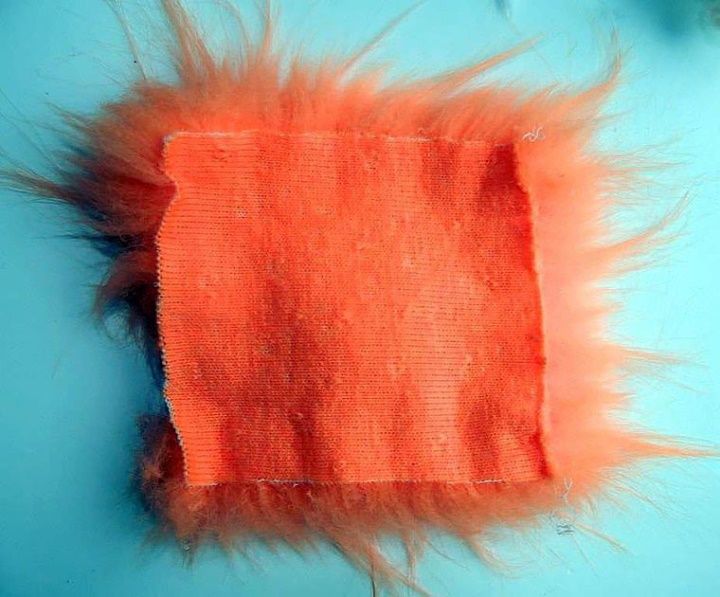
On your head.
The pattern of the needle on the head.
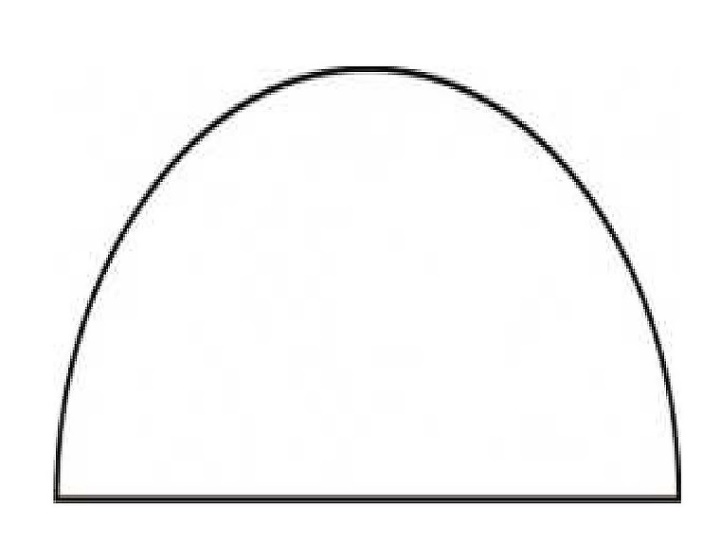
Length-8.5 cm
Height-5.5 cm
Sew two pieces. Sew to the head. I glued a glue gun.
Needles on the back.
4cm

6 cm
Height-5.5 cm
Sew or stick to the backrest.
Assembly of Parts.
Stick your eyes, nose. Embroider the mouth and eyebrows.
And the most important thing-needles.
For fur to become similar to hedgehog needles, it is necessary to do the following:
Dilute in a bowl of 1/4 pieces of PVA glue and 3/4 pieces of water. Now the toothbrush is dipped in the solution and carefully comb the fur hedgehog. It is necessary to moisten only tips so that the solution PVA did not fall on a basis. After that the skin of hedgehog should be dried, that thorns were not noticed.
Flower.
Take the yarn YarnArt Tecno.
1 row: 6SBB in the Amaguumi ring.
2 row: 6d = 12sbb.
3-5 series: 12SBN.
6 row: 6ub. Cut and hide the thread.
Take the wire, apply glue (PVA) and wrap the yarn green. Glue the flower to the stalk. Our hedgehog is ready!
And here also such, here I have connected to eyes the eyelid:)