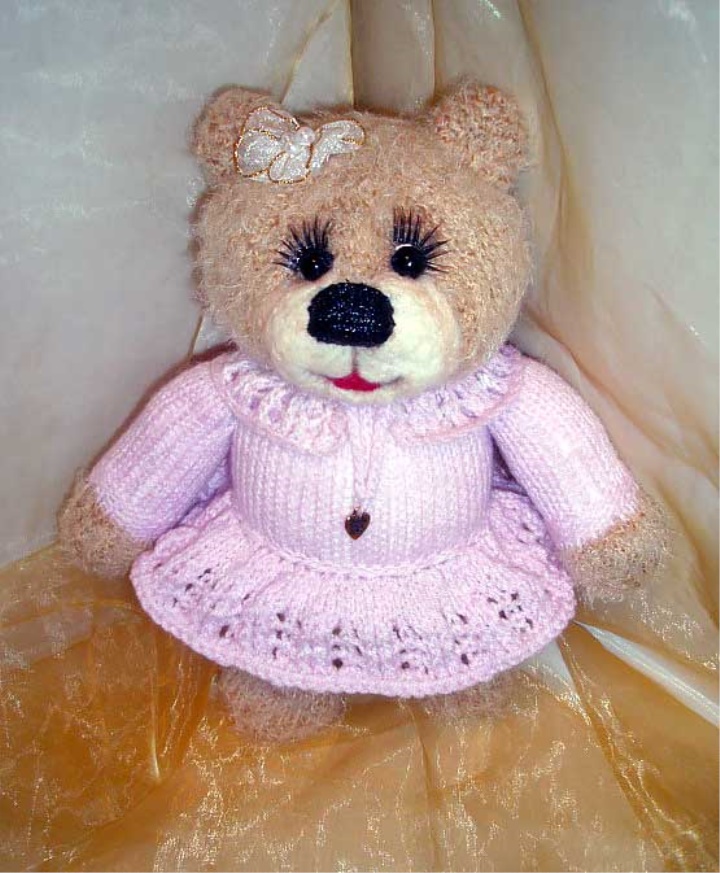
I continue to knit bears! and tried to create a master class, well, as managed, so do not judge strictly!
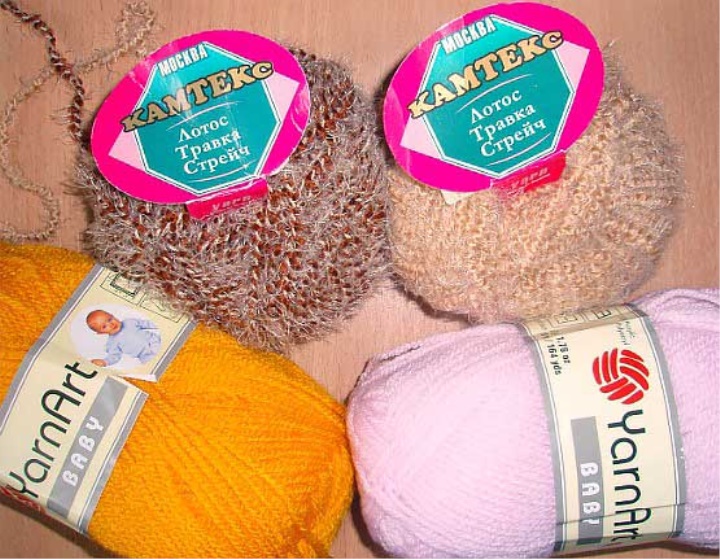
And here is the yarn from which were tied my bears
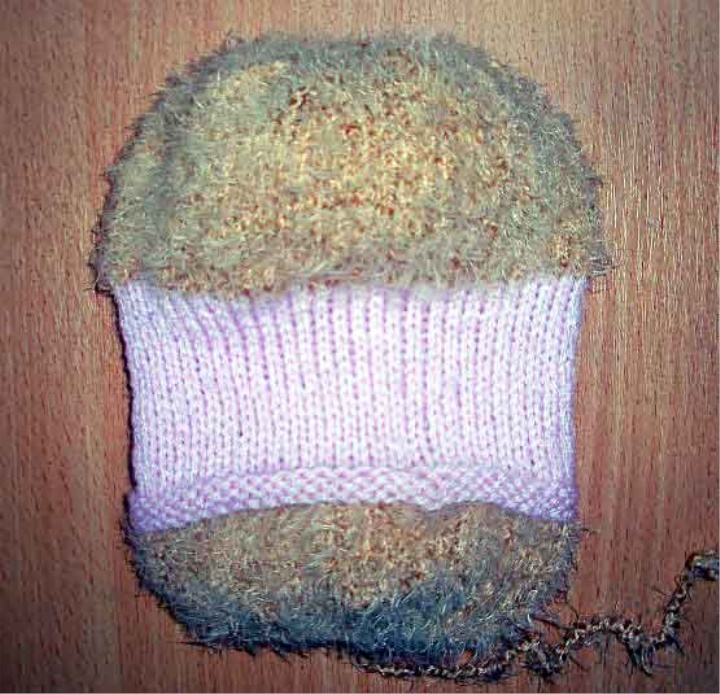
2. Start knitting torso-it will be whole with the head!
We recruit on two spokes (the size of spokes-2) 18 loops, then we distribute these loops on three spokes, on 6 loops on each, projazem
1 row-facial and looped knitting,
2 Series-Add every two loops, one loop from the stretch, you have on the spokes must be 9 loops,
3 Series-The front loops,
4 Series-Add every three loops, 1 loop from the stretch, on the spokes should be-12 loops,
5 row-the front loops,
6 Series-Add every two loops, one loop from the stretch, on the spokes should be 18 loops,
7-17 Rows-Projazit brown color.
18 row-change color to lilac.
19-39 Series Knit Lilac color.
40 Series-Change color to brown,
41 Series-Every four loops add one loop from the stretch, on each spoke should be 22 loops
42-72 Series-knit front loops.
73 Series-Start closing the head-each row on the decreasing (Ubavki do in each row)-Start with 4 loops-Ubavka, etc., until the spokes will not remain three loops, they are then collected on the thread and tighten, fasten and hide the knot!
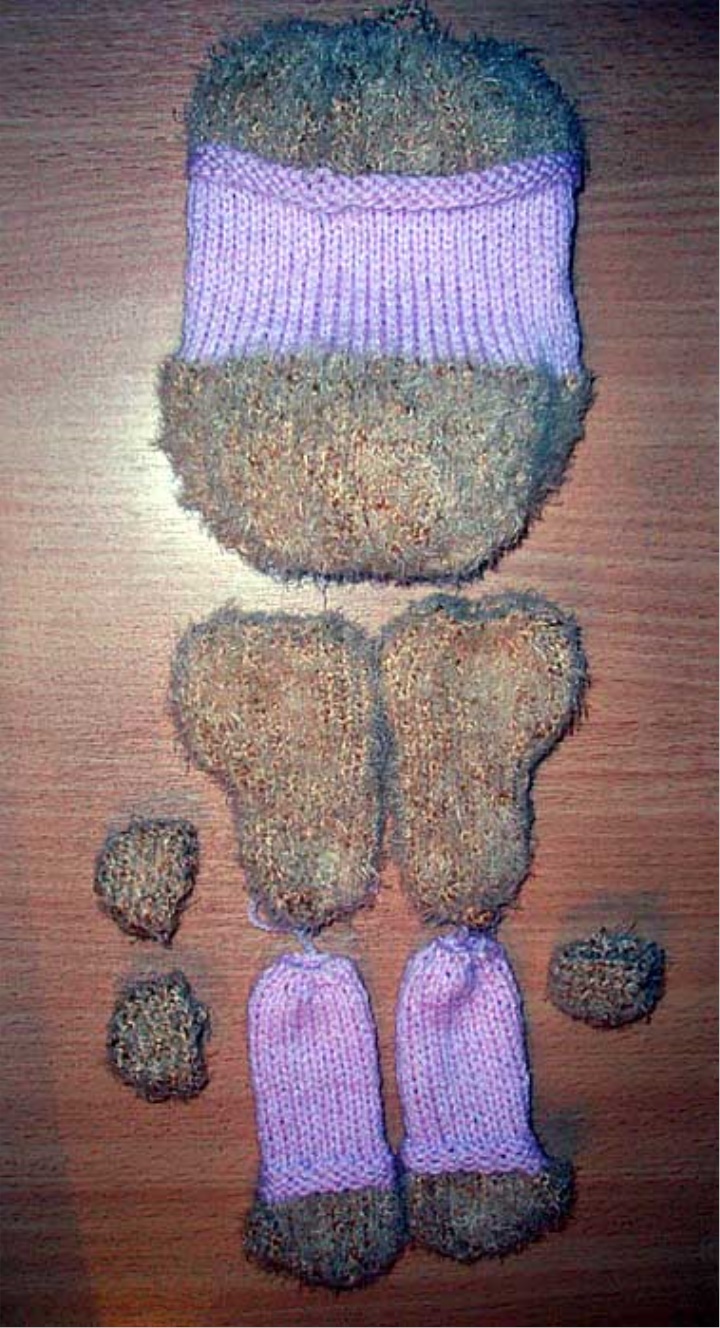
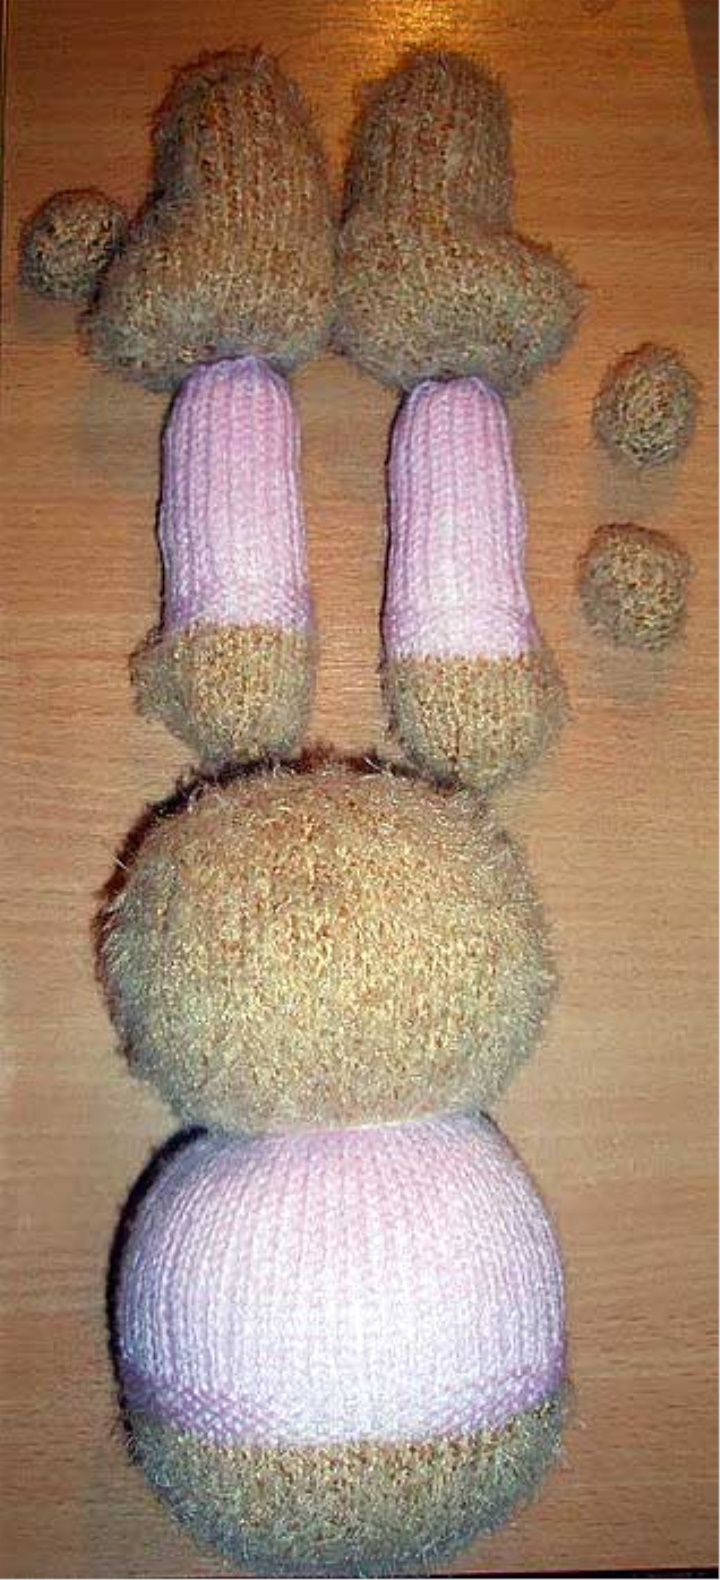
Our torso and head are ready.
We begin to knit lower and upper legs, ears and tail:
Lower Paws: We dial 12 loops on the spokes.
1 row-Projazlyat facial and immediately distribute four loops, three spokes, and loop.
2 row-1 front, 1 loop from the stretch-must be on the spoke 8 loops
3 Series-Facial loops
4 Row-4 Facial, 1 loop from the stretch-on the spokes nine loops
5-15 Series-Facial loops
16 row-begin to form a foot: 1 spoke-9 loops, 2 spokes-1obverse, 2 together obverse-on a spoke should remain 6 loops, 3 spokes-1 persons., 2 together obverse-on a spokes of 6 loops.
17 Row-1 spoke-9 loops, 2 and 3 spokes-1 obverse, 2 together obverse, 2 together obverse-on the spokes 4 loops.
18-36 Series-facial loops
37 Series-Start to close loops-1 obverse, 2 together the front and close to the end.
Top legs.
We collect lilac color 12 loops-distribute them on three spokes-on 4 loops on each.
1row-Facial loops-loop.
2 row-2 Facial, 1 loop from the stretch-on the spokes 6 loops.
3-25 Series-facial loops
25-28 Series-Purls Loops
29 row-Change color to Brown
30-36 Series-facial loops
36 Series-Start to reduce through 1 loop and so through.
Ears and tail
Ears and tail knit crochet № 2-6 columns bn in the ring Amaguumi
2 row-12 columns bn (two columns in each loop)
3row-5 columns bn, 2 columns bn in one loop, 5 columns bn, 2 columns bn in one loop
4 row-14 bn columns
5 row-6 columns bn, 2 bn column in one loop-repeat
6-8 Series-20 columns
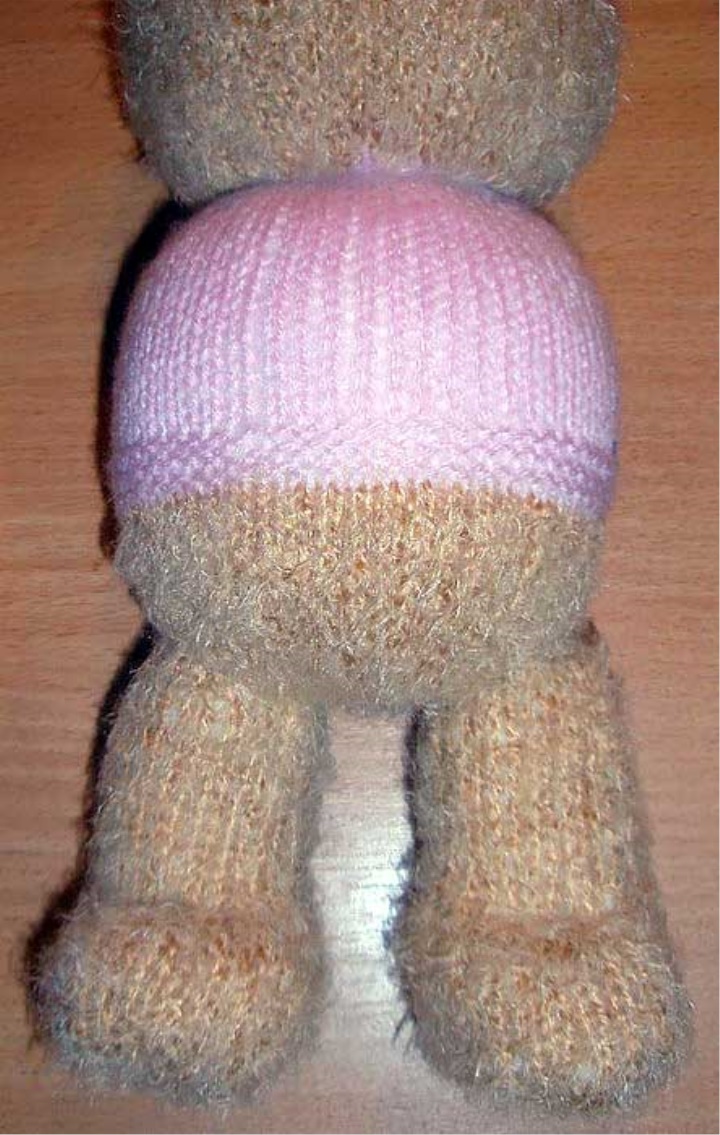
We make packing of ready details-on places of bends at the bottom paws-we form a foot, and the top legs-filler stuffing not to the end when you fill a head-grasp fingers a place of transition of a neck and continue to fill a trunk. Sew all open places. And now take a solid thread-puff her two and small stitches-will pass along the border of the separation of color on the place of the neck, when the ends are connected-stretch your neck on how much-it is possible and fasten-the ends hide inside the head.
Stick the lower legs to the torso and find such a point-that the Mishka well stood, then firmly sew-several times checking for stability. Also with the top paws-first pin them with a pin opposite the lower legs and only when Symmetry-stick.
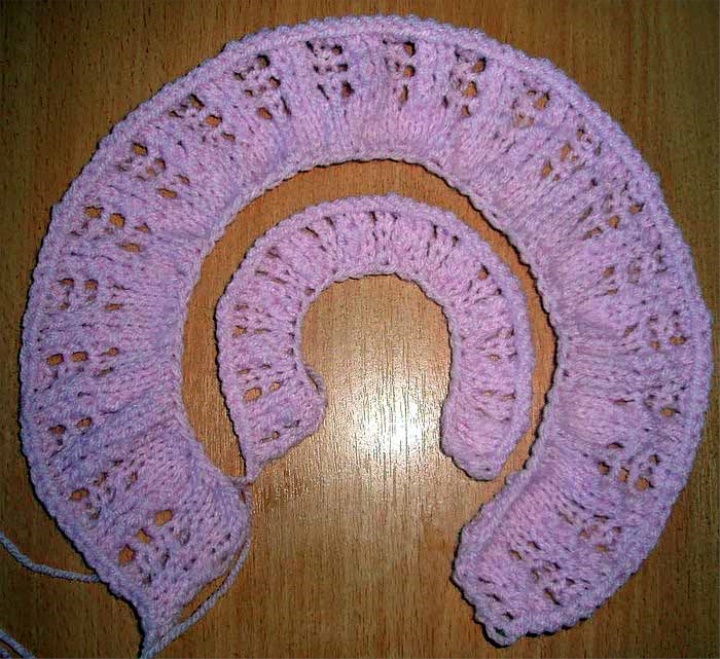
We start knitting a skirt and a collar.
For skirts We dial the Spokes № 2-60 loops.
1 Row-1persons, 1 N.
2 row, add loops-1 persons, 1 loop from the stretch-on the spokes of 120 loops!
3rd row-N.
4 Series-Facial loops
5 Series-Purls loops
6 row-scum, two faces together-slope to the right, 2 faces together-slope to the left, scum, 1 purl
7 Series-Purls
Repeat 3 times and close the skirt.
Collar-dial 28 loops and knit the same pattern as the skirt-6 rows in the second row-make a raise of 1 person., 1 loop from the stretch-on the spokes of 56 loops!
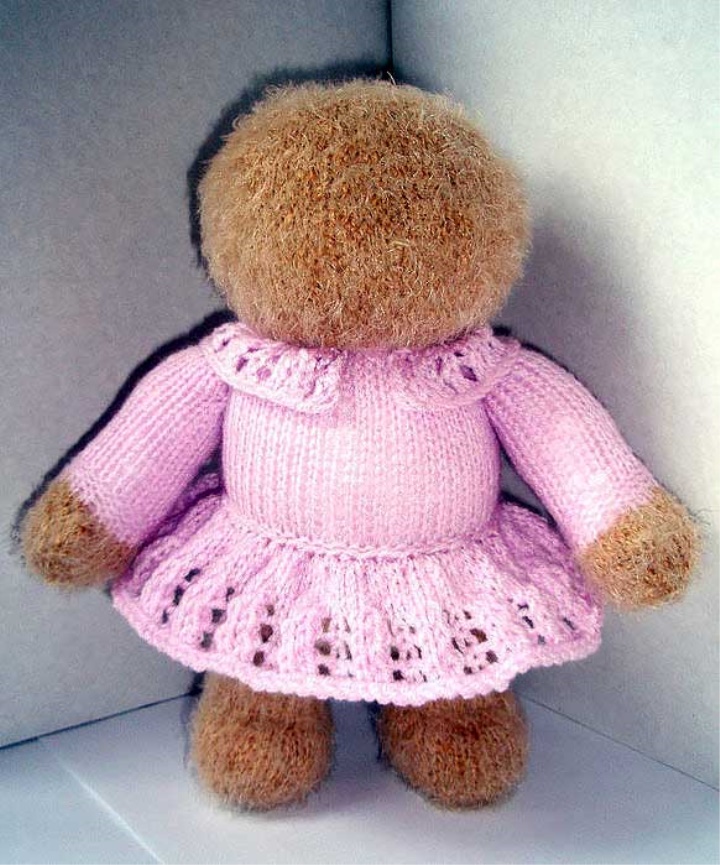
Attach the skirt and collar to the place.
Start to shape the head.
Pin the ears-to the place that you like more, from different locations, face, too, will be different!
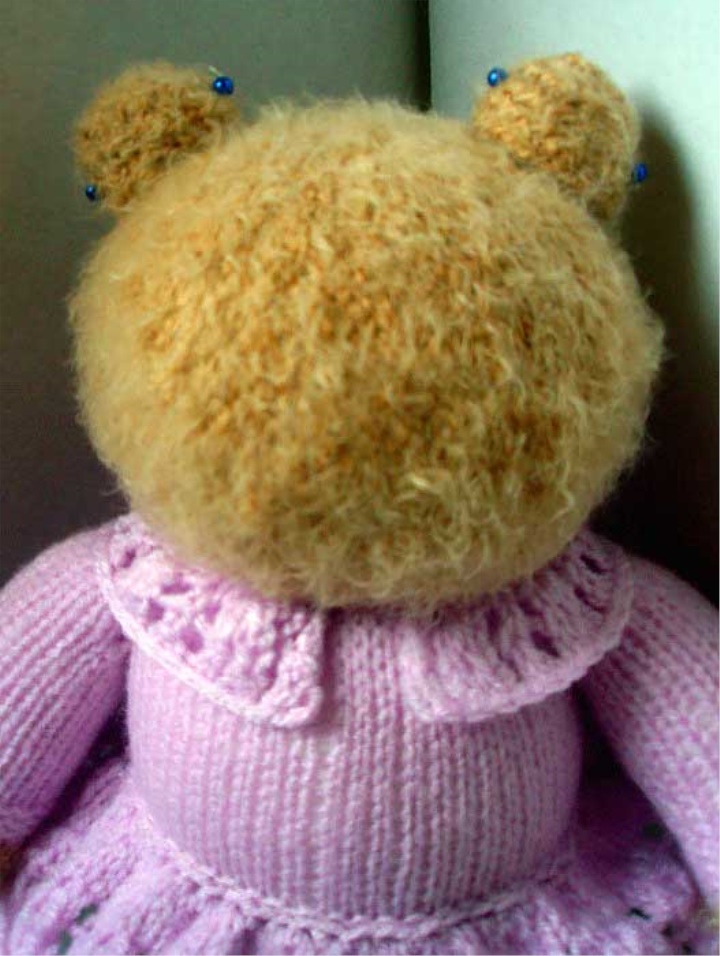
Now let's get face!
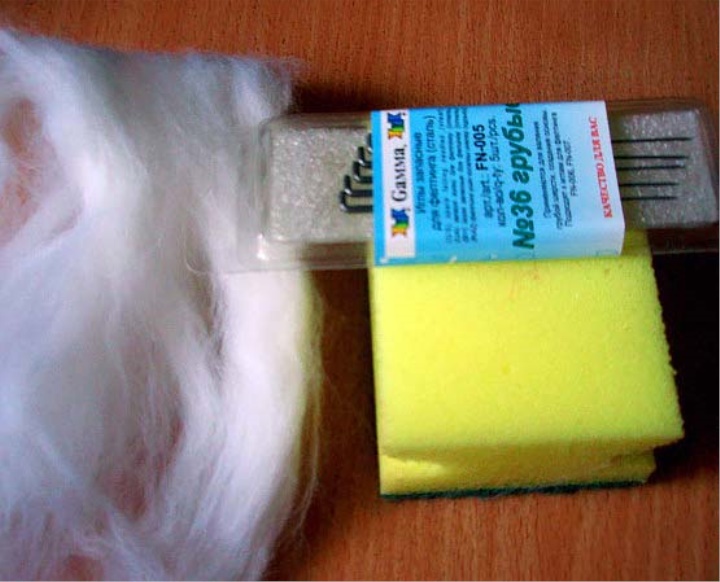
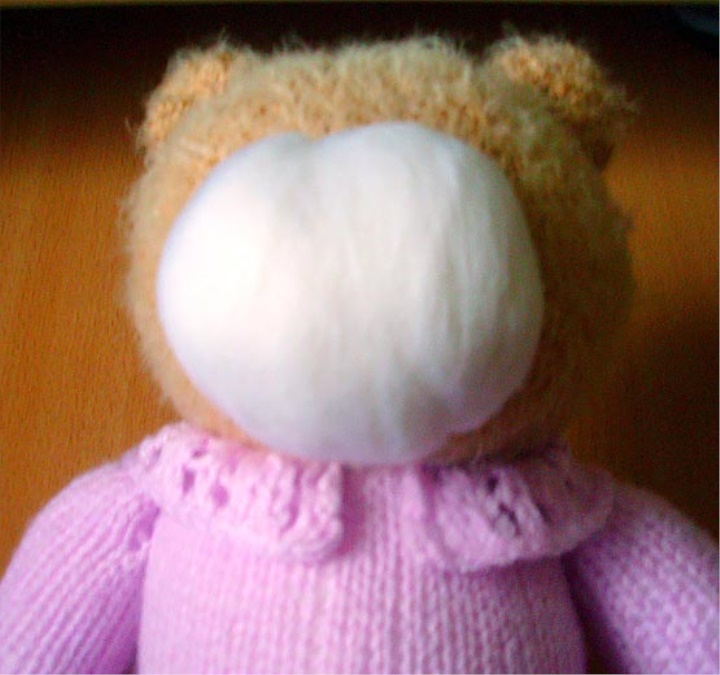
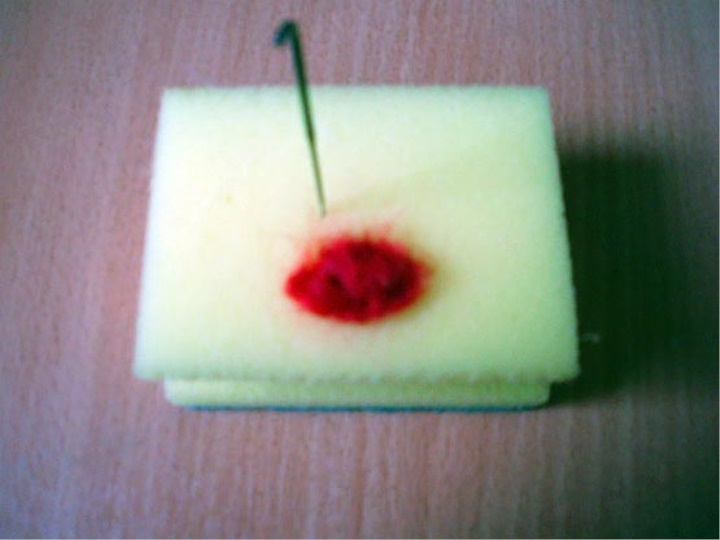
We take wool for a vase, a needle and a foam sponge.
We form a ball with our hands.
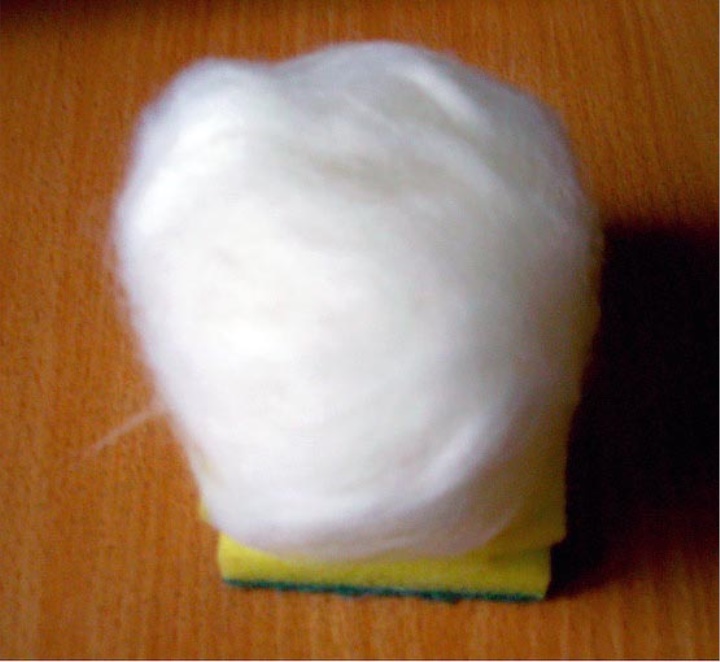
And in a circle we privalyvaem a rough needle for a valonia-forming an oval.
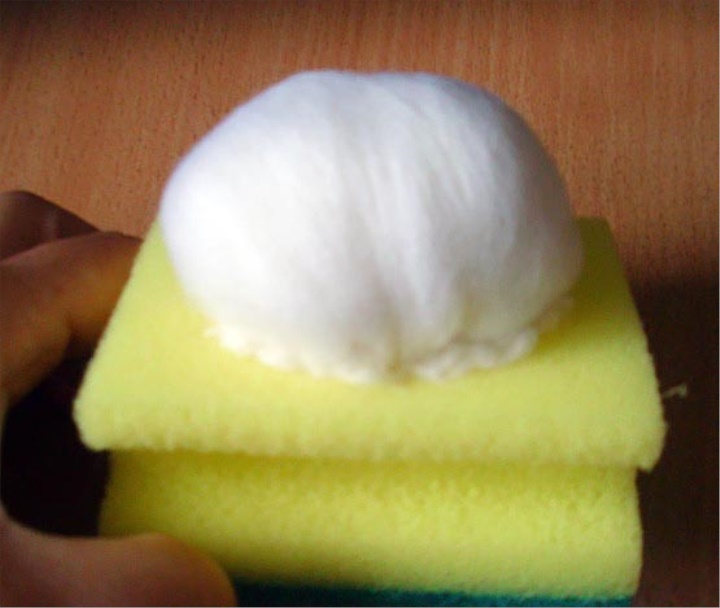
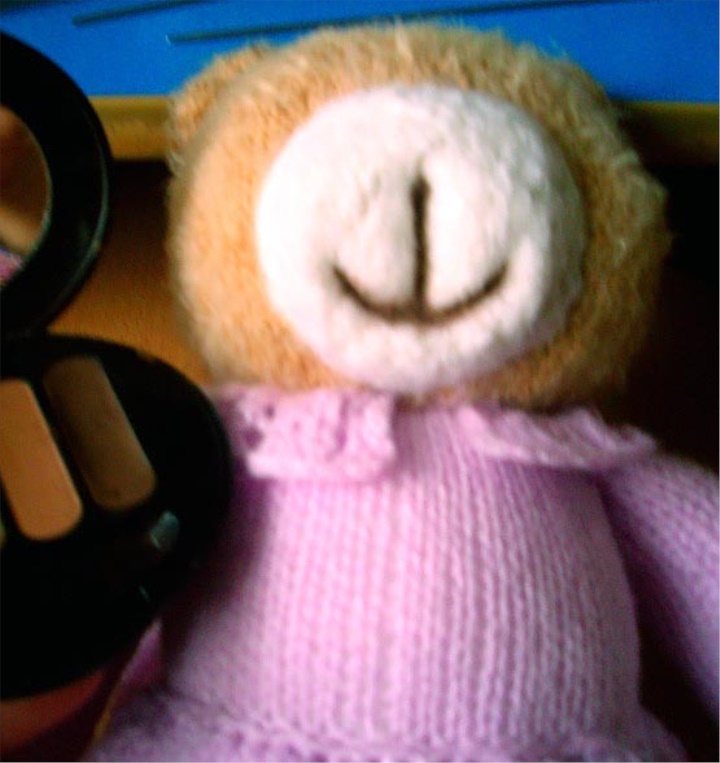
Carefully remove the ball from the foam sponge and transferred to the face, the centering and start in a circle to fasten it, making frequent punctures with a needle on the edge, the more often the better it attaches to the head of the Mishjoke.
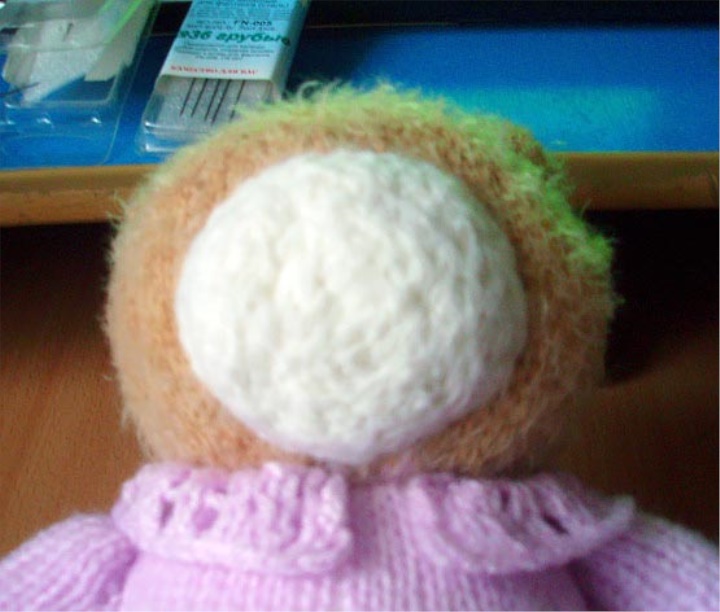
Now we're about a centimeter to the center.
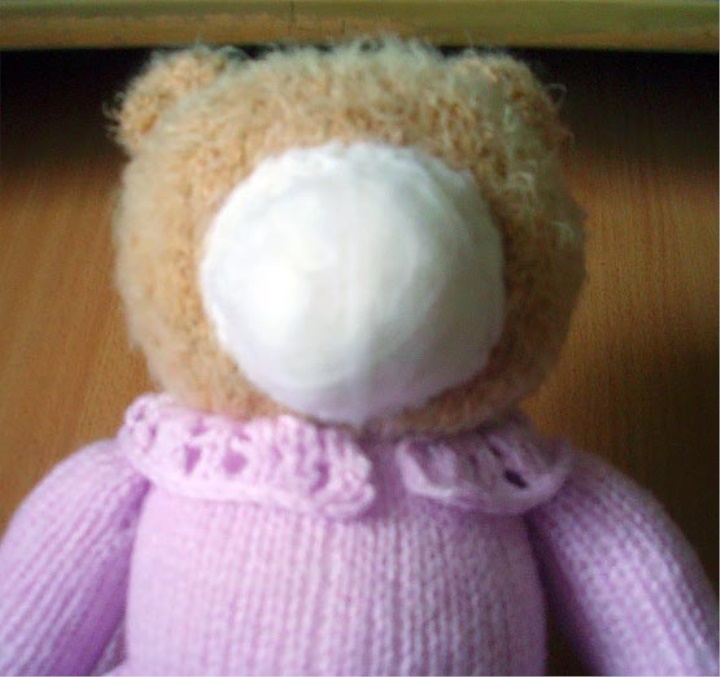
Gradually we move to the center-but we are moving around also in a circle-at edges stronger-to the center weaker.
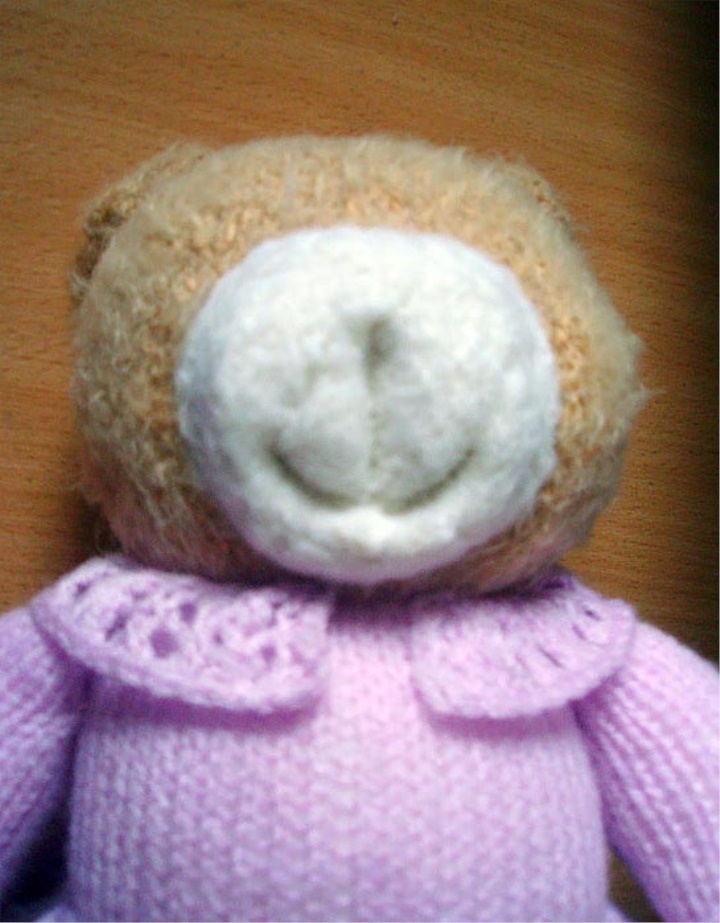
When you see that the muzzle formed, begin to punch a smile, ie often-often poke a needle in the same place.
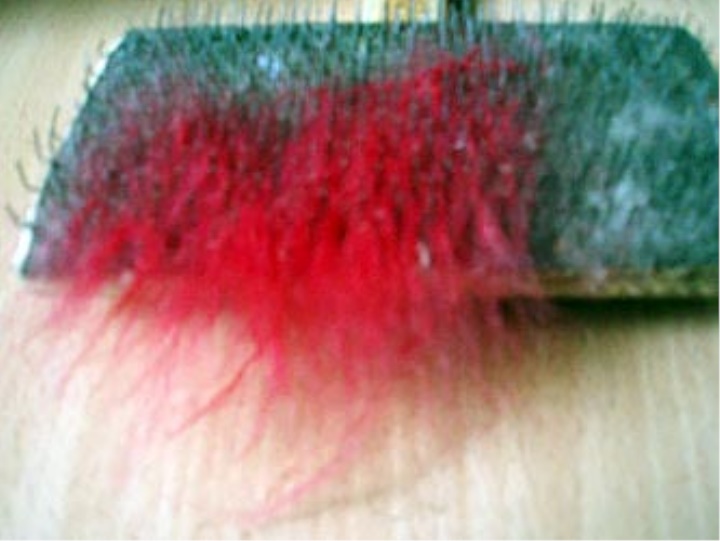
I had no red wool and I found a way out-cut the thread, put on the Cesca for wool and scratched it. Fine fibers were made for the valonium.
As well as face, a reed-form on a foam sponge.
Tint the smile of the Mishjoke and the face itself. I use for this old eye shadows-beige and brown hue.
Attach the reed.
Cut out of a felt spout, glue it to the place.
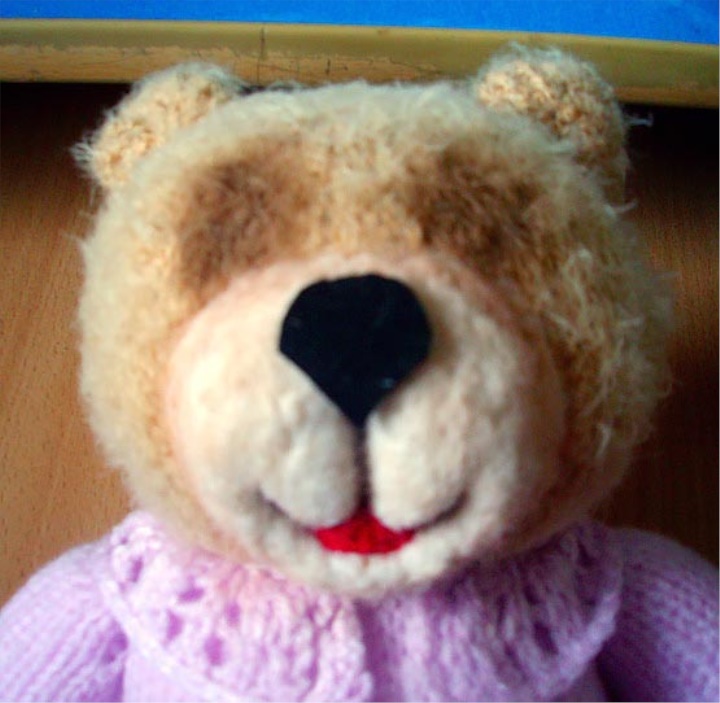
Now we begin to embroider a nose methodically closing its thread, it should become convex.
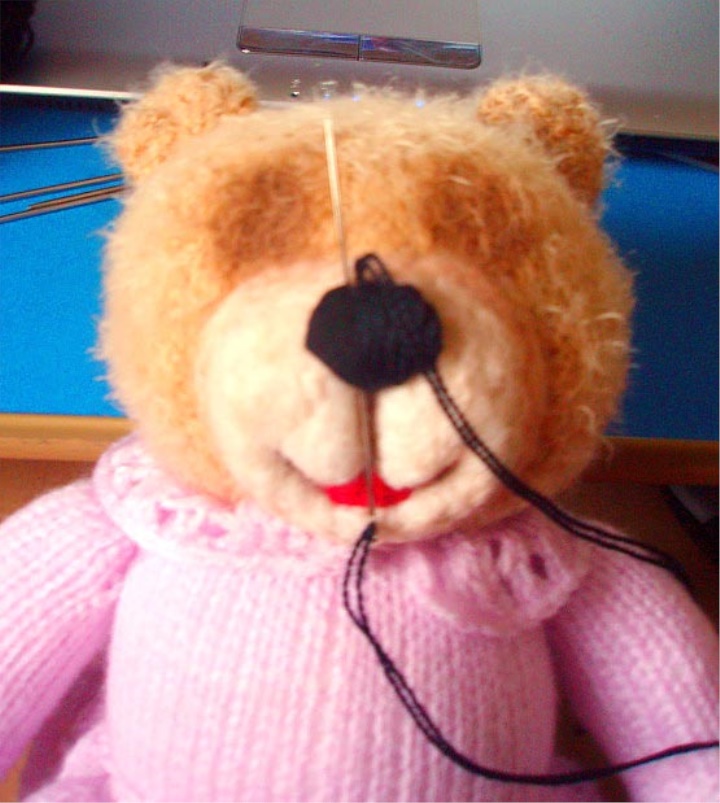
The remainder of the thread-make the eye and the end of the thread hiding under the nose.
Now take a varnish and in several layers to put it on a nose, only each layer of a varnish it is necessary to dry up thoroughly. Before the last drawing of a varnish, a nose krasm-black acrylic paint, also having dried, finish lacquering of a nose.
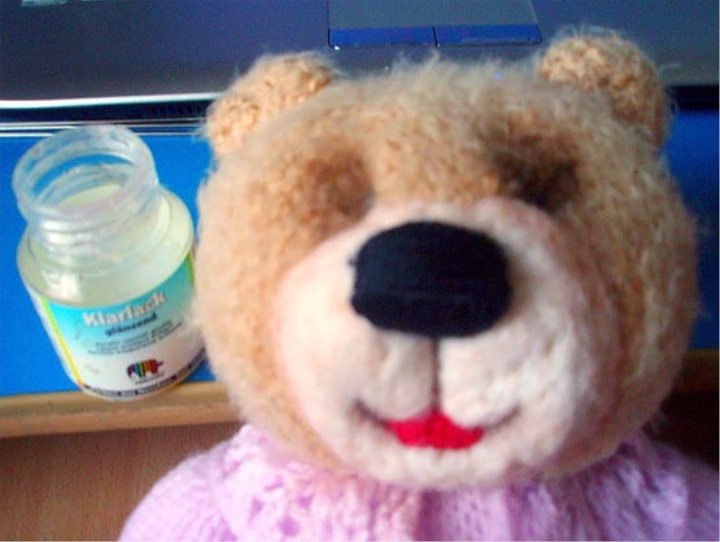
When the nose is well dry-prishyvayem eyes and glue cilia!
is ready!!!!!!!!!