On a yarn-as labels always throw out, I can only tell, that for a body used a yarn of average thickness, for a nose-thinner, for mittens and a cap-thick. The spokes, respectively, were also selected according to the thickness of the yarn.
Prnik-1 increment at the beginning and the end of the spokes (in the beginning-after the first loop, at the end-before the last).
Ubnik-on 1 ubavke at the beginning and the end of each spokes (in the beginning-after the first loop to touch two together a front behind the front walls, in the end-before the last loop two together a front behind the back walls, before this first loop to unfold).
UKs-one kill on each spoke.
A number-knitting on a drawing.
Dial 8 loops, spread to 4 spokes. One row.
The second row and further in even-prnik, the odd knit on the figure. So up to 14 loops on the spokes. Total 12 rows.
The following 13 rows (13-25 series) knit on the figure.
26. The Ubnik.
27. A number.
28. Ubnik.
29. A number.
30. Prnik.
31. A number.
32. Prnik.
33-47. According to the figure (total 15 rows).
48.
49. A number.
50. Ubnik.
51. A number.
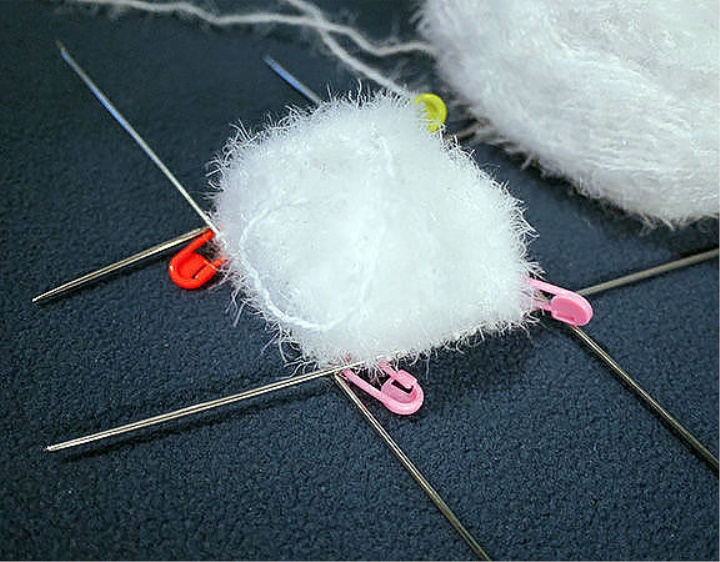
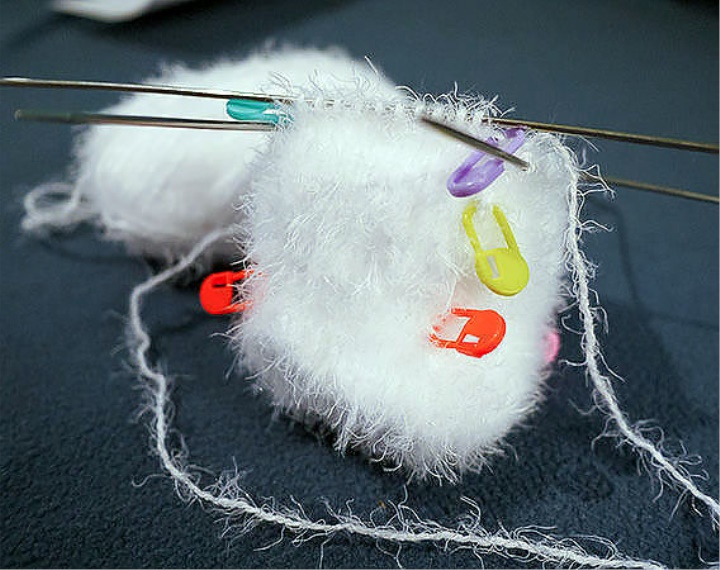
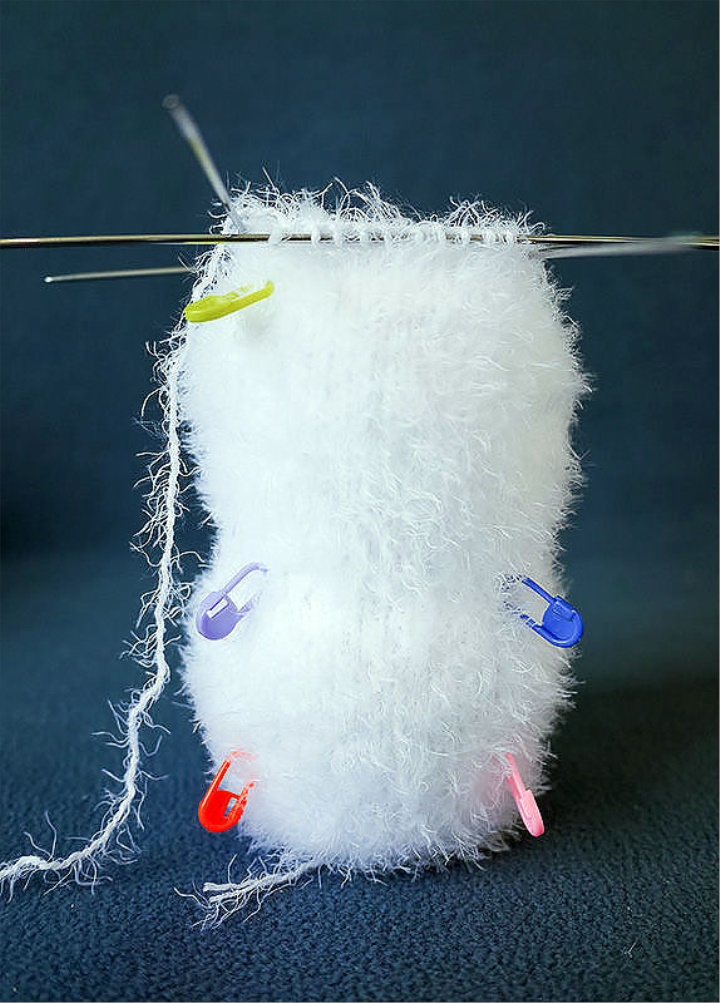
Insert Markers
52. Prnik.
53. A number.
54. Prnik.
55. A number.
56. Prnik.
57-77. According to the figure (Total 21 series).
78.
79-80. A number.
81.
82-83. A number.
84.
85. A number.
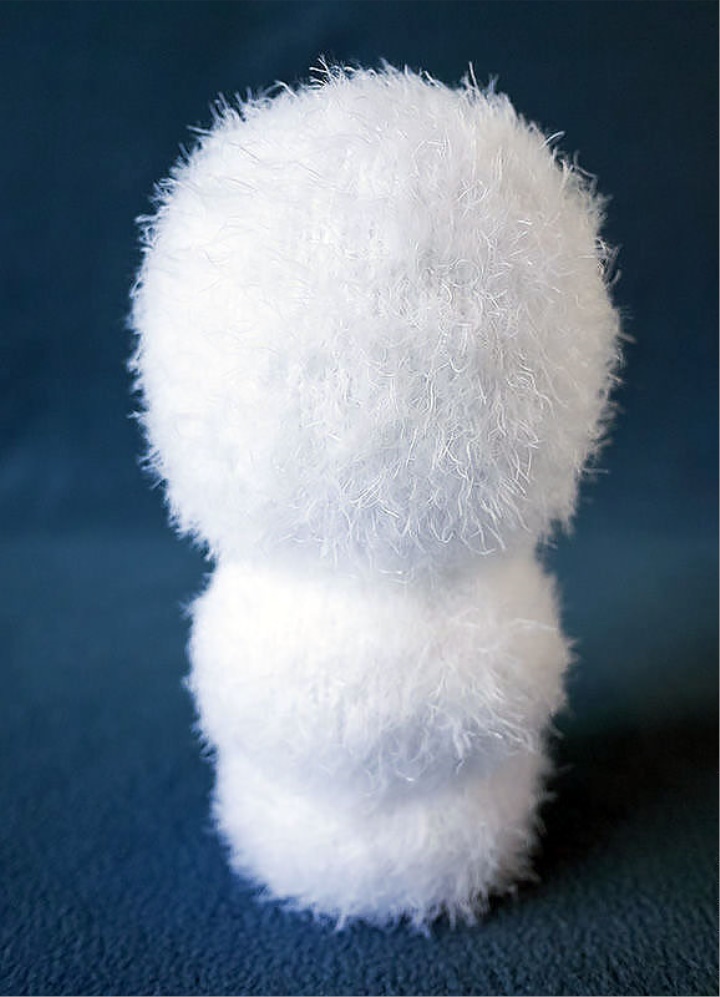
In the bottom of the toy put the weight to the toy was stable.
I grabbed a knot to keep it from slipping while I was working.
Fills our.
86.
87-88. A number.
89.
90. A number.
91.
92. A number.
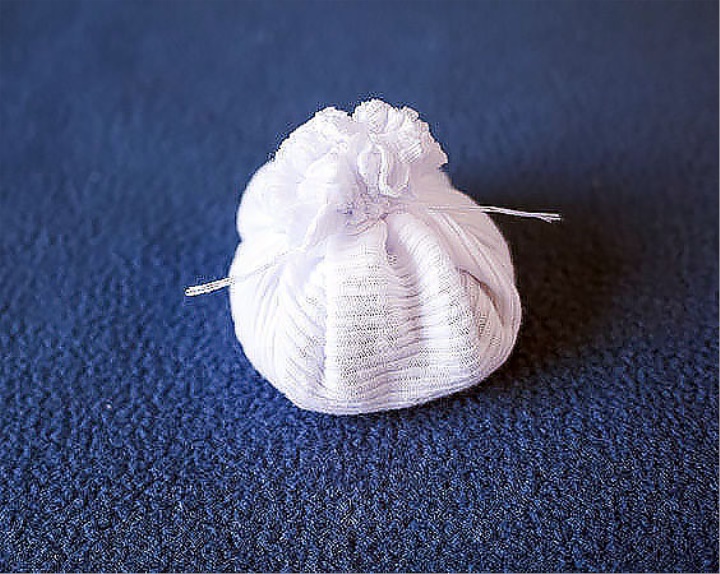
Fill to the end, thread cut, push through the remaining loops, pull, fasten, the tip of the thread to hide.
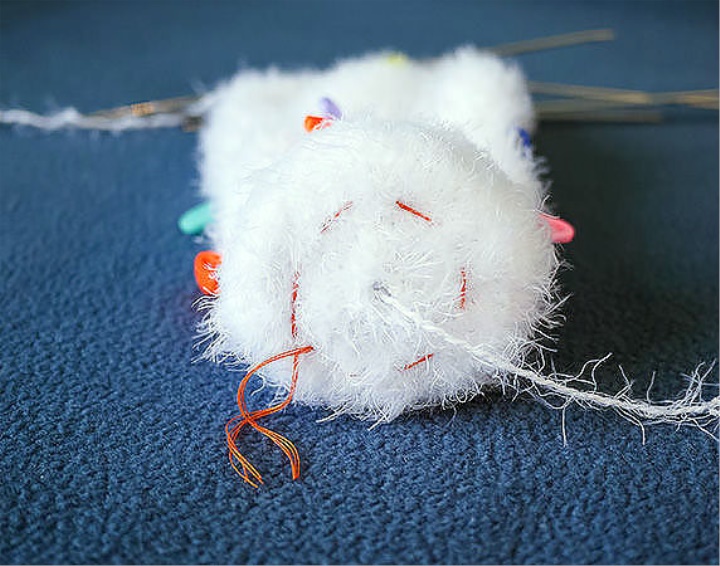
Make a duck on the lines of markers.
Nose
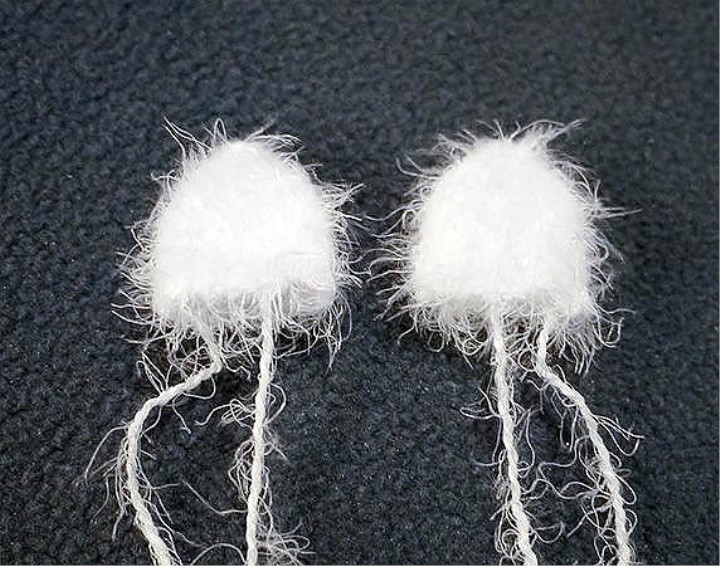
Thread and spokes thinner basic.
Dial 9 loops, spread to 3 spokes. The tail of a thread leave the original, that then the same thread to sew a spout.
1-3. A number.
4. UB on the first spoke.
5. UB on the second spoke.
6. UB on the third spoke.
7. A row.
8. UB on the first spoke.
9. UB on the second spoke.
10. UB on the third spoke.
Loops throw on one needle.
11-12. A number-knitting by a cord method.
13.3 Loops to hang together.
Thread cut, fasten, tip hide.

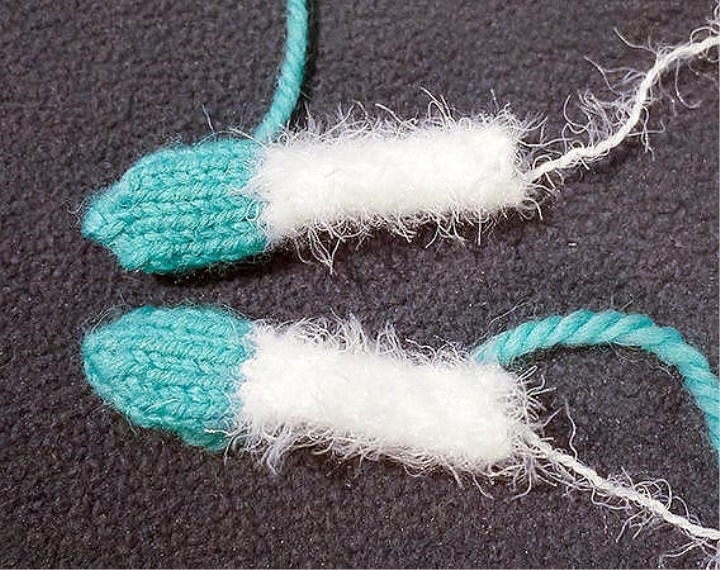
Handles-2 PCs.
Dial 9 loops, spread to 3 spokes.
The number of rows is necessary in length. I got 5 cm.
Then knit mittens-if the thread is thicker, the number of loops do not increase, if the same as the main-we do one increment on each spoke.
We put 8 rows in the figure.
The next is the UKs.
Next in figure.
The next is the UKs.
Thread cut, push through the remaining loops, pull, fasten, the tip of the thread to hide.
Legs-2 pcs.
Dial 16 loops, spread to 4 spokes.
1-8. A number.
9. UKs.
10. A row.
11. UKs.
12. A row.
13. UKs.
Thread cut, push through the remaining loops, pull, fasten, the tip of the thread to hide.
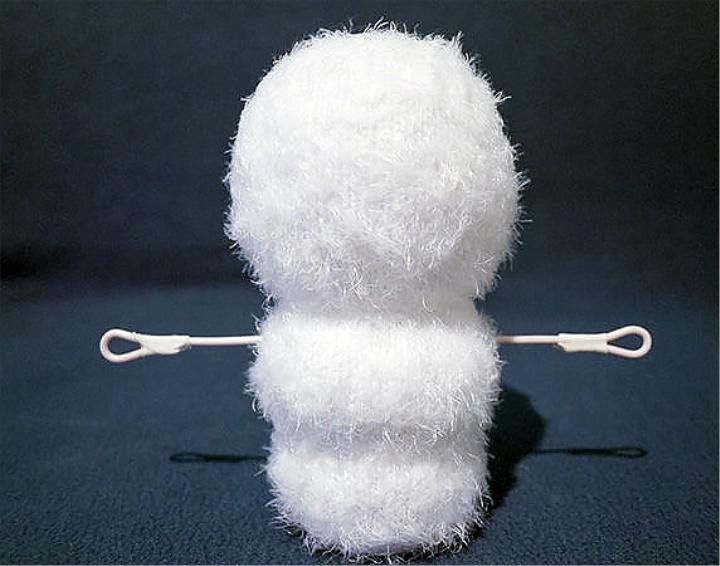
Attach the handles, having previously inserted the wire. In mittens I added a little filler.
In legs we put a little filler, Prišhivayem.
Embroider a mouth, sew eyes and a spout.
Then dress up to your liking:)