Click For Crochet Abbreviations List
The pattern is simple, thanks to it the cap turns out very warm, double, perfectly keeps the form and creates volume.
And so, the first thing to decide-a dream. What kind of hats do you go to? On the head or a little more lush? Or even takes?
This will depend on the amount of increments after the gum
The network is different: 2 on 2 (Cross 4 loops, pattern multiples of 4), 3 by 3 (cross 6 loops, pattern multiples of 6), 4 by 4 and so on.
Here is the standard scheme of the braided line 3 by 3. Do not forget, if we knit on circular spokes, the edge is not, ie, the pattern is just a multiple of 6 in the case of knitting braided 3 by 3.
Choose the yarn, based on this choice, choose the type of braided line.
Let's say, here the yarn nako Arctic 100 grams/100 meters, braided 4 by 4.
Lanagold 800 in 4 threads, is connected by a gradient, a braided line 6 on 6, a rubber band double.
Have you decided on the model and yarn? Then we turn to knitting of samples. Sample We need 2: the pattern and gum.
We measure and calculate the density of knitting in samples. When you set the loops, focus on the sample gum!
The pattern "braided" very much pulls the canvas, so after the gum need to make a raise, even if the cap will be on the head. And if you want a lush hat, increments will be a lot.
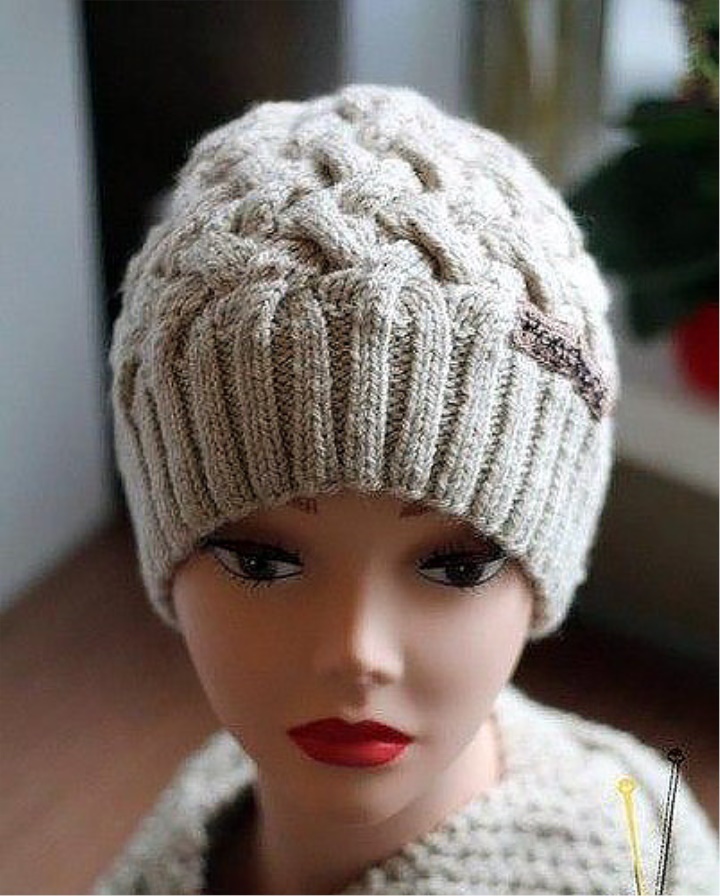
Now I will explain the principle on the example of the first, black, caps.
So, the yarn nako arctic 100/100, og 56 cm. It took a little less than 200 grams.
We recruit 96 loops, knit on circular spokes № 5 (spokes 40 cm) Elastic Band 2 on 2 (2 facial, 2 purls). Here, focus on your taste, I have a rubber band usually 7 cm. Next, we start adding. Increase in any convenient way: either from the crossed stretch draw a loop, or tie 2 loops of one, see for yourself.
If we want a hat on the head: we make increments through every 3 loops.
If we want the hat to be more lush: we make increments every 2 loops! That is: 2 facial, raise, 2 facial, increase. This is just our case. As a result, we have 144 loops on the spokes.
If we want even more lush, then through each loop there is a raise, if knitting takes, then from each loop Vyvyazit 2!
Projazlyat several facial rows (5-6, not fundamentally), turn on the pattern.
-* 4 loops are left on the additional spokes before work, 4 loops are put by the obverse, further we touch the obverse loops with additional spokes * and so till the end of a row. (The first loop of the series must be marked with a marker!)
-6 rows of facial
-4 Loops Facial * 4 loops are left on the additional spokes at work, 4 loops Projazlyat Facial, then we touch the obverse loops with additional spokes * Repeat to the end of a series (do not forget to mark the marker the first loop of a row)
Again six rows of facial. That is, the cross is in every 7th row.
So knit to the desired depth. Ubaki we will start somewhere for 4-5 cm to the end of the cap, keep that in mind.
Ubavki: After the last executed cross-over, we have 1 row of facial. In the next row, we'll start to kill.
1. We put loops on 2 together in those places where at us loops at the bottom of a cross, that is turns out:
* 4 Facial, 2 together Iznanoch., 2 Purl *.
2. * 4 Facial, purl, 2 together iznanoch. *
3. * 4 Facial, 2 together iznanoch. *
4. * 2 Facial, 2 together Iznanoch., 1 iznanoch. *
5. * 2 Facial, 2 together iznanoch. *
6. * All loops are 2 together front ", so continue until the spokes are left with loops of 20.
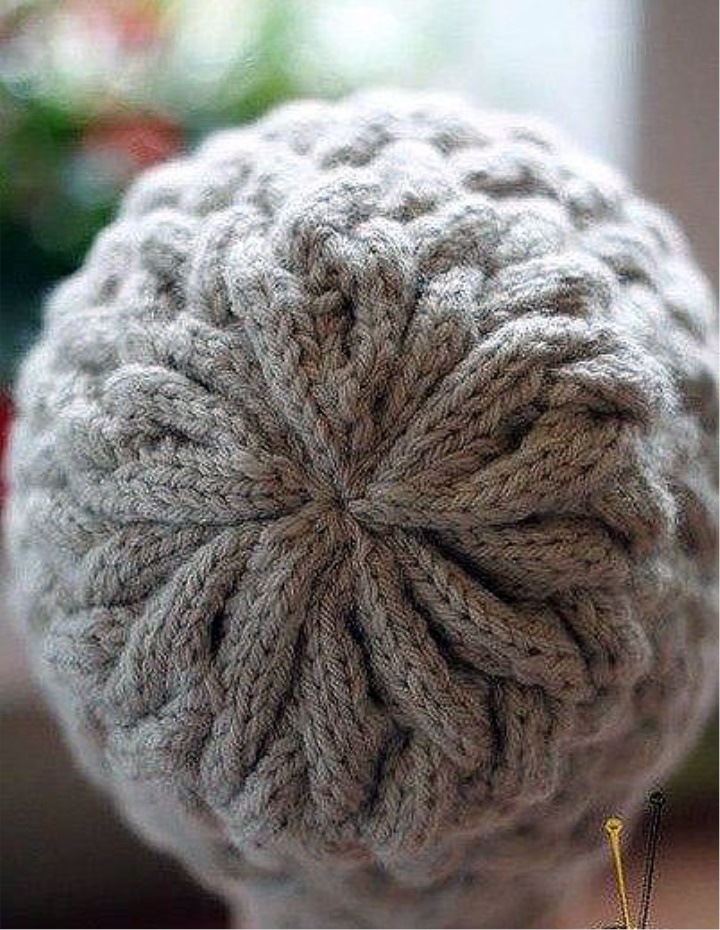
Thread cut, put in the needle for stitching knitted products, thread in the unopened remaining loops, pull, then once again go through the needle in these loops and again pull.
Well, and decorate to your liking.

Source : https://vk.com/club75380739?z=photo-75380739_409603270%2Fwall-75380739_3796