I hope we will have fun as usual without any problems.
I'll start with the simplest but frequently asked question - How to choose a yarn?
You take out all your supplies, you lay them out on the couch, get up beside you and take a thoughtful look. You scratch a turnip for a long time, you bite your lips, you color the color. Fingering and stroking the balls. You choose suitable for contrast and color, as well as the thickness of the yarn. The texture here is of secondary importance. The more varied the better. Laid out?
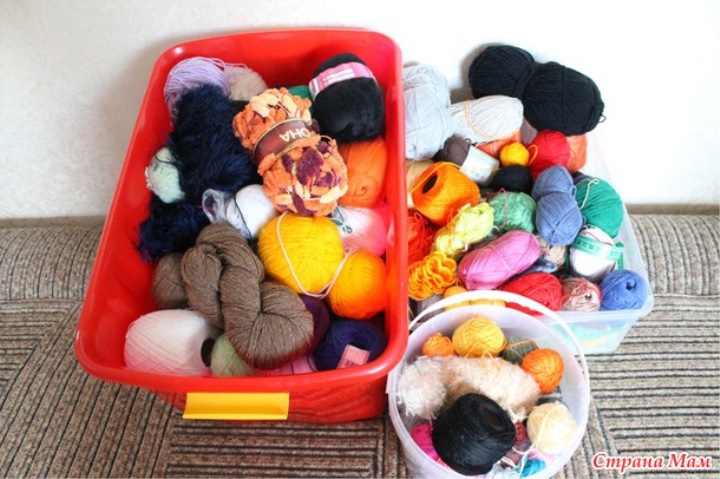
Chose?
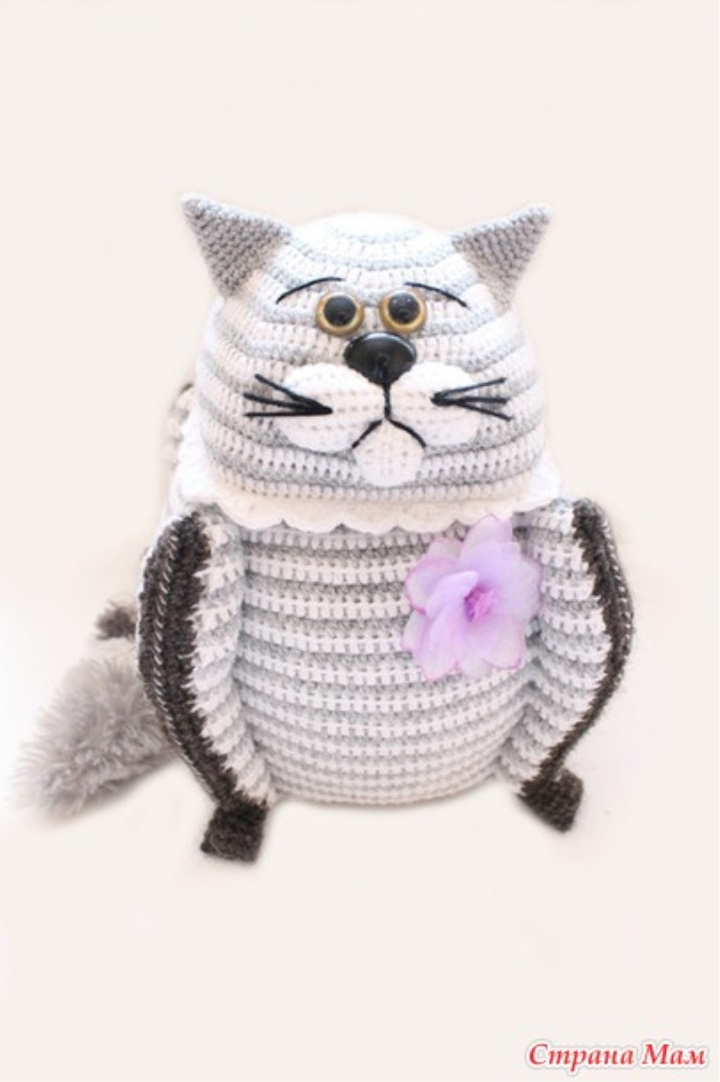
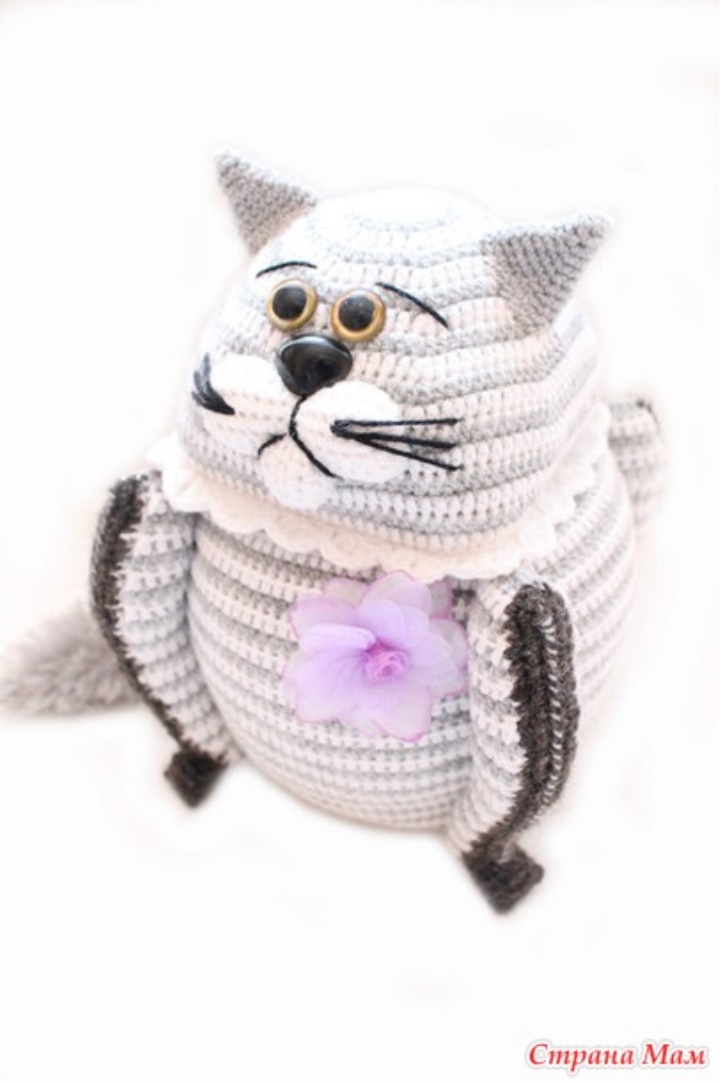
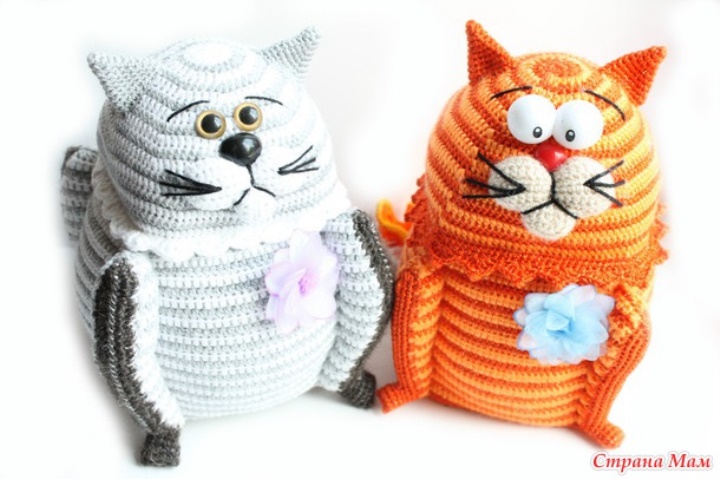
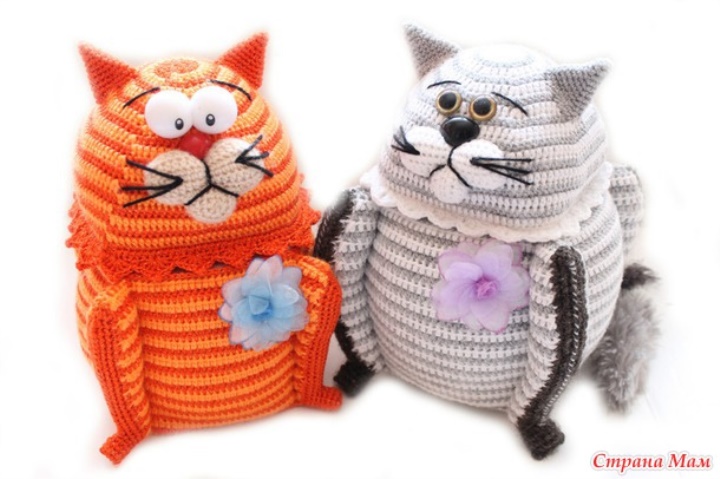
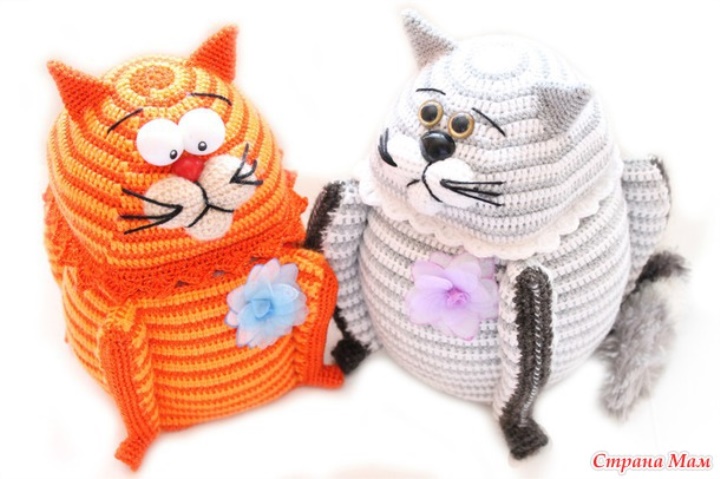
This time I will have a red cat again.
So let's get started.
We choose the basis for our box. Last time I bought tin cans for tea. I liked working with them, and again I was strong. Today I did not have jars, so I work in the old manner. Glued from a strong cardboard just such a box.
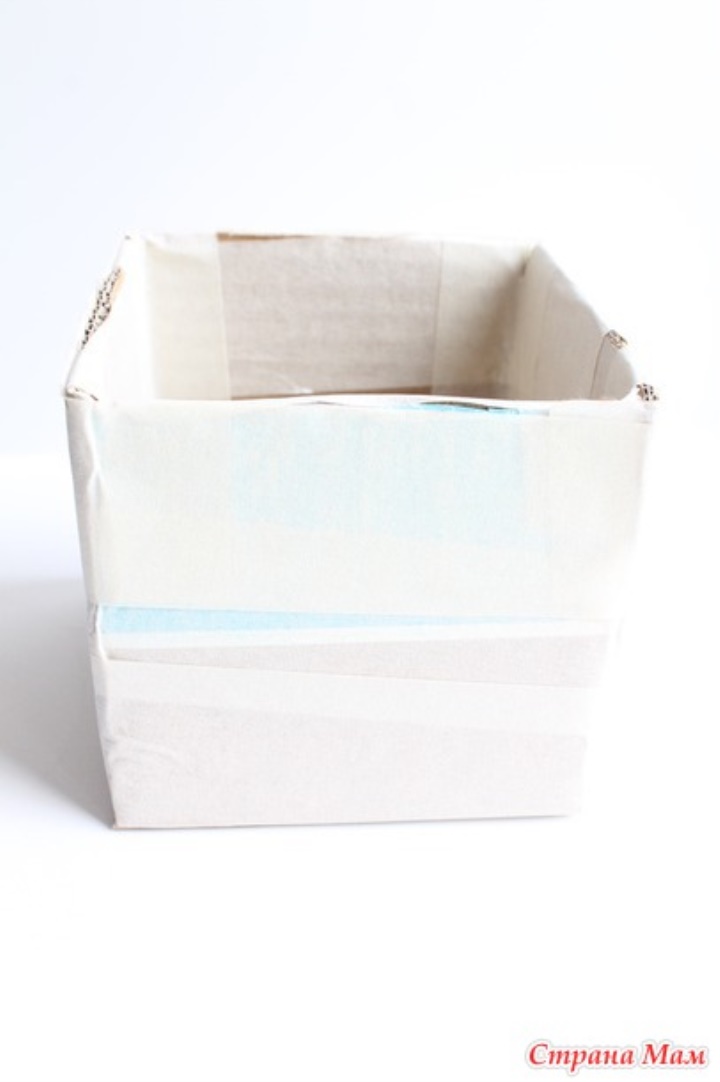
Ugly, but durable. But, actually, our task is to embellish it, right? ))))
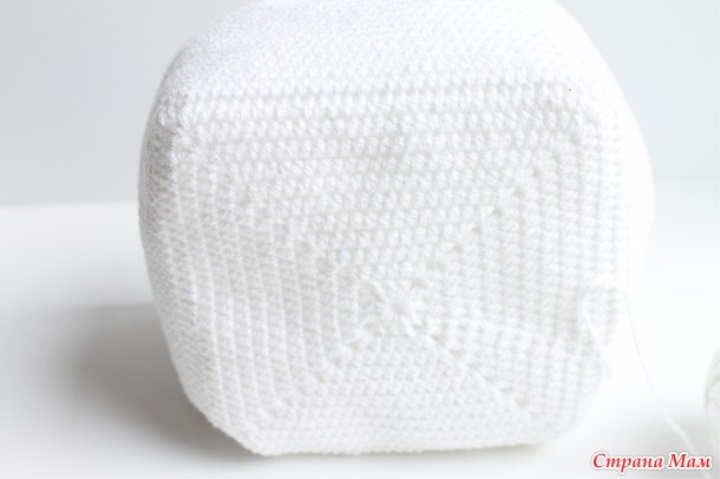
Next we take this shemka as a basis and begin to knit the bottom from the outside.
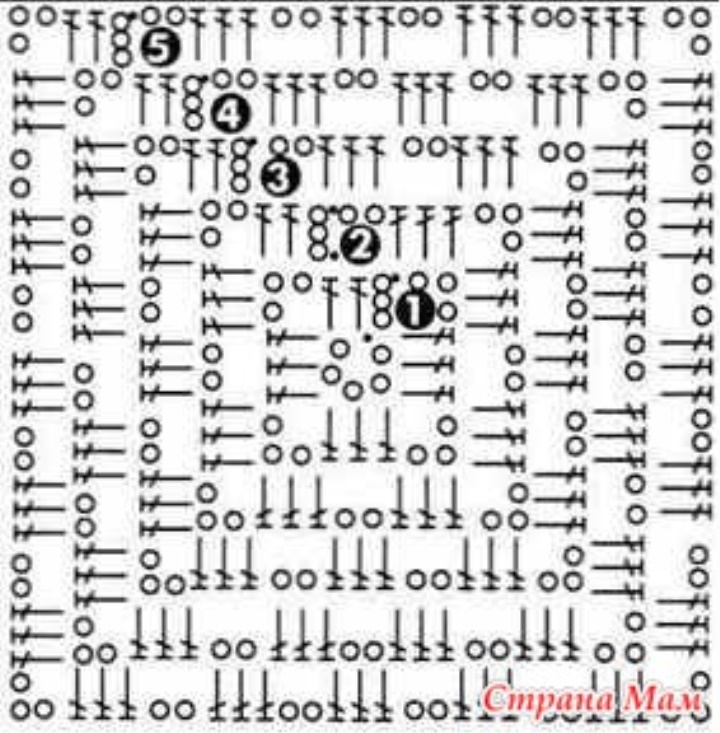
That's right, this is a square, connected from the center. You can knit according to your schemes, their sea. The main thing is to get exactly and efficiently. I knit with semi-columns, knitting air loops only in the corners of the square. The bottom of the knitted base must completely coincide in diameter with the bottom of the base of the cardboard (or whatever you found).
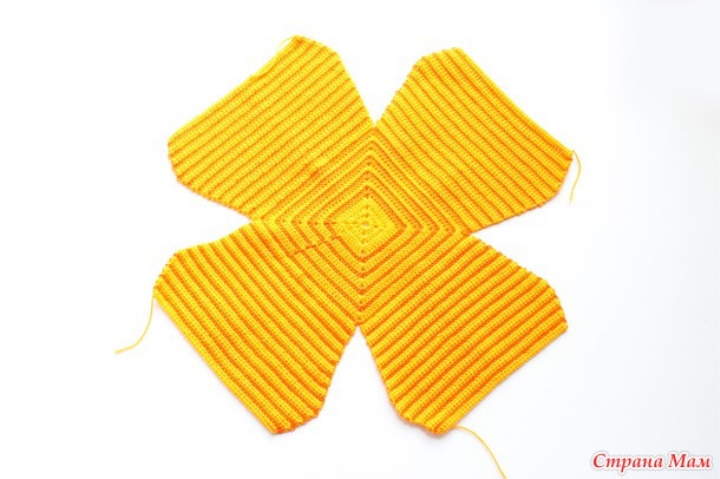
As soon as the bottom is ready, we begin to knit the walls and legs. All this will represent one detail in the future. We knit each wall separately. We fix the thread at the beginning of the row (any of the four sides of the base) and begin to knit, adding evenly on each side the posts to form the legs. I add through a row and knit with semi-columns. The height of the walls is equal to the height of the walls of the base. It should be such a detail.
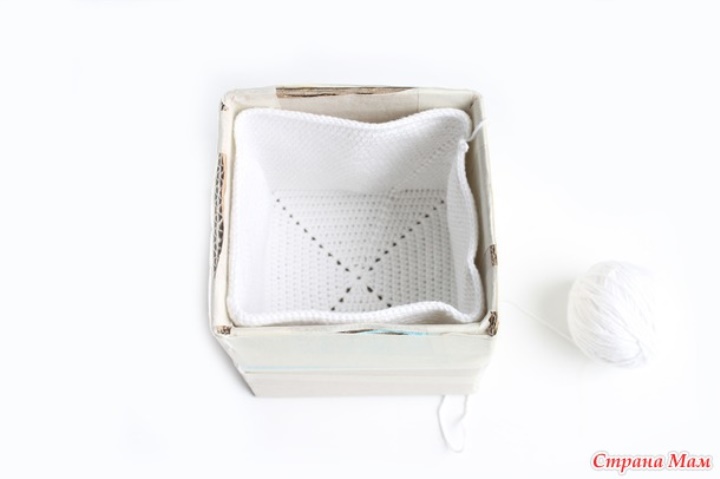
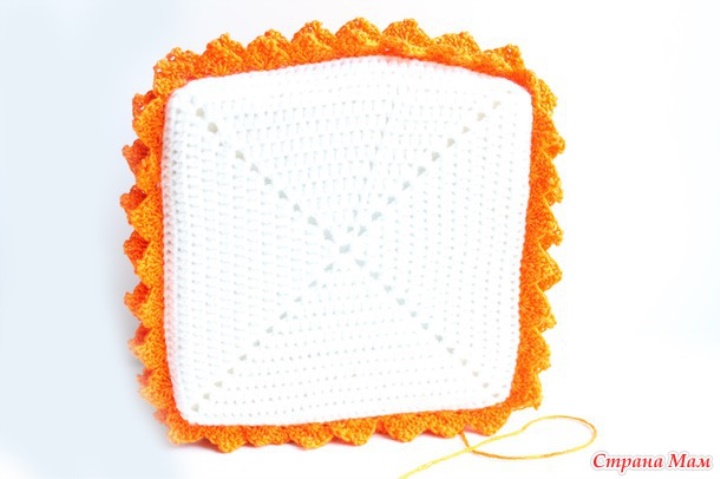
Putting this zagogulin aside and starting to knit the insides. Everything is just to the obscene. Again knit square according to the scheme. Here he is
It should be easily and without bends placed inside the box, completely covering its bottom. And then just knit without additions. You can spiral, you can, connecting each row (I did just that). It should be a piece that fits easily inside the box. Something like this.
That's all for now. Knit, report. As soon as everything is tightened, we will start working further.
Girls, we continue.
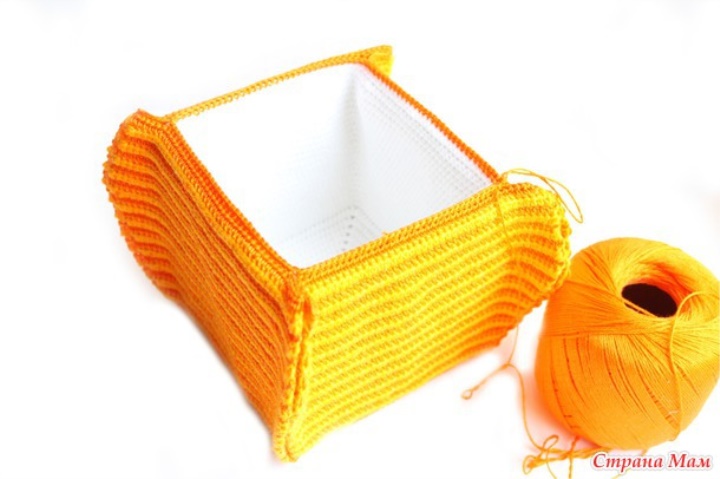
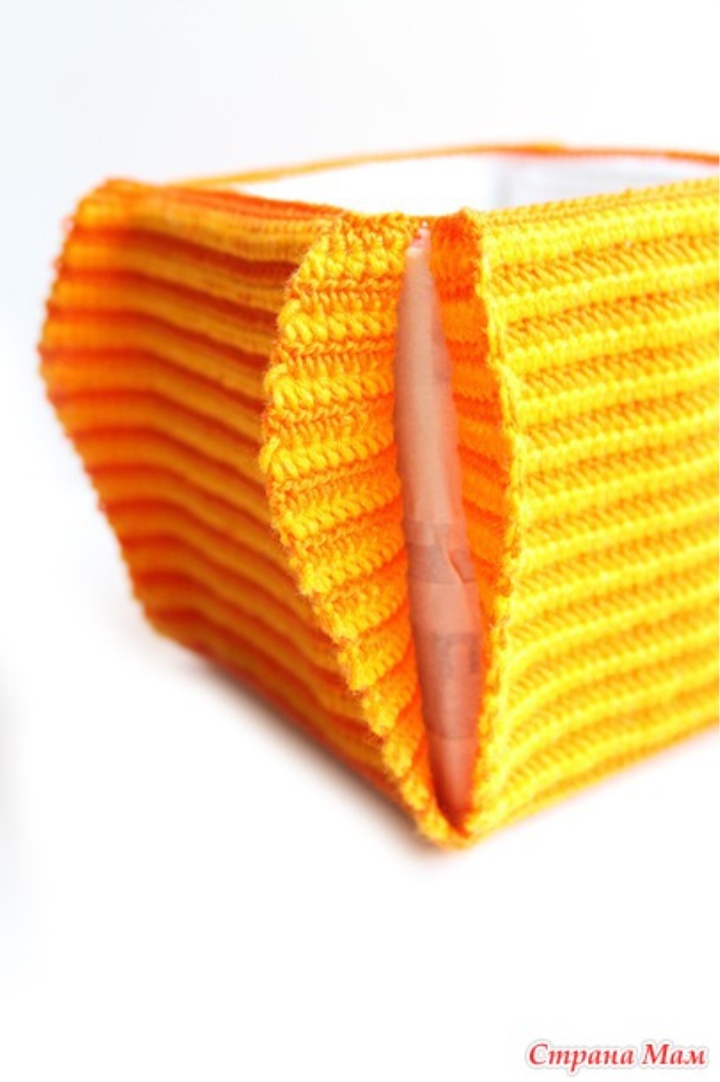
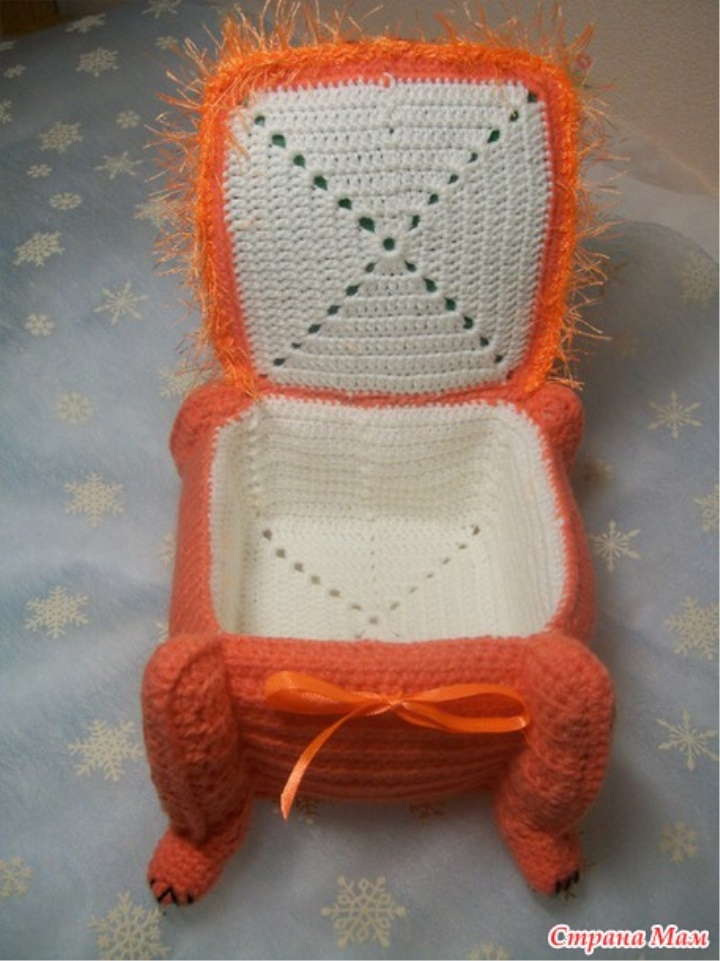
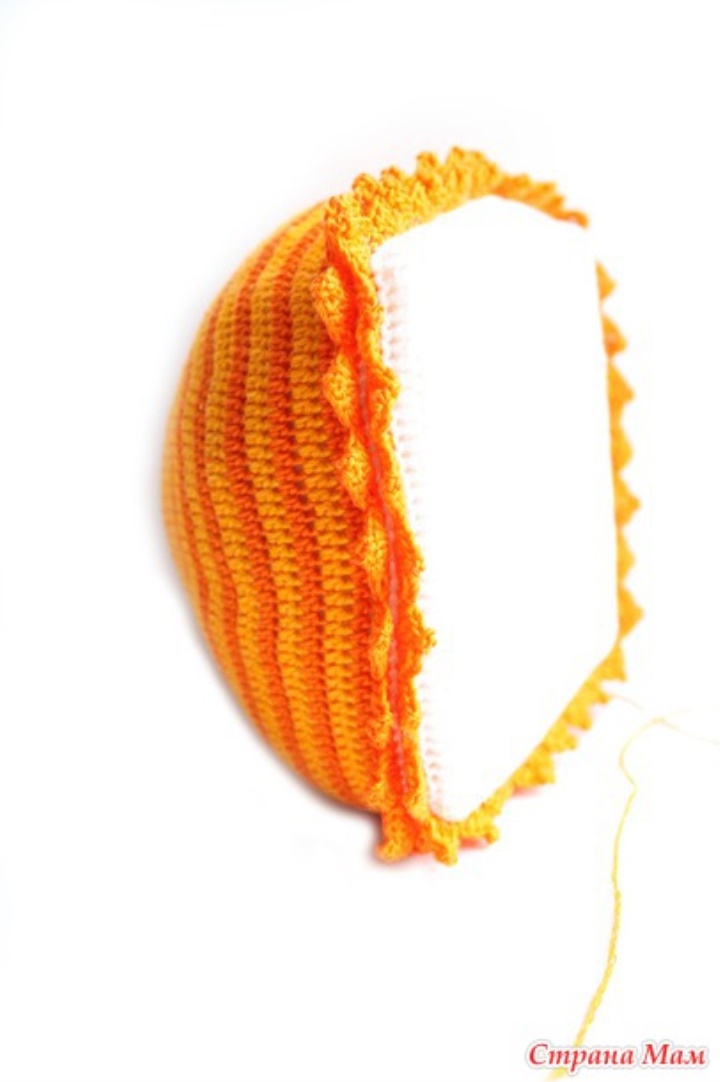
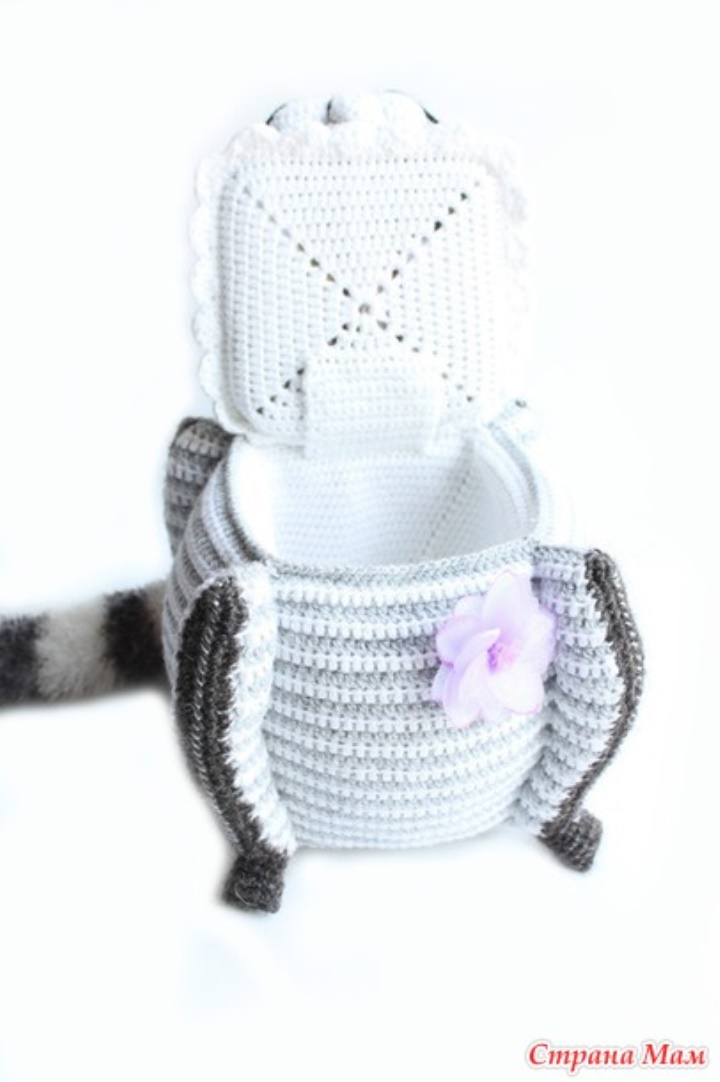
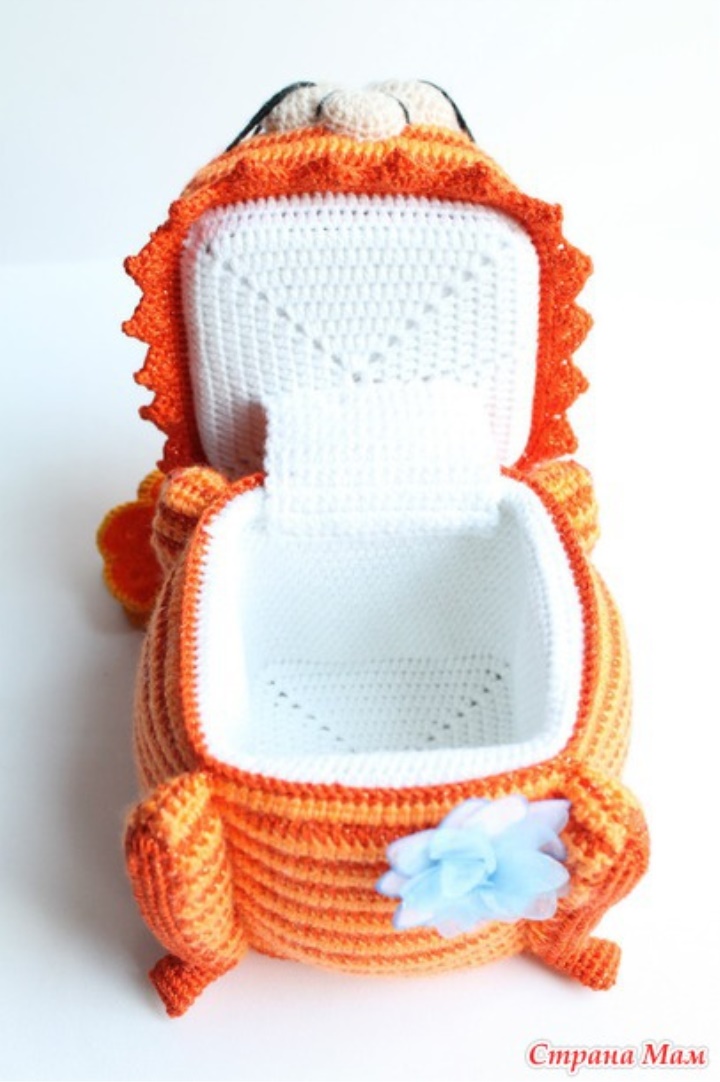
Let's link together our details (inner case and outer). I am doing this thread, which was connected to the last row of the outer cover. I insert the inner one in the box, outer from above and tie both covers together with single crochets, grabbing the loops of the outermost row of both covers together. Do not forget that we have more external cover, these are future legs. We count loops and knit averages (their number is equal to the number of loops on one side of the inner cover), leaving the legs at the extreme. It should turn out like this

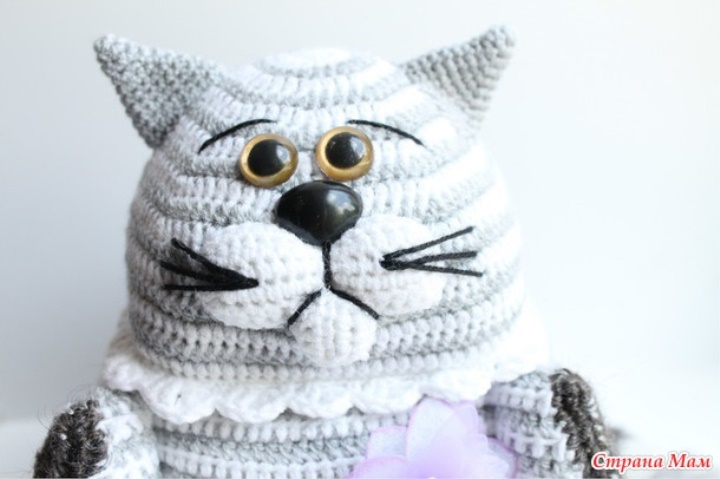
The detail is set aside and begin to knit the head. Girls, there are several options. Look, such
that is, the cover is square. Or this
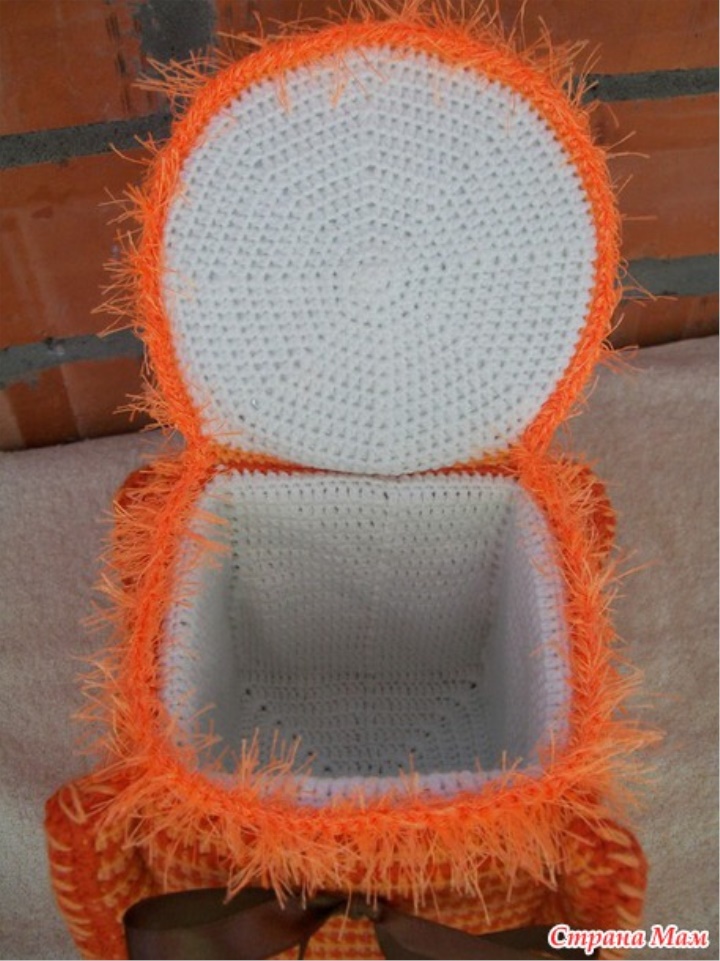
the lid is round.
Choose and knit as you like and like more. I will knit a square one, well, this is how I want it today)))
So, we need to prepare a solid (very solid) basis for the head. Today I have a square cut out of a plastic box. I have a strong box, plastic does not bend. It is very important. Many are based on tea boxes, this is ideal, there is a tin lid and it does not bend.
Well, the basis was prepared (I have it square, it is equal to the base of the box), we knit the head. By the same thread that our inner case is connected to, we knit a square (circle) equal to our pre-prepared base. Tested, coincided? Postponing.
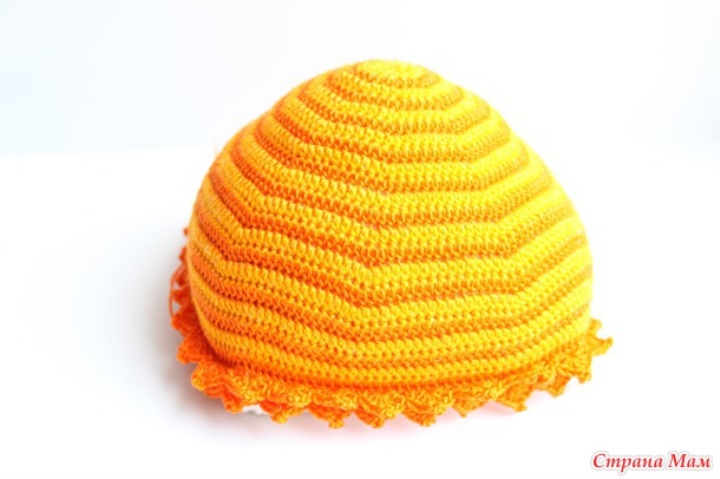
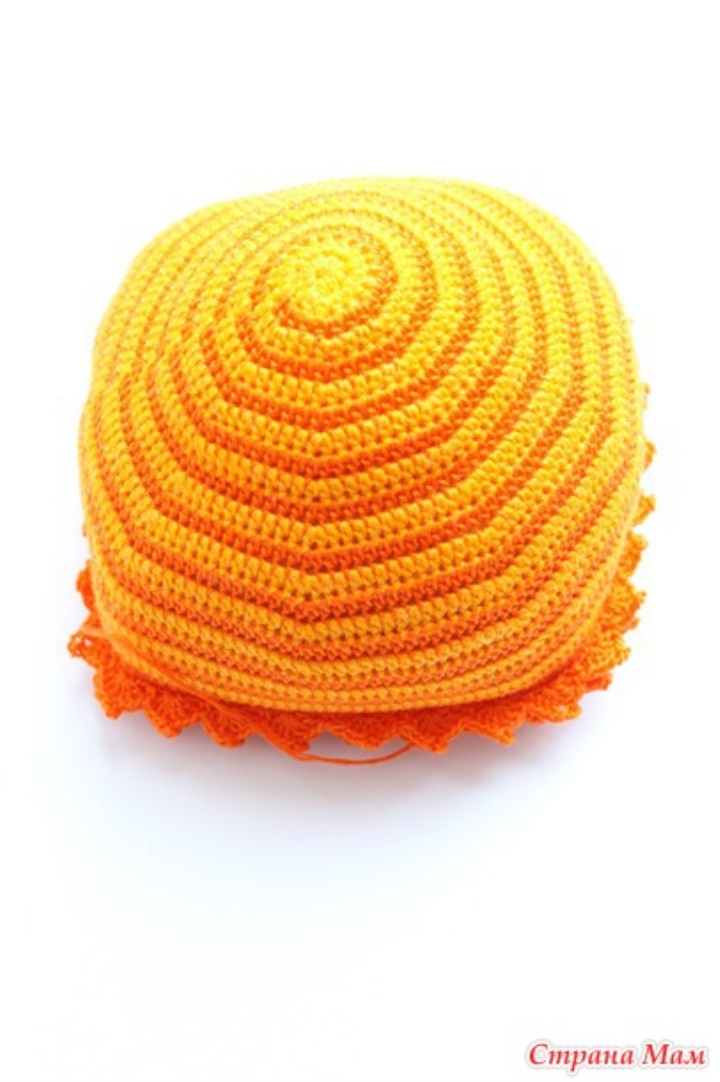
Next we will knit the head itself. These are already those threads (or thread) with which we knitted an external cover. We will knit a circle with semi-columns. In the ring of amigurumi we collect nine semi-columns and knit according to the rules of the circle until the number of semi-columns is equal to the number of semi-columns of the previously connected base. I have 162 loops (circle) and 164 (square). Next, knit without additions 3-6 rows (depending on what size head you want to get in the end).
And then, according to the well-known scheme, we connect two parts together with single crochets, inserting our solid foundation between them. When a small hole remains uncovered, we fill it not very tightly, but evenly, with a holofiber head, we connect the parts to the end.
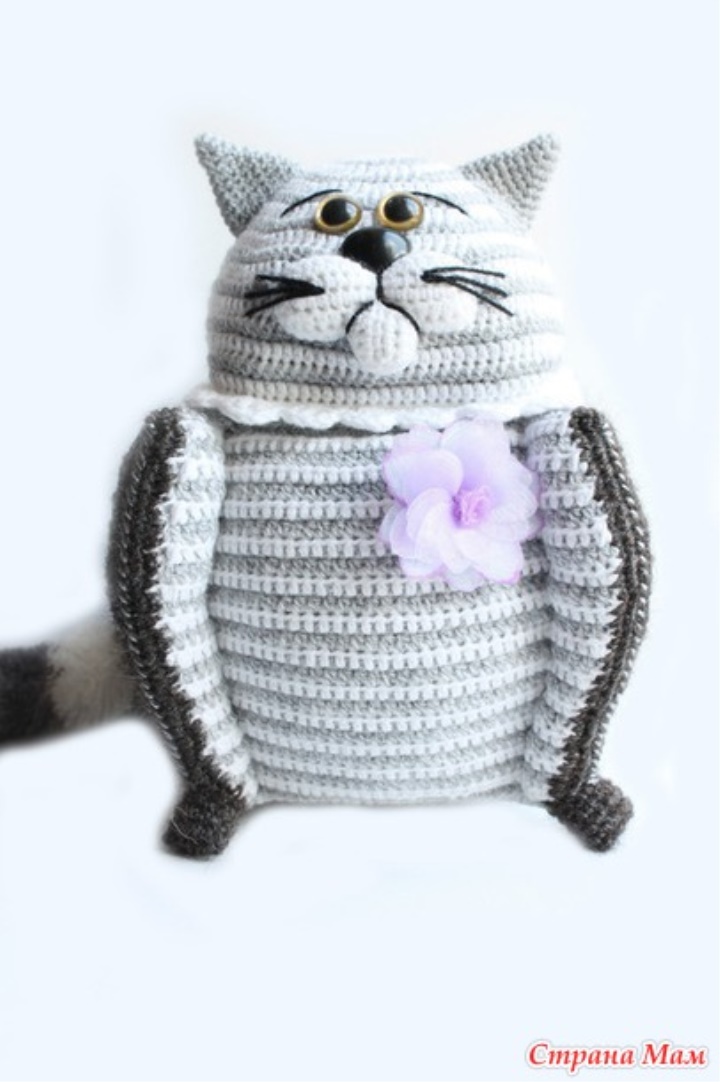
I did it
Happened? Fine!
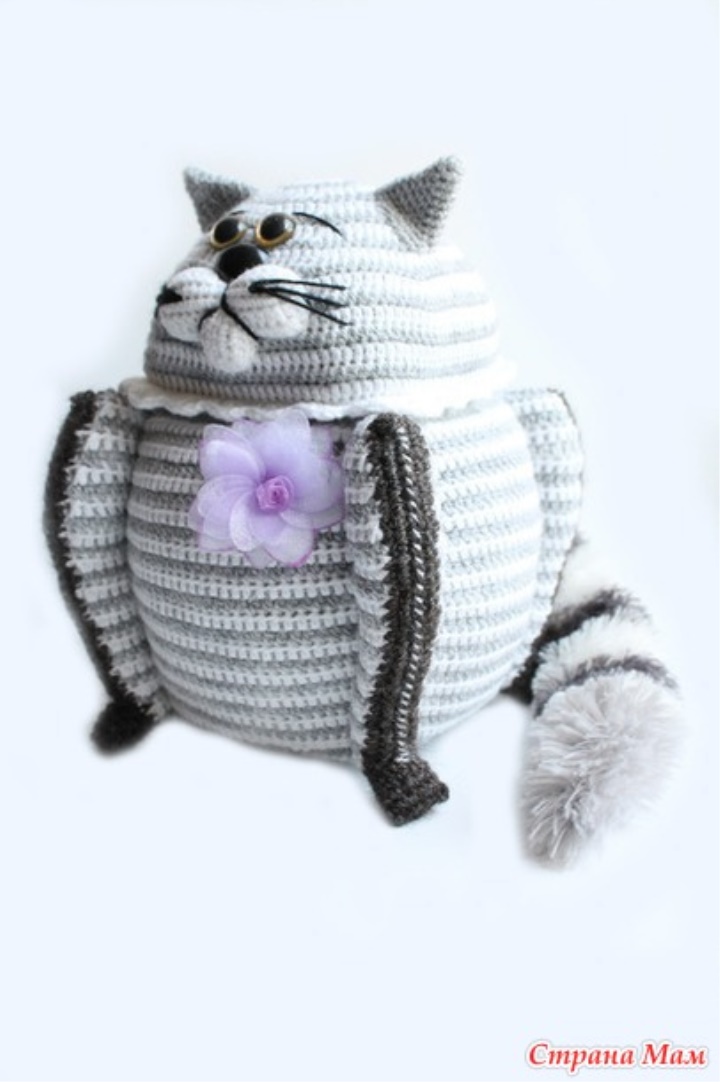
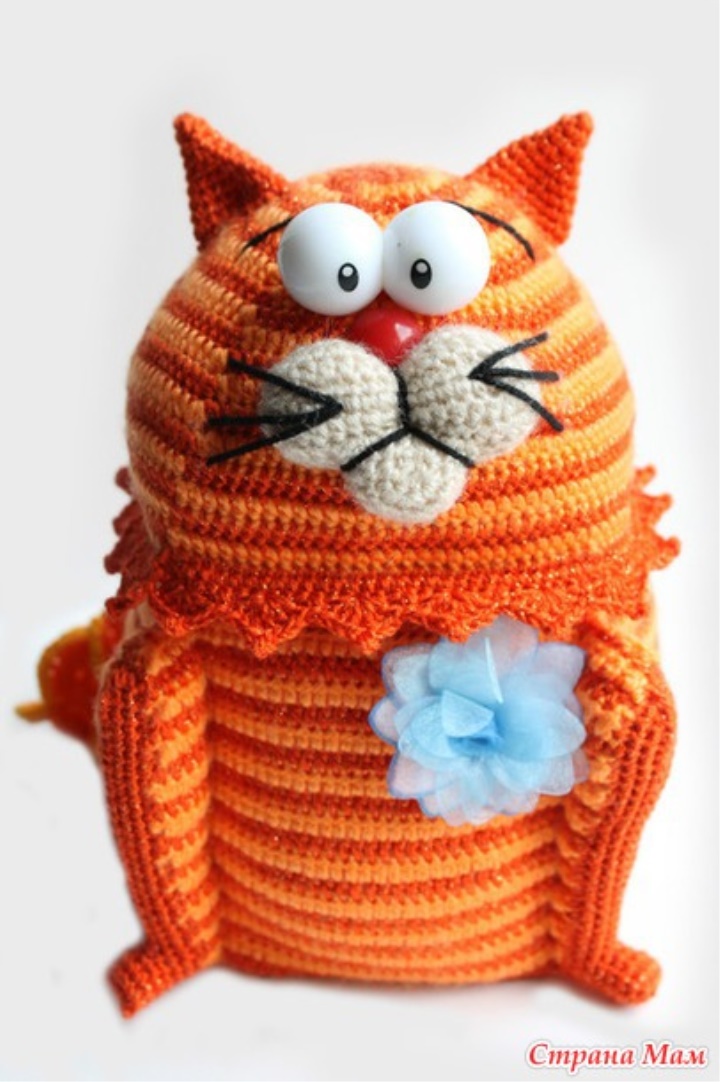
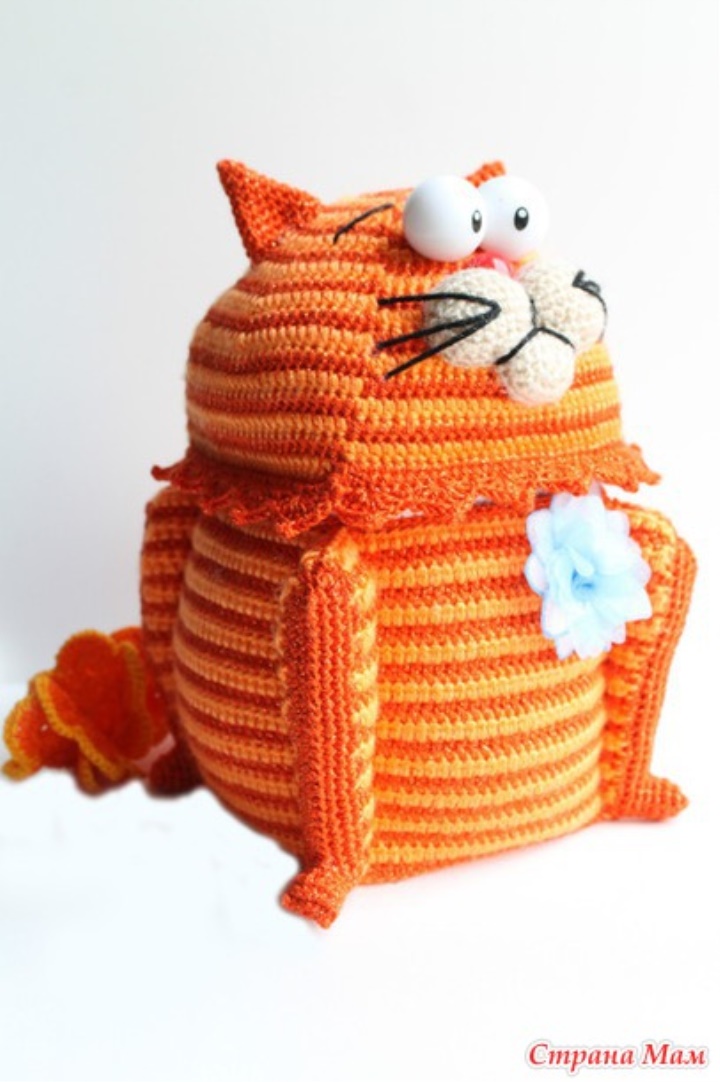
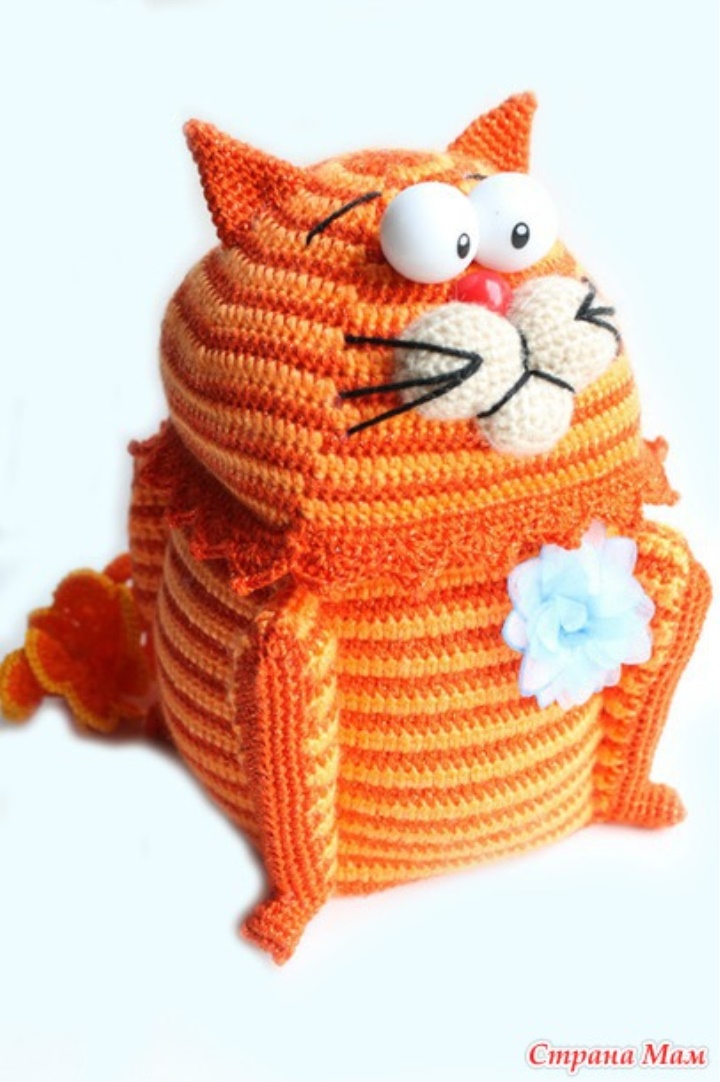
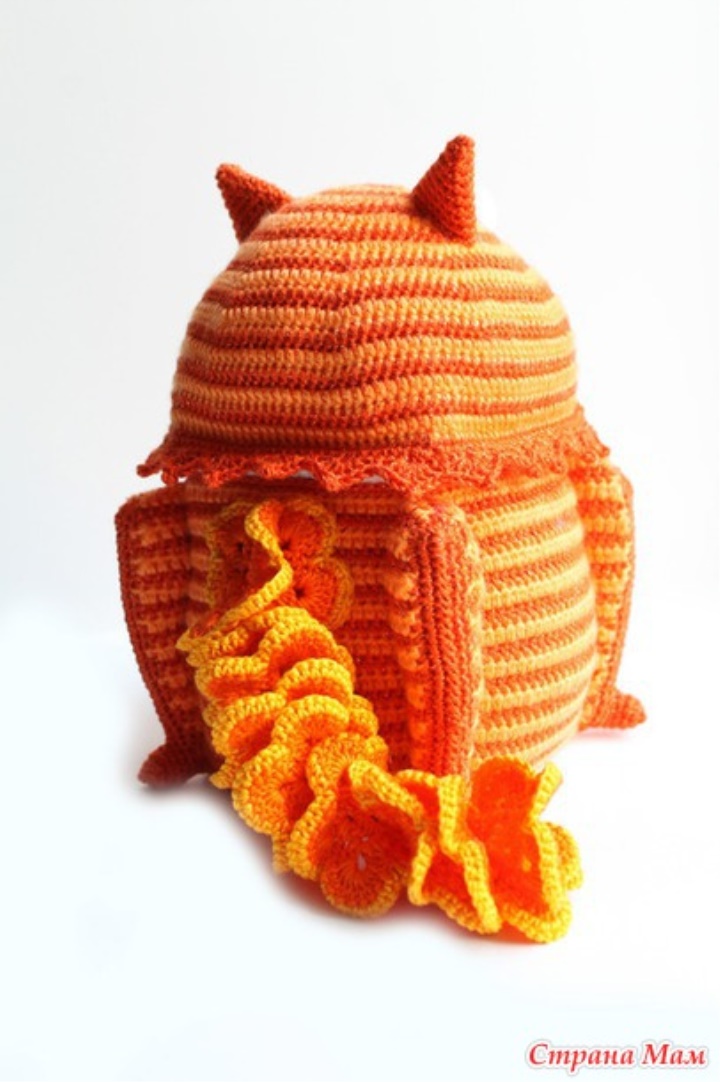
Now let's try on the head to the body
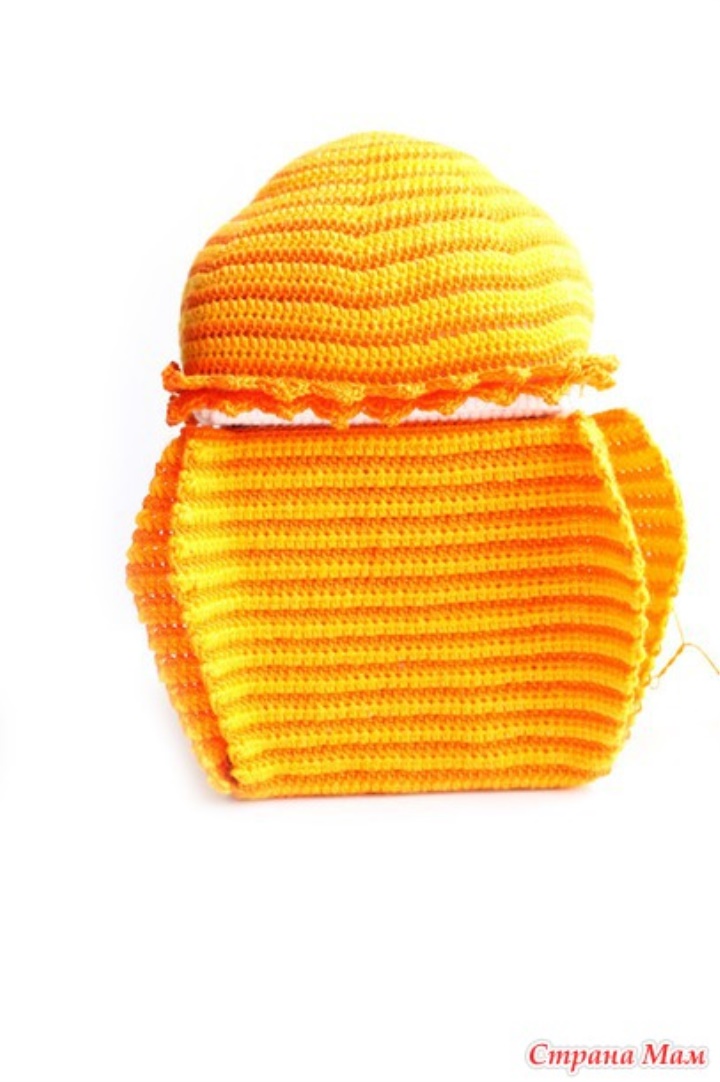
Obviously not enough fatness)))
Next time we will fill the cat and knit paws.

Source : http://www.stranamam.ru/post/7970439/