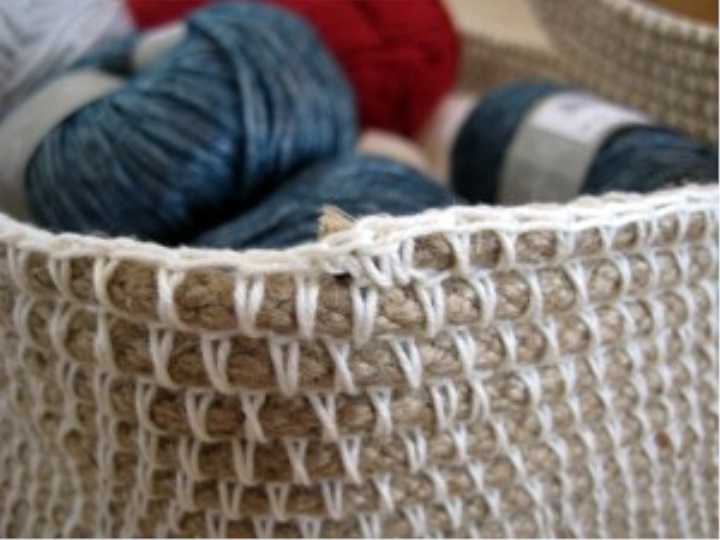
Here is a basket for needlework woven crochet found on the Internet. Translation computer But in principle it is possible to understand.
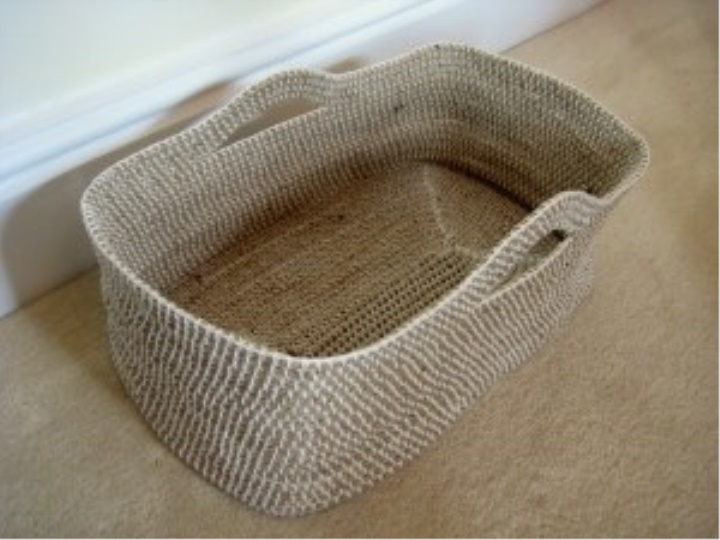
Finished articles
You will need:
The length of the rope (mine was 38 m in length and diameter of 6 mm, for 22x42x17cm basket)
Hide the yarn (I used 310 m from patons 100% cotton 4ply in a creamy mix of colors)
The size of the 5.00 mm hook (use a metal hook if possible as the work is pretty stiff), or more if your rope is thicker.
Picture:
Fund series: Decide what the base size you need. Mine was 22 on 42 cm. The difference between the two measurements (in my case 20 cm) is how long the chain you need to do to start. It was 30 or so chains for me.
C. 30 (or the number that you want for your desired size) + 2, turn
Put the rope along with the chain to work with overlapping a few centimeters.
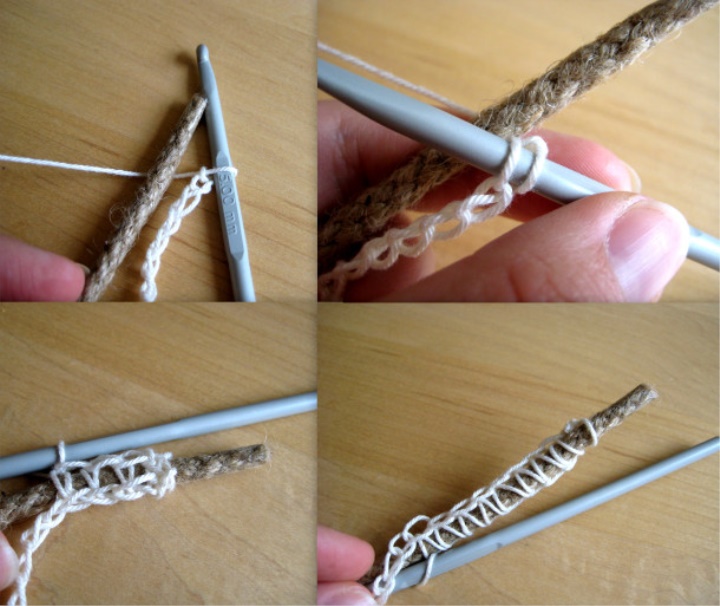
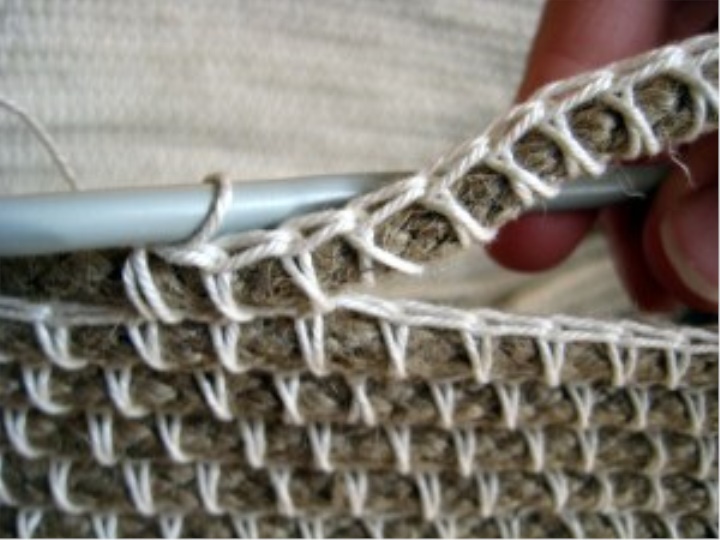
overlap). SC to the final ch, more than 5 subcutaneous in the final H. (Twist the rope around the "corner" and rotating the work), SC to the end.
[NB: I am subcutaneous in the back loop of my chain, so that once I have turned the corner it is easier to complete the subcutaneous. You can see this in the photo, but do not do the same thing, you can SBN in your chain as usual if you prefer.]
Subsequent rounds: 3SC in every corner of the street and subcutaneous in all other loops. Continue until the work is not the desired base size.
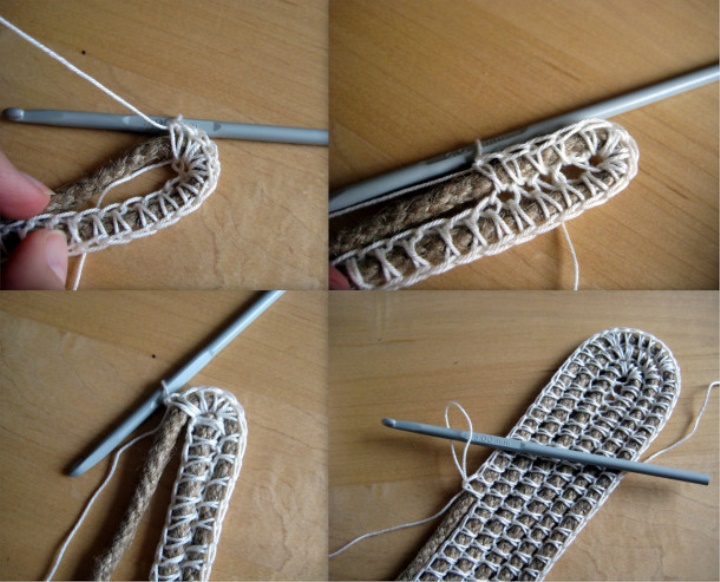
1 & 2: Wrapping the corner on the 1st round, 3: Starting Round 2, 4: Part of the path through Round 3.
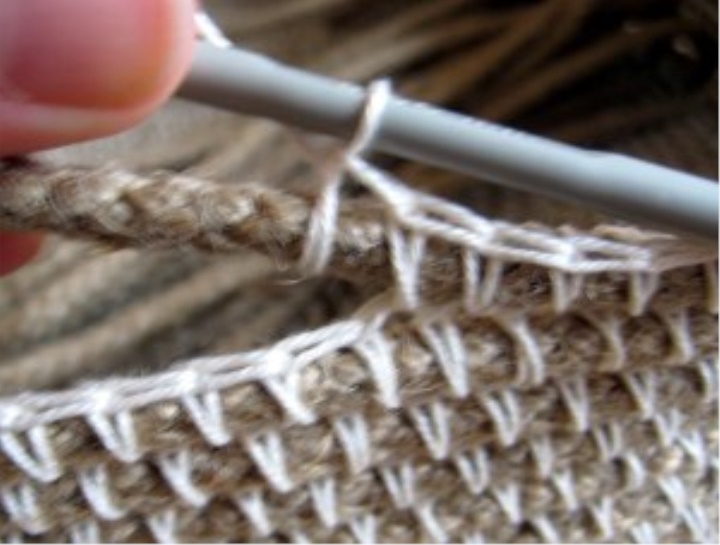
Go to work side: Once the base is big enough, stop putting 3SC in every corner of the street, just do 1SC in every street around. For the first round of this you will need to make sure that you lay the rope vertically on top of the next line, which may be a little uncomfortable.
Pens: They are optional. When the walls are high enough, and after the end of the round, Place St markers where you desire your pens to be. Now that you reach the marker, leave the next set of loops unprocessed (I left the 15sts to do mine), and instead hook through the rope more loops than you left untreated (I made 20 tn through the rope). Continue subcutaneous in n after the marker as before.
Starting Knob
Finishing handle
Securing the End (s): I modified the SC ST at the end of my rope (and when I needed to join the new length part of the path through):
Insert the hook into the next loop, make a loop, yarn over, hold through one loop, insert the hook into the same loop, make a loop, yarn over, hold through the two loops.
Secured End
Finish with the subcutaneous in the next loop, but not through the rope. Cut the rope if necessary, and weave at all ends.