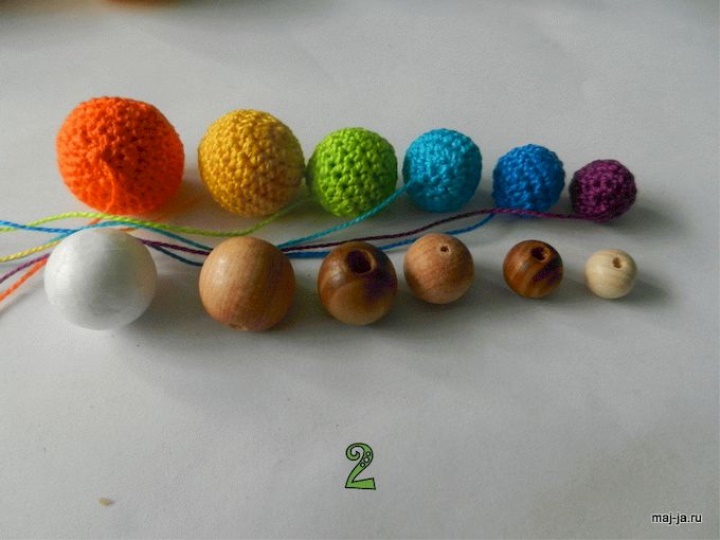
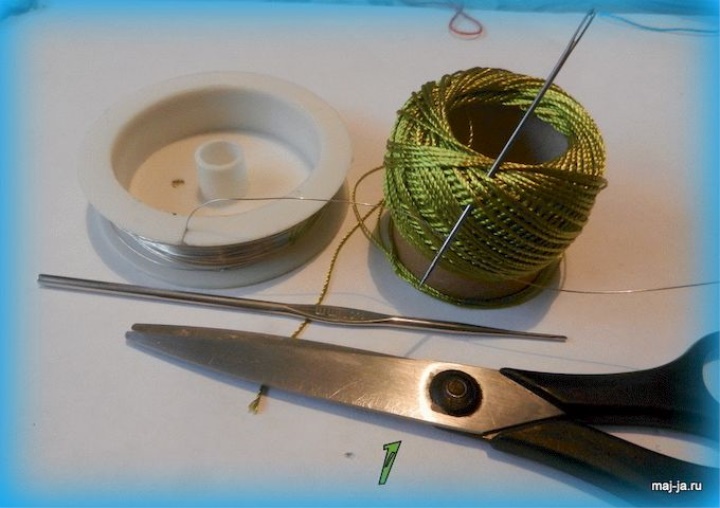
-7 beads, for tying you can use wooden or plastic beads, preferably different sizes,
cotton threads "Iris" of all seven colors of the rainbow for the caterpillar and the leaflet,
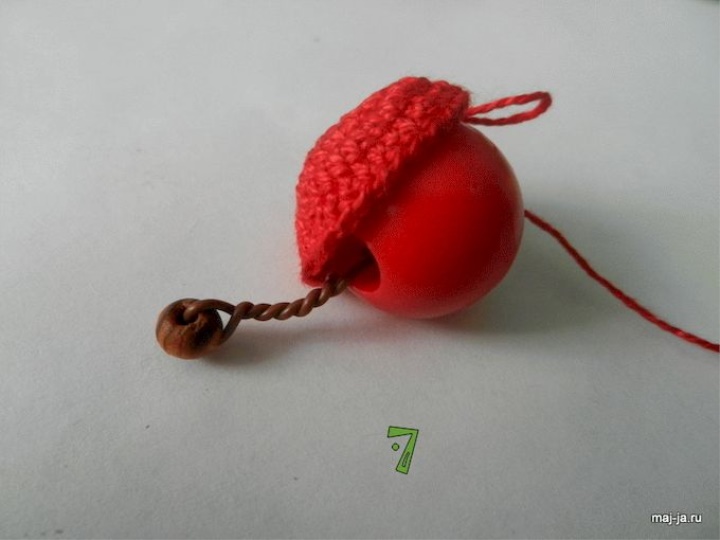
hook number 1 - wire for the antennae and a leaflet, - buttons, scissors, needle The first thing we need to do is to tie the beads to make a rainbow. When tying the orange bead, I used a foam ball: I did not have a bead of that size at hand. Finishing the binding, we cut the thread, leaving a long tip about 20 cm: we need it for sewing buttons.
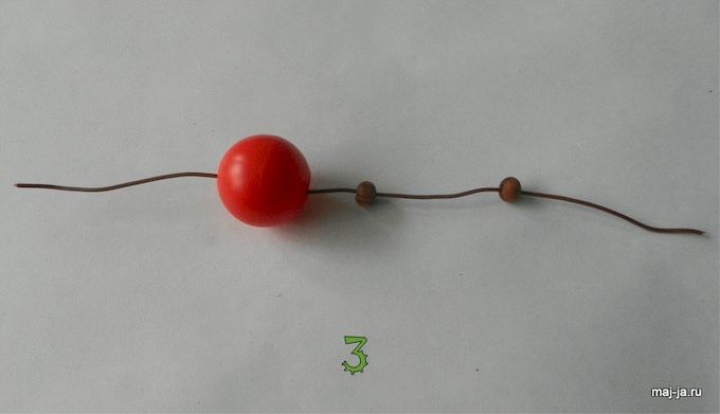
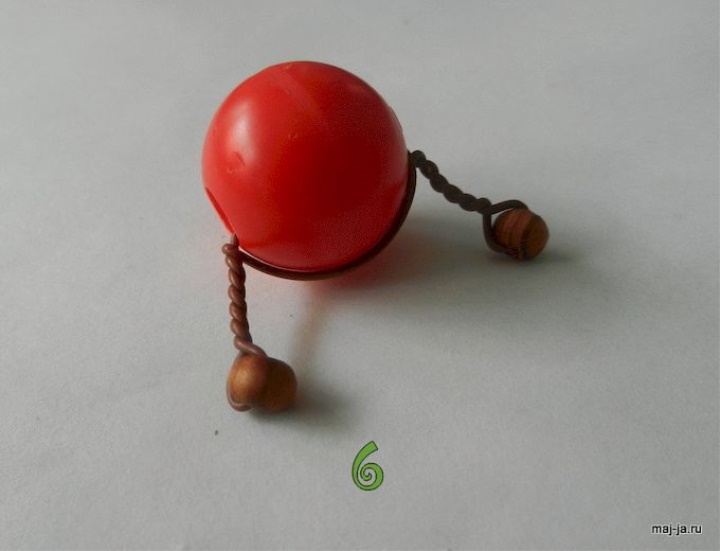
Please note: we will knit the red “head” separately, because it is special :) I used a plastic bead, thick wire and 2 small beads on the ends of the antennae. You can use a regular bead.
We plan what size the antennae will have, take the wire twice as much, plus add a little more when we twist the wire, the antennae will become shorter. Read this necessarily!
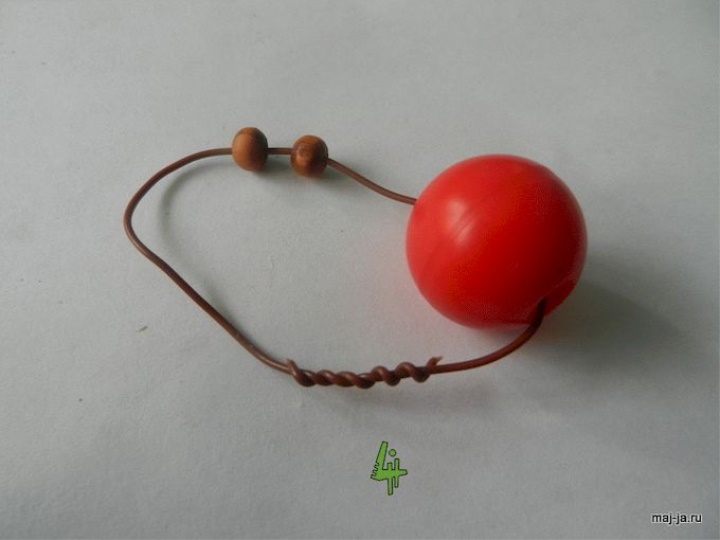
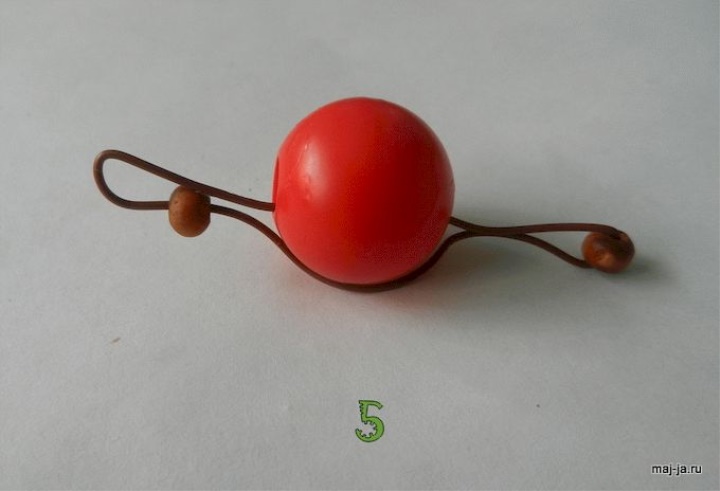
Stringing small beads on a wire, insert one end of it into the hole of the beads. Connect the ends of the wire, twisting them. We twist the twisted piece in the hole so that the tips of the wire do not crawl out later. Bend the wire so that the balls are on the ends of the wire. And twist to the ball
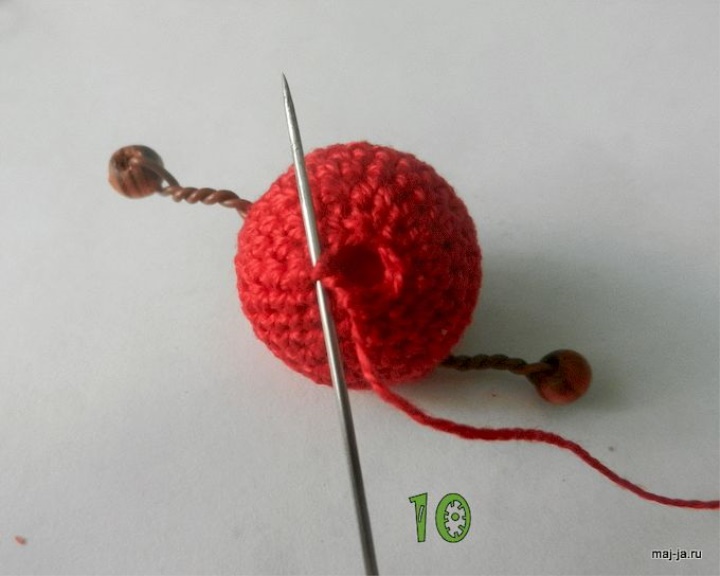
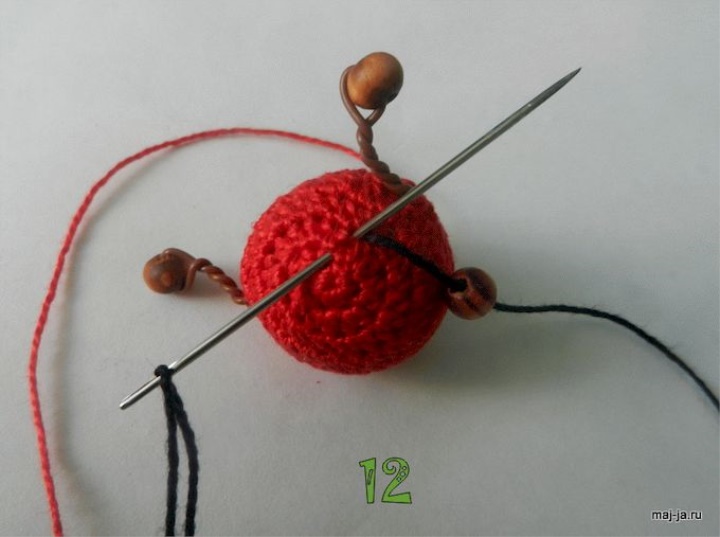
We begin to tie the bead in the same way as the previous multi-colored beads, but not completely, but to the place where you have a hole in the bead with wires coming out from both sides. When we reach the antenna we continue to knit, only in a hole in knitting the wire sticks. it is clear that I mean the same way we do it on the other side, and we continue to tie it like an ordinary bead. At the end of the strapping, you can cut the thread, leaving a long tip about 20 cm and pull off the hole with a needle. It's time for the peephole. I decided to sew them with a black thread, and then I will wind it with a wire to make a black antennae. Sew on the bead-eye very tightly, three or four times so that the children could not “bite off”. After the eye is sewn, output the thread to the antenna.
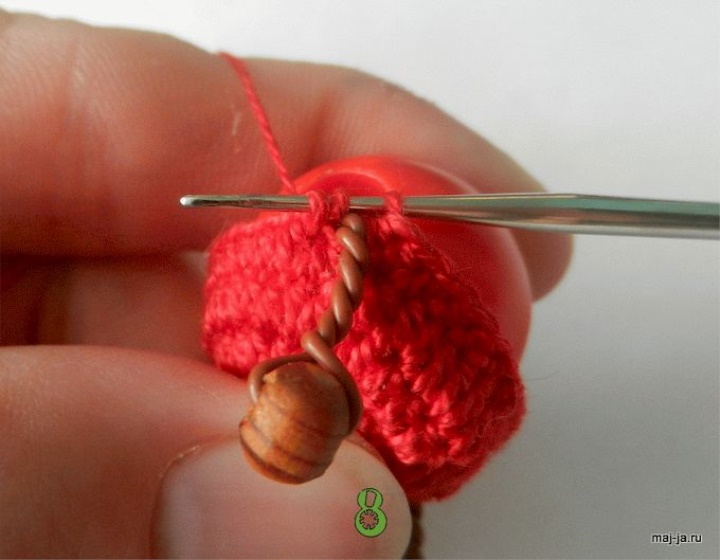
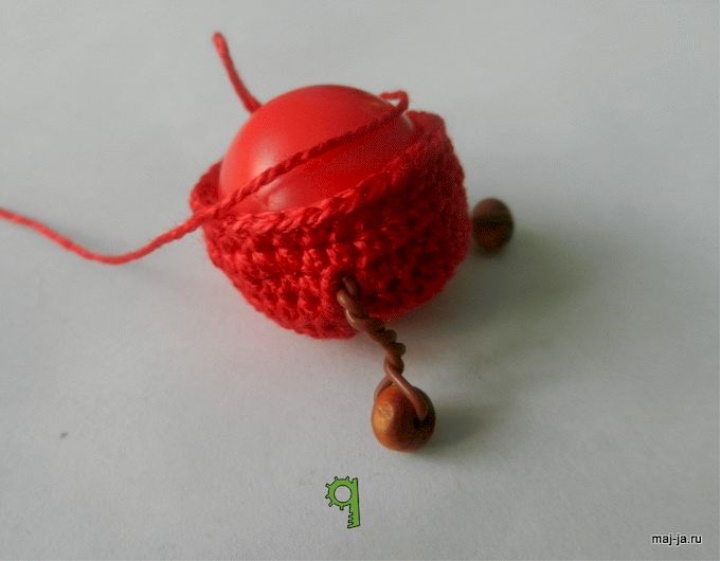

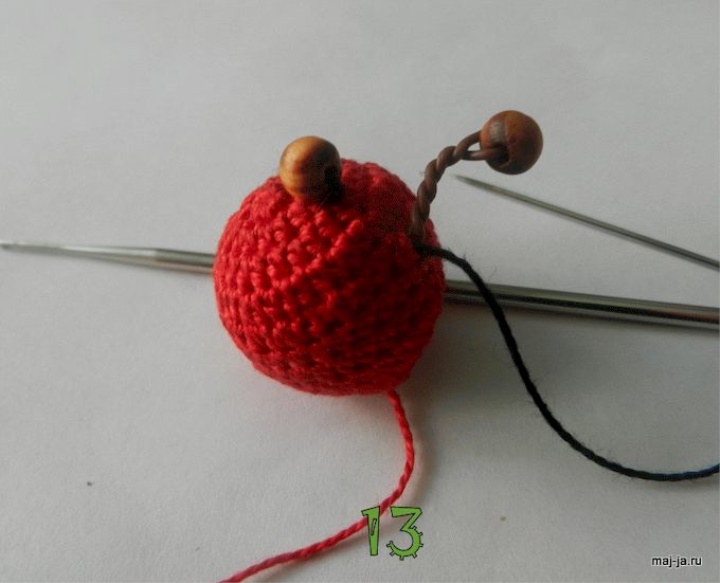
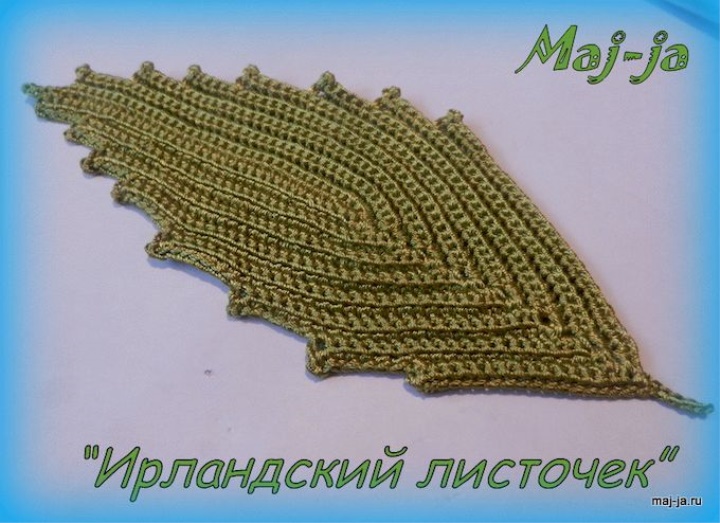
And wind it to the very top. To even better fix the bead at the end of the wire, you can thread the thread into the hole of the upper bead (I did not do it this time) and continue to wind the barbel down. Bring the needle to the eye and sew again. Do the same on the other side. That's what a miracle the bug-eyed happened to me :) And on the left, another version of the head: I took a thin wire (for beads) and made a long mustache. Make yourself as you like best. Use multi-colored beads for peepholes, threads of different colors. Knit leaf. Materials for knitting: “ threads, this time I used YarnArt Tulip threads , I liked them with their“ glitter ”, but it’s not the most convenient to knit them: they slip,
- hook №1, -
wire -
needle, -
scissors
In order to make my piece more “tighter” and better keep its shape, I knitted it in two threads.
We collect a chain of 40 air loops.
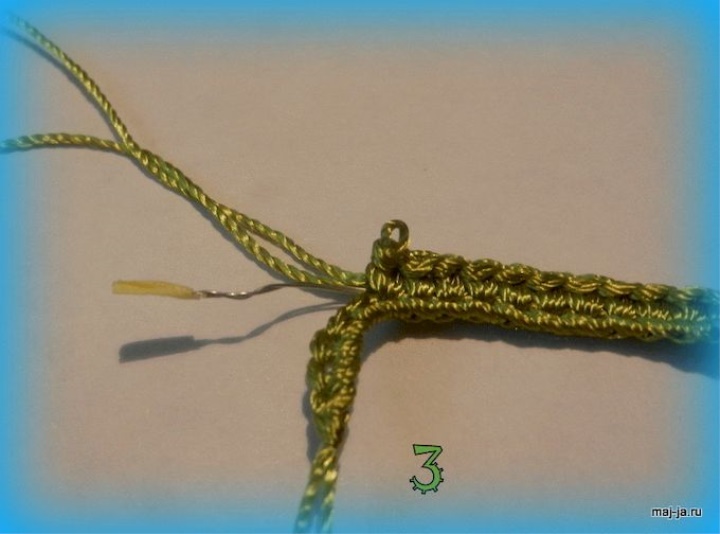
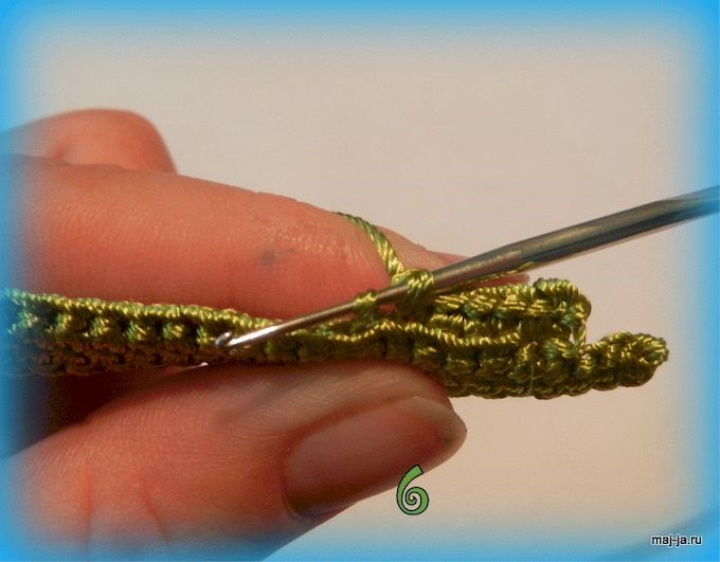
1 row-knit in the opposite direction. Starting from the second loop from the loop, we knit the posts without crochet into each loop. I needed the leaf to keep its shape well, for this I attached a wire folded in half to the chain of their air loops. Its length should be slightly less than the length of the chain connected by you. You can and not attach the wire, if you do not need this "rigidity".

This is how we attach the wire and tie it together with the short tips of the working thread, we hide them. To prevent the ends of the wire from being pricked accidentally, you can wrap them with a narrow piece of adhesive plaster (thanks to the girls who once gave such wonderful advice!)
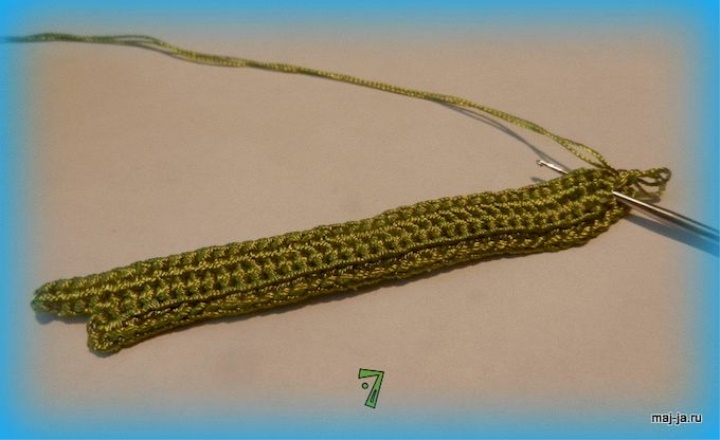
2 row-knit further — on the other hand, similarly: in each loop, 1 pillar without a nakida.
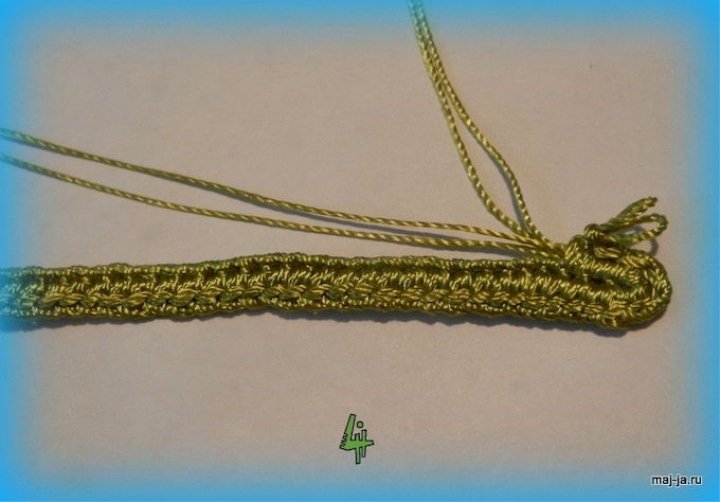
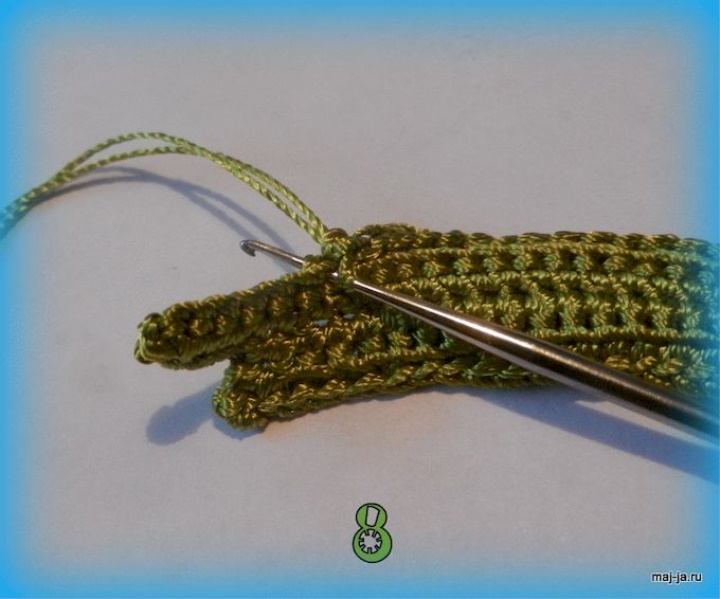
Without knitting to the end of the row of 2-3 loops, we knit a chain of 3 air loops.
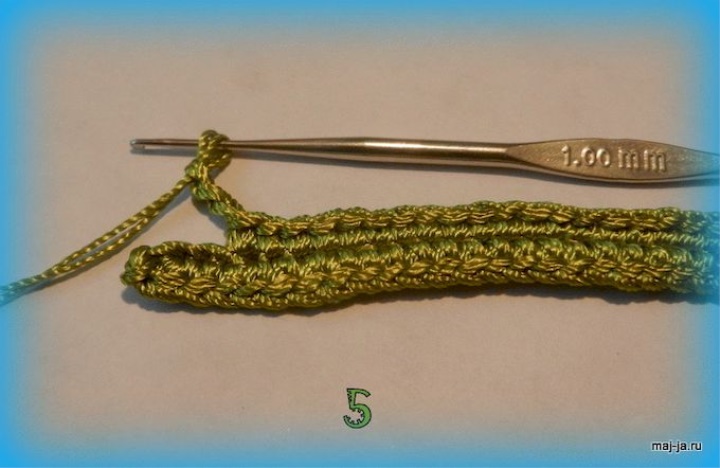
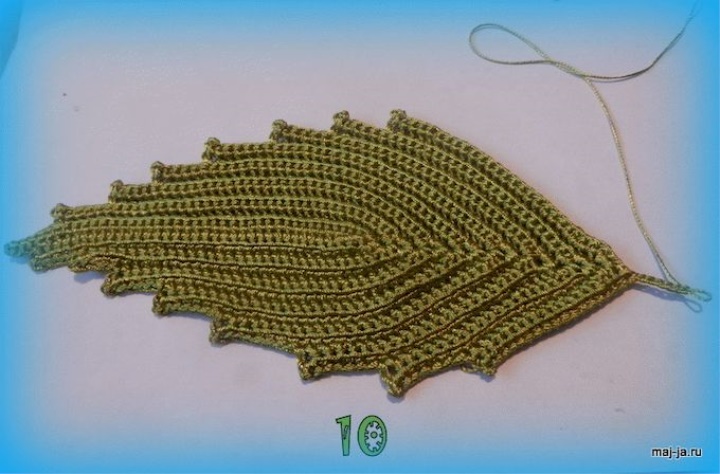
We turn and knit in the opposite direction like this: to the fourth loop from the hook, without crochet, for both walls of the loop (as before, we knit) and we knit for the back wall! With this method of knitting a leaf turns out "relief", convex. This is what the pointed “tip” of our leaf will look like.
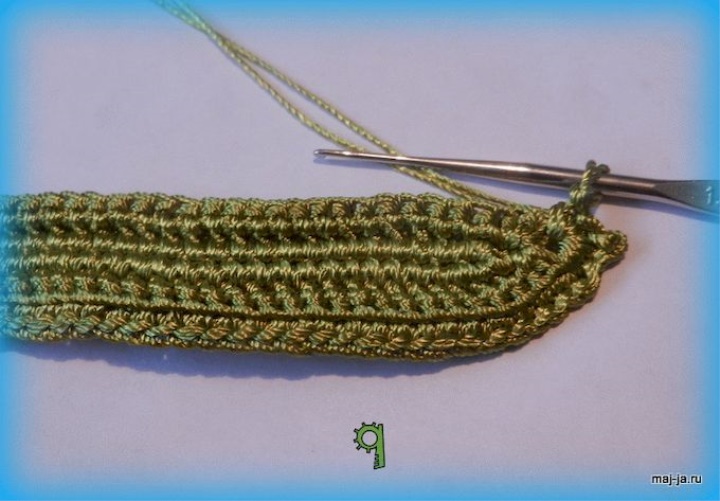
Having reached the end of the row, we knit in the “lower” loop as follows: 2 columns without a nakida, 2 air loops, 2 columns without a nakida. All this is in one loop, look at the photos
And we knit further in the same way: behind the back wall with a column without nakid, without making 2-3 loops to “sharpening”, which we did on the other side of the leaflet, we knit the last loop of this row 2 FOR 2 WALLS OF THE LOOP, as in the photo.
And we continue in the same way: 3 air loops, turning the knitting and in the opposite direction, starting with 4 loops-columns with no crochet behind the back wall.
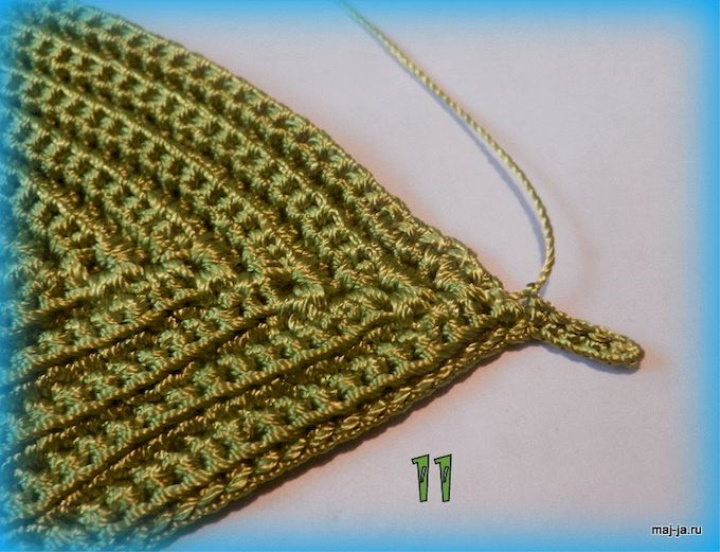
Having reached the bottom of the leaflet, in one loop we knit 2 columns without a nakida, 2 air loops, 2 columns without a nakida. In this place it turns out "hole".
Also knit all the other rows. Make as many "points" of the leaf as you like. I did it like this.
Now you can knit a “twig”: I collect 6 air loops and knit in the opposite direction, starting in the second loop with single crochets into each
thread. I cut off the thread, leaving the tip about 10 cm and hide it in knitting if it is no longer needed .
Then we sew the buttons to the leaflet with the same threads with which it was knitted (the leaflet on the left) or threads in the color of the buttons (option on the right). As you like it more. We sew buttons to our multi-colored balls. Remember, we left a long tip of the thread just for this purpose? That's what we got. Our developing toy "caterpillar" is ready!