Click For Crochet Abbreviations List
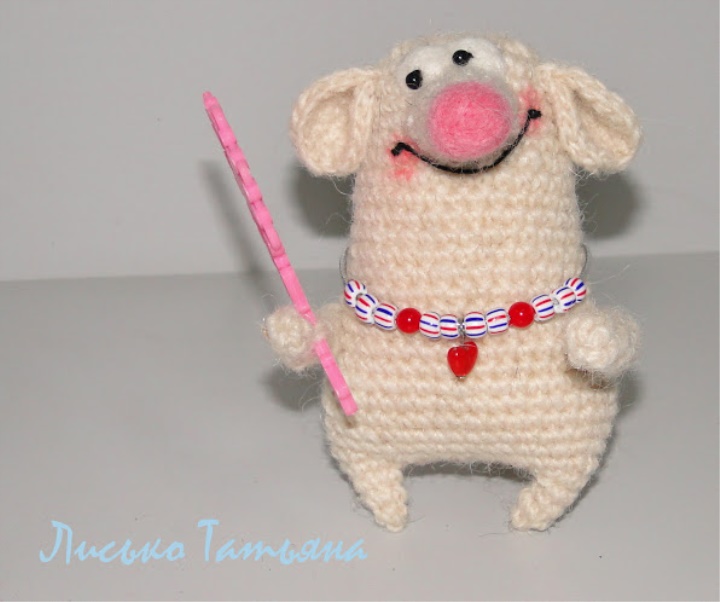
Then I share the description of these creatures)))
"
Legend:
VP-air loop
x-column without crochet
V-addition (in the column of the previous row we are tying 2 stakes without a crochet)
A-reduction
(...) *? Once in the brackets we tie it? once
[...] -the number of columns in the row
Torso
1 row: 6 VP, in the second loop from the hook 2x, 3x, into the first loop of the chain 4x, rotate the part and knit on the other side of the chain 3x, in the last loop of the chain 2x [14] ]
2 row: 2V, 3x, 4V, 3x, 2V [22]
3rd row: (10x, V) * 2 times [24]
4 row: 24x [24]
5 row: (11x, V) * 2 times [26]
6 row: 26x [26]
7 row: (12x, V) * 2 times [28]
8 row: 28x [28]
9 row: (13x, V) * 2 seconds [30]
10 row: 30x [30]
11 row: (14x, V) * 2 times [32]
12 row: 32x [32]
13 row: (15x, V) * 2 times [34]
14 row: 34x [34]
15 row: (16x, V) * 2 times [36]
16 row: 36x [36]
17 row: (17x, V) * 2 times [38]
18 row: 38x [38]
19 row: (18x, V) * 2 times [40]
20-22 row: 40x [40] -3 rounds. For takings tie rows 6-8. : 2:
23 series: (18x, A) * 2 times [38]
24 row: (17x, A) * 2 times [36]
25 row: (16x, A) * 2 times [34]
26 row: (15x, A) * 2 times [32]
The 26th row was knitted and we knit the legs without knocks: 2:
We knit 4x, we count in the opposite direction 7x, we connect it with the 7th column and knit in a circle of 14x, A, 2x. We cut off the thread, we tighten the hole, fix the thread. The second leg is knitted similarly with the opposite side of the trunk. We leave the tip of the thread 15-20cm, we tighten the hole. If you see that the legs are not very stable-fill them a little.
We fill the torso, but that it would remain slightly flattened. Breathe the hole between the legs, fix it, cut the thread.

Handles-paws (2 parts)
1 row: In the ring amigurumi 6x [6]
2-10 row: 6x [6] -9 rows. And in general, be guided by what length of the pens you want.
Leave on one foot the tip of the thread for sewing-connecting the legs of the
Muzzle
You can start with the thread that you selected for the spout and associate it with the first 4 rows.
1 row: in the ring amigurumi 6x [6]
2-4 row: 6x [6] -3
charge 5 row: (xV) * 3 [9]
6 row: 9x [9]
7 row: (2x, V) * 3 [12]
8 row: 12x [12] The
row: (3x, V) * 3 [15]
10 rows: 15x [15] On this row you can finish the muzzle for the dachshund.
1 row: (4x, V) * 3 [18]
12 rows: 18x [18]
13 row: 8x
Leave the tip of the thread for sewing the muzzle
Ears (2 parts)
1 row: in the ring amigurumi 6x [6]
2 rows: 6V [12]
3 row: ( xV) * 6 [18]
Tie the connecting posts, leave a string for sewing
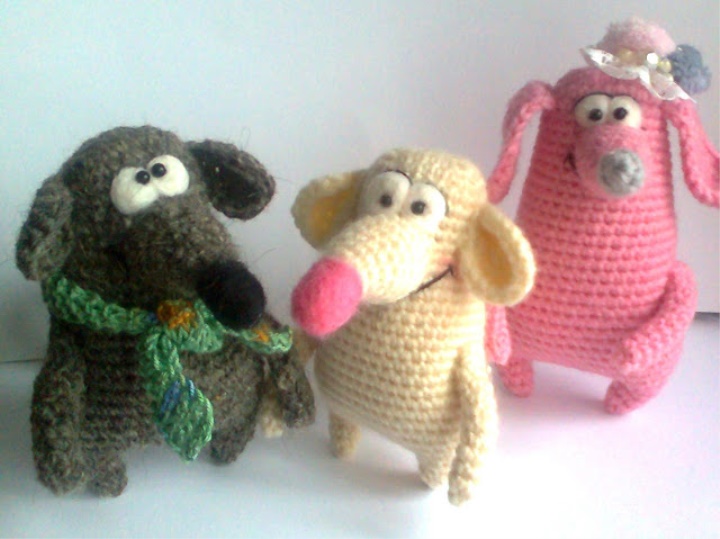
Here are some details I get for a rat
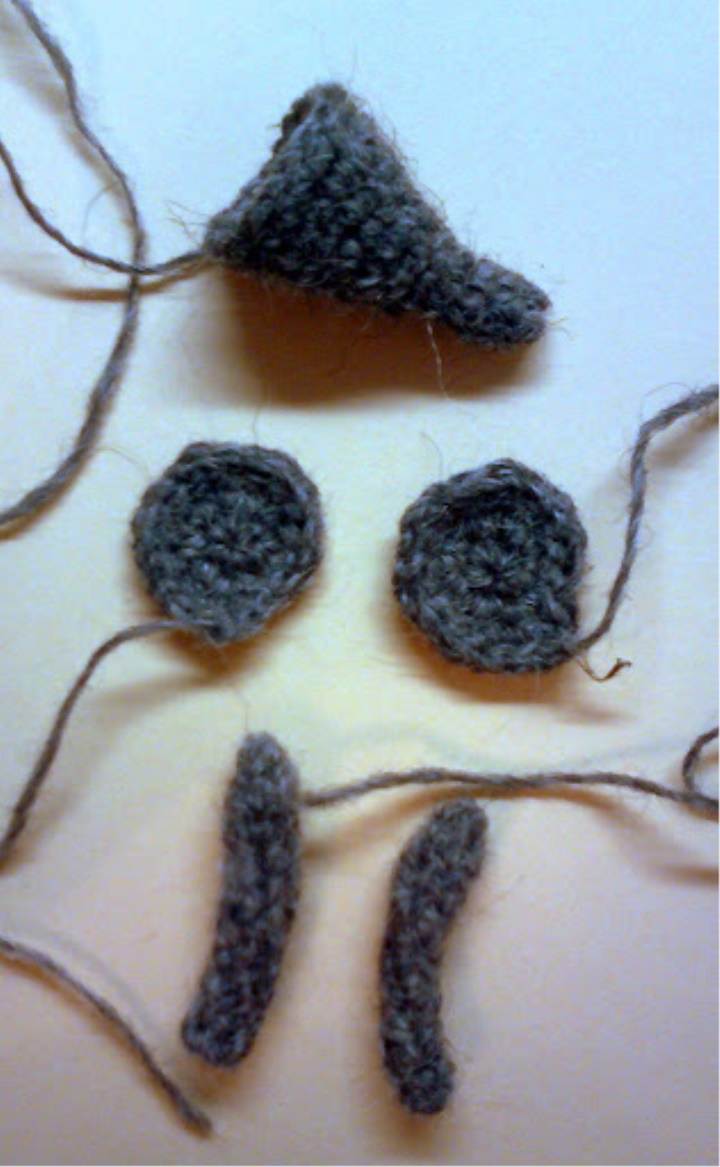
Tail
In the ring amigurumi 4x, and then we knit along the spiral to the desired length. For dachshund, the tail is shorter. We leave the tip of the thread for sewing.
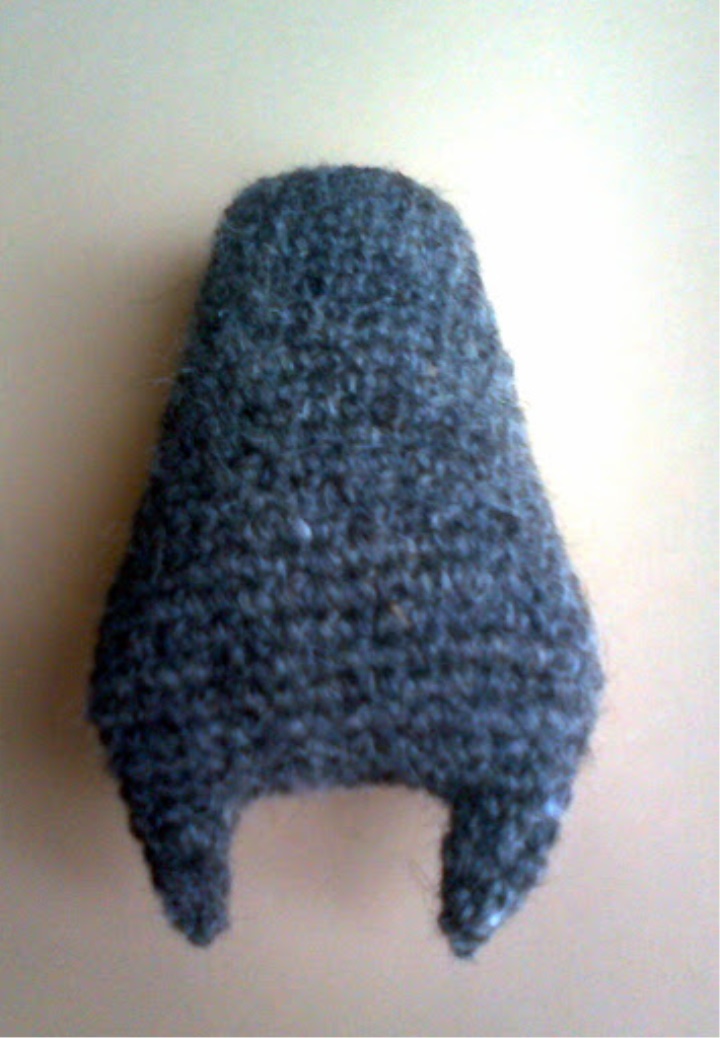
Ears for dachshund (2 pieces)
We knit in turning rows.
PP-loop lifting
1 row: 3 VP [3]
2 row: PP, x, Vx [4]
3 row: PP, x, V, 2x [5]
4 row: PP, 2x, V, 2x [6]
5 series: PP, 6x [6]
6 row: PP, 2x, A, 2x [5]
7 row: PP, 5x [5]
8 row: PP, x, A.2x [4]
9 row: PP, 4x [ 4]
10 row: PP, x, A, x [3]
11-12 row: PP, 3x [3]
Unbind the strings without crochet, leave the tip of the thread for sewing.
We find a place for the details on the head-trunk. It's a little filling for the little one.
If you did not knit a spout at once with a muzzle, then seal it or embroider it.
Give the form of a muzzle. In the rat I just arched to the bottom, and at the dachshund to the top. Well, I wanted so.
Now the tail.
We bend the tip of the wire at an angle of 90 degrees, we insert this bent tip into the trunk where the tail will be. We attach a knitted workpiece for the tail to the wire, sew to the trunk. We give the tail a shape for stability and beauty.
We embroidered my mouth, I opened my eyes.
And now I'm in a hurry to show you my result this time. I have not finished the report yet. And again I apologize for the quality of the photo ...
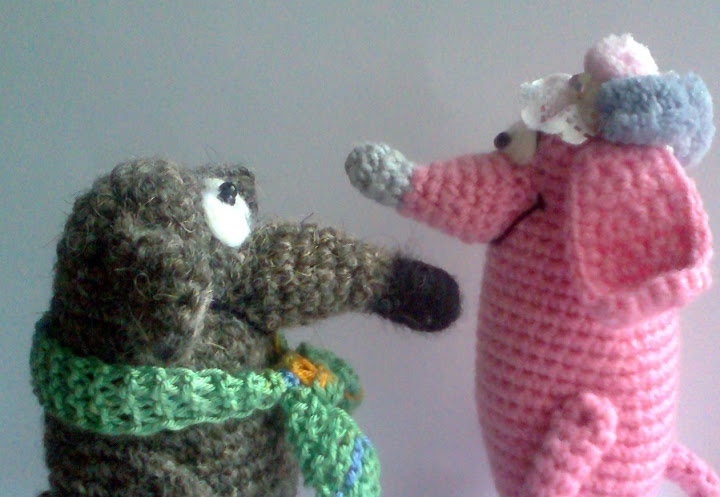
Do it with pleasure, and if that ..... ask, I will help!
Source : http://glinchak.com/online/krisiki-taksiki-t262.html .