Click For Crochet Abbreviations List
Materials for crocheting bears:
Yarn for knitting . Choose any, you can knit a cub from the remains of yarn. I have left a wool ("Mongolian camel"), I decided to tie a bear from it. Just keep in mind that the thinner the thread, the less your bear cub will turn out. Little cubs knit more difficult, so for beginners, I would recommend a medium-thick yarn.
Crochet hook for knitting . We choose it depending on the yarn. Usually on the labels of the yarn the corresponding hook number is indicated. I have a hook number 3.
Scissors .
Filler (sintepon, sinter, cotton, etc.)
Needle for sewing soft toys , it can be purchased at the store for needlework. We need a long needle, because it is convenient to sew the legs to the body.
In addition, to decorate the bear's face, you will need:
Wool for felting: beige for the muzzle and black for the spout. I have an Australian merino.
Needle for felting (thin).
Eyes. You can use ready-made eyes for soft toys, beads, you can make eyes from the polymer clay itself.
Glue PVA for impregnating the spout.
Lacquer (it should be quite a bit, so you can use a transparent nail polish).
Knitting head bears:
1 row: 6 loops are closed in an amigurumi ring (6 loops).
2nd row: Addition to each loop - 6 times (12 loops).
3rd row: * increase, column without crochet * - repeat 6 times (18 loops).
4 row: * increase, 2 columns without a crochet * - repeat 6 times (24 loops).
5 row: * increase, 3 columns without a crochet * - repeat 6 times (30 loops).
6 row: * Increase, 4 columns without a crochet * - Repeat 6 times (36 loops).
7th row: * increase, 5 columns without a crochet * - repeat 6 times (42 loops).
8 row: * increase, 6 columns without a crochet * - repeat 6 times (48 loops).
9-10 rows: a column without a crochet in each loop of the previous row (48 loops).
11 row: * Decrease, 6 columns without a crochet * - Repeat 6 times (42 loops).
12 row: * Decrease, 5 columns without a crochet * - Repeat 6 times (36 loops).
13th row: * Decrease, 4 stakes without crochet * - Repeat 6 times (30 loops).
14 row: * Decrease, 3 columns without a crochet * - Repeat 6 times (24 loops).
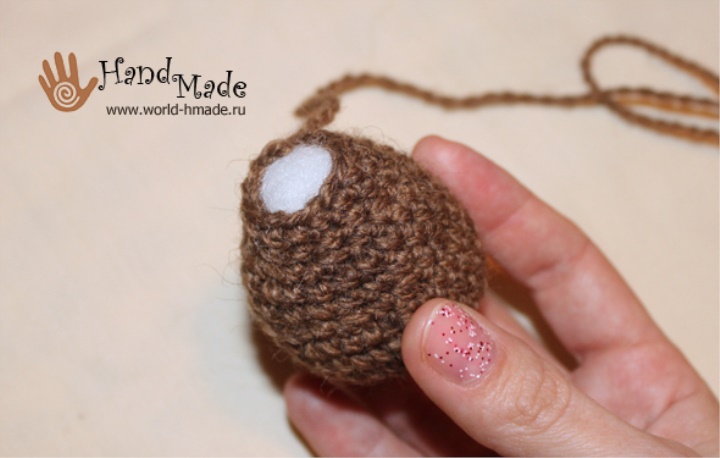
Fill the head with filler. We fill it tightly, giving it the shape of a ball. If you fill in tightly, then the ball will not work.
15 row: * Decrease, 2 columns without a crochet * - 6 times (18 loops).
16 row: * Decrease, 1 bar without crochet * - 6 times (12 loops).
17 series: Decrease until the hole is completely closed.
Knitting the torso of a bear:
1 row: 6 loops are closed in an amigurumi ring (6 loops).
2nd row: Addition to each loop - 6 times (12 loops).
3rd row: * increase, column without crochet * - repeat 6 times (18 loops).
4 row: * increase, 2 columns without a crochet * - repeat 6 times (24 loops).
5 row: * increase, 3 columns without a crochet * - repeat 6 times (30 loops).
6 row: * Increase, 4 columns without a crochet * - Repeat 6 times (36 loops).
7-8 rows: 36 columns without crocheting.
9 row: 6 additions, * column without crochet, decrease * - 8 times (22 loops).
10-11 rows: 22 columns without a crochet.
12th row: * 1 column without crochet, decrease * 7 times, 1 column without crochet (15 loops).
13-14 rows: 15 columns without a crochet.
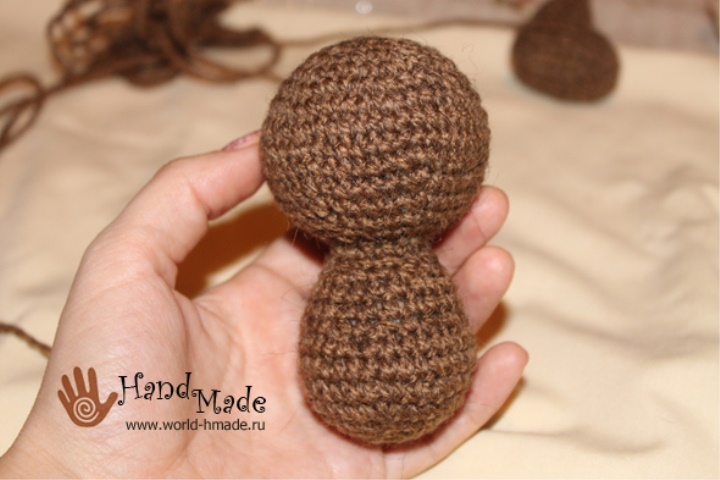
We fill with filler. The hole is not closed, the head of our bear is big enough, so that it does not outweigh and do not hang, we will sew it tightly to the body. Leave a long enough thread to sew the body to the head.
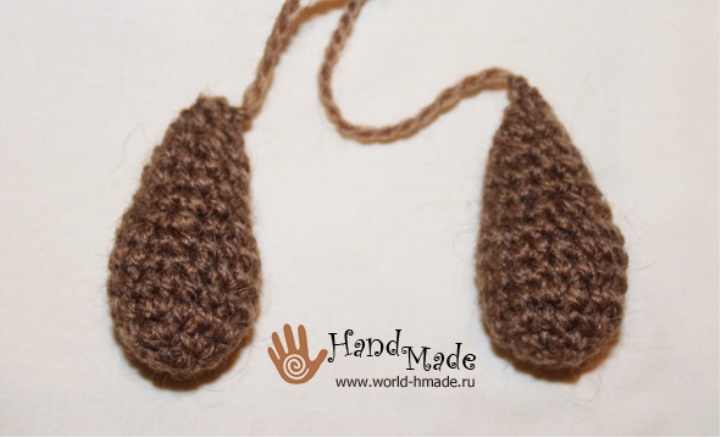
We knit the legs for the bear (2 parts):
1 row: Knitting starts with a set of 5 air loops. Then we dial 1 air loop for lifting and we sew 1 column without a crochet in the first loop (out of five dialed), 3 columns without a crochet, 2 increments, 3 columns without a crochet, an increase (14 loops).
2 rows: 2 increases, 4 columns without a crochet, 4 increases, 4 columns without a crochet, 2 increments (20 loops).
3rd row: an increase, a column without a crochet, an increase, five columns without a crochet, an increase, a column without a crochet, an increase, five columns without a crochet, an increase, a column without a crochet, an increase (24 loops).
5 row: We send 24 loops for the back wall (column without a crochet in each loop).
6th row: 7 sticks without crochet, (decrease, 2 stakes without crochet) - 3 times, 5 stakes without crochet (21 stitches).
7th row: 6 columns without crochet, (decrease, column without crochet) - 3 times, 6 columns without crochet (18 loops).
8 row: 6 columns without a crochet, 3 additions, 6 columns without a crochet (15 loops).
9-11 rows: a column without a crochet in each loop (15 loops).
Lackily stuff the leg with a sintepon.
12 row: decrease until the hole is completely closed.
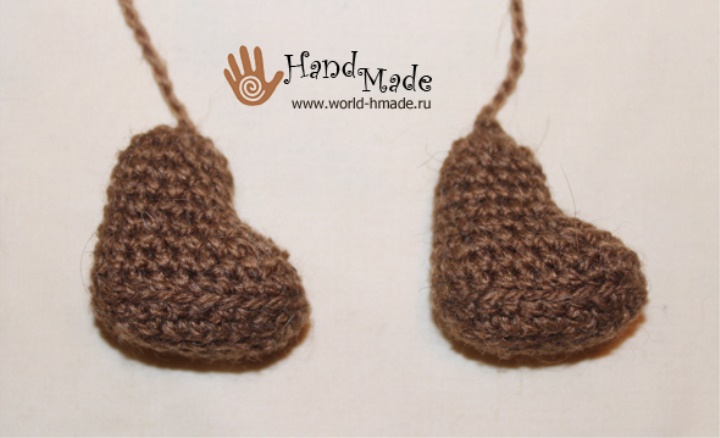
Knitting handles bears (2 pieces):
1 row: 6 loops close the ring amigurumi (6 loops).
2nd row: Addition to each loop (12 loops).
3 row: * 1 column without crochet, increase * - repeat 6 times (18 loops).
4-6 rows: a column without a crochet in each loop (18 loops).
7 row: * Decrease, column without crochet * - Repeat 6 times (12 loops).
8-10 rows: a column without a crochet in each loop (12 loops).
11 row: * Decrease, column without crochet * - Repeat 6 times (8 loops).
We fill the paws, also loose, like the legs.
12 row: decrease until the hole is completely closed.
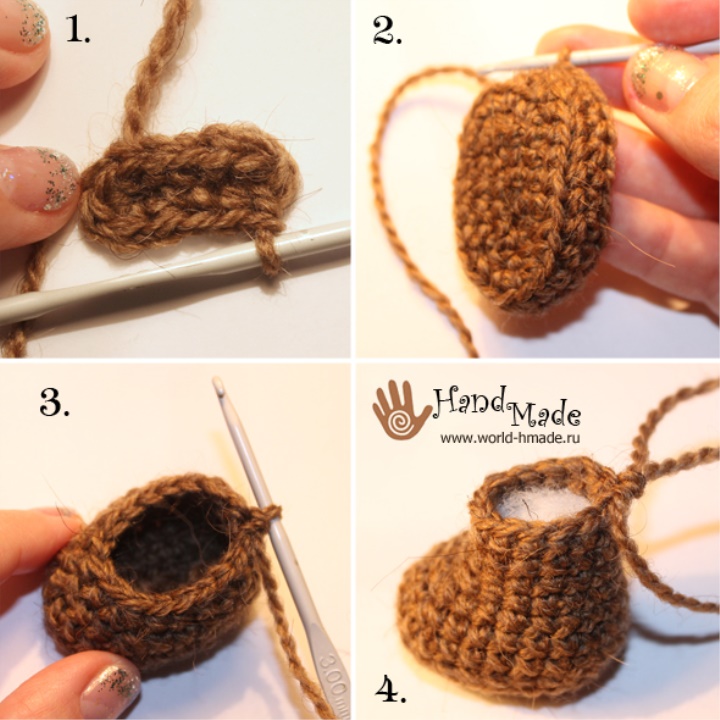
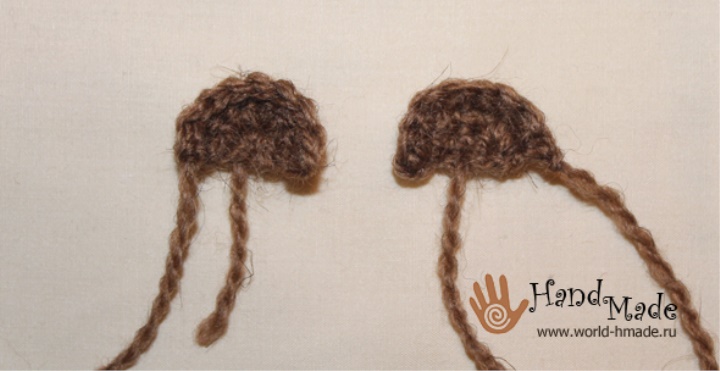
Knitting the ear for the bear (2 parts):
1 row: We dial 2 air loops, here the second loop loops we fasten 4 columns without a crochet (4 loops).
2nd row: Turn the knitting. Additions to each loop (8 loops).
3 row: Turn the knitting, 1 air loop for lifting, a column without a crochet in each loop (8 loops).
We leave a long "tail" of the thread to sew the ears to the head.
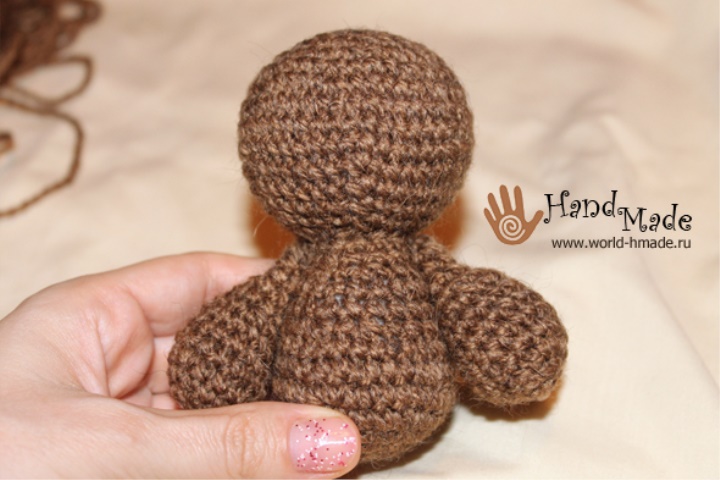
Assembling bears.
We sew our head to the trunk:
Sew pads. To do this, the "tail" of the thread that you left when you finished knitting the foot is inserted into the needle for sewing toys. We pierce the foot as shown in the photo:
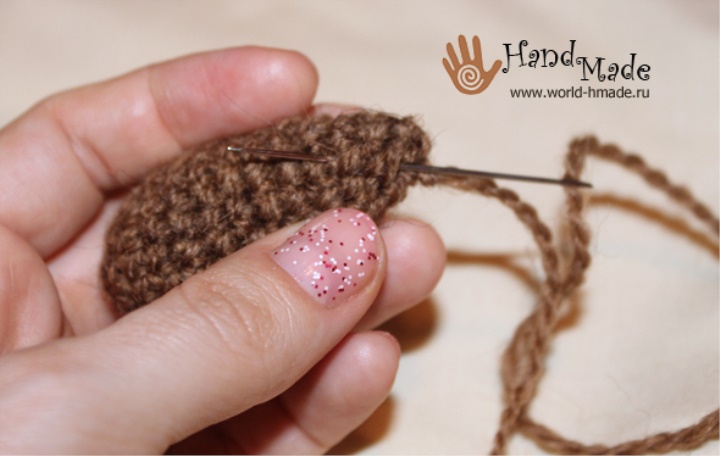
Pull the thread. On the other foot, the thread is cut off and the end is hidden.

We pierce the torso of the bears right through the place where the foot should be fastened.
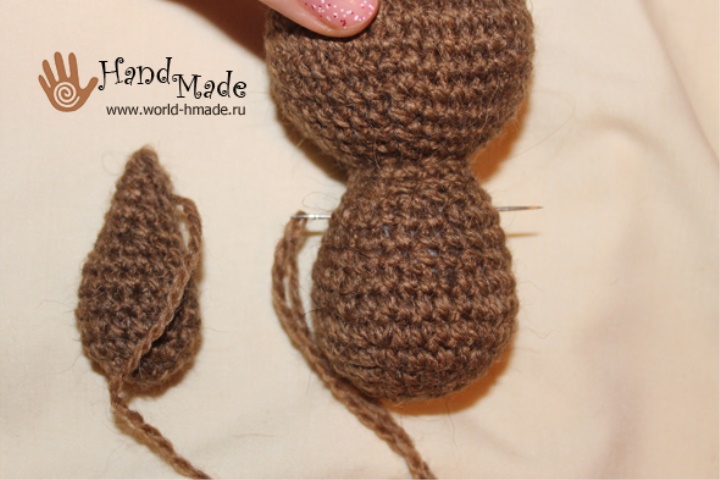
Sew a second foot, symmetrically the first. We drag the needle "back and forth" several times.
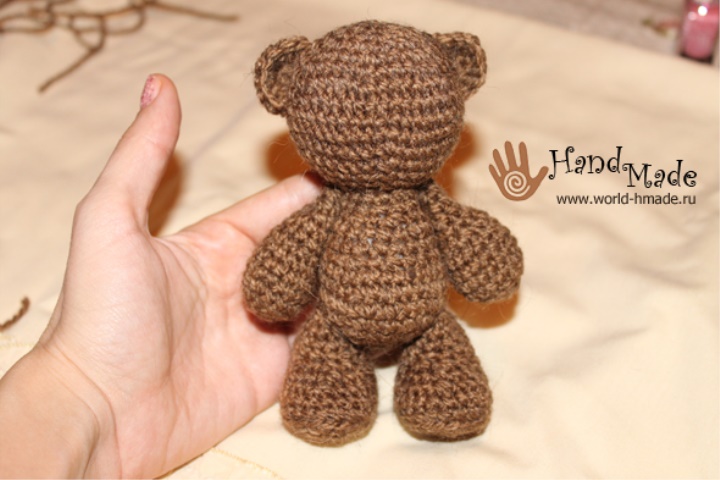
Similarly sew the legs of the bear to the body. We sew the ears.
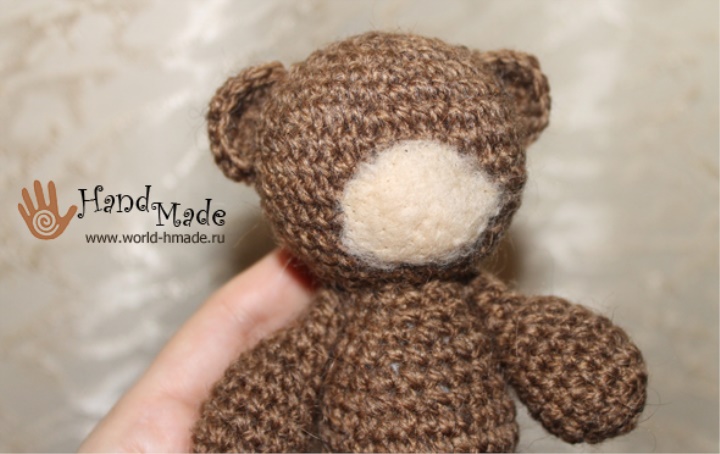
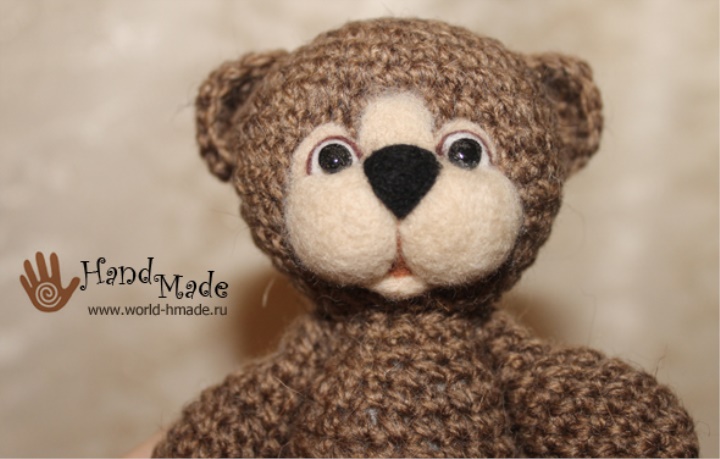
Muzzle design:
As already mentioned above, we will tie a muzzle to a bear. For this, we need a felting wool and a needle. To tuck the muzzle better with a thin needle (# 40). First, using a small bundle of beige wool, outline the muzzle.
From small bundles of wool, squash two balls on the sponge - these are the future cheeks. Privalyayte them to the muzzle. Another bundle is a spout.

We decorate the beak of the bear with black wool. Make holes for the eyes. Glue the eyes.
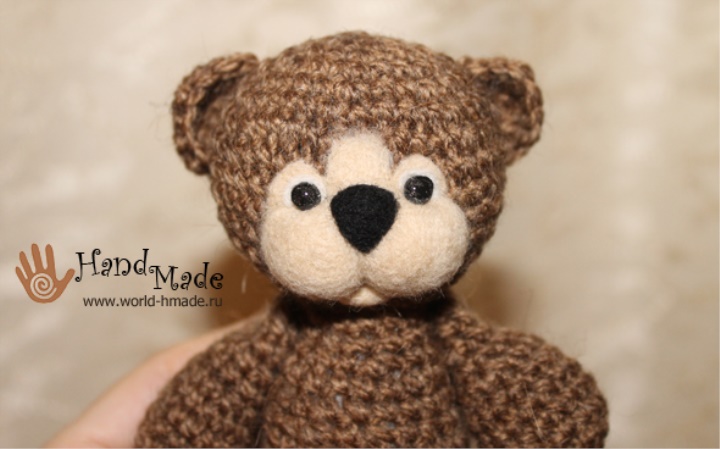
We continue to make out a muzzle. A thin flagellum of dark brown wool accentuates the contours of the eyes. You can also more dark hair (in comparison with the basic tone of the muzzle) to emphasize the mouth. If you want, then the spout can be made solid and shiny. To do this, first impregnate it with PVA glue, and then, when the nozzle dries, we cover it with varnish
So we tied the bear crochet . It remains only to think up clothes for him.