Yarn of one thickness is white, lilac, violet, dark pink. A little red and black yarn for mouth embroidery.
Hollofayber or other filler.
Hooks in size.
Needle for stitching parts.
Thread for by.
Safe eyes with a diameter of 1 cm.
All parts tallyed in a spiral, unless otherwise specified.
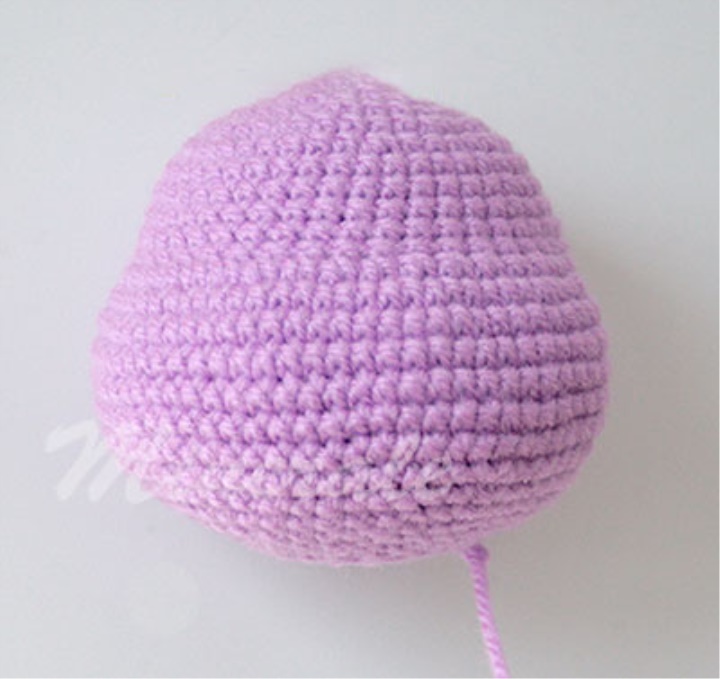
Head
Lilac yarn:
1 row: 6 PRS in the Ring (6)
2 row: 6 ol (12)
3 row: (PRS, D) X6 (18)
4 row: (2 PRS, D) X6 (24)
5 row: (3 PRS, D) X6 (30)
6 row: (4 PRS, D) X6 (36)
7 row: (5 prs, D) X6 (42)
8-12 Series: 42 PRS (42)
13 row: 13 PRS, 8 ol, marker-center of the face, 8 D, 13 PRS (58)
14-19 Series: 58 PRS (58)
20 row: 13 PRS, UB, (8 PRS, UB) X3, 13 PRS (54)
21 Row: (7 PRS, UB) X6 (48)
22 row: (6 PRS, UB) X6 (42)
23 Row: (5 PRS, UB) X6 (36)
24 row: (4 PRS, UB) X6 (30)
25 Row: (3 PRS, UB) X6 (24)
26 Row: (6 PRS, UB) X3 (21)
Fasten the thread, leave for sewing.
Hands
1 row: 6 PRS in the Ring (6)
2 row: 6 ol (12)
3-7 Series: 12 PRS (12)
8 row: (5 prs, D) X2 (14)
9-10 Series: 14 PRS (14)
11 row: (d, 4 prs) x2, D, 3 PRS (18)
12-13 Series: 18 PRS (18)
14 row: 3 VP (3 PRS Skip), 15 PRs (18)
15 row: 3 PRS chain, 15 PRS (18)
16 Row: (8 prs, D) X2 (20)
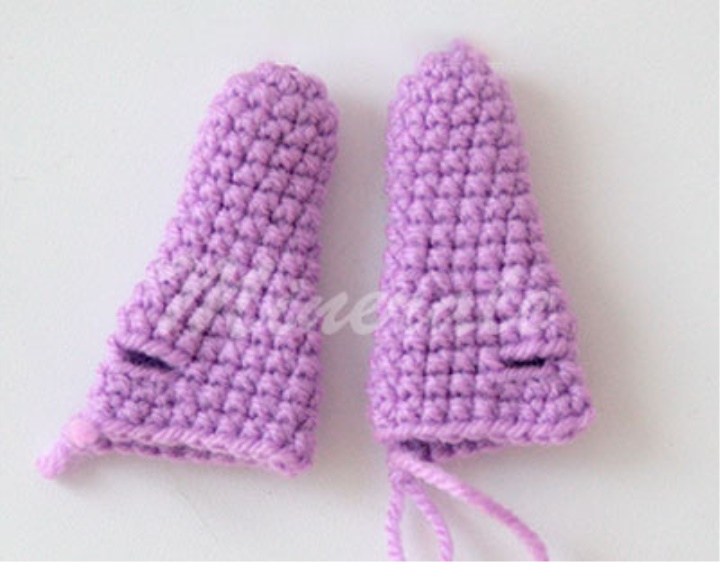
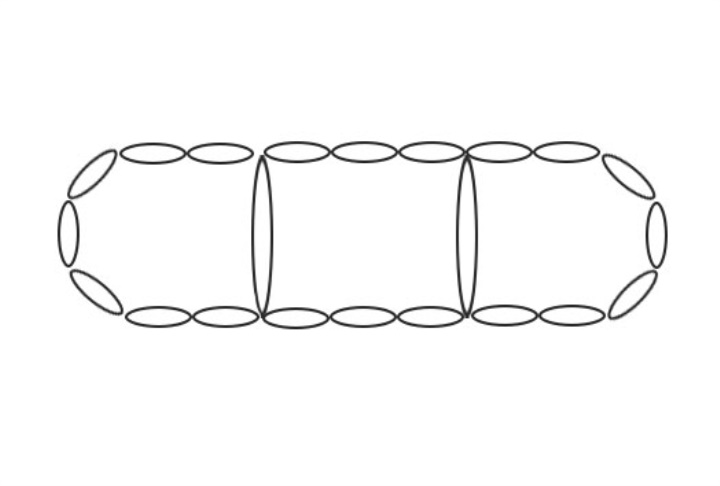
Fill your hand with a filling. Now divide 20 loops on 3 fingers from 8 PRS on a pattern on a photo.
First finger.
White yarn:
1 row: 3 PRS, VP, Loop in the loop opposite: 4 PRS (8)
2-3 Series: 8 PRS (6)
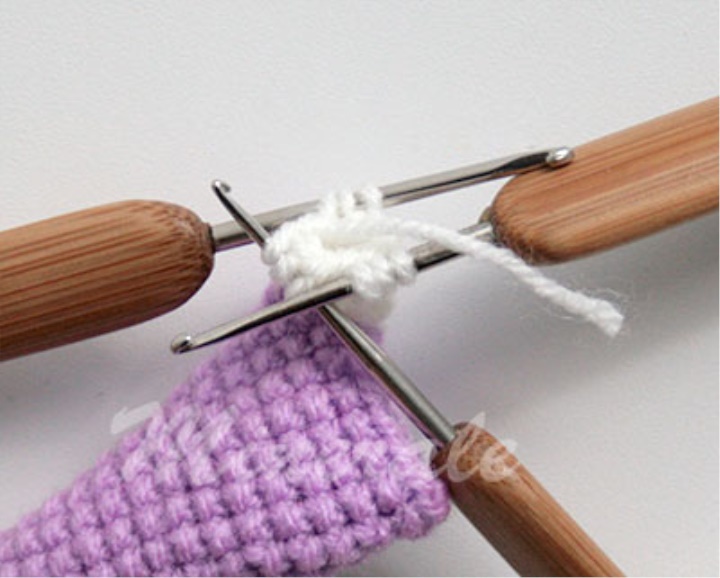
Close your finger on three hooks. Fill your fingers with the filling as you knit.
Fasten and trim the thread.
Second finger.
Attach the thread to the next hand loop.
1 row: 3 PRS, VP, Loop in the loop opposite: 3 PRS, PRS The chain of the EAP (8)
2-3 Series: 8 PRS (6)
Close your finger on three hooks.
Fasten and trim the thread.
The third finger.
Attach the thread to the next hand loop.
1 row: 7 PRS, PRS on the chain from the EAP (8)
2-3 Series: 8 PRS (6)
Close your finger on three hooks.
Fasten and trim the thread.
For the second hand:
14 row: 6 PRS, 3 VP (3 PRS Skip), 9 PRS (18)
15 Row: 6 PRS, 3 PRS chain, 9 PRS (18)
The rest of the rows knit as for the first hand.
Thumb.
Attach the white yarn to the opening of the 14th row.
1 row: By Hole to bind 8 PRS (8)
2-3 Series: 8 PRS (8)
Close your finger on three hooks.
Fasten and trim the thread.
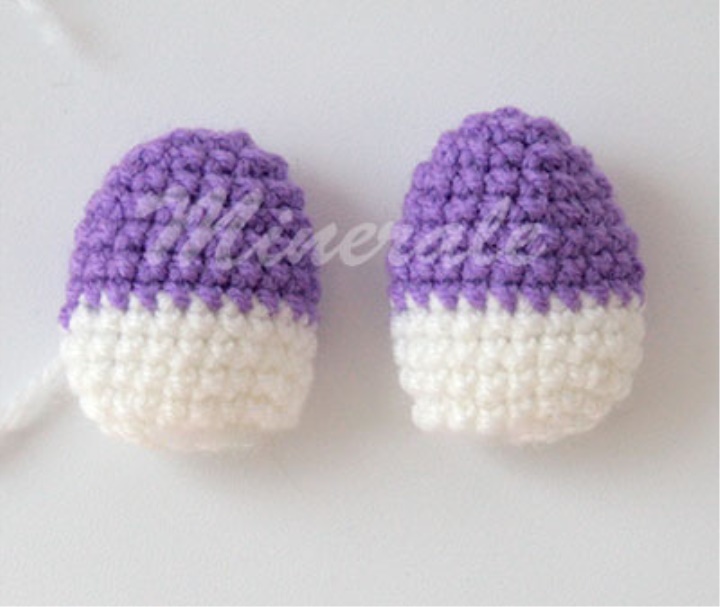
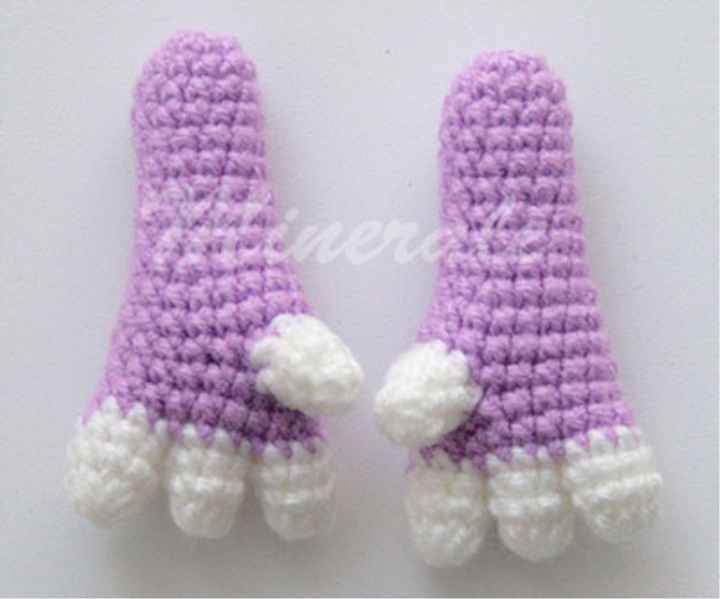
Foot
White yarn to dial 5 vp.
1 row: D, 2 PRS, 3 PRS in 1 loop, 3 PRS (10)
2 row: 2 ol, 2 PRS, 3 ol, 2 PRS, D (16)
3 row: D, PRS, D, 5 PRs, D, PRS, D, 5 PRS (20)
4-5 rows: 20 PRS, 2 PRS Displacement (20)
Fix the thread, leave the thread about 20 cm long for utjazhki fingers.
Purple yarn:
6-8 Series: 20 PRs (20)
9 PRS: (3 PRS, UB) x4 (16)
10 PRS: 16 PRS (16)
11 PRS: (2 PRS, UB) x4 (12)
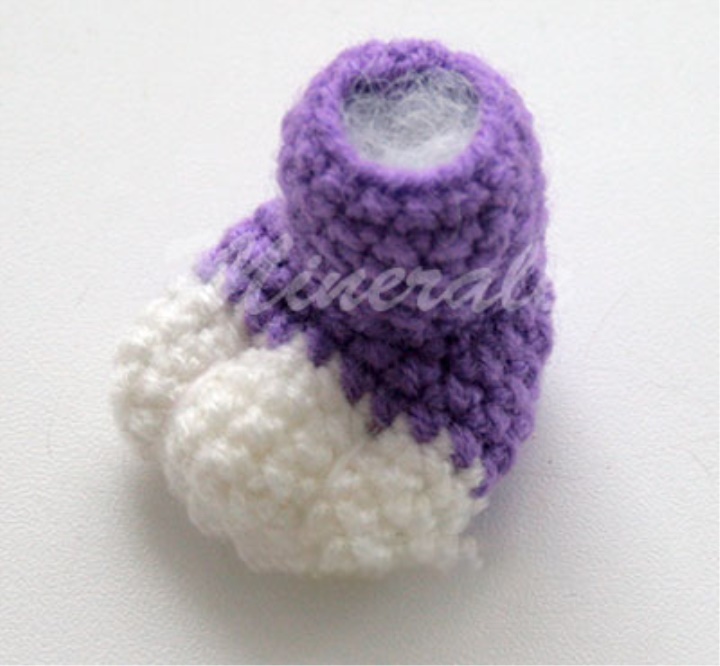
Fill the stop with the filling.
12 PRS: (PRS, UB) x4 (8)
Thread cut, loops to pull. Make Utjazhku fingers.
Feet
Purple Yarn Dial 14 vp. Leave the end of the thread about 15 cm for sewing.
1-6 Series: 14 PRS (14)
Fasten the thread, leave for sewing. Sew the foot to the foot, fill with filling.
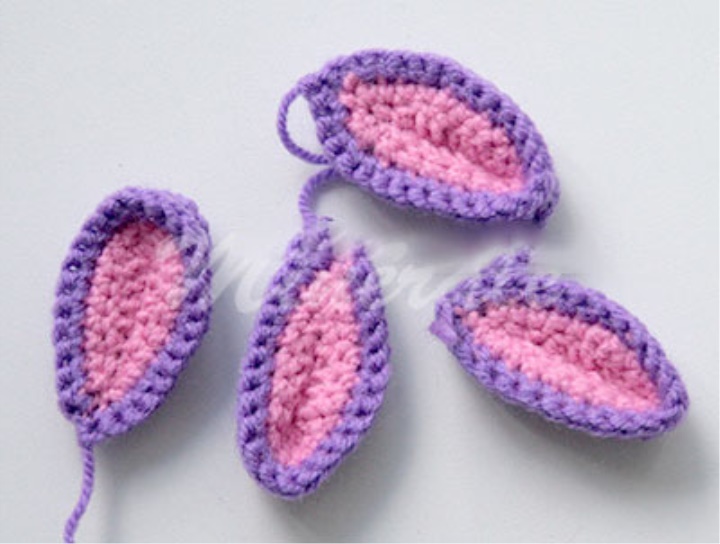
Ears (4 pcs.)
Inner part (4 pcs.)
Dark Pink Yarn Dial 8 vp.
1 row: SS, PRS, PSN, 3 PRSs, 6 PRSs in one loop, 3 PRSs, PSN, PRS, SS (18)
2 row: D, 17 PRs (19)
Fasten the thread, trim.
Outer part (4 pcs.)
Purple Yarn Dial 11 vp.
1 row: 2 SS, PRS, 2 PSN, 4 PRSs, 6 PRSs in one loop, 4 PRSs, 2 PSN, PRS, 2 cc (24)
2 row: D, 23 PRs (25)
Fold the ears purl sides to each other, tie around PRS purple yarn. The inner (pink part) loops in the 2nd row is smaller, so when we make a binding, from time to times in the pink part of the knit PRs two times the same loop.
Fasten and trim the thread. The side where we finished knitting is the tip of the ear.
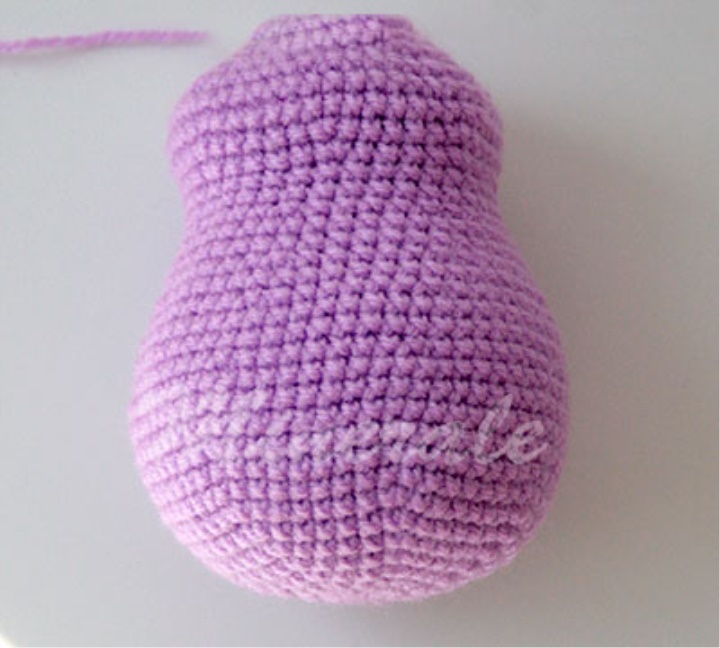
Torso
Lilac yarn:
1 row: 7 PRS in ring
2 row: 7 ol (14)
3 row: (PRS, D) x7 (21)
4 row: (2 prs, D) x7 (28)
5 row: (3 prs, D) x7 (35)
6 row: (4 prs, D) x7 (42)
7 row: (5 prs, D) x7 (49)
8 row: (6 prs, D) x7 (56)
9-10 Series: 56 PRS (56)
11 Row: (7 prs, D) x7 (63)
12-14 Series: 63 PRS (63)
15 Row: (7 PRS, UB) X7 (56)
16-17 Series: 56 PRS (56)
18 Row: (6 PRS, UB) X7 (49)
19 Row: 49 PRS (49)
20 Row: (5 prs, UB) X7 (42)
21-22 Series: 42 PRS (42)
23 Row: (4 prs, D) x7 (35)
24-25 Series: 35 PRS (35)
26 Row: (5 prs, D) x7 (42)
27 Row: (6 prs, D) x7 (49)
28-29 Series: 49 PRS (49)
30 Row: (5 prs, UB) X7 (42)
31 Row: (4 PRS, UB) X7 (35)
32 Series: (3 PRS, UB) X7 (28)
33 Series: (2 PRS, UB) X7 (21)
Fasten the thread, trim.
Tail
1 row: 6 PRS in the ring
2 row: 6 PRS (6)
3 row: (PRS, D) X3 (9)
4-5 Series: 9 PRS (9)
6 row: (2 prs, D) X3 (12)
Fasten the thread, leave for sewing.
Protein
White yarn:
1 row: 6 PRS in the Ring (6)
2 row: 6 ol (12)
3 row: (PRS, D) X6 (18)
Fasten the thread, leave for sewing. Insert safe eyes between the 1st and 2nd row of the squirrel.
Spot on Belly 1
Dark Pink yarn:
1 row: 6 PRS in the Ring (6)
2 row: 6 ol (12)
3 row: (PRS, D) X6 (18)
4 row: (2 PRS, D) X6 (24)
5 row: (3 PRS, D) X6 (30)
6 row: (4 PRS, D) X6 (36)
Fasten the thread, leave for sewing.
Spot on the Belly 2, spot on the forehead, cheeks (4 pcs.)
Dark Pink yarn:
1 row: 6 PRS in the Ring (6)
2 row: 6 ol (12)
Fasten the thread, leave for sewing.
Spot on the Belly 3 (4 pcs.)
Dark Pink yarn:
1 row: 6 PRS in the Ring (6)
Fasten the thread, leave for sewing.
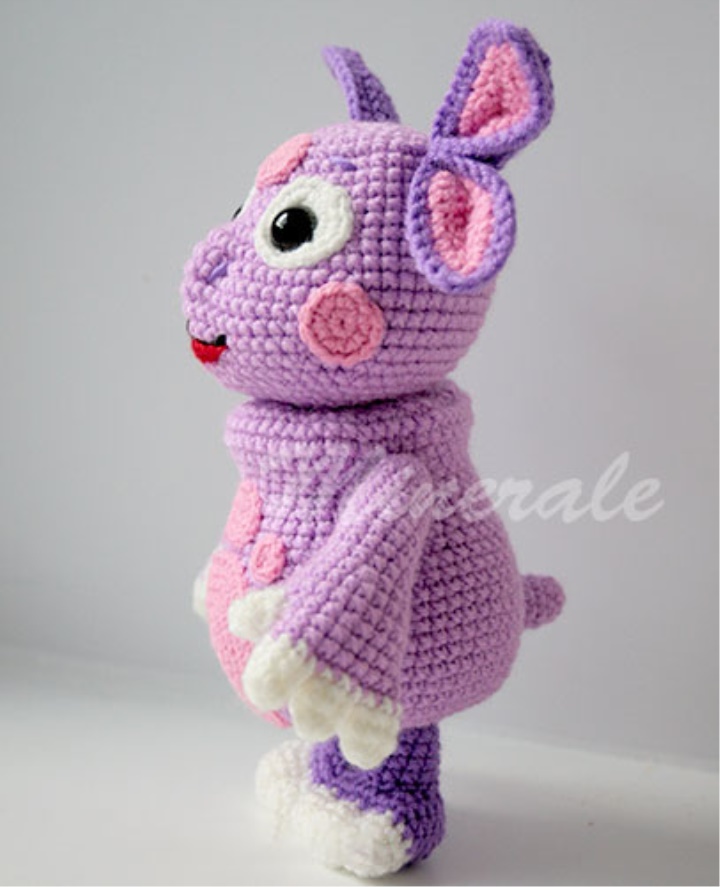
Assembly.
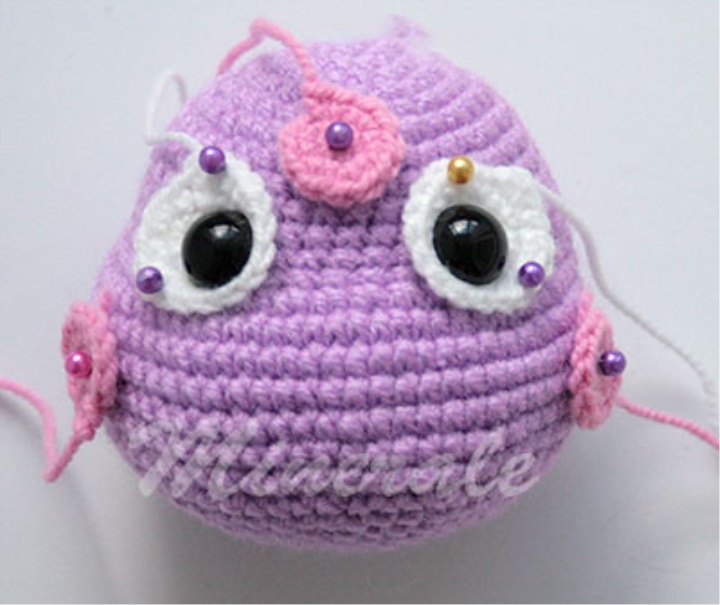
Eyes with proteins inserted between the 11th and 12th rows of the head. Between eyes a distance of 7 PRS, be guided by a marker placed in the center of the face.
Sew the stain on the forehead and cheeks as in the photo. Embroider with two stitches of nostrils, slightly pull them together. Further the thread is deduced on eyebrows and embroider eyebrows.
Embroider the mouth with black and red threads as in the photo.
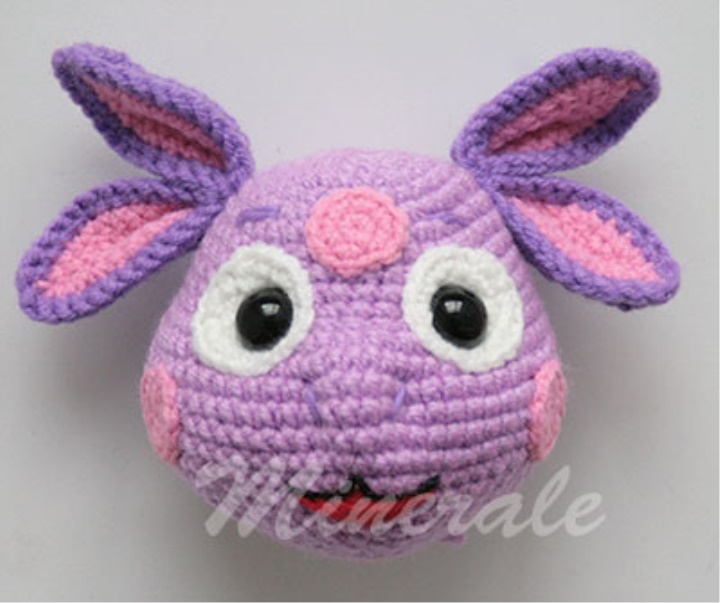
The ears first sew each other in pairs, then sew to the head.
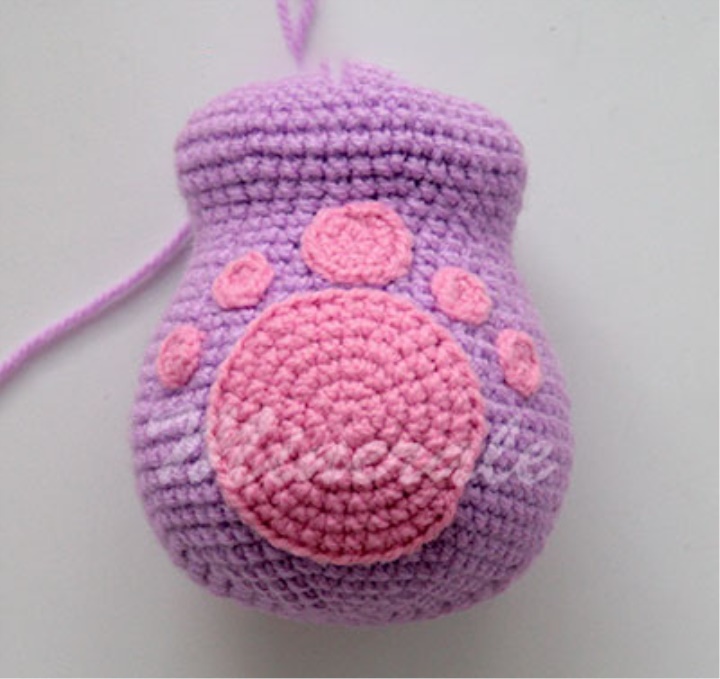
Sew to the body stains as in the photo. Sew the head to the body.
Attach to the bottom of the torso legs, mark the places where they should be located. Enter in place for the first leg a long needle with a thread for by and bring out the needle in the neck (place Prishivani head and torso). Retreat 1 PRs and return the needle to the bottom of the torso at a distance of 1 PRS from the insertion point. Take the second thread for by and do the same with the second leg. Slightly pull the threads, the head should be drowned in the neck, and the bottom of the torso become more flat. Fasten the threads to the by. Sew in place by legs.
Use the Utjazhe thread to make a rope grip.
Sew tail on the center of the back and our Luntik is ready!
Thank you for participating
Source : https://vk.com/minerale_toys